For 1990-2009 cars only
Removal Procedure
Tools Required
J 38778 Door Trim Pad and Garnish Clip Remover
- Remove the rear window trim panel. Refer to Rear Window Shelf Trim Panel Replacement in Interior Trim.
- Remove the rear seat sound barrier. Refer to Rear Seat Back Sound Barrier Replacement in Interior Trim.
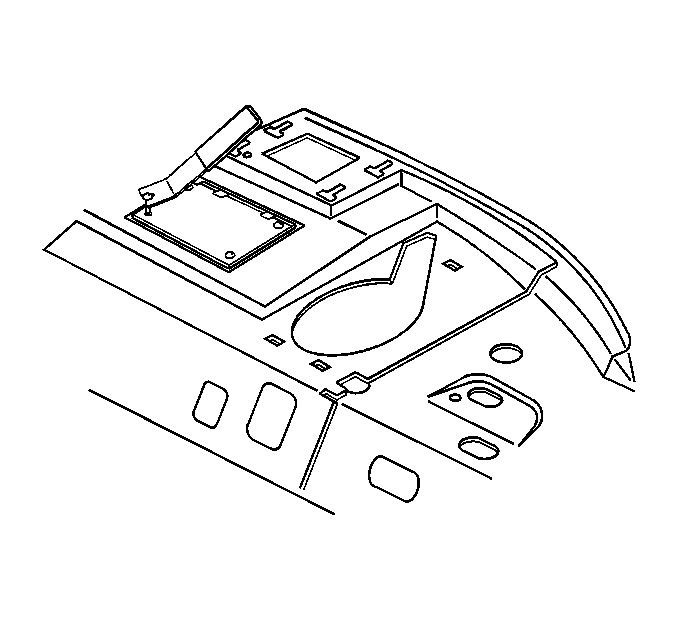
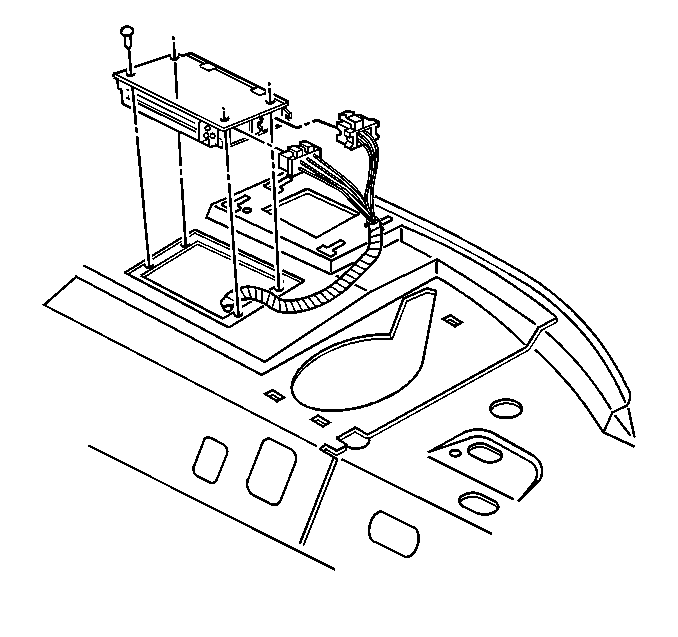
- Using the J 38778 , remove the push-in fasteners retaining the low frequency audio amplifier to the rear shelf.
- Carefully lift the audio amplifier from the rear shelf to access the electrical/audio connectors.
- Disconnect the electrical/audio connectors from the audio amplifier.
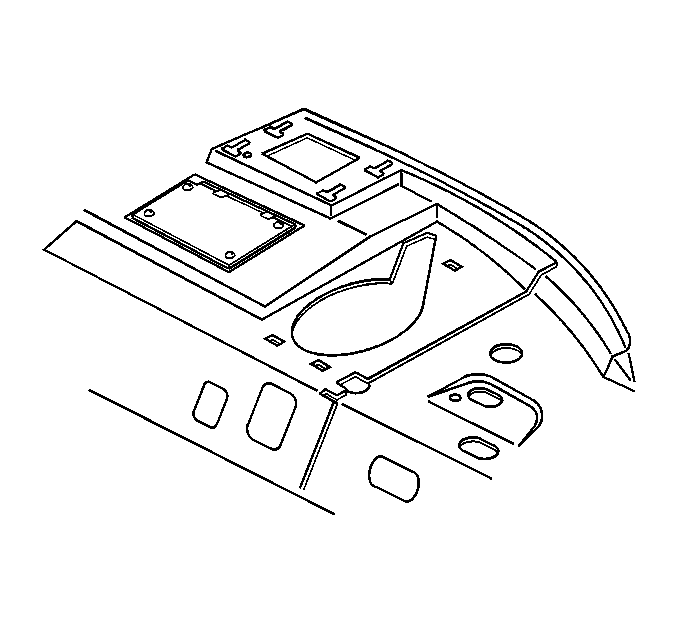
- Remove the audio amplifier.


Installation Procedure
- Connect the electrical/audio connectors to the low frequency audio amplifier.
- Position and carefully lower the audio amplifier to the rear shelf.
- Install the push-in fasteners to retain the audio amplifier to the rear shelf.
- Install the rear seat sound barrier. Refer to Rear Seat Back Sound Barrier Replacement in Interior Trim.
- Install the rear window trim panel. Refer to Rear Window Shelf Trim Panel Replacement in Interior Trim.


