For 1990-2009 cars only
Removal Procedure
- Remove the master cylinder. Refer to Master Cylinder Replacement .
- Clamp the flange of the master cylinder body in a vise.
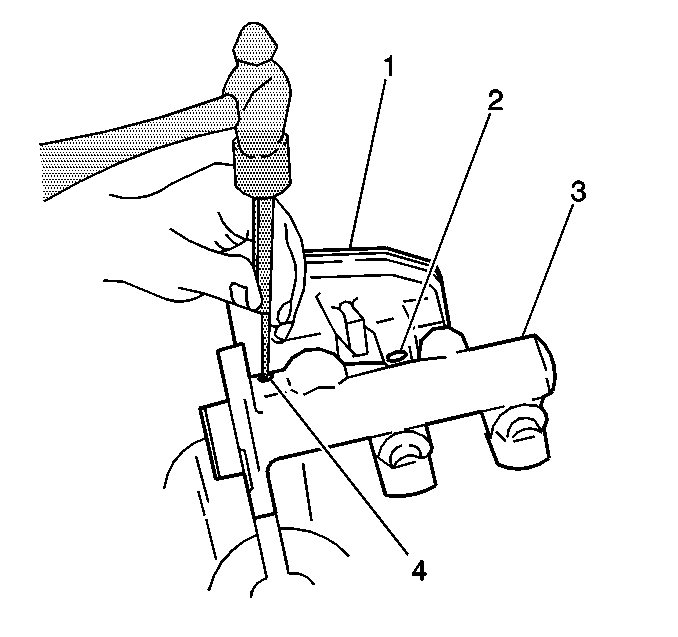
- Drive the spring pins (2) free with a suitable 1/8 inch punch (4).
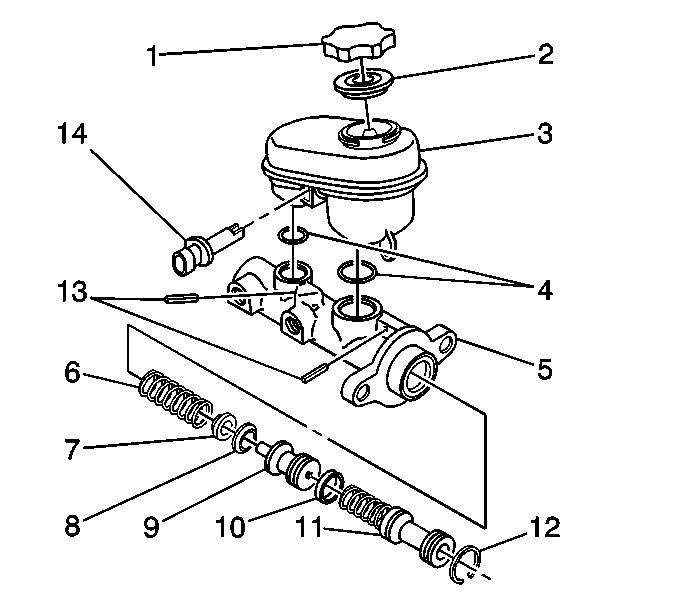
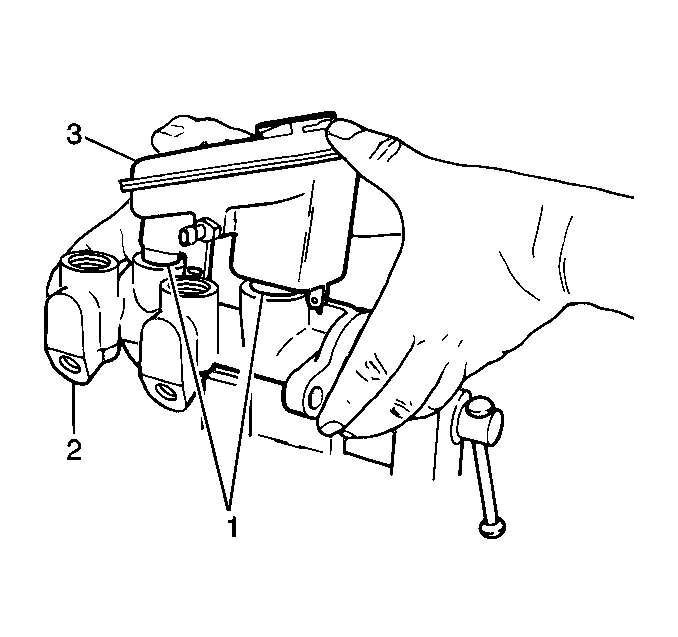
- Remove the master cylinder reservoir by pulling straight up and away from the master cylinder body.
- Remove the reservoir-to-body O-rings (4) from the grooves in the master cylinder reservoir (3).
- Dispose of the O-rings (4).
Notice: Do not clamp on master cylinder body. Doing so may damage the master cylinder.

Do not damage the reservoir (1) or the cylinder body (3) when driving out the spring pins.

Installation Procedure
- Lubricate the new reservoir-to-body O-rings (4) and the reservoir flanges with clean brake fluid.
- Install the reservoir-to-body O-rings (4) into the grooves in the master cylinder reservoir (3).
- Install the master cylinder reservoir (3) to the master cylinder body (2) by pressing straight down.
- Install the spring pins (2) by driving the pins in with a 1/8 inch punch (4). Do not damage the reservoir (1) or the master cylinder body (3).
- Install the master cylinder. Refer to Master Cylinder Replacement .
- Fill the master cylinder to the proper level with clean brake fluid. Refer to Master Cylinder Reservoir Filling .
- Bleed the brake system. Refer to Hydraulic Brake System Bleeding .

Ensure that the O-rings are properly seated.


