Removal Procedure
Riviera's unique quarter panel styling requires a special sectioning procedure that improves serviceability.
- Remove all related components, including the quarter glass.
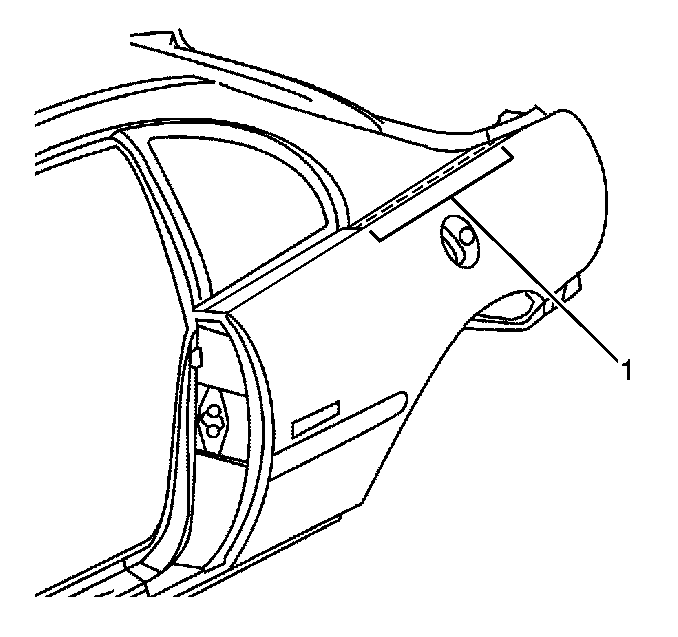
- Cut a 700 mm (28 in) long tab in the quarter panel beneath the roof panel following the upper character line of the quarter panel (1).
- Note the location and number of all factory welds except those along the 700 mm tab.

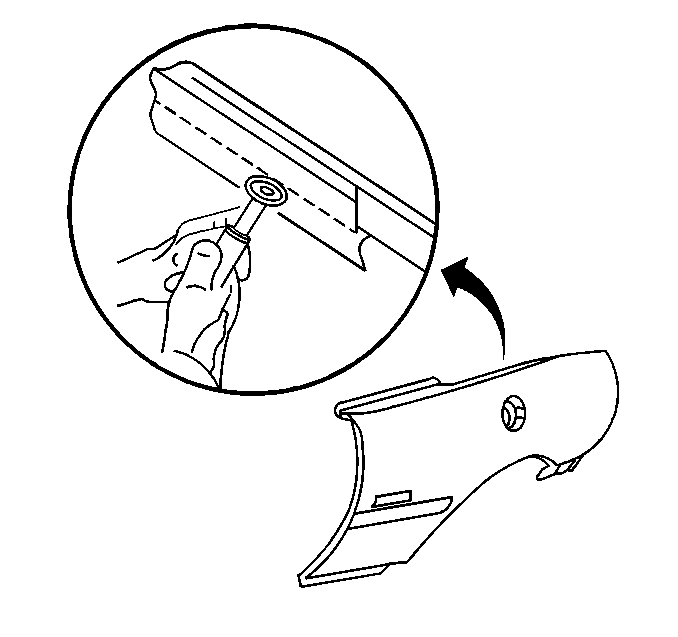
Drill out factory the welds and remove the damaged quarter panel.
Installation Procedure
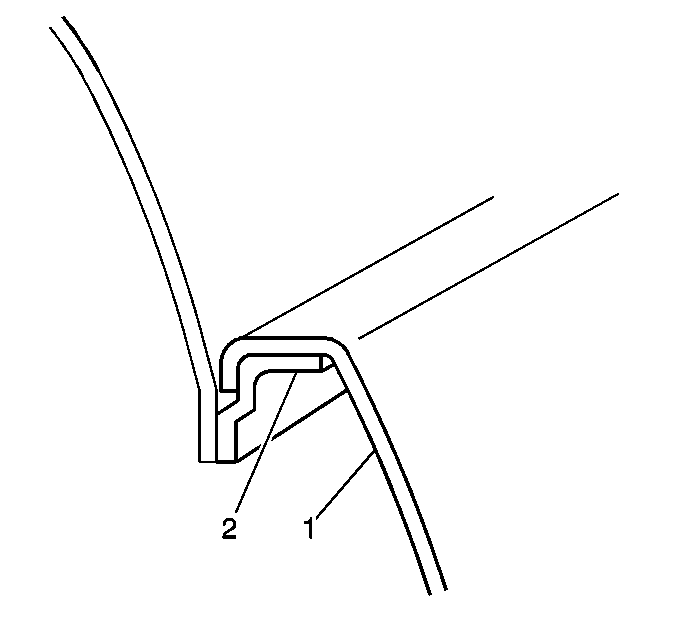
- Bend the 700 mm (27 5/8 in) tab down slightly (1).
- Trim the upper mounting flange on the new panel so that it can fit properly over the 700 mm (27 5/8 in) tab from the original part.
- Position the new panel and check the fit.
- Plug weld accordingly.
- Weld the new quarter panel to the 700 mm (27 5/8 in) tab.
- Clean and prepare welded surfaces.
- Apply sealers and anti-corrosion materials as necessary.
- Seal the joint between the roof panel and the quarter panel with an appropriate material.
- Prime with two-part catalyzed primer.
- Install all related components.
The new quarter panel will be welded to this flange (2).


Important: Prior to refinishing, refer to GM 4901MD-99 Refinish Manual for recommended products. Do not combine paint systems. Refer to paint manufacturer's recommendations. For further information or to order Manual, call 1-800-269-5100.
Important: Care must be taken to ensure that the fuel filler neck is properly sealed when replacing the quarter panel on both the Aurora and the Riviera. Use SPO Sealing Strip P/N 12395952 between the quarter panel and the fuel filler neck. Use the instructions provided with the part.
