Removal Procedure

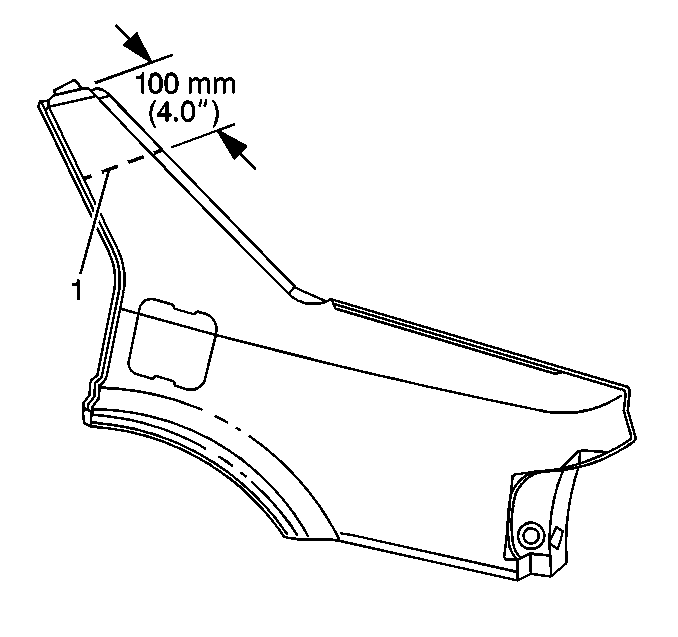
Important: The quarter panel is attached to the roof panel by a silicon-bronze
welded joint (1).
To maintain the integrity of this joint, sail panel sectioning of the
quarter panel will be performed about 100 mm (4 in) below this
factory joint (2).
- Remove all of the necessary panels and components, including the
back glass.
- Restore as much of the damage to the factory specifications as
is possible.
- Remove the following materials as necessary:
| • | The anti-corrosion materials. |
- Measure from the roof panel rear edge (3), down the sail
panel 150 mm (6 in), and scribe a line for the sectioning cut.
- Locate, mark, and drill out the factory welds. Note the location
and the number of the welds.
- Remove the damaged quarter panel.
Installation Procedure
Important: Care must be taken to ensure that the fuel filler neck is properly sealed
when replacing the quarter panel. Use SPO Sealing Strip GM P/N 12399117 between
the quarter panel and the fuel filler neck.
- On the service part, mark a horizontal line to leave a gap of one and
one-half times the thickness of the metal at the sectioning joint .

- Cut the quarter panel
service part along this line (1).
- Cut a 100 mm (4 in) piece from the unused portion
of the service part for a backing plate.
- Remove the flange on each side of the backing plate so that it
will fit behind the sectioning joint.
- Drill 8 mm (5/16 in) holes for plug welding in the
service part in the locations noted from the original panel.
- Drill holes for the plug welding along the sectioning cuts on
both the service part and the original panel.
- Locate these holes approximately 25 mm (1 in) from
the edge of the sectioning cuts.
- Prepare the mating surfaces and position the backing plates with
50 mm (2 in) of the backing plate exposed.
- Plug weld accordingly.
- Position the service part to overlap the exposed 50 mm
(2 in) of the backing plate.
- Check the fit using three-dimensional measuring equipment.
- Plug weld accordingly.
- Stitch weld along the sectioning joint.
- Make 25 mm (1 in) welds along the seam with 25 mm
(1 in) gaps between.
- Complete the stitch weld. This will create a solid joint with
minimal heat distortion.
- Clean and prepare all bare metal surfaces.
Important: Prior to refinishing, refer to GM 4901MD-99 Refinish Manual for
recommended products. Do not combine paint systems. Refer to paint manufacturer's
recommendations. For further information or to order Manual, call 1-800-269-5100.
- Apply the following as necessary:
| • | Anti-corrosion materials |
| • | Two-part catalyzed primer. |
- Install all of the panels and the components previously removed
for access.


