For 1990-2009 cars only
Front Wheelhouse Replacement Sectioning
Removal Procedure
Use sectioning procedures in order to repair the front portion of the wheelhouse assemblies when there is minimal damage. You do not need to replace the entire wheelhouse.
- Remove the following components:
- Visually inspect and restore to factory specifications as much of the damage as possible.
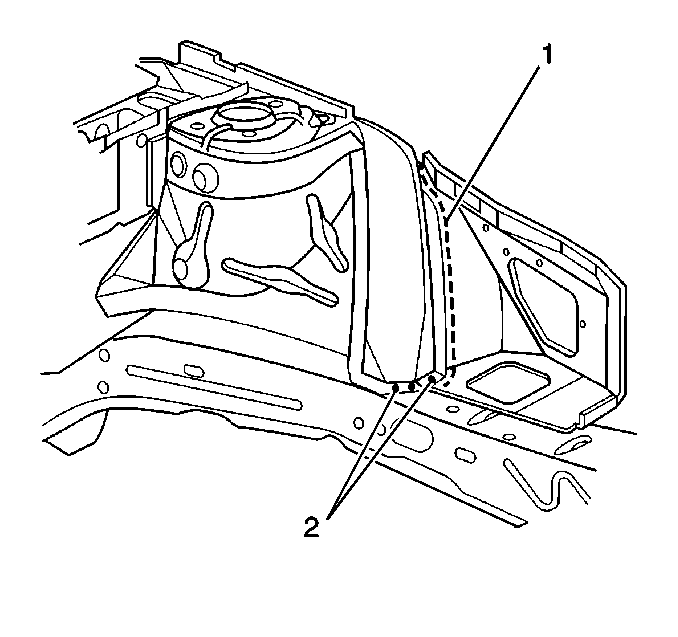
- Cut the wheelhouse along the forward edge of the load brace (1).
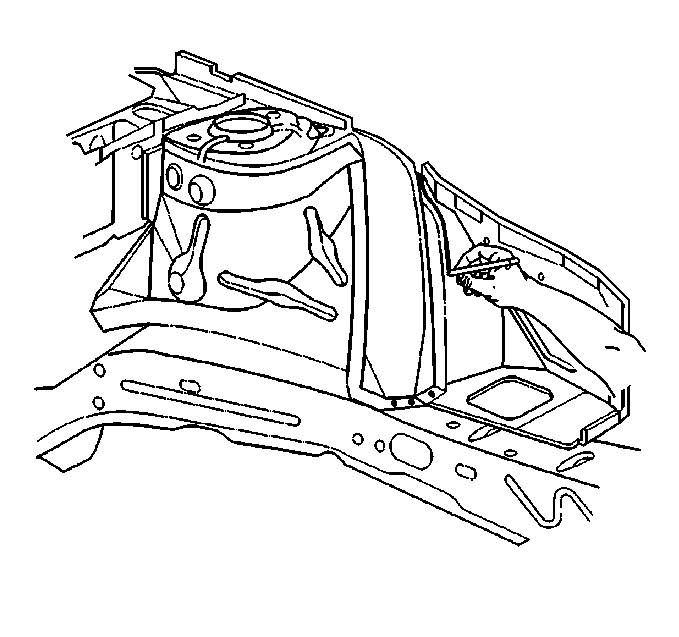
- Drill out the appropriate welds in order to remove the damaged section of the wheelhouse.
- If needed, drill out the welds between the load brace and the lower rail.
- Remove the damaged section of the wheelhouse.
| • | All of the related components |
| • | All of the related panels |
| • | The upper rail assemblies |

Follow the same contour of the load brace.
Do not cut the lower rail.
Important: Do not drill out the forward welds between the load brace and the wheelhouse (2).
Installation Procedure
- When preparing the service part, cut the forward apron well beyond the 35 mm (1 5/32 in) overlap needed for sectioning.
- Temporarily position the new wheelhouse section on the outboard side of the vehicle.
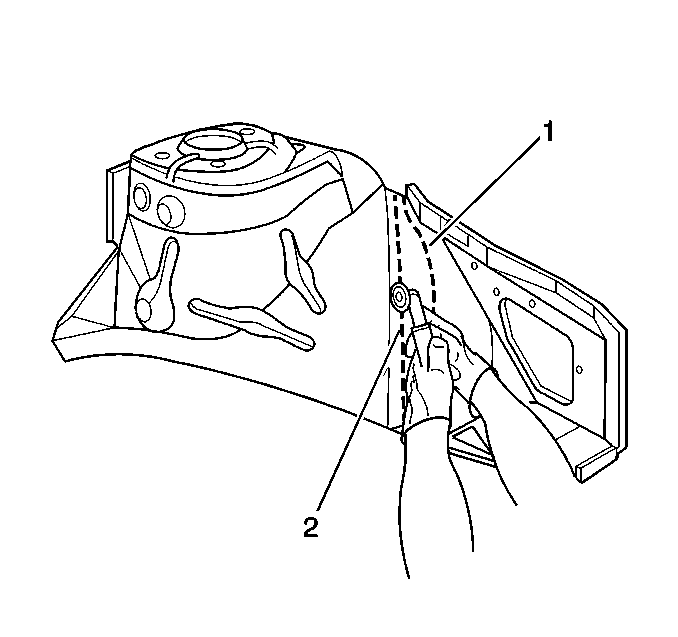
- Trace along the cut line of the original wheelhouse in order to mark a line on the new wheelhouse section (1).
- Remove the new wheelhouse section.
- Measure and cut 35 mm (1 5/32 in) rearward along the traced line so that the section will overlap with the original wheelhouse when installed (2).
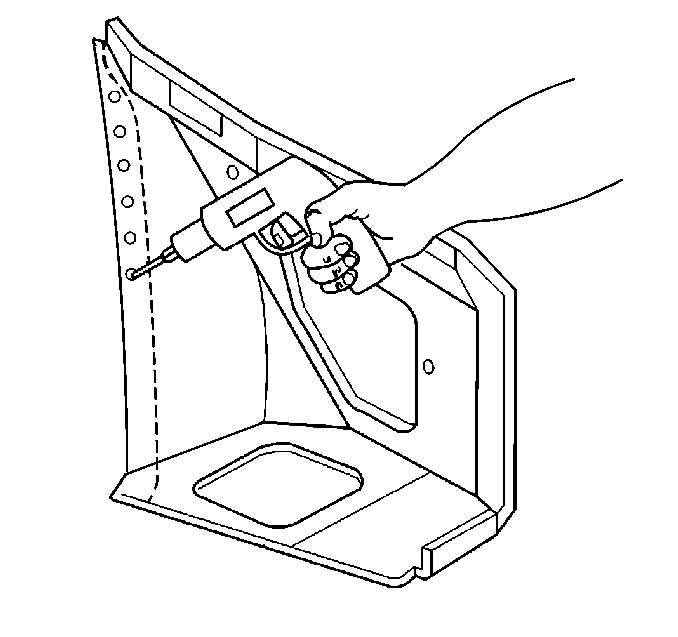
- Drill an 8 mm (5/16 in) hole every 35 mm (1 5/32 in) along the overlap on the new wheelhouse section.
- Position the new wheelhouse section.
- Inspect the fit.
- Plug the weld accordingly on the outboard side of the panel.
- Clean and prepare the welded surfaces.
- Prime the surfaces using a 2-part catalyzed primer.
- Apply sealers and corrosion protection materials as needed. Refer to the paint manufacturer's recommendations.
- Reinstall all of the related panels and components.


Important: Prior to refinishing, refer to GM 4901MD-99 Refinish Manual for recommended products.Do not combine paint systems. Refer to paint manufacturer's recommendations. For further information or to order Manual, call 1-800-269-5100.
Important: When reinstalling related panels and components, refer to the appropriate section of the service manual for the component fastener tightening specifications.
Fasten all of the components to the proper tightening specifications.