Intake Manifold Assembly Procedure
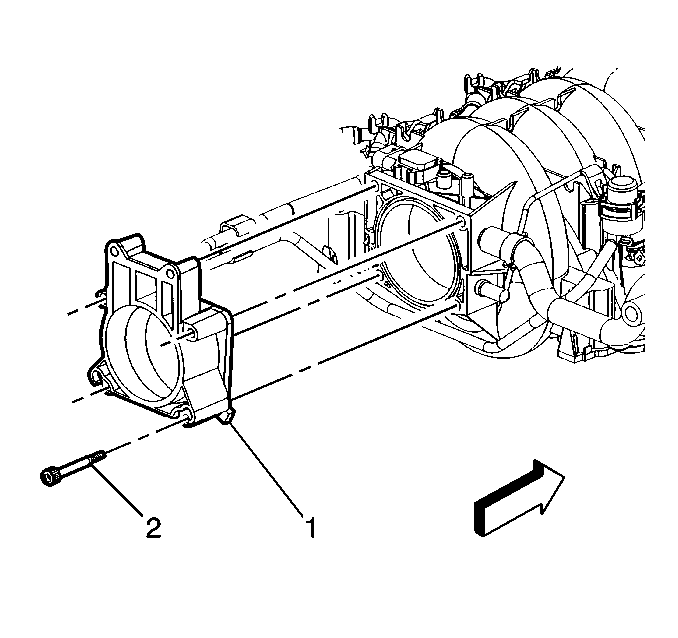
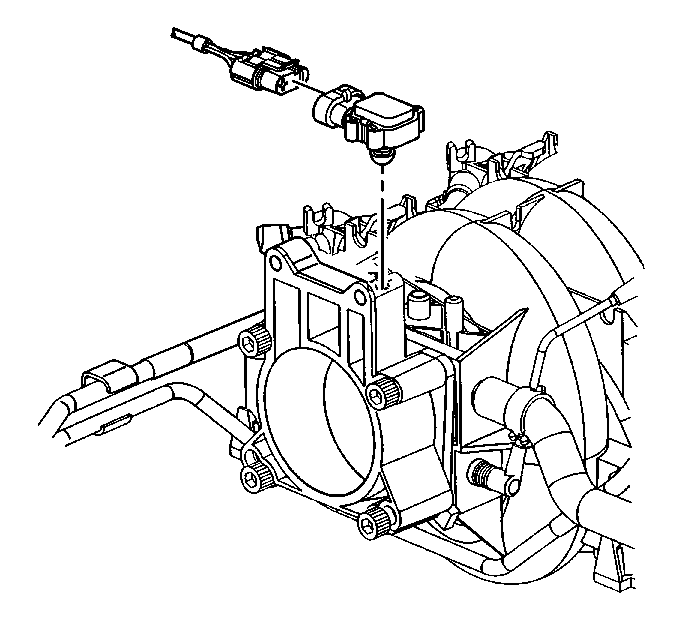
- Make sure all mating surfaces for the throttle body spacer (1) and throttle body are clean. Any debris or flawed sealing surfaces could cause vacuum leaks and hinder engine performance.
- Install the throttle body spacer retaining bolts (2) and throttle body spacer (1) to the intake manifold.
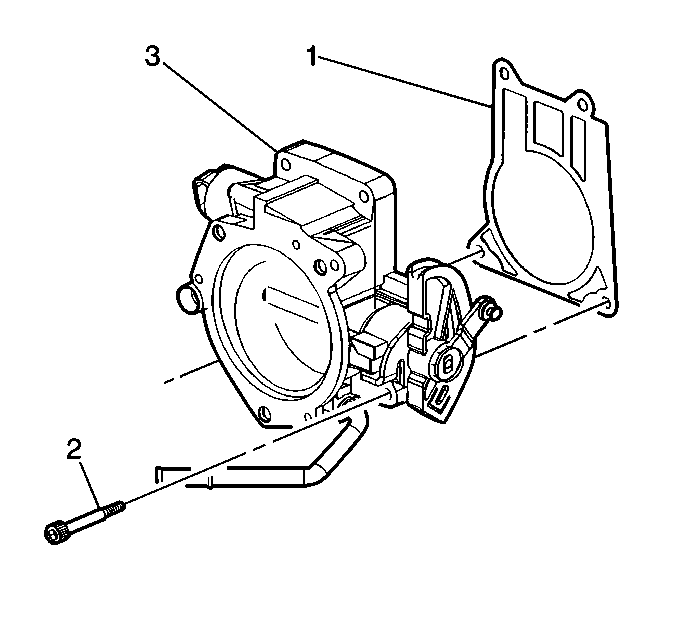
- Install a new throttle body gasket (1) on the throttle body (3). Make sure all the old gasket material is removed.
- Place the throttle body (4) in position on the throttle body spacer (1) and install the upper (2) and lower (3) throttle body retaining bolts.
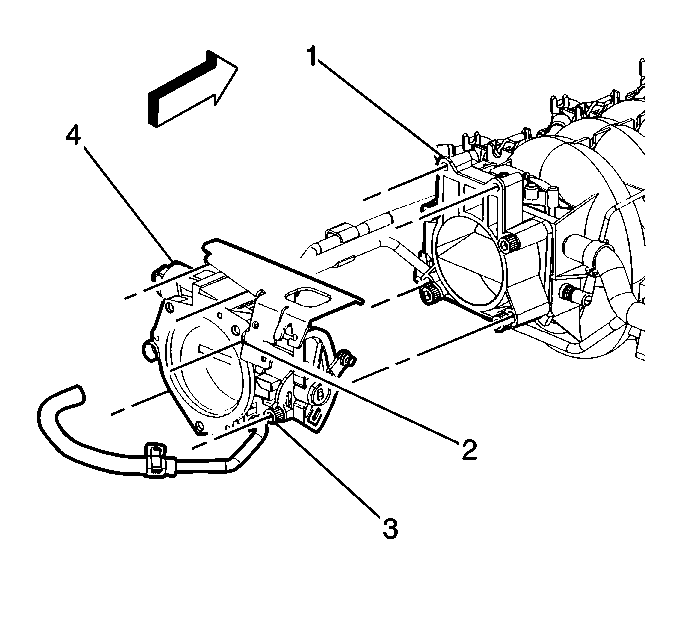
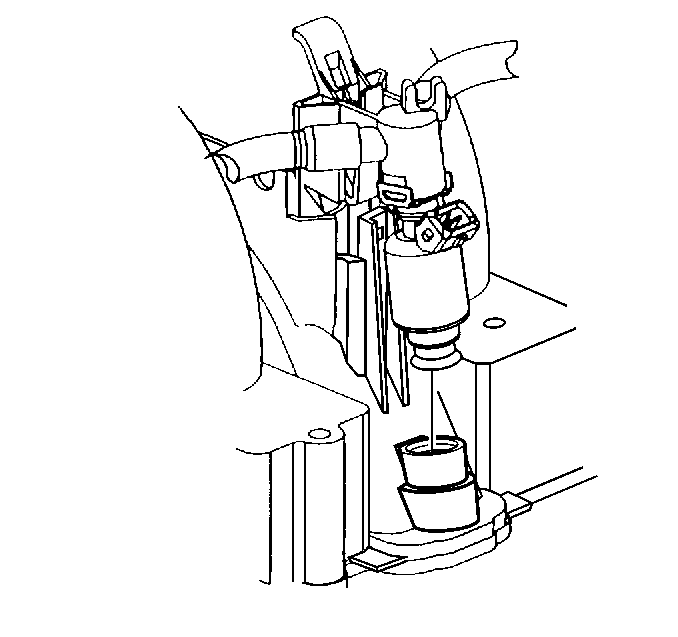
- Press the MAP sensor in position at the top of the spacer mounting location.
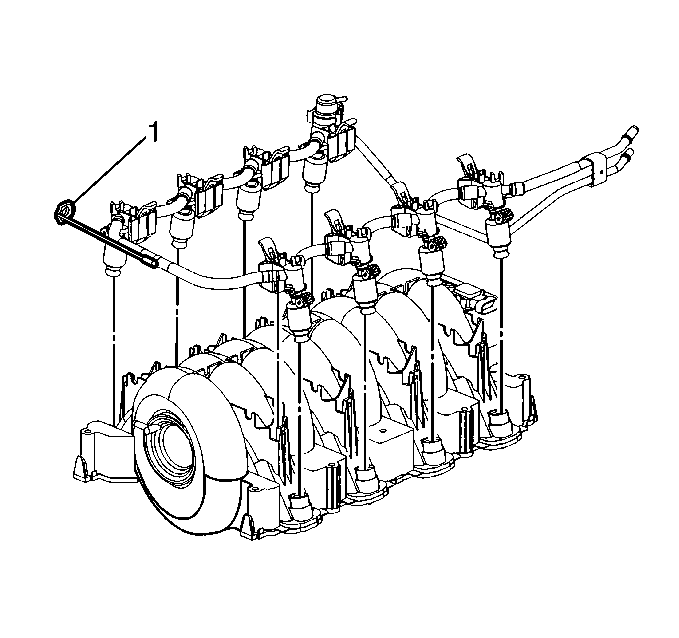
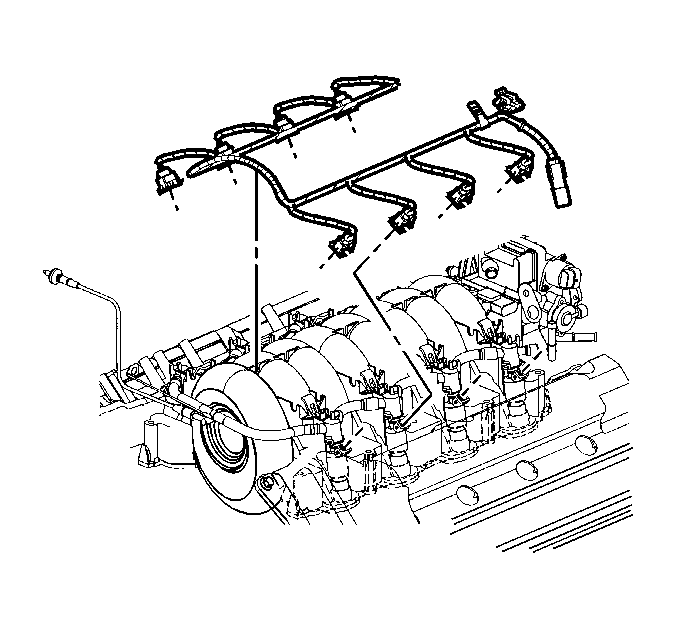
- Align the fuel rail snap lock retainers and fuel injectors in position on the intake manifold.
- Snap the entire fuel rail and injector assembly into the intake manifold by pressing the fuel rail and injector simultaneously into correct position. Keep the fuel rail ground wire (1) clear of the injectors.
- Connect the fuel regulator vacuum tube.
- Place the fuel injector wire harness in position and connect each connector to its respective fuel injector.
- Install the brake booster vacuum hose.
Important: The following steps are only necessary if the throttle body or intake manifold required replacement.
Notice: Use the correct fastener in the correct location. Replacement fasteners must be the correct part number for that application. Fasteners requiring replacement or fasteners requiring the use of thread locking compound or sealant are identified in the service procedure. Do not use paints, lubricants, or corrosion inhibitors on fasteners or fastener joint surfaces unless specified. These coatings affect fastener torque and joint clamping force and may damage the fastener. Use the correct tightening sequence and specifications when installing fasteners in order to avoid damage to parts and systems.
Tighten
Tighten the throttle body spacer bolts to 12 N·m (106 lb in).
Tighten
Tighten the upper throttle body retaining bolts to 12 N·m
(106 lb in).
Tighten
Tighten the throttle lower throttle body retaining bolts to 10 N·m
(89 lb in).
Important: DO NOT force the injector into position or damage to the o-ring seals could occur.
Intake Manifold Installation Procedure
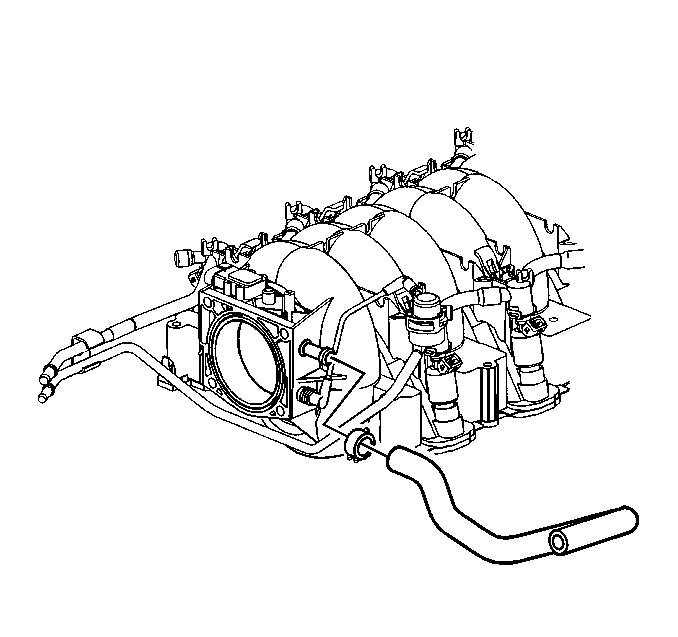
- Clean any debris from the cylinder head or intake manifold gaskets. Place the intake manfiold in position on the cylinder heads.
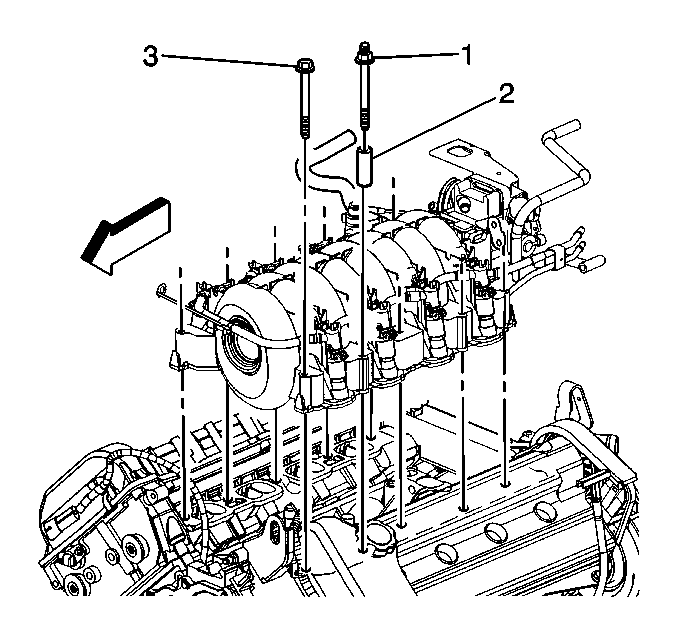
- Install the four spacers (2) and studs (1) and install the remaining six bolts (3).
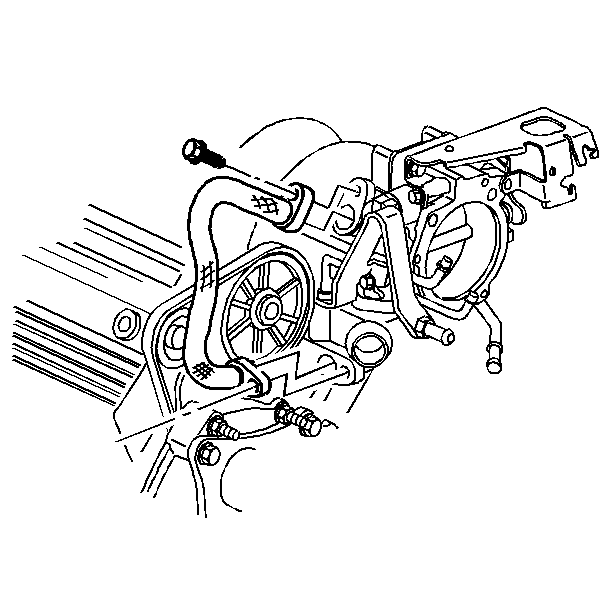
- Connect the throttle body coolant hose (3) to the throttle body inlet pipe (1) and water crossover (4) with hose clamps (2).
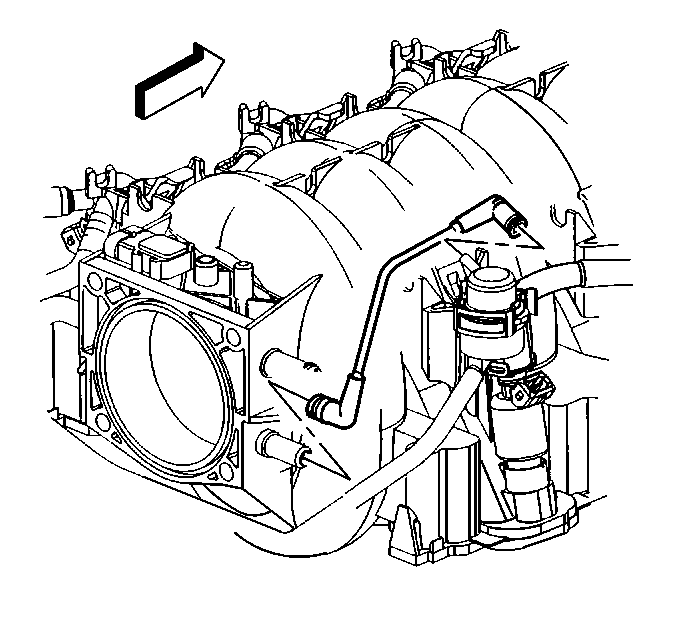
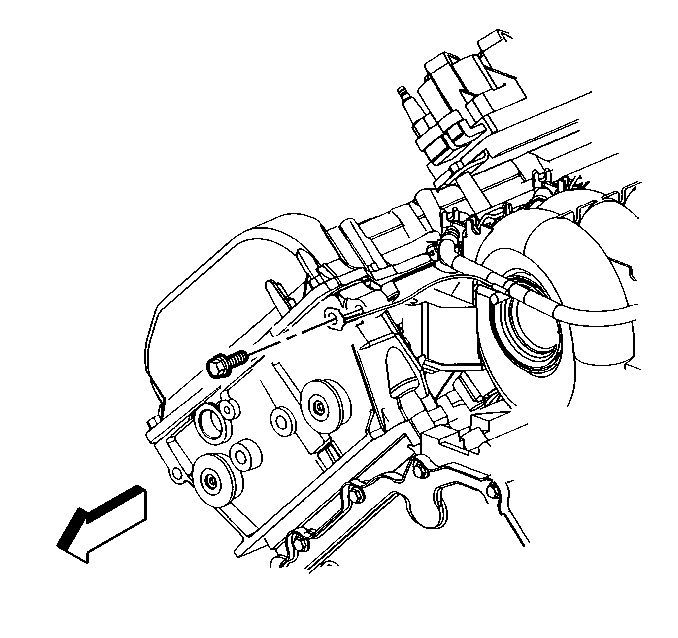
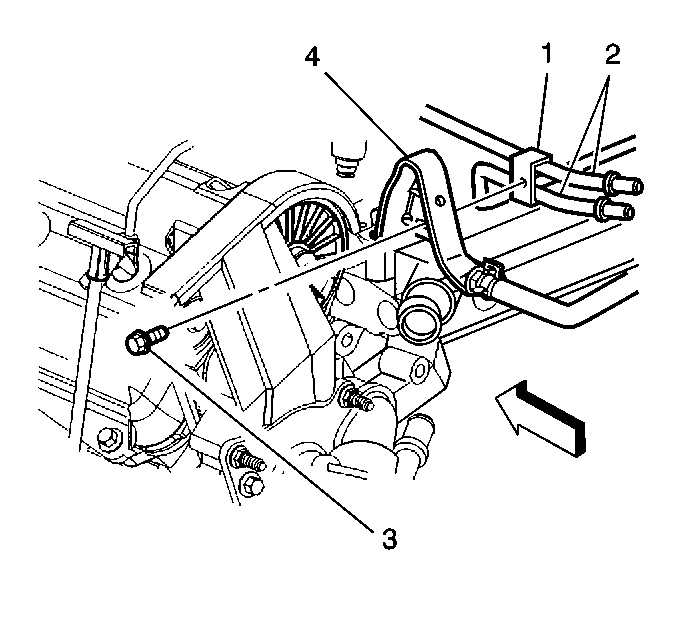
- Connect the fuel rail ground wire at the front of the rear (right) cylinder head.
- Attach the fuel rail (1) to the rear left lift bracket (4) using the retaining bolt (3).
- Install the purge solenoid harness and retaining bolt. Connect the hose to the intake manifold.
- Connect the throttle body coolant outlet hose (1) to the throttle body coolant pipe (3) with hose clamps (2).
- Place the coolant overflow pipe (5) on the intake manifold studs (4).
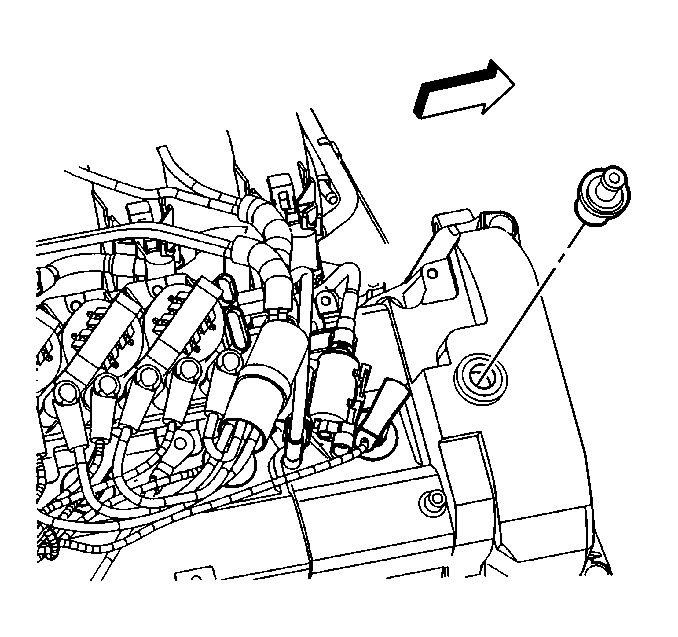
- Install a new PCV valve in the camshaft cover.
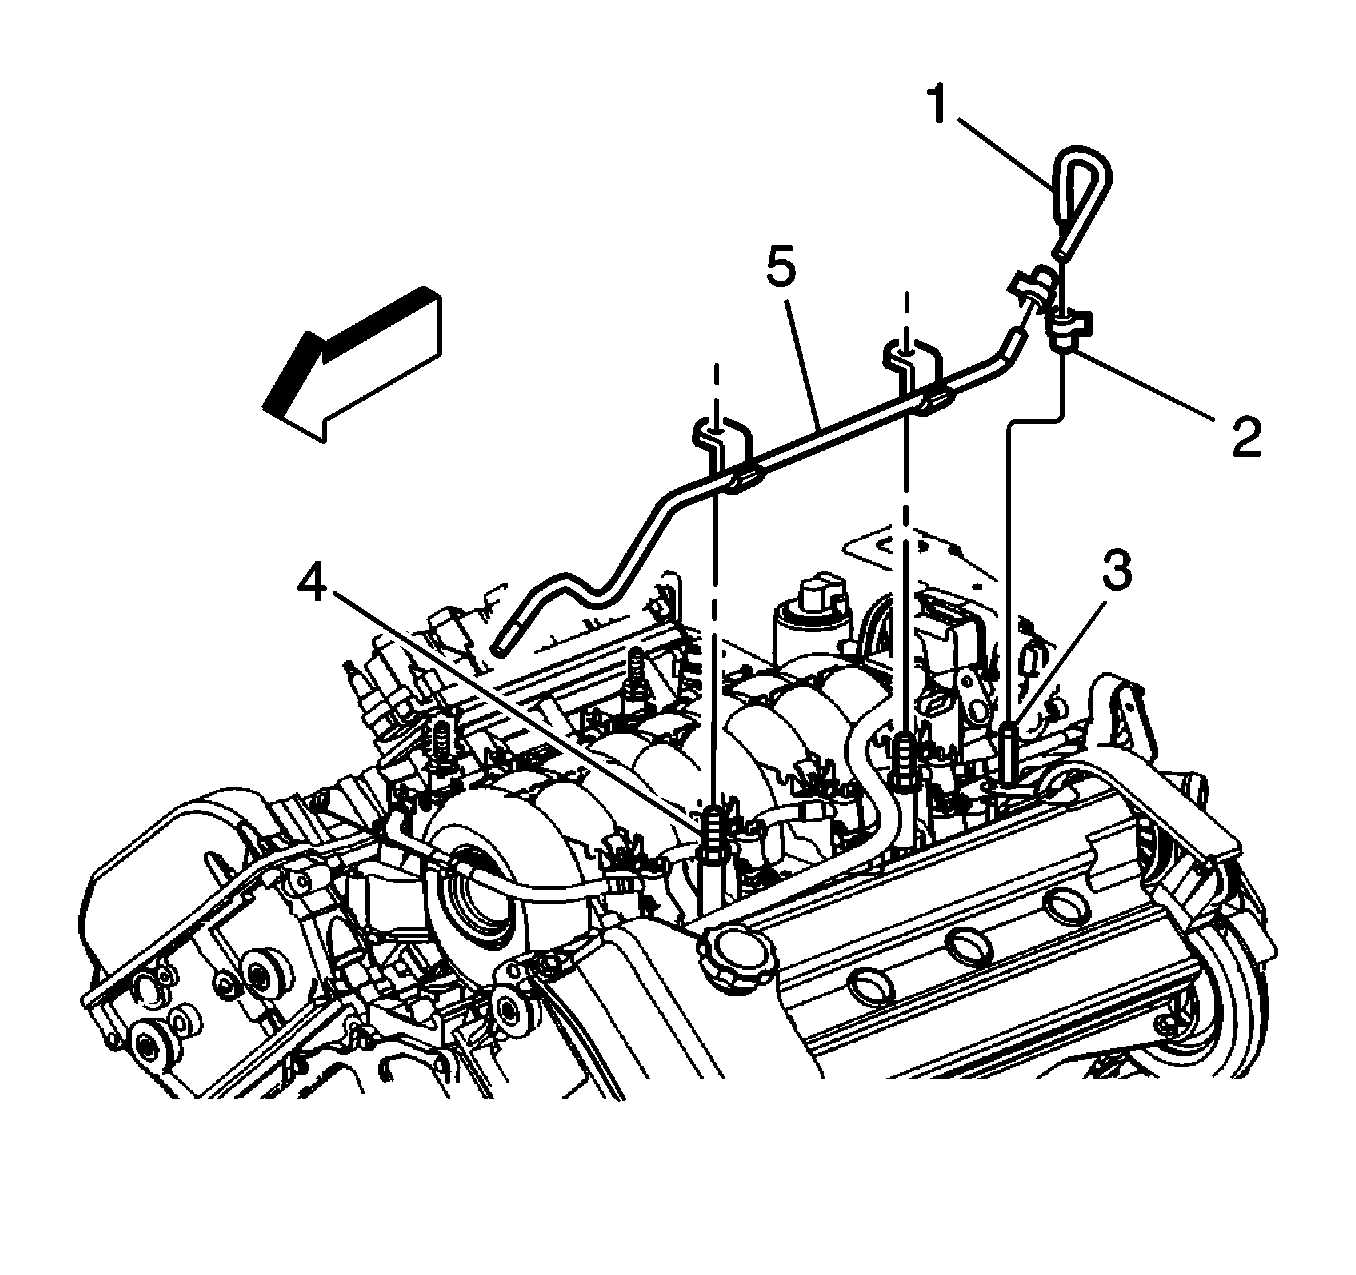
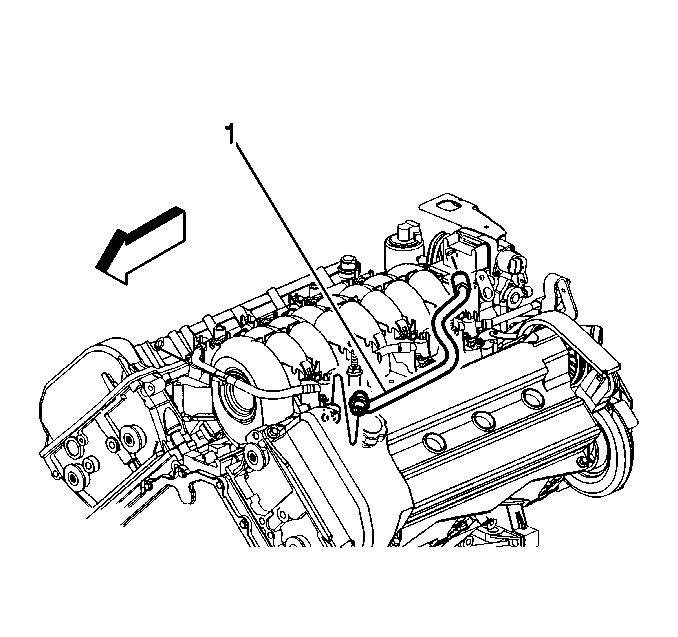
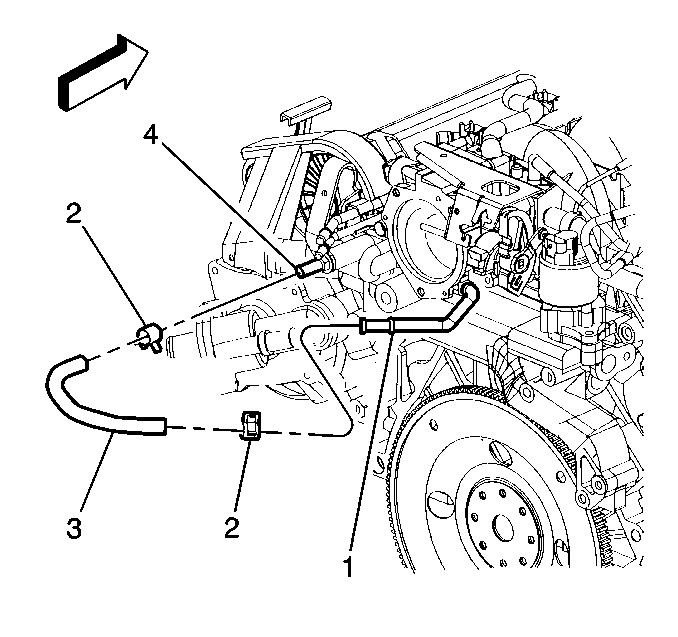
- Connect the PCv fresh air feed tube (1) to the camshaft cover and the intake manifold,
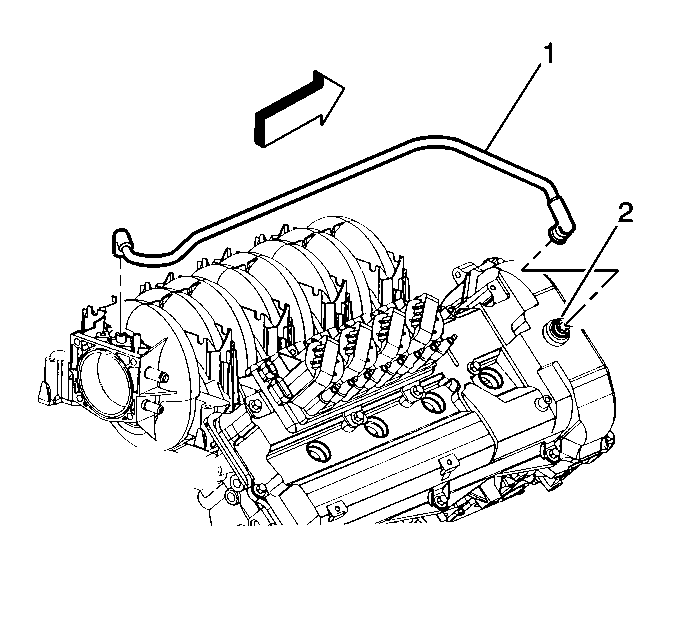
- Connect the dirty air PCV tube (1) to the PCV valve (2) and camshaft cover.
- Connect the EGR and crankcase ventilation pipe at the throttle body spacer.
Important: The intake manifold carrier gaskets are attached to the intake manifold through a snap-lock feature. When you install the intake manifold, the carrier gaskets will remain attached to the manifold. It is not necessary to replace the gaskets unless there is damage to the seals.
Notice: Use the correct fastener in the correct location. Replacement fasteners must be the correct part number for that application. Fasteners requiring replacement or fasteners requiring the use of thread locking compound or sealant are identified in the service procedure. Do not use paints, lubricants, or corrosion inhibitors on fasteners or fastener joint surfaces unless specified. These coatings affect fastener torque and joint clamping force and may damage the fastener. Use the correct tightening sequence and specifications when installing fasteners in order to avoid damage to parts and systems.
Tighten
Tighten the intake manifold bolts and studs starting from the center
and working outward in a circular pattern to 10 N·m (89 lb in).
Tighten
Tighten the fuel rail ground wire retaining bolt to 11 N·m
(97 lb in).
Tighten
Tighten the fuel rail bracket retaining bolt to 4 N·m (35 lb in).

Tighten
Tighten the purge solenoid harness retaining bolt to 12 N·m
(106 lb in).