For 1990-2009 cars only
Brake Rotor Replacement Front Wheel
Removal Procedure
- Raise the vehicle and support the vehicle with proper safety stands.
- Remove the tire and wheel. Refer to Wheel Removal
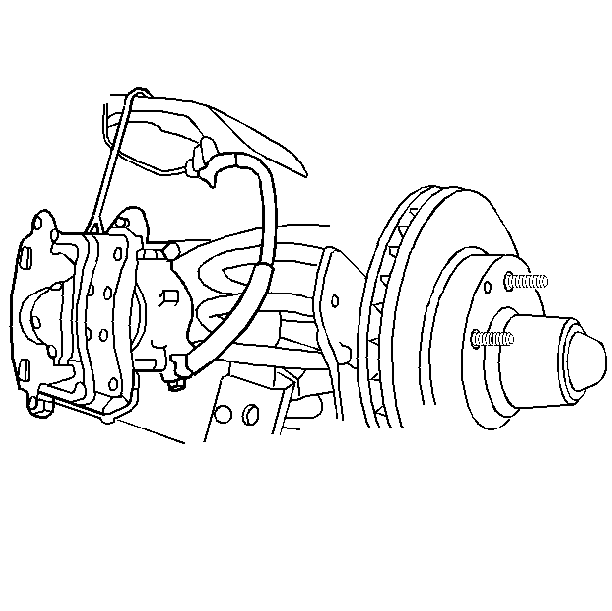
- Remove the caliper. Refer to Brake Caliper Replacement
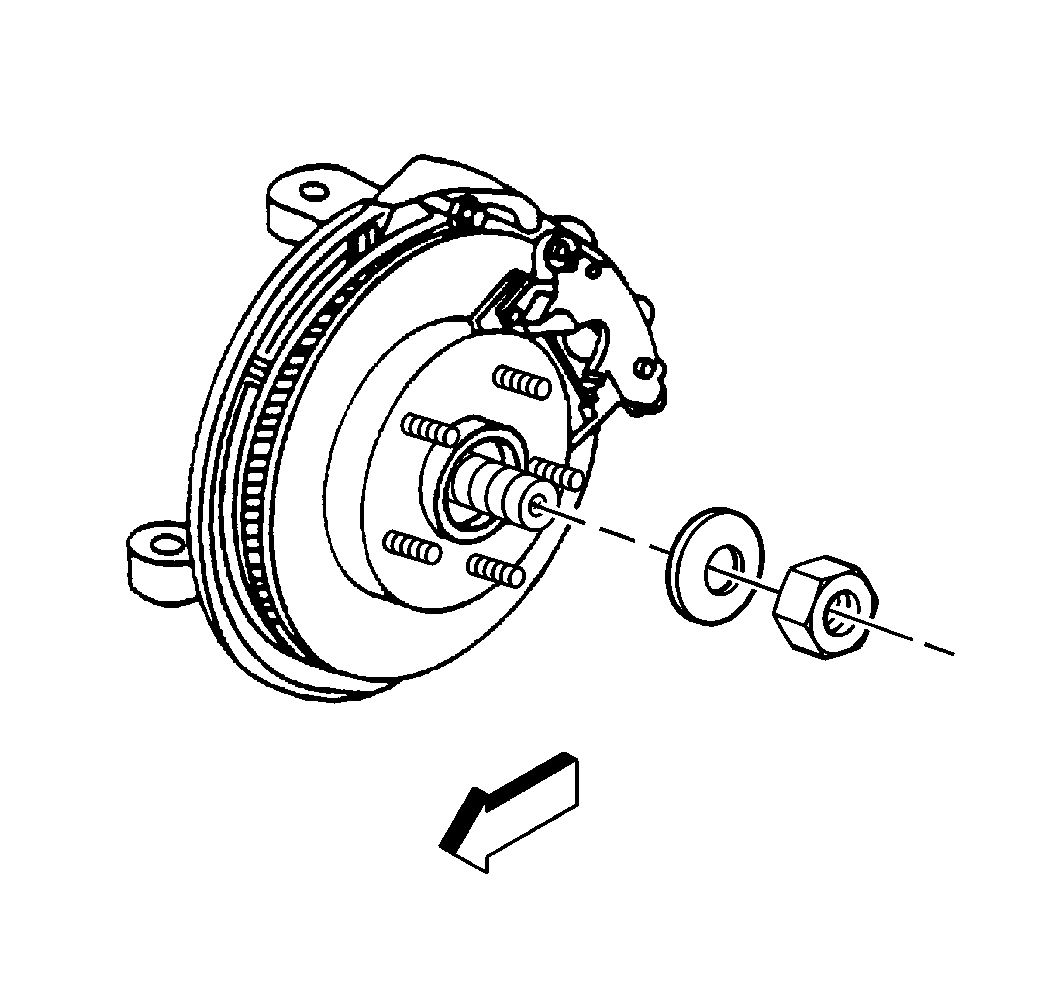
- Remove the rotor.

Inspection Procedure
Inspect all parts. Replace parts, if necessary.
Installation Procedure
- Install the rotor to the hub and bearing assembly.
- Install the caliper. Refer to Brake Caliper Replacement
- Install the tire and wheel. Refer to Wheel Installation
- Lower the vehicle.
- Depress the brake pedal.

Brake Rotor Replacement Rear Wheel
Removal Procedure
The brake rotor can be removed without separating the caliper from the anchor bracket.
- Raise and support the vehicle with suitable safety stands.
- Remove the tire and wheel. Refer to Wheel Removal in Tires and Wheels.
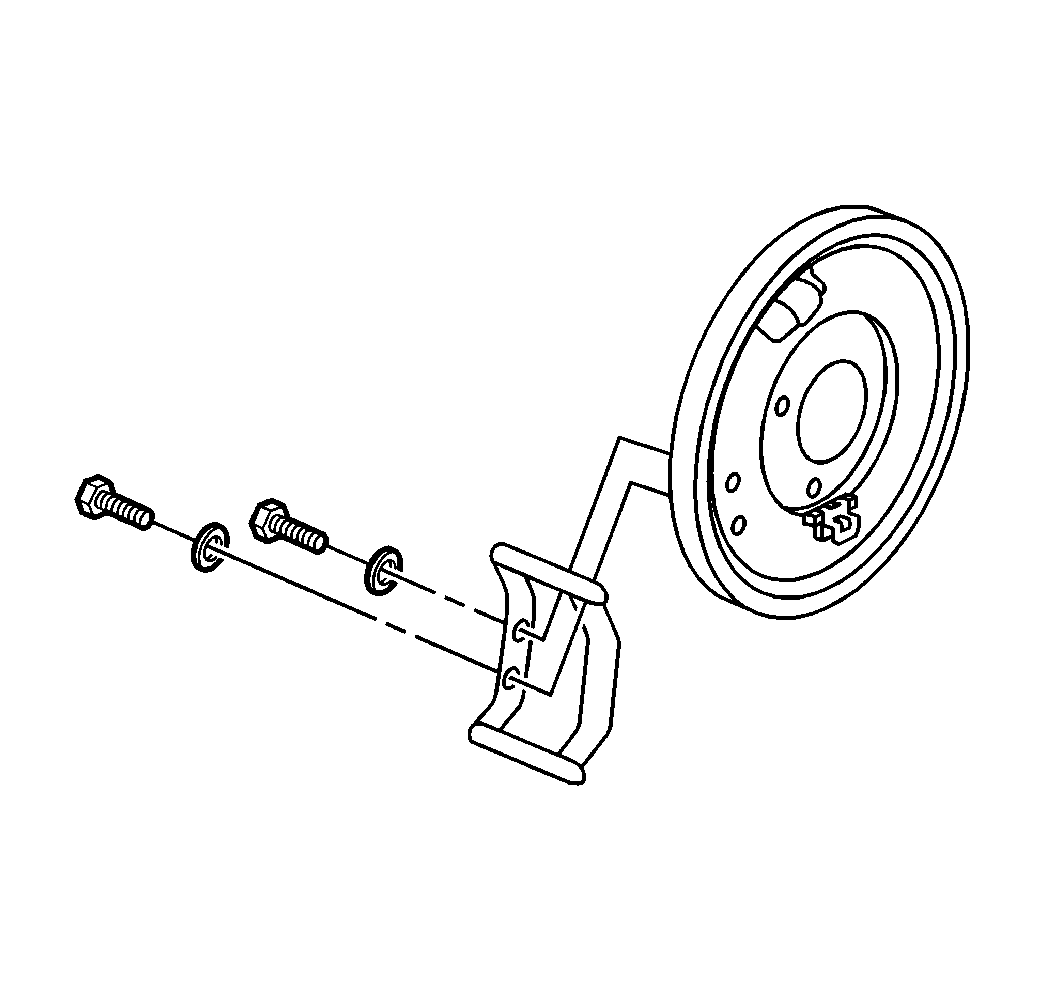
- Remove the anchor bracket bolts.
- Remove the assembled anchor bracket and caliper from the mounting plate.
- Hang the assembled anchor bracket and caliper from the suspension.
- Remove the rotor. Slowly turn the rotor while pulling the rotor away from the axle.


Installation Procedure
Notice: Whenever the rotor has been separated from the axle flange, clean any rust or foreign material from the mating surface of the axle flange and brake rotor. Failure to do this may result in increased lateral runout of the rotor and brake pulsation.
- Install the rotor.
- Install the assembled anchor bracket and caliper to the mounting plate.
- Install the tire and wheel. Refer to Wheel Installation in Tires and Wheels.
- Lower the vehicle.

Tighten
Tighten the anchor bracket bolts to 70 N·m (52 lb ft).
