Removal Procedure
- Disconnect the battery negative cable.
- Drain the engine coolant.
- Remove the radiator.
- Remove the A/C condenser, if equipped.
- Remove the cylinder head.
- Remove the engine front cover.
- Remove the valve lifters.
- Rotate the crankshaft until the number 1 piston is at top dead center (TDC) on the compression stroke.
- Remove the oil pump drive gear.
- Remove the camshaft position sensor.
- Remove the camshaft bolt.
- Remove the camshaft sprocket and the timing chain.
- Remove the camshaft retainer bolts.
- Remove the camshaft.
- Remove the camshaft sprocket from the camshaft.
- Inspect the camshaft for wear or damage.
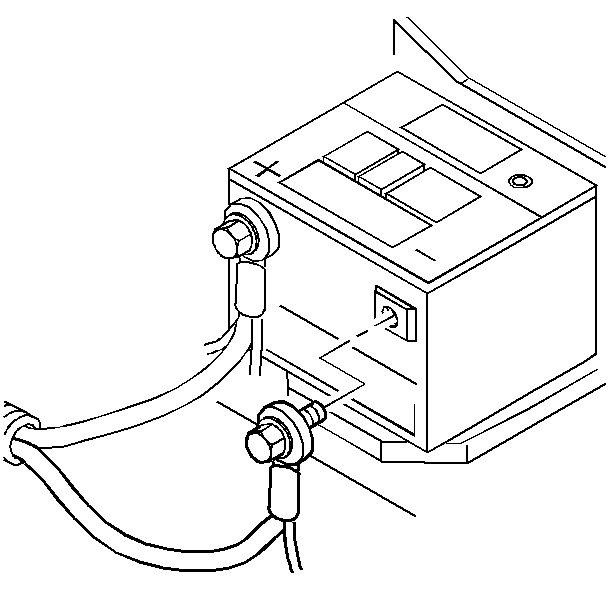
Caution: Before servicing any electrical component, the ignition and start switch must be in the OFF or LOCK position and all electrical loads must be OFF, unless instructed otherwise in these procedures. If a tool or equipment could easily come in contact with a live exposed electrical terminal, also disconnect the negative battery cable. Failure to follow these precautions may cause personal injury and/or damage to the vehicle or its components.
Refer to Cooling System Draining and Filling .
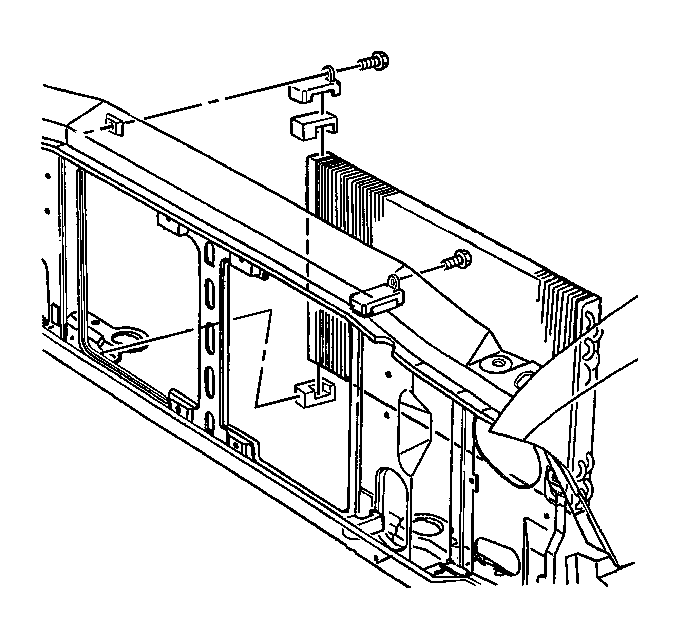
Refer to Radiator Replacement .
Refer to Condenser Replacement in HVAC.
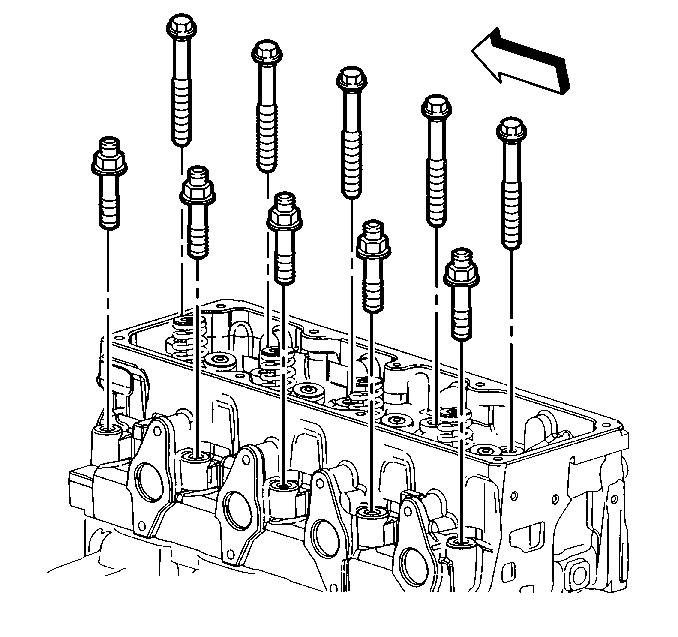
Refer to Cylinder Head Replacement .
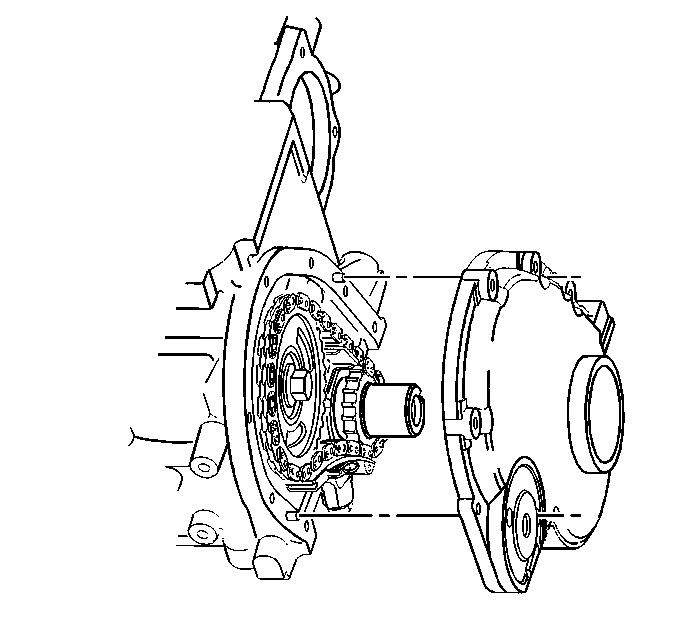
Refer to Engine Front Cover Replacement .
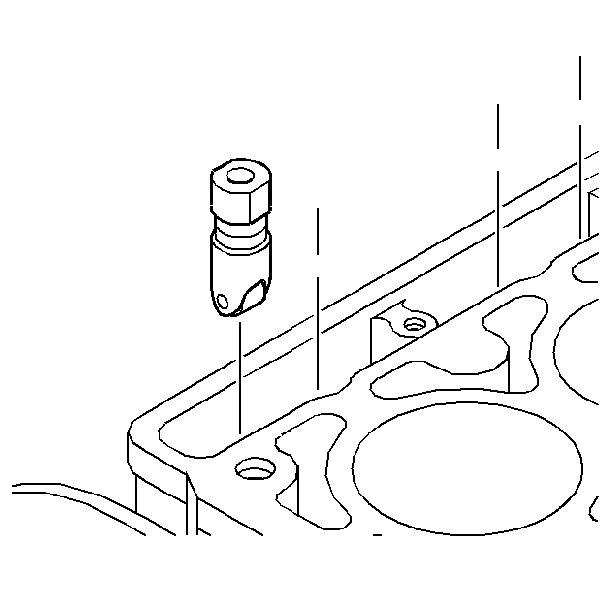
Important: Store the valve lifters in order so that they can be re-installed in the same order.
Refer to Valve Lifter Replacement
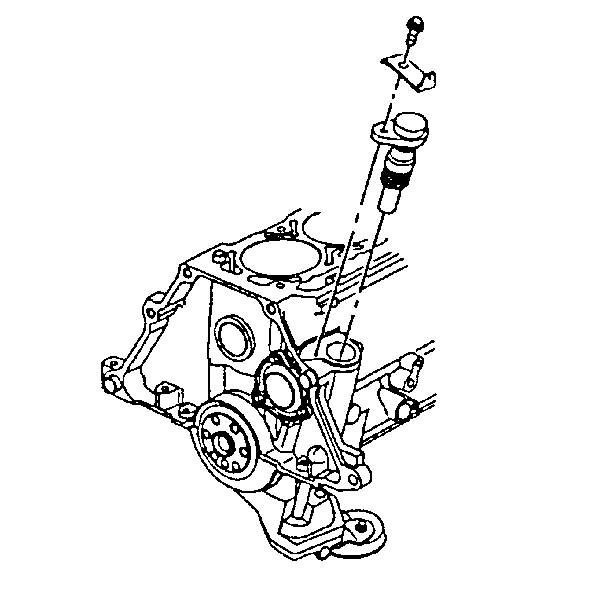
Refer to Oil Pump Drive Replacement .
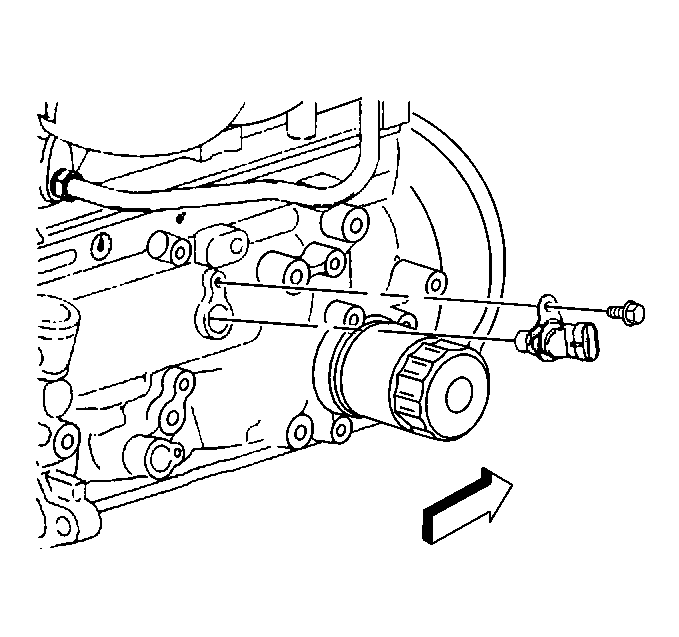
Refer to Camshaft Position Sensor Replacement .
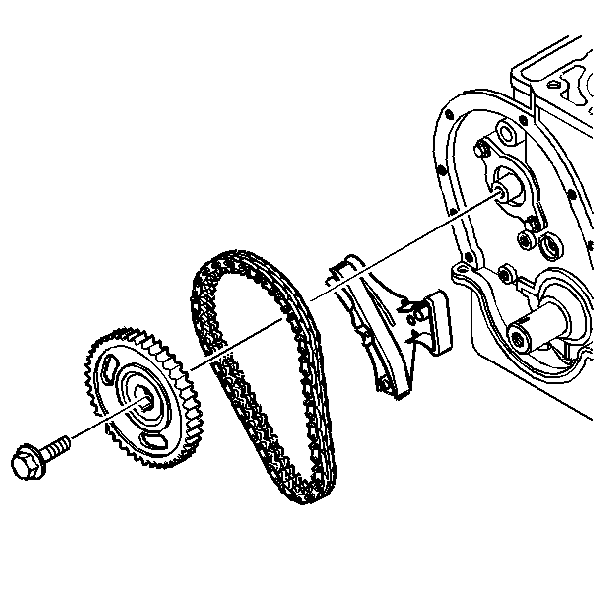
Refer to Timing Chain and Sprocket Replacement .
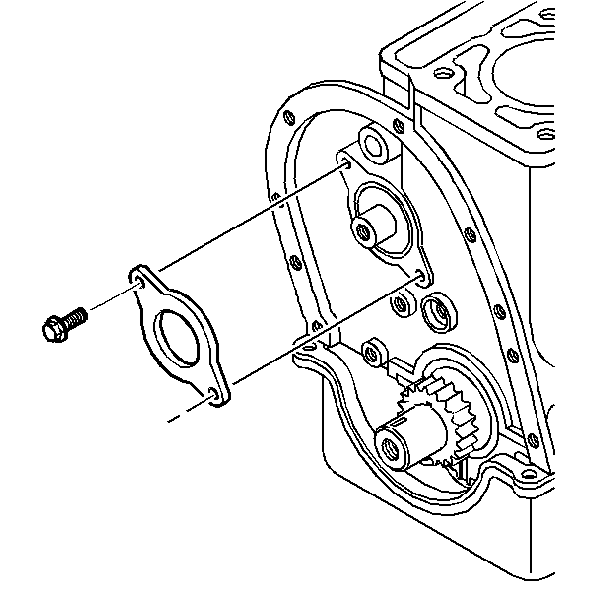
Important: When removing the camshaft, do not damage the camshaft bearings.
For the camshaft bearing removal procedure, refer to Camshaft Removal .Important: If a new camshaft is being installed, replace the valve lifters, and add new engine oil and a new oil filter.
Installation Procedure
- Install the camshaft.
- Install the camshaft retainer bolts.
- Install the camshaft position sensor.
- Install the camshaft sprocket.
- Install the crankshaft sprocket and timing chain.
- Install the oil pump drive gear.
- Install the engine front cover.
- Install the valve lifters.
- Install the cylinder head.
- Install the air conditioning condenser, if equipped.
- Install the radiator.
- Connect the battery negative cable.
Important: If you install a new camshaft, replace all of the valve lifters.
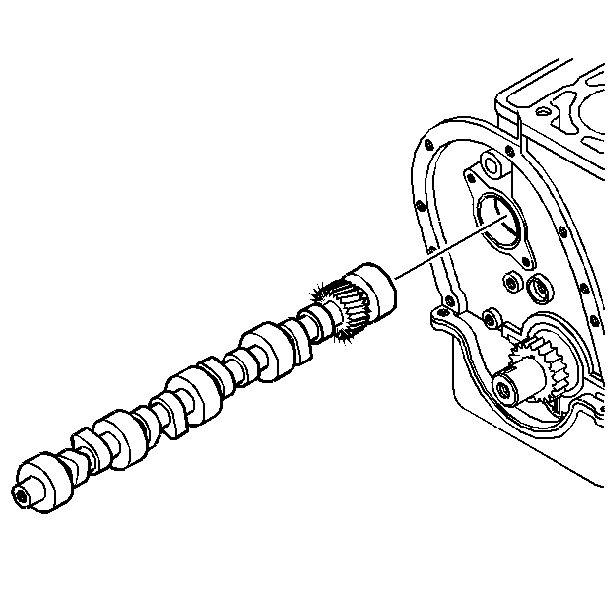
Refer to Camshaft Installation .
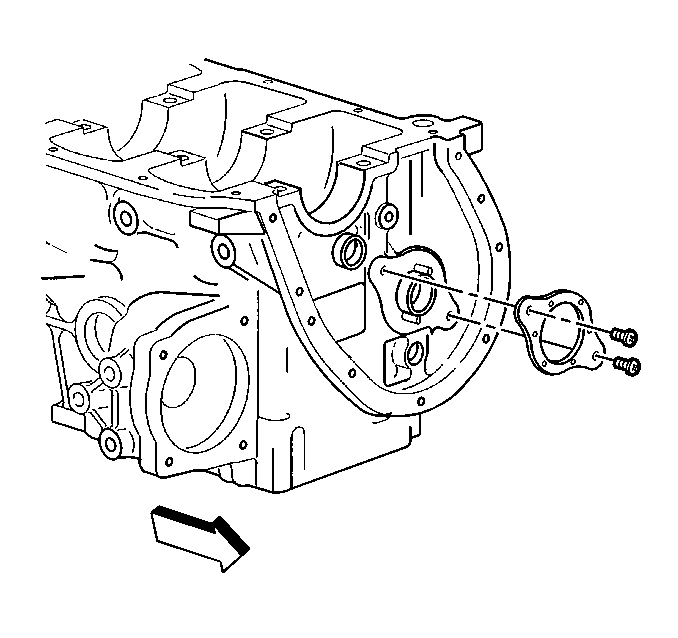
Refer to Camshaft Installation .

Refer to Camshaft Position Sensor Replacement .

Refer to Timing Chain and Sprocket Replacement .

Refer to Oil Pump Drive Replacement .

Refer to Engine Front Cover Replacement .
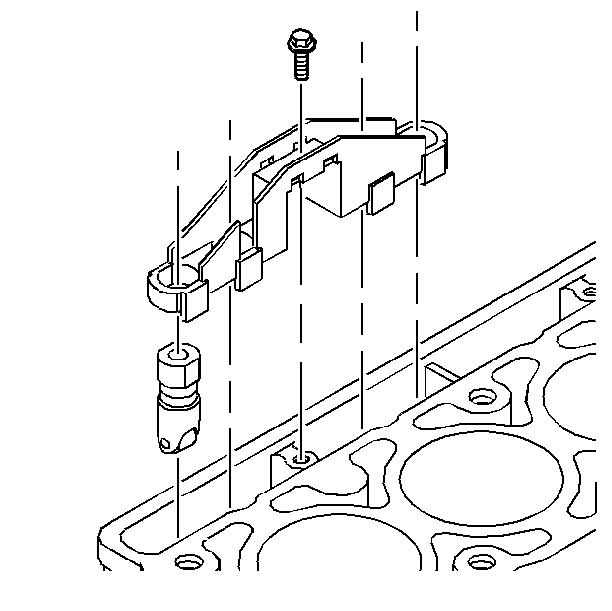
Refer to Valve Lifter Replacement .

Refer to Cylinder Head Replacement .

Refer to Condenser Replacement in HVAC.
Refer to Radiator Replacement .

