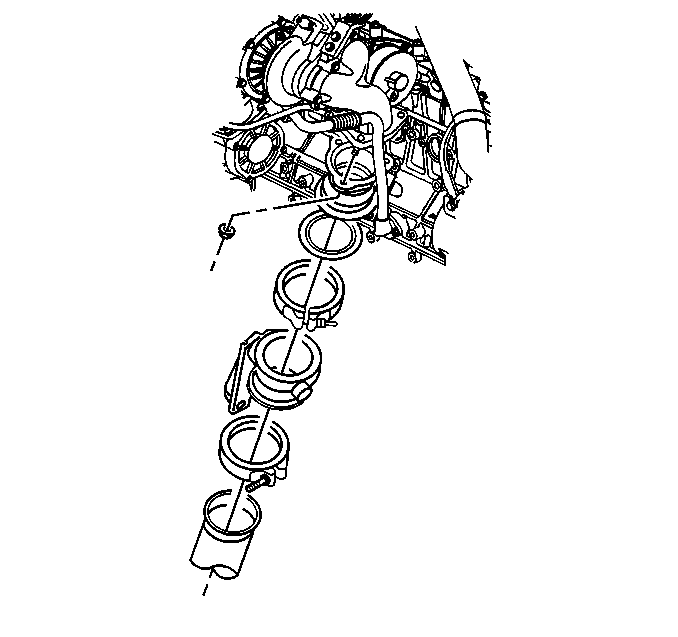
Engine Brake Actuator Control Valve Replacement Valve
Removal Procedure
Caution: Make sure actuator is not pressurized before performing any service
procedures. The actuator assembly, when pressurized, exerts sufficient
force to cause personal injury. Refer to Air Brakes to depressurize the system
before performing any service procedures.
- Inspect the exhaust brake for foreign objects that are trapped
between the following components:
| • | The lever and the stop peg |
| • | The actuator and the bracket |
- Inspect the following components for tightness:
| • | The two mounting bracket bolts |
- Inspect the following components for dirt:
| • | The actuator push rod end |
- Perform the following actions simultaneously:
| • | Hold the actuator rod across the flats. |
- Remove the inlet hose elbow.
- Remove the following components:
- Remove the actuator from the fixed pivot.
- Unthread the actuator rod from the ball joint in order to remove
the actuator rod.
- Inspect the condition of the actuator sleeve.
Replace the actuator sleeve, if necessary.
Installation Procedure
Notice: Use the correct fastener in the correct location. Replacement fasteners
must be the correct part number for that application. Fasteners requiring
replacement or fasteners requiring the use of thread locking compound or sealant
are identified in the service procedure. Do not use paints, lubricants, or
corrosion inhibitors on fasteners or fastener joint surfaces unless specified.
These coatings affect fastener torque and joint clamping force and may damage
the fastener. Use the correct tightening sequence and specifications when
installing fasteners in order to avoid damage to parts and systems.
- Thread the locknut
onto the actuator rod.
Tighten
Tighten the actuator rod locknut to 14 N·m (10 lb ft).
- Install the end of the actuator rod into the ball joint.
- Slide the actuator over the pivot pin.
- Install the washer and the circlip.
Ensure that the circlip is properly seated.
- Install the inlet hose elbow.
Tighten
Tighten the inlet hose elbow to 20 N·m (14 lb ft).
- Verify that the following conditions exist:
| • | The actuator rod is properly adjusted. |
| • | The butterfly valve lever contacts the stop peg when the butterfly
valve lever is in the fully open position. |
| • | The butterfly valve lever contacts the stop peg when the butterfly
valve lever is in the fully closed position. |
Engine Brake Actuator Control Valve Replacement Actuator Sleeve
Removal Procedure
- Remove the circlip and the washer.
- Slide the actuator off of the following components:
- Remove the actuator sleeve.
- Remove the washer.
Installation Procedure
- Install the washer over the pivot pin.
- Install a new actuator sleeve into the actuator.
- Slide the actuator and the sleeve onto the pivot pin.
- Install the washer and the circlip. Ensure that the washer is
properly seated.
