For 1990-2009 cars only
Removal Procedure
- Disconnect the negative battery cable.
- Remove the storage compartment. Refer to Instrument Panel Storage Compartment Replacement.
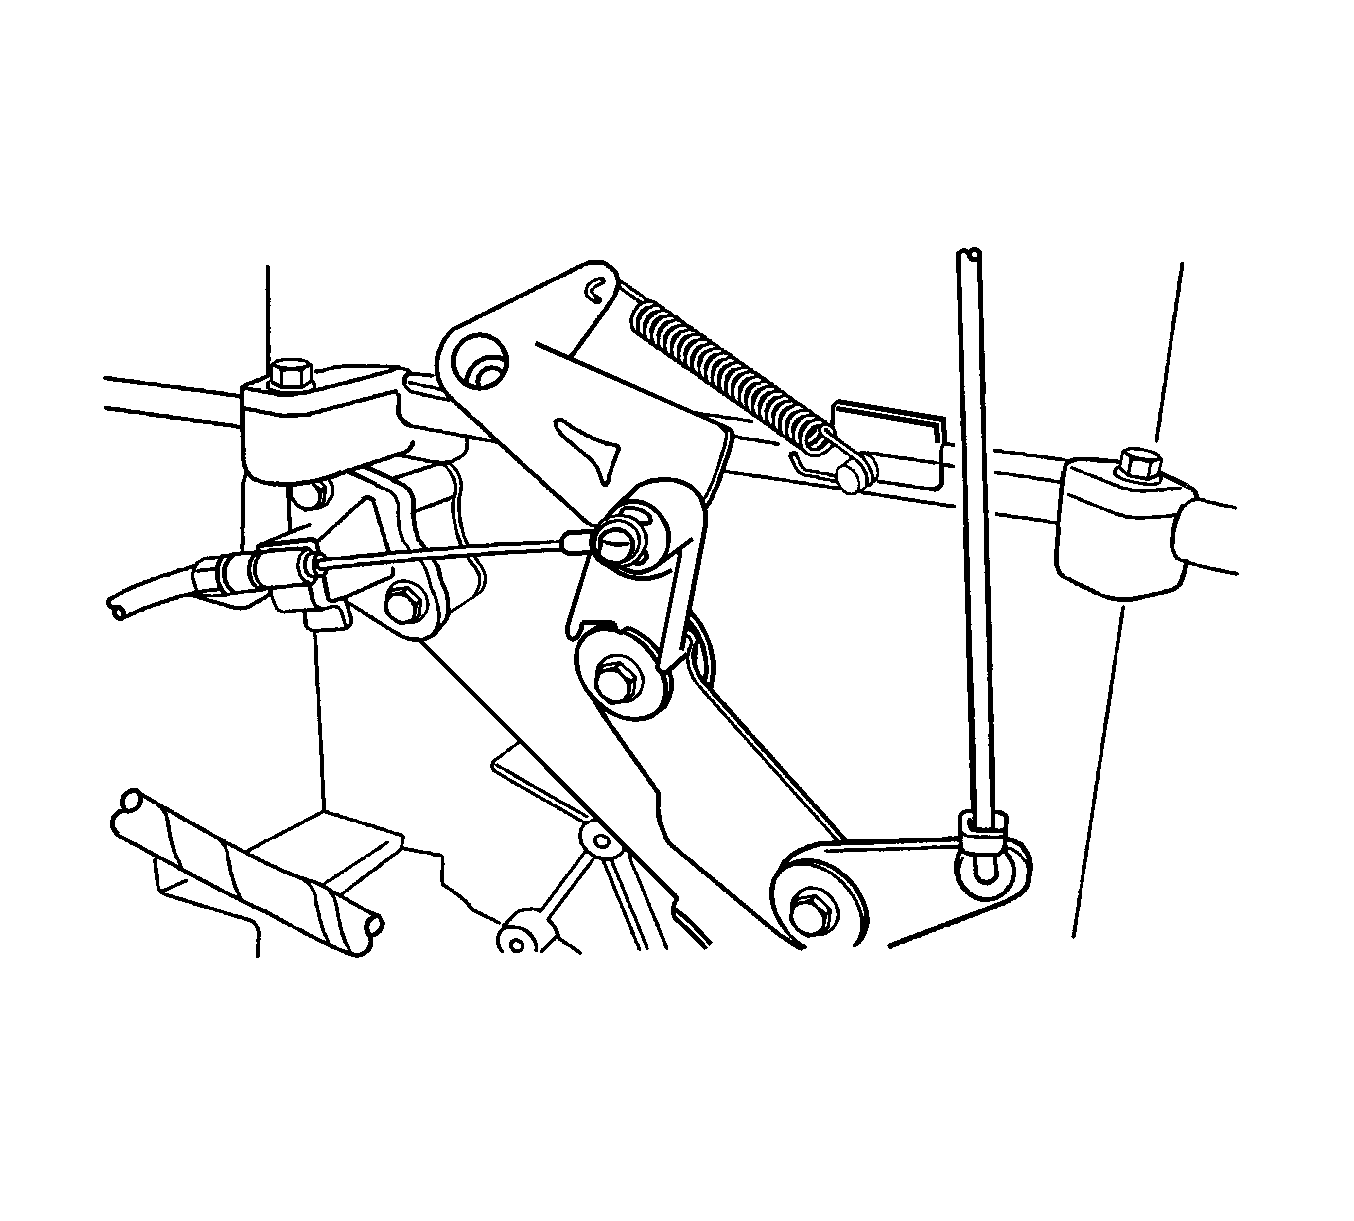
- Disconnect the cable retainer from the blower housing.
- Slide the cable eyelet off the post on the temperature door lever.
- Remove the audio system trim plate. Refer to Radio Replacement.
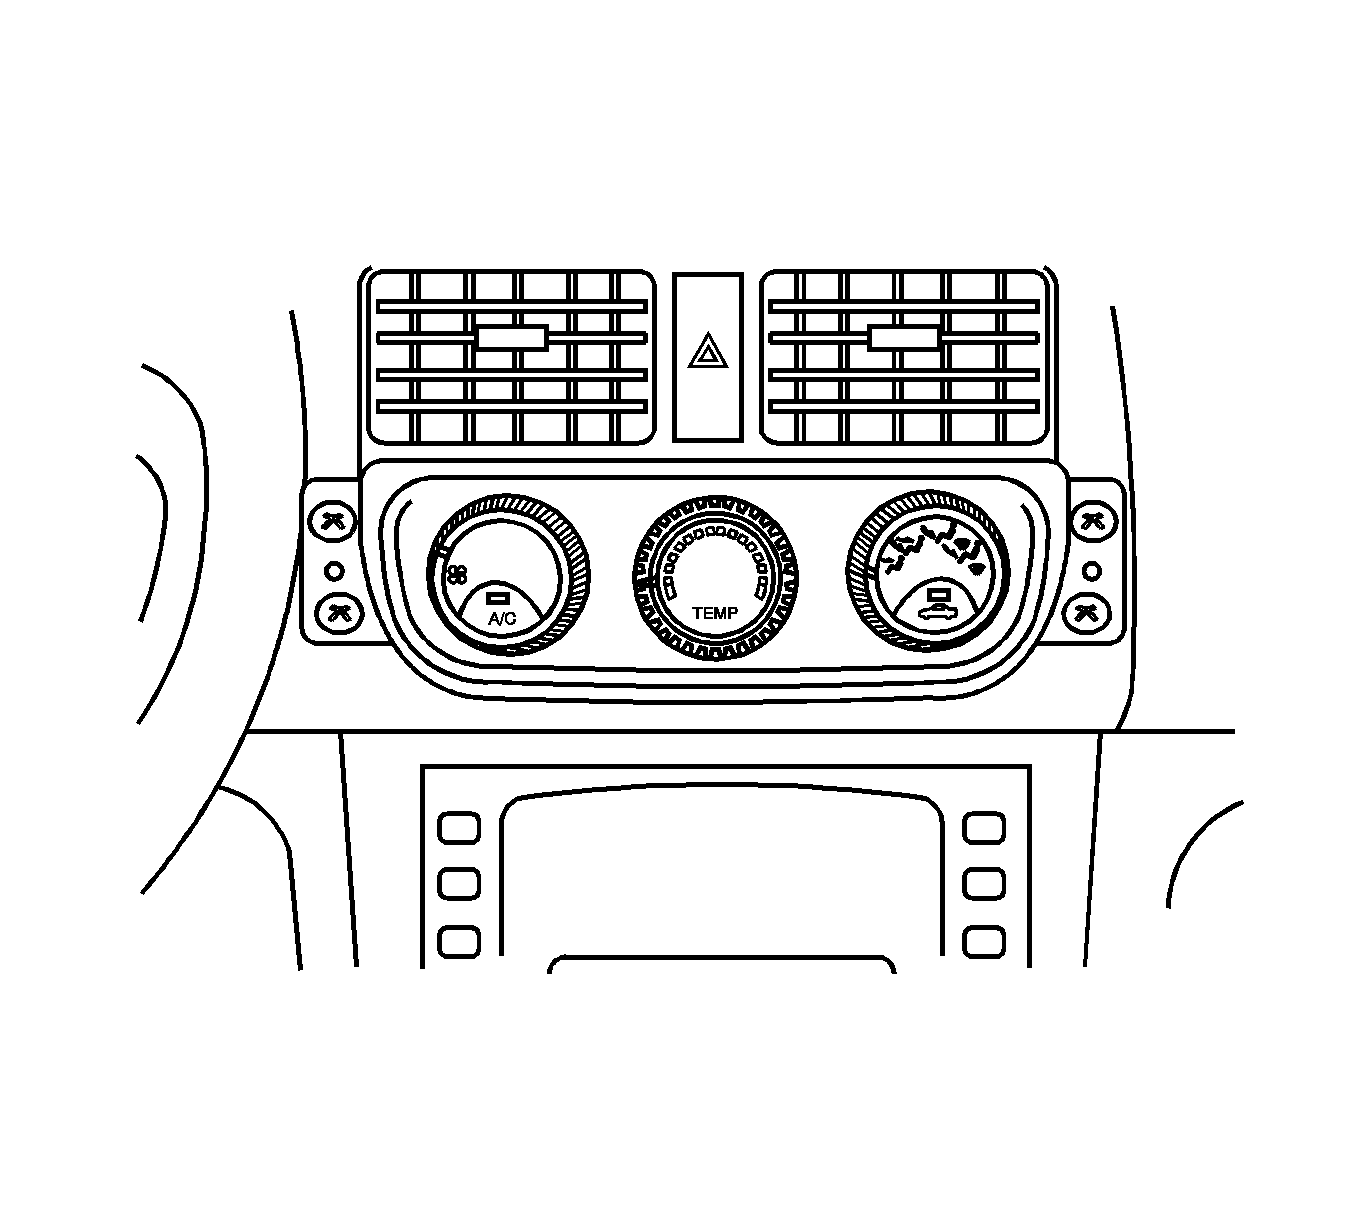
- Remove the 4 controller retaining screws.
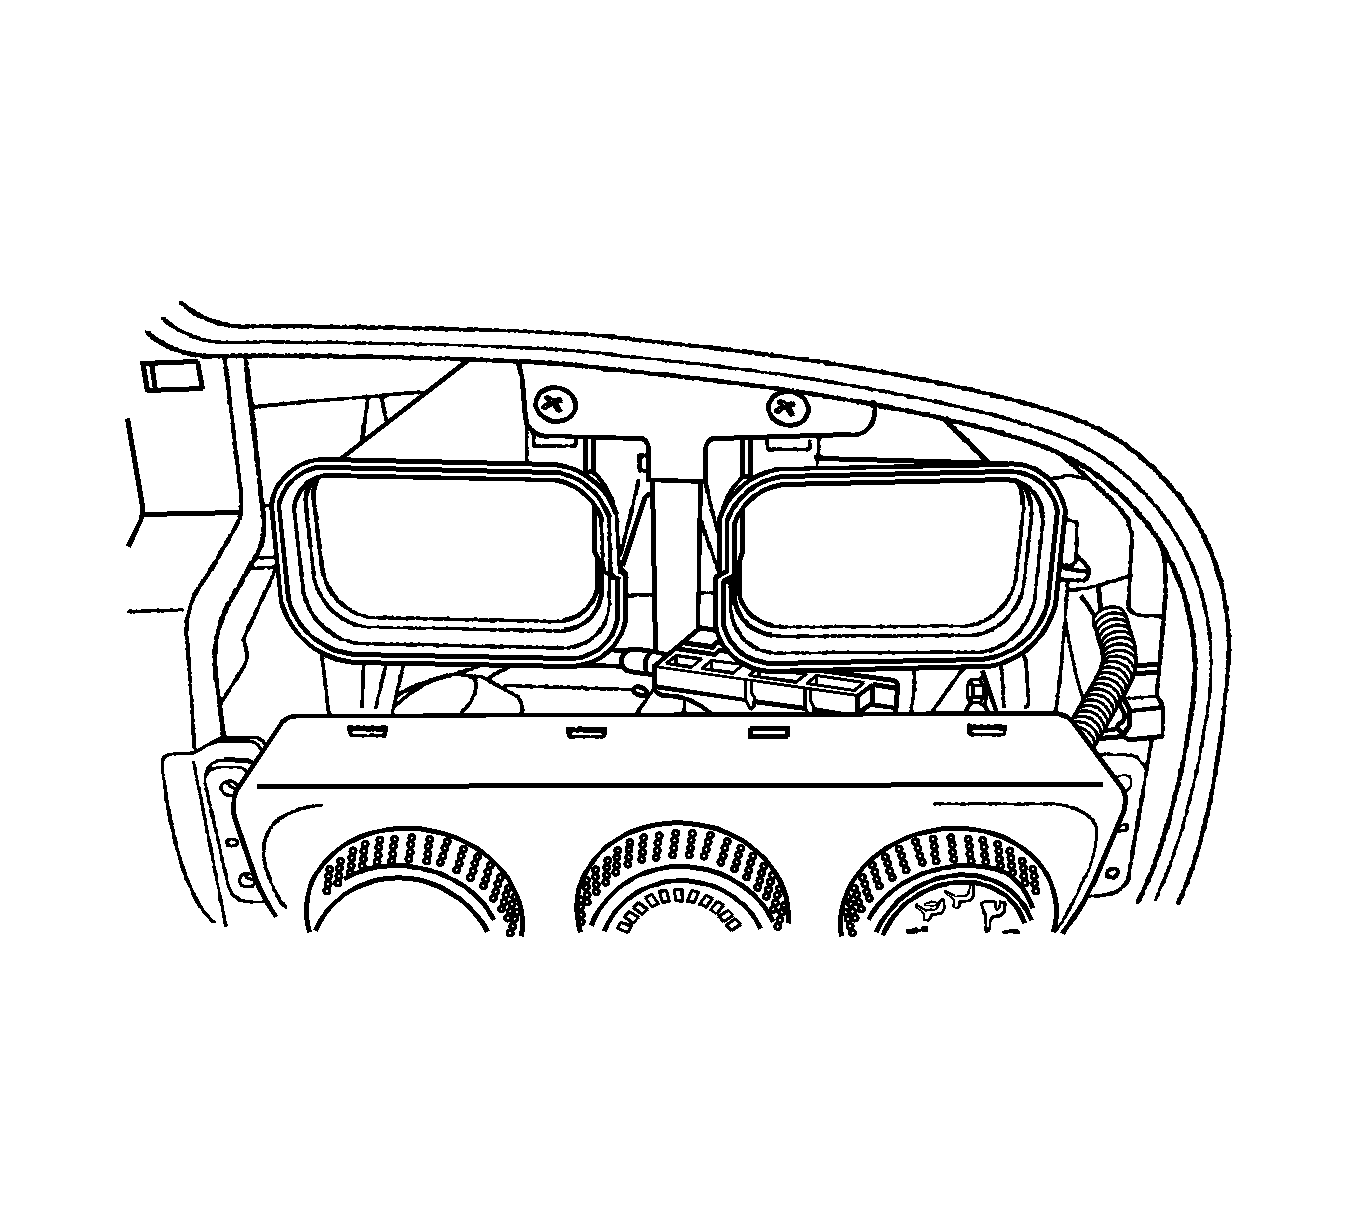
- Pull out the controller to provide clearance for removal of the temperature control cable.
- Disconnect the temperature control cable eyelet from the post on the controller.
- Snap the cable housing connector out of the slide position on the controller.
Warning: Refer to Battery Disconnect Warning in the Preface section.

Note: The heater/air distribution case linkage is non-adjustable. Use care when removing.

Installation Procedure
- Install the temperature control cable eyelet to the post on the controller.
- Snap the cable housing connector to the slide position on the controller.
- Gently insert the controller into position on the center console.
- Install the 4 controller retaining screws.
- Install the temperature control cable eyelet to the post on the temperature door lever.
- Snap the cable retainer to the blower housing.
- Move the temperature control to verify the smooth operation and function of the door and the cable.
- Install the audio system trim plate. Refer to Radio Replacement.
- Connect the negative battery cable.
- Operate the heating and cooling systems to verify proper function.
- Install the instrument panel storage compartment. Refer to Instrument Panel Storage Compartment Replacement.


Caution: Refer to Fastener Caution in the Preface section.
Tighten
Tighten the controller retaining screws to 4 N·m (35 lb in).

