For 1990-2009 cars only
Special Tools
KM-507-C Ball Joint Remover
Removal Procedure
- Disconnect the negative battery cable. Refer to Battery Negative Cable Disconnection and Connection.
- Raise and support the vehicle. Refer to Lifting and Jacking the Vehicle.
- Lock the steering column in the straight-ahead position.
- Remove the front tire and wheel assemblies. Refer to Tire and Wheel Removal and Installation.
- Place a drain pan under the steering gear in order to catch the power steering fluid.
- Loosen the fitting and remove the pressure pipe from the power steering gear fluid inlet.
- Loosen the fitting and remove the return pipe from the power steering gear fluid outlet.
- Ensure the steering gear is in the straight-ahead position.
- Scribe a mark on the stub shaft housing that lines up with a mark on the intermediate shaft lower coupling.
- Remove the intermediate shaft pinch bolt.
- Remove the outer tie rod nuts and disconnect the tie rod ends from the knuckle using the KM-507-C .
- Disconnect the speed sensitive power steering (SSPS) solenoid valve connector, if equipped.
- Lower the crossmember assembly enough in order to access of the rack and pinion assembly. Refer to Front Suspension Crossmember Replacement.
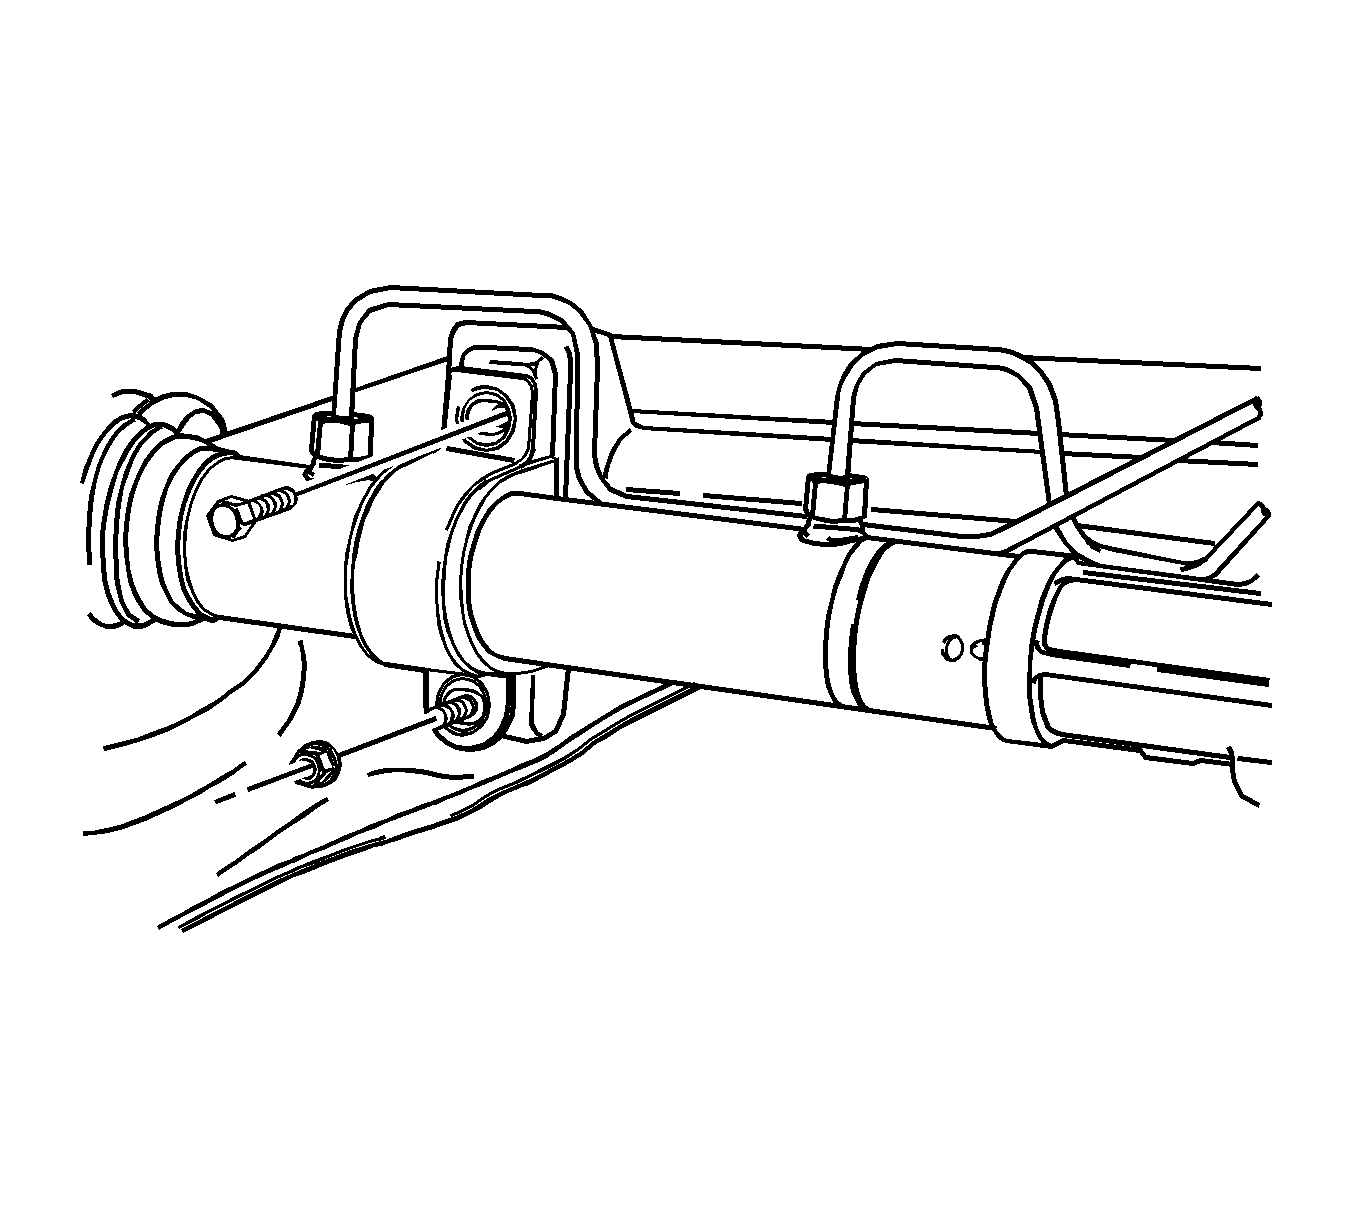
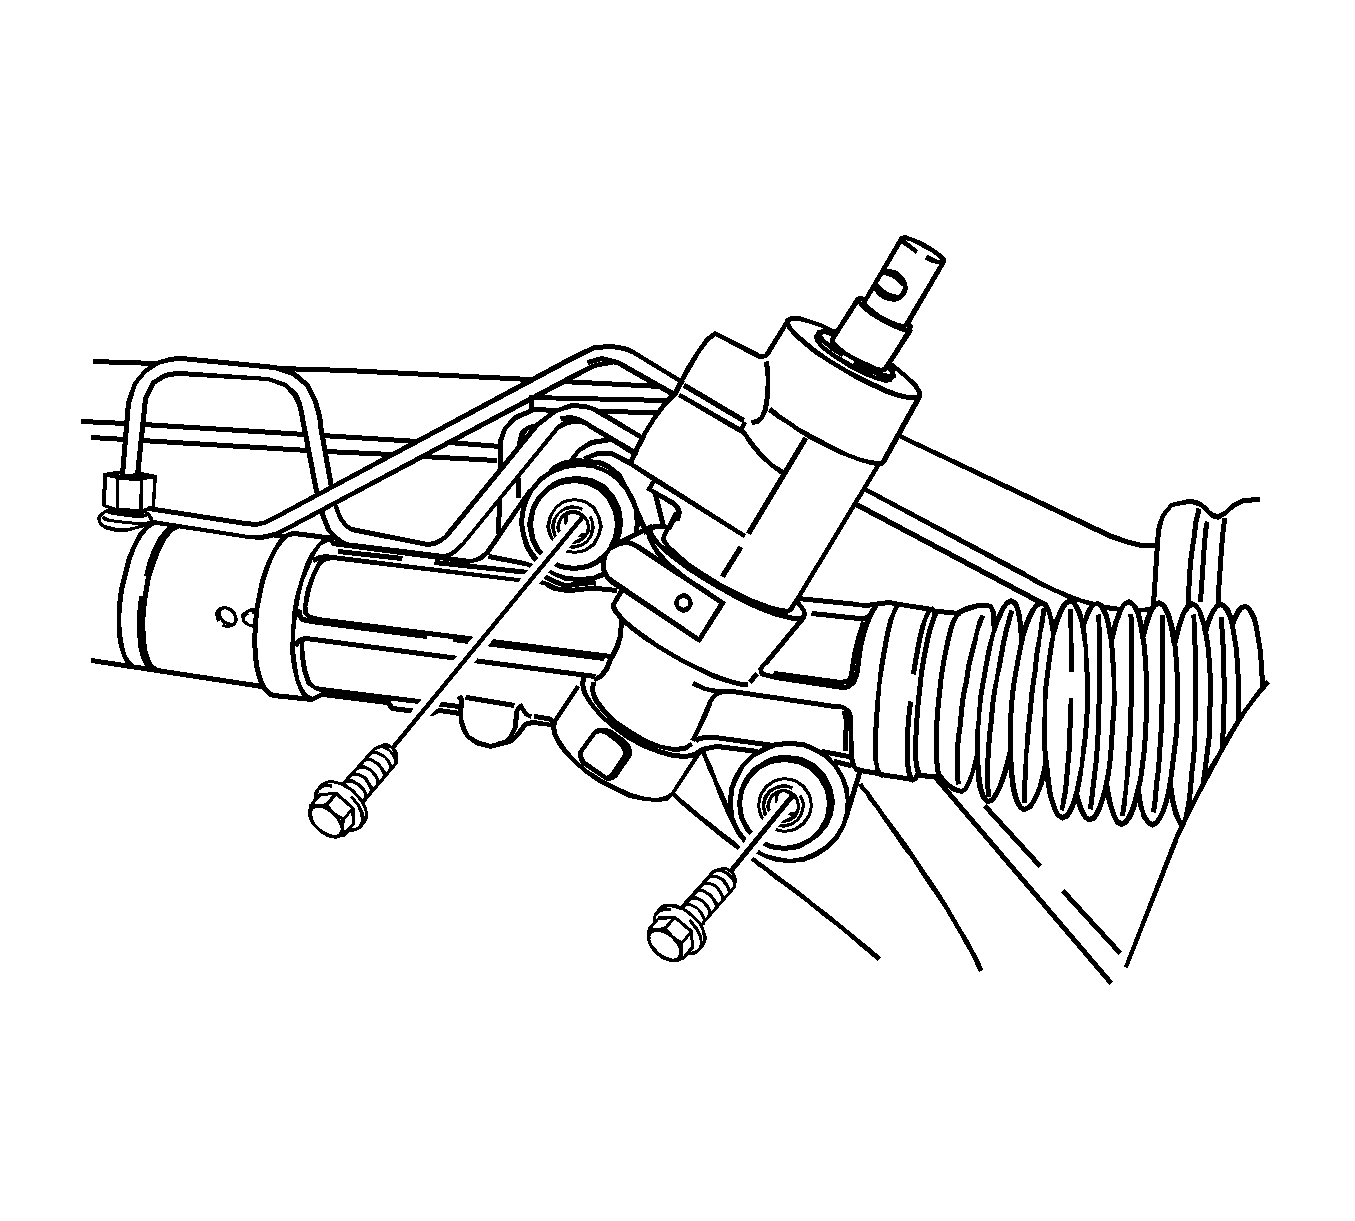
- Remove the nuts and the bolts from the mounting brackets on the right-hand side of the steering gear.
- Remove the bolts from the left-hand side of the steering gear.
- Remove the steering gear from the crossmember assembly.
Note: The left-hand drive model is shown. The right-hand drive model is similar.
Caution: Refer to Steering Column in Lock Position Caution in the Preface section.
Caution: Refer to Power Steering Hose Disconnected Caution in the Preface section.
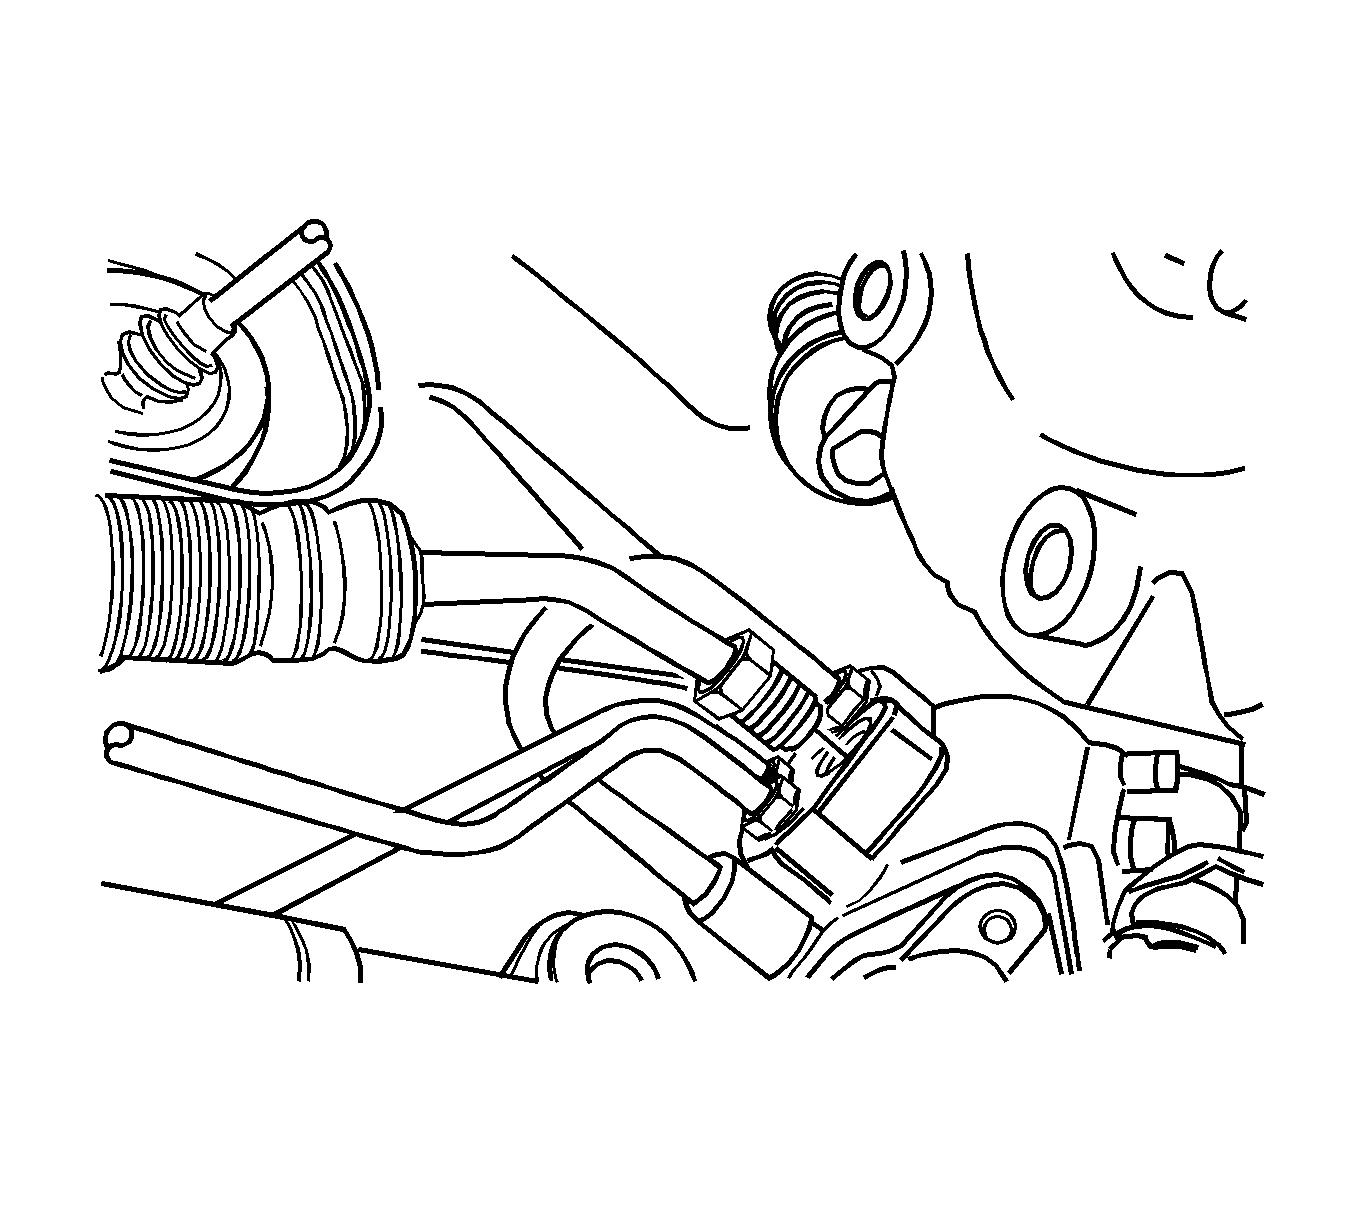
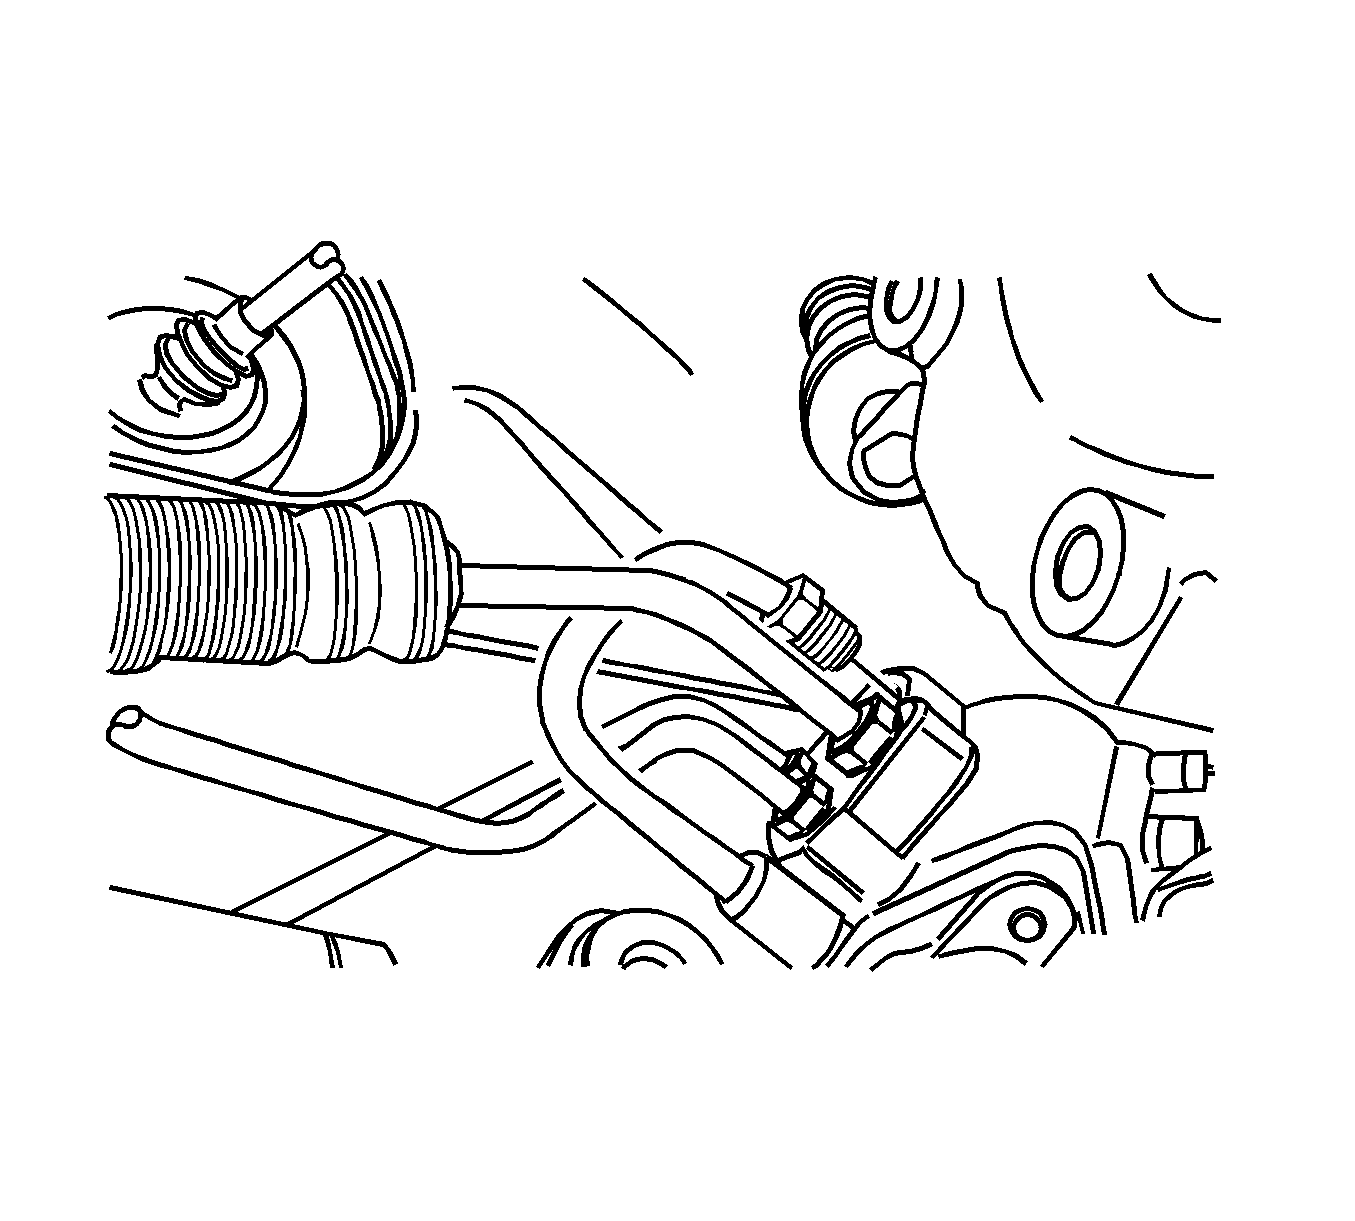
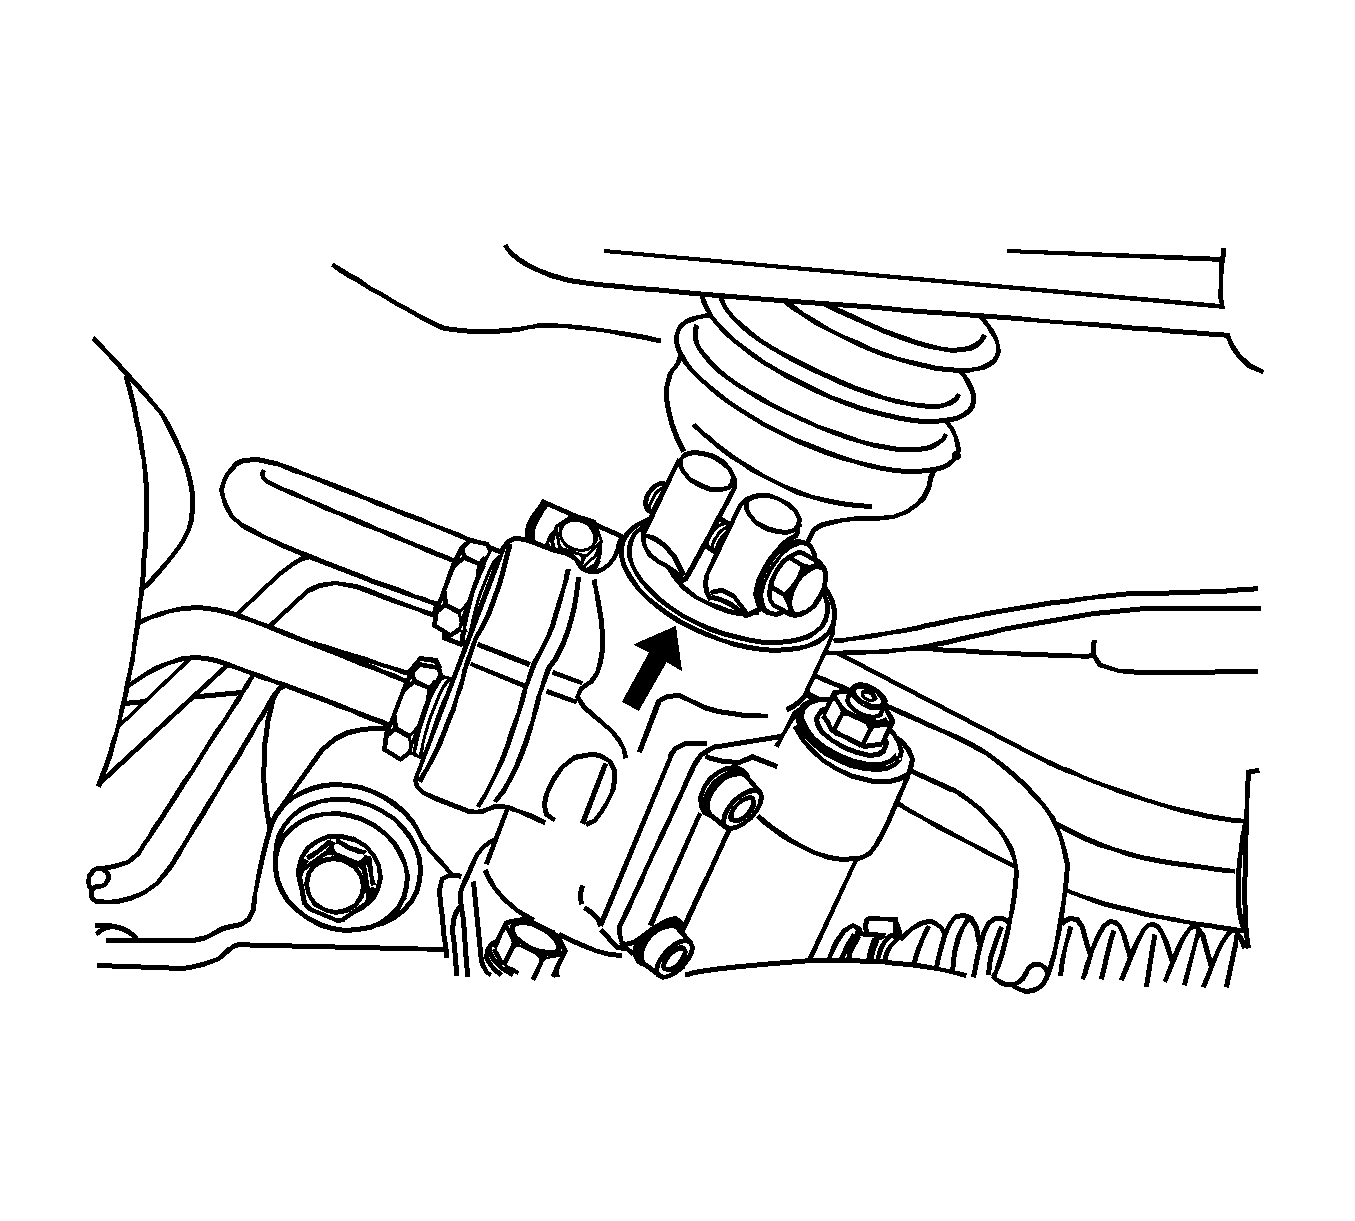
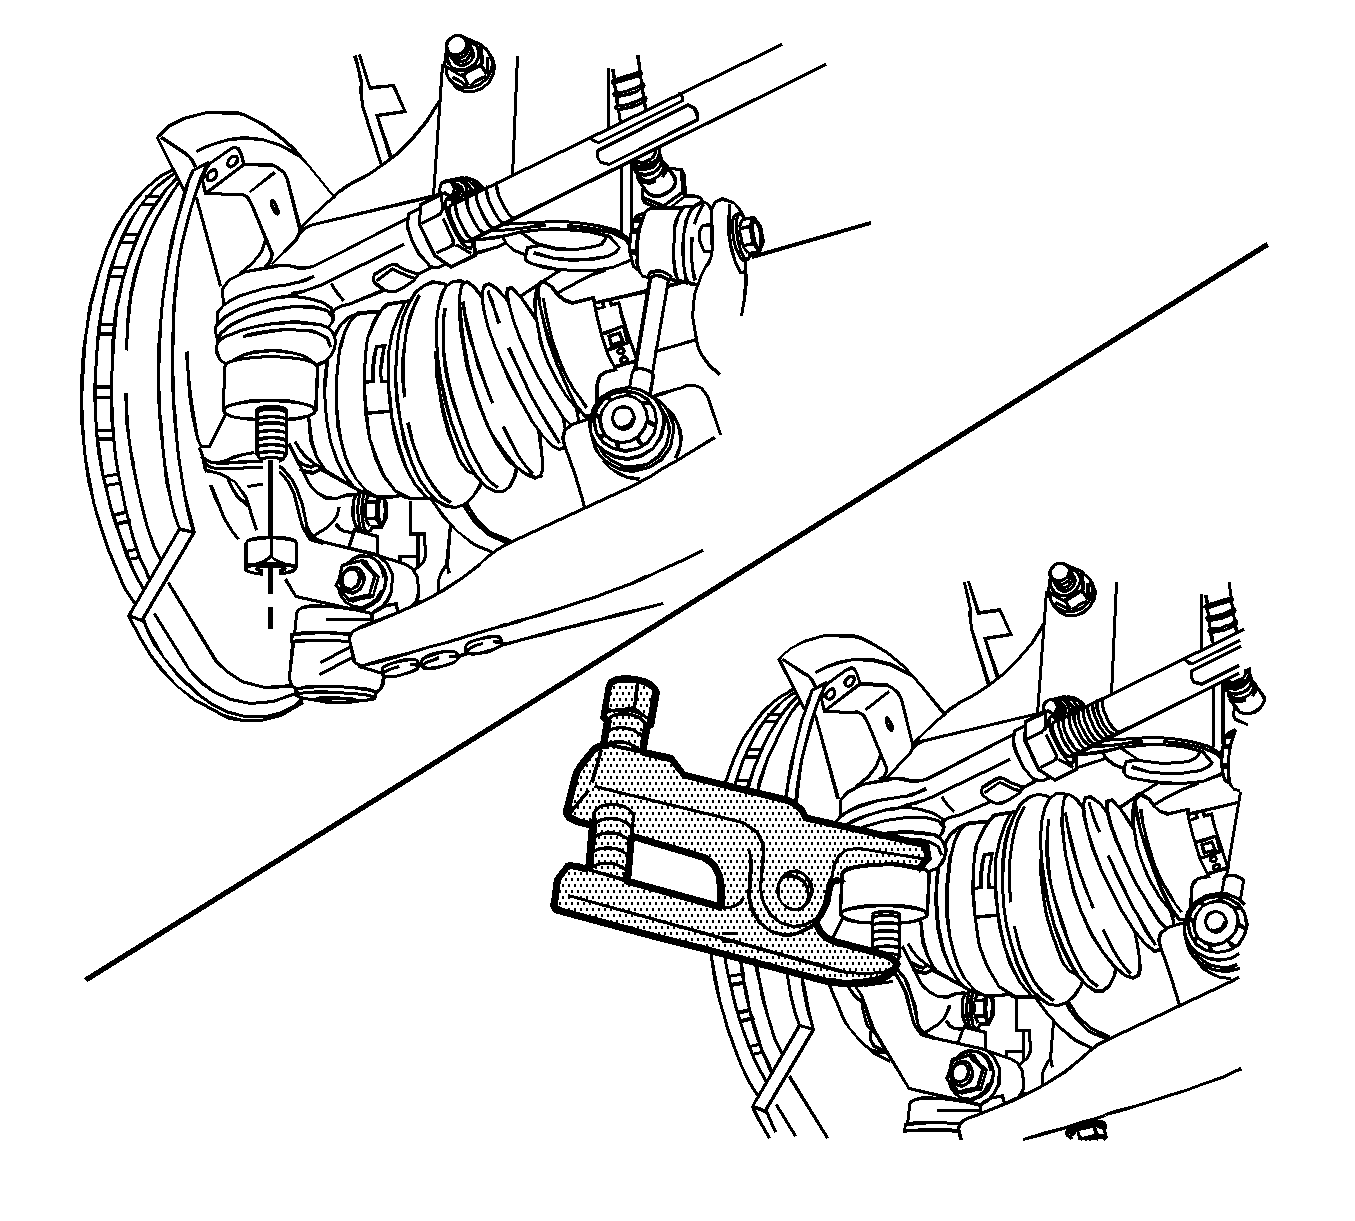
Warning: Failure to support crossmember can cause crossmember to drop to the ground when crossmember mounting bolts are removed.
Installation Procedure
- Verify the steering gear and the steering wheel are in the straight-ahead position.
- Install the steering gear to the crossmember assembly.
- Install the bolts to the left-hand side of the steering gear and tighten to 60 N·m (44 lb ft).
- Install the nuts and the bolts to the mounting brackets on the right-hand side of the steering gear and tighten to 60 N·m (44 lb ft).
- Install the crossmember assembly. Refer to Front Suspension Crossmember Replacement.
- Connect the SSPS solenoid valve connector, if equipped.
- Align the marks on the shafts in order to ensure proper positioning. Seat the stub shaft into the intermediate shaft.
- Install the lower intermediate shaft pinch bolt and tighten to 25 N·m (18 lb ft).
- Connect the pressure pipe to the power steering gear fluid inlet and tighten to 28 N·m (21 lb ft).
- Connect the return pipe to the power steering gear fluid outlet and tighten to 28 N·m (21 lb ft).
- Install the front tire and wheel assemblies. Refer to Tire and Wheel Removal and Installation.
- Lower the vehicle.
- Refill the power steering system and check for leaks. If the leaks are found, correct the cause of the leak and bleed the system. Refer to Power Steering System Bleeding.
- Connect the negative battery cable. Refer to Battery Negative Cable Disconnection and Connection.
- Inspect the vehicle. Refer to Preliminary Alignment Inspection and to Straight Ahead Inspection.
- Measure the wheel alignment.
- If necessary, adjust the front toe. Refer to Front Toe Adjustment.
Caution: Refer to Fastener Caution in the Preface section.


Caution: Refer to Installing Hoses without Twists or Bends Caution in the Preface section.


Caution: Refer to Using Proper Power Steering Fluid Caution in the Preface section.
Caution: Refer to Air in the Power Steering System Caution in the Preface section.
