For 1990-2009 cars only
Removal Procedure
- Disconnect the negative battery cable.
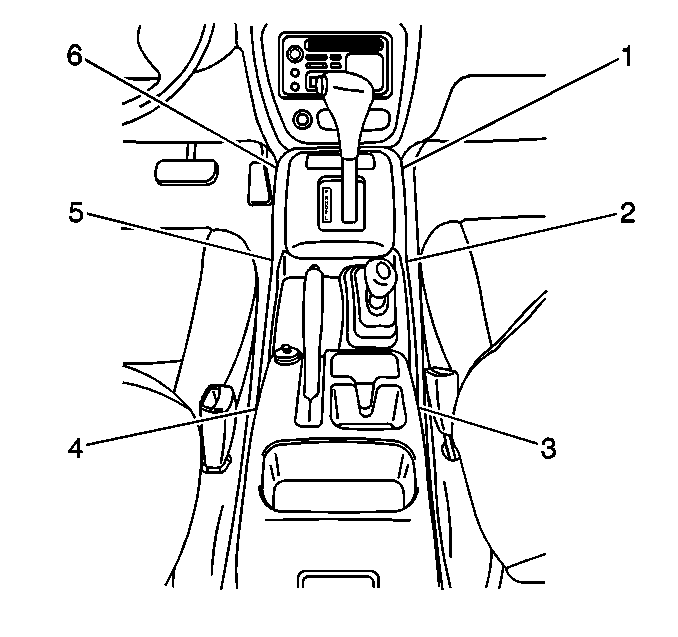
- Remove the rear console screws (3,4). While lifting the console, disconnect the rear electrical connectors.
- Remove the center console screws (1,6) and the clips (2,5).
- Remove the center front console while disconnecting the electrical connector.
- Remove the transfer case boot cover screws.
- Remove the transfer case boot cover and the #2 boot.
- Remove the transfer case shift boot clamp, the #1 boot, and the transfer case assembly.
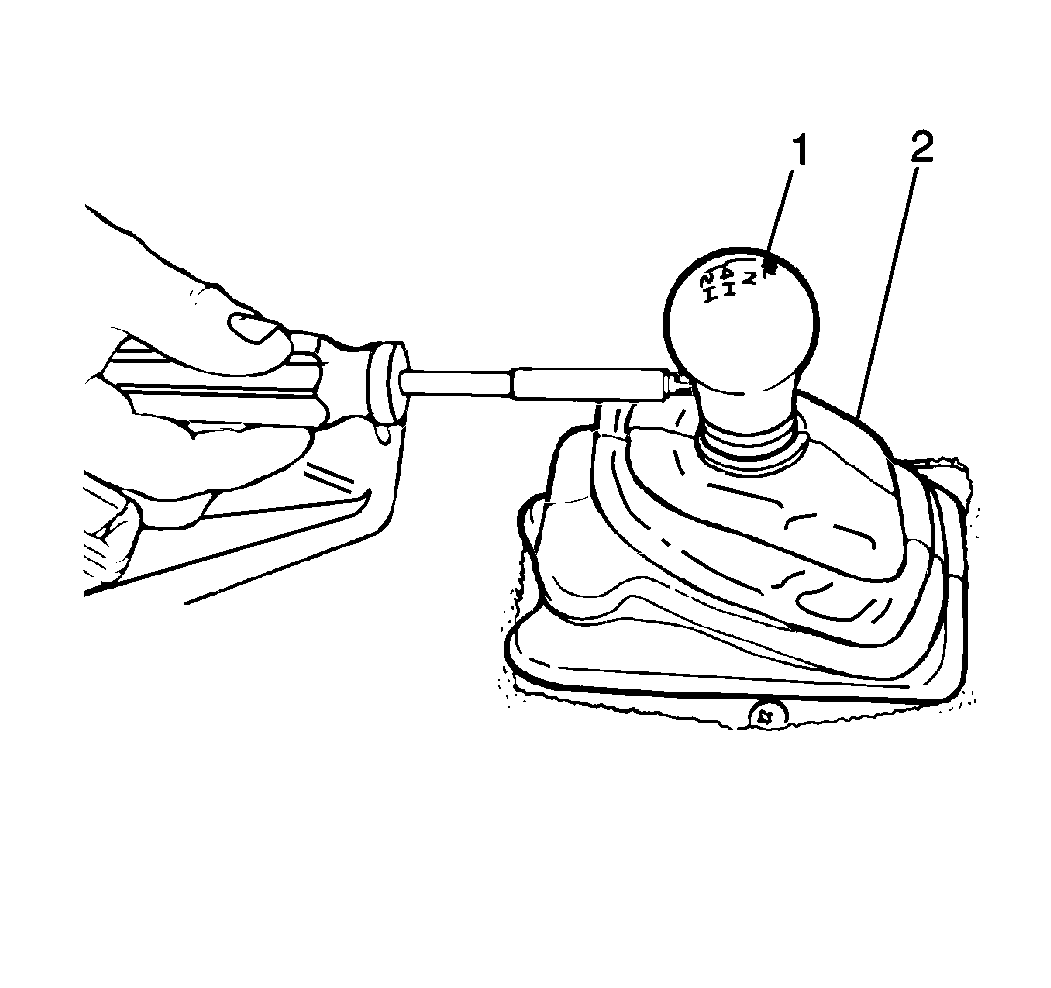
- Remove the one screw and the gear shift control lever knob from the gear shift control lever.
- Remove the throttle body cover screws and cover.
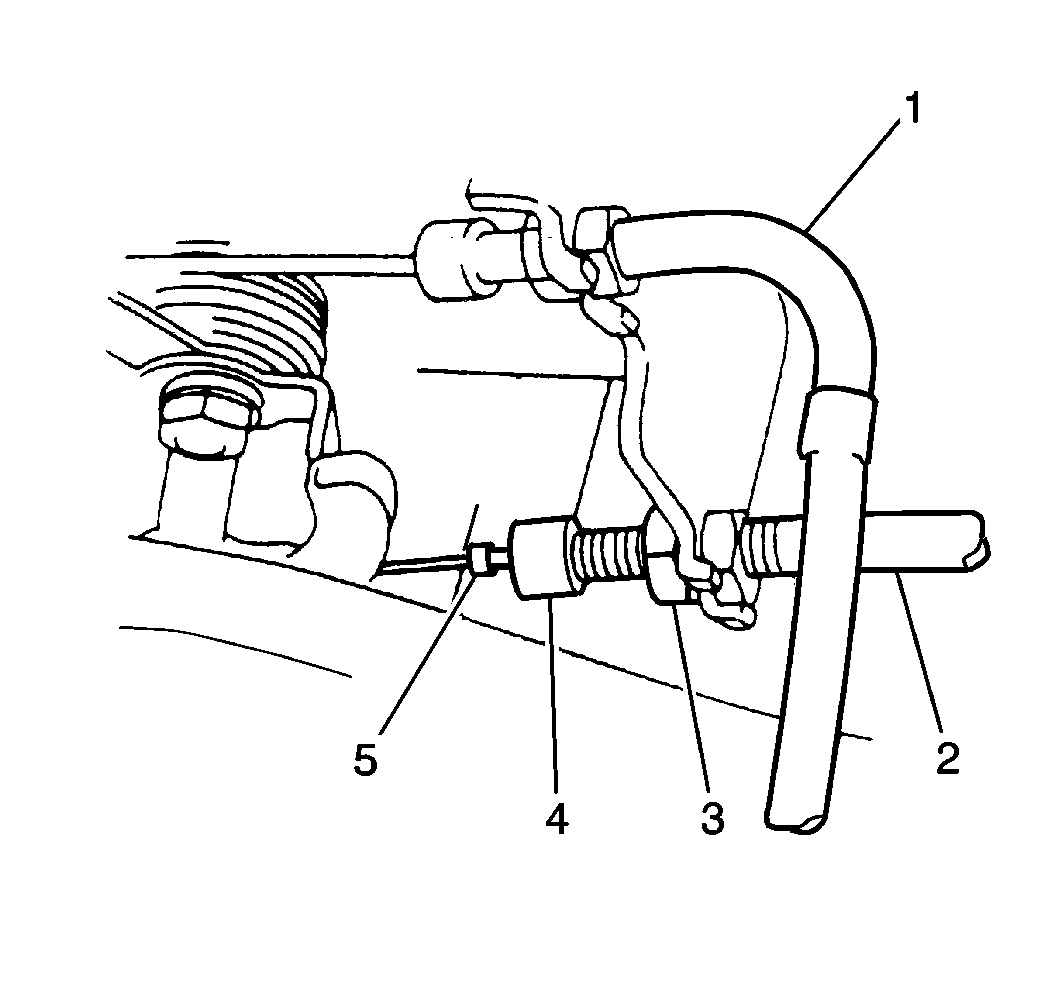
- Remove the TV cable (2) from the throttle body linkage and unroute the cable from the upper part of the engine.
- Remove the fluid indicator.
- Remove the upper starter bolt and the starter nut.
- Set aside the ground wire.
- Raise and properly support the vehicle. Refer to Lifting and Jacking the Vehicle in General Information.
- Drain the transfer case.
- Place a reference mark on the front propeller shaft pinion flange (1) (If 4WD equipped).
- Remove the front propeller shaft bolts, the nuts, and the propeller shaft.
- Place a reference mark on the rear propeller shaft pinion flange (1).
- Remove the rear propeller shaft bolts, the nuts, and the rear propeller shaft.
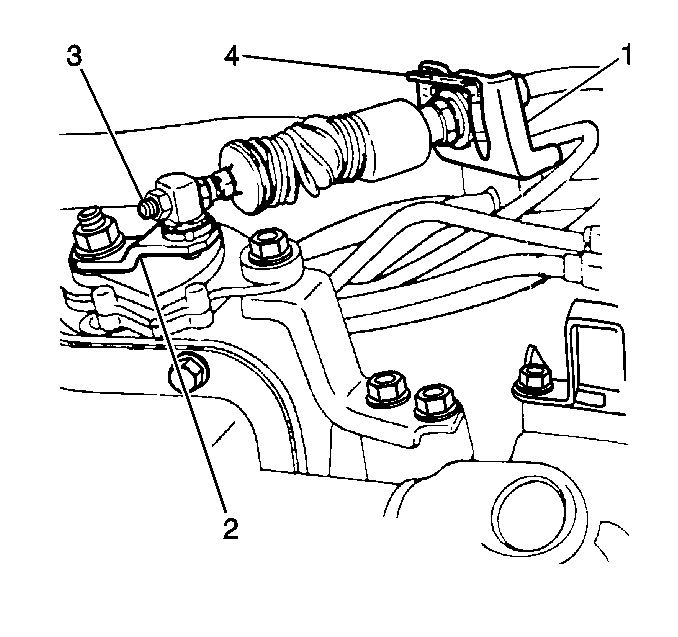
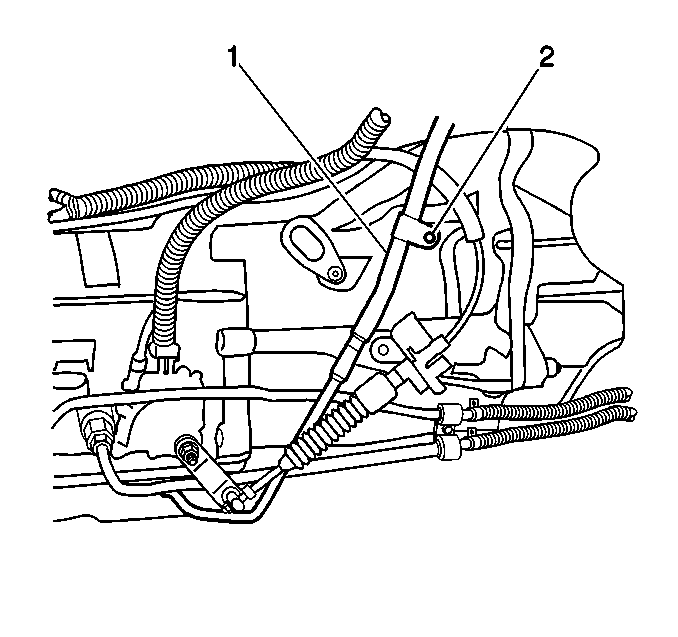
- Remove the shift cable retainer (4) and the cable (3) from the cable bracket (1).
- Remove the shift cable from the manual lever (2).
- Remove the shift cable bracket bolts and the bracket from the transmission.
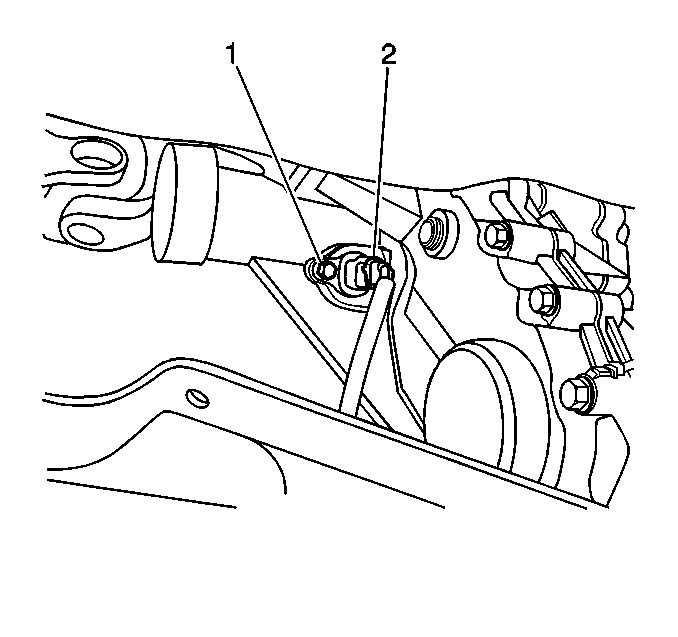
- Remove the fluid indicator tube bolt (2).
- Remove the fluid indicator tube and the O-ring seal.
- Remove the exhaust hanger and the O2 sensor harness from the crossmember.
- Disconnect the starter electrical connections.
- Remove the lower starter bolt and the starter.
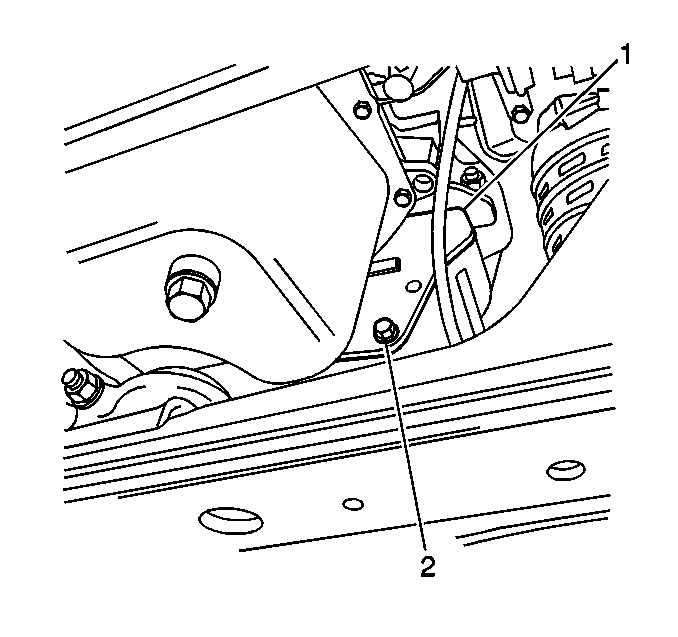
- Remove the bolts (2) which secure the left side transmission to the engine brace. Remove the brace (1).
- Remove the flywheel inspection cover bolts (2) and the cover (1).
- Remove the torque converter bolts.
- Remove the lower bell housing bolts.
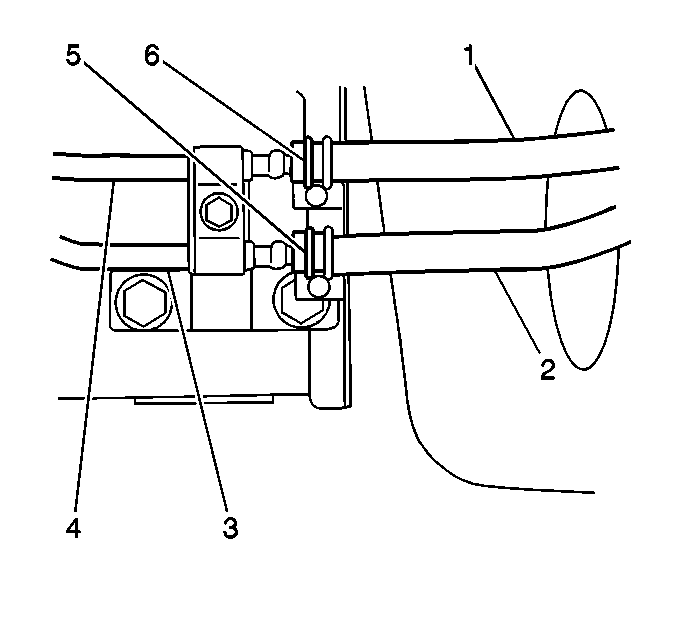
- Remove the cooler hoses (1,2) and the clamps (5,6) from the transmission pipes (3,4).
- Remove the transfer case skid plate bolts (1,4) and the skid plate (2) (If 4WD equipped).
- Remove the speedometer cable bolt (1), the bracket, and the cable (2) from the transfer case (If 4WD equipped).
- Remove the ground wire bolt and the wire from the transfer case mount.
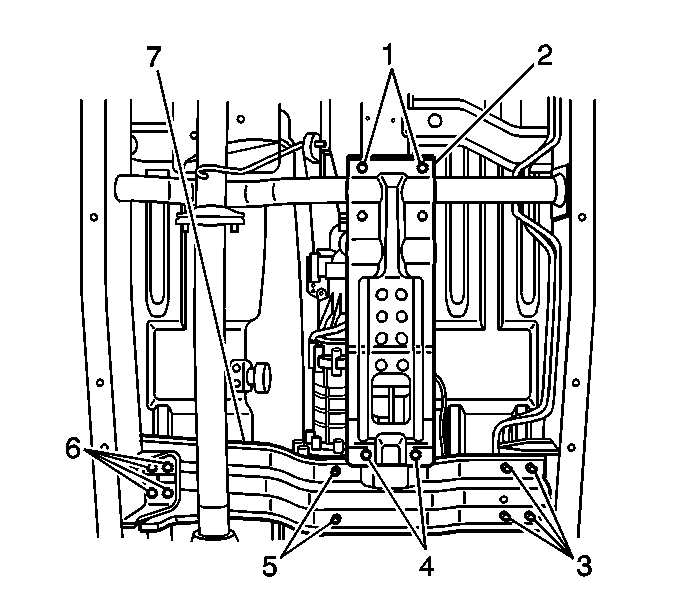
- Remove the crossmember bolts (3,5,6) and the crossmember (7).
- Disconnect the transmission and transfer case electrical connectors.
- Disconnect the vent tubes.
- Remove the transmission wire harness, the retainer bolt, and the retainer.
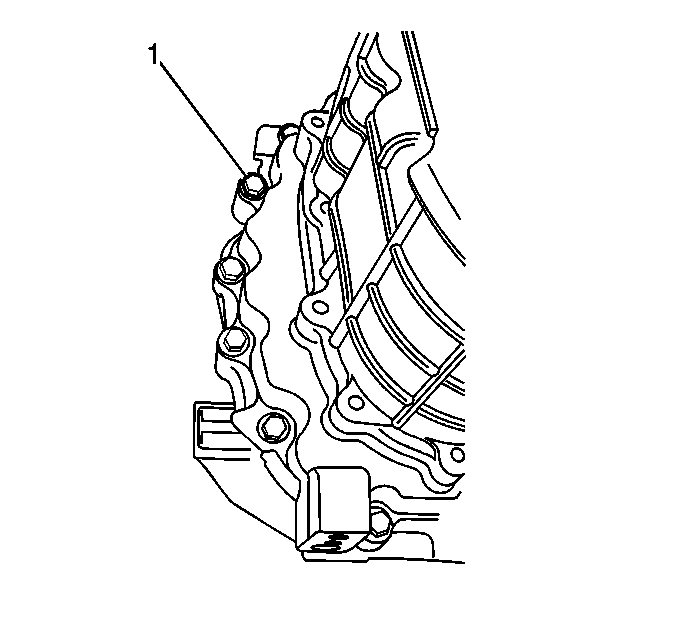
- With the aide of an assistant, remove the transfer case bolts (1) and the transfer case (If 4WD equipped).
- Remove the upper bell housing bolts.
- Remove the transmission.
- Remove the 2 bell housing studs.
- Remove the PNP switch bolt and remove the PNP switch.
- Remove the rear mount bolts and remove the rear mount.
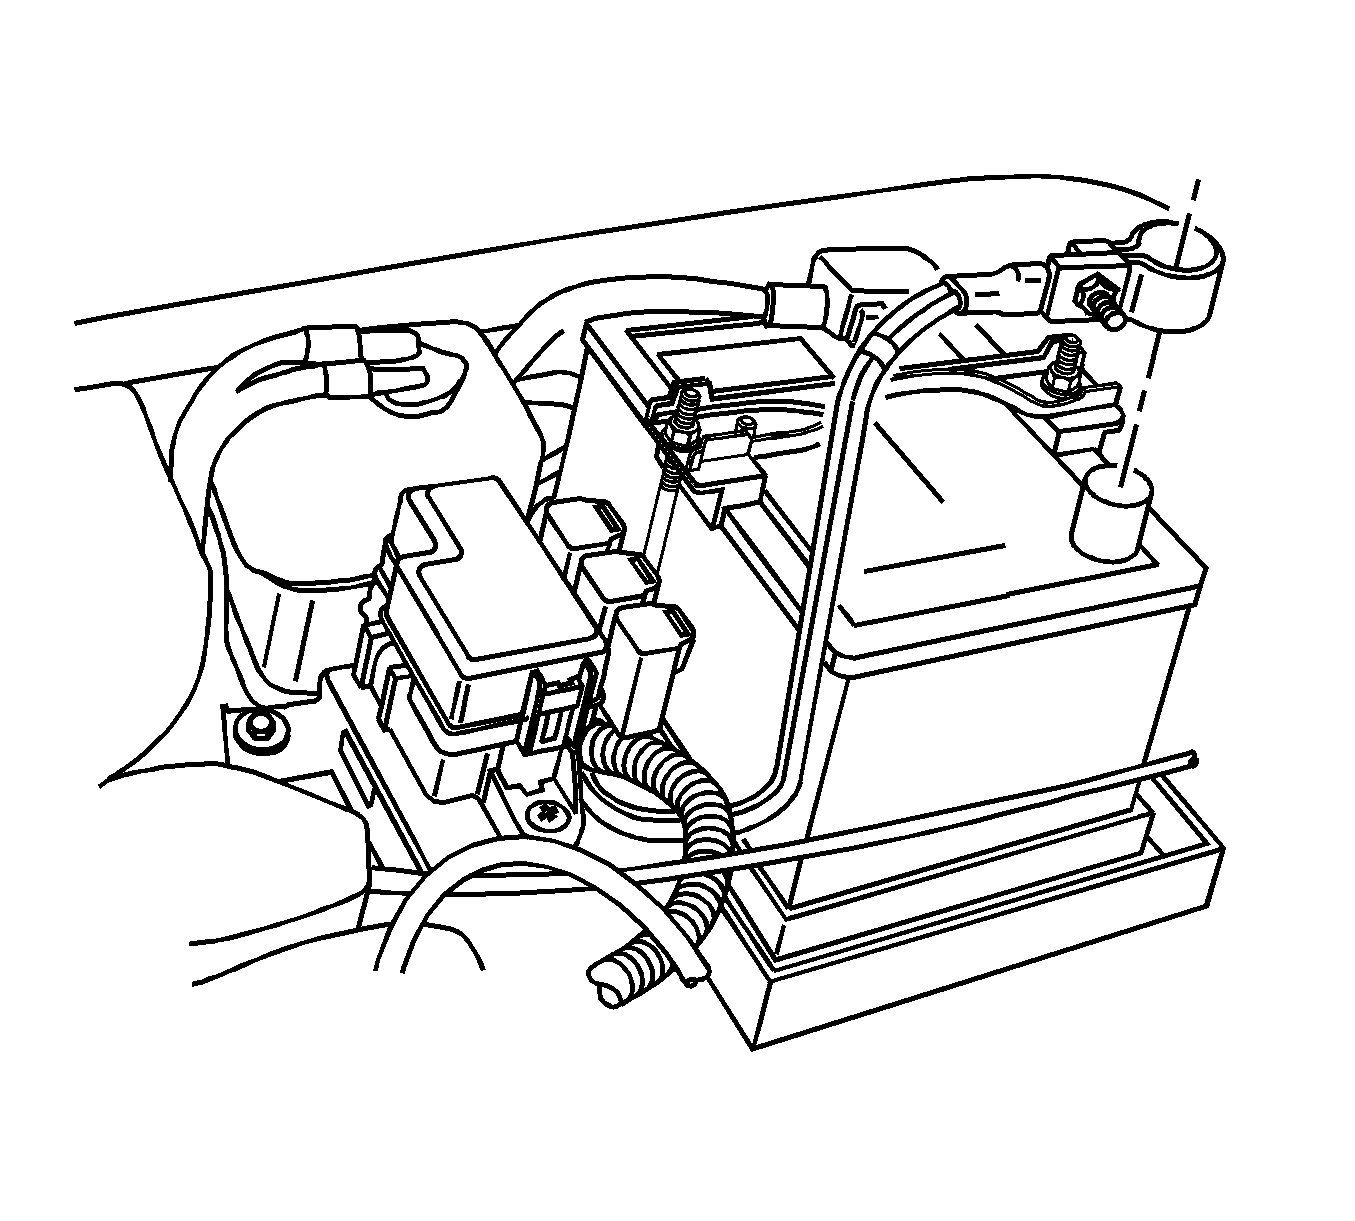
Caution: Unless directed otherwise, the ignition and start switch must be in the OFF or LOCK position, and all electrical loads must be OFF before servicing any electrical component. Disconnect the negative battery cable to prevent an electrical spark should a tool or equipment come in contact with an exposed electrical terminal. Failure to follow these precautions may result in personal injury and/or damage to the vehicle or its components.
