Tools Required
| • | J 36850 Transjel™ |
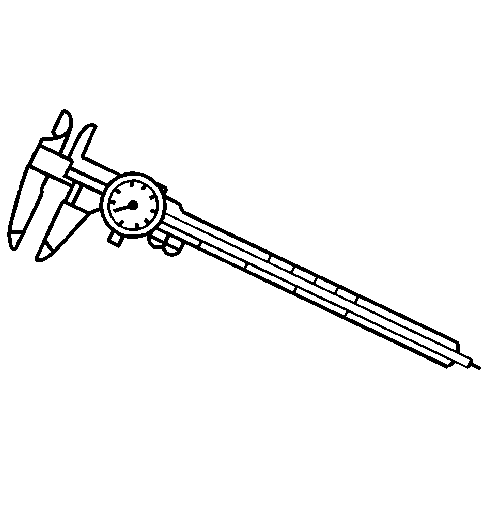
| • | J 26900-6 Dial Caliper |
Disassembly Procedure
- Remove the vibrating stopper (3) from the upper valve body (5).
- Remove the throttle valve assembly by removing the following components:
- Remove the throttle modulator valve assembly from the upper valve body (1) by removing the following components:
- Remove the accumulator control valve assembly from the upper valve body by removing the following components:
- Remove the low coast modulator valve assembly from the upper valve body by removing the following components:
- Remove the throttle valve assembly from the upper valve body (1) by removing the following components:
- Remove the 2nd coast modulator valve assembly from the upper valve body by removing the following components:
- Remove the cut-back valve assembly from the upper valve body (1) by removing the following components:
- Remove the lock-up relay valve assembly from the upper valve body by removing the following components:
- Clean all components thoroughly with solvent. Dry the components.
- Inspect all valves for cracks, scoring, or other damage. Replace as necessary.
- Inspect all valve springs for damage or distortion. Replace as necessary.
- Inspect the upper valve body bores for scoring or cracks. Replace as necessary.
- Measure the free length and the outer coil diameter of all of the upper valve body valve springs using J 26900-6 . Replace any spring whose length does not meet the specification. Refer to Control Valve Upper Body Spring Specifications .

Notice: When disassembling the valve body halves, keep all valve springs, spring seats and plugs within their respective valves. Most valve springs are of different sizes and CANNOT be interchanged. Verify that all parts are clean and dry before assembly.
| • | The throttle valve cam assembly (4) |
| Important: Count the number of adjusting rings prior to removal because the number of adjusting rings determines the throttle pressure. You must install the same number of rings that you removed in order to ensure proper transaxle shift points. Some valve bodies do not require adjusting rings. |
| • | The adjusting rings (2) |
| • | The throttle valve spring (1) |

| • | One key |
| • | The throttle modulator valve plug (8) |
| • | The throttle modulator valve (9) |
| • | The throttle modulator valve spring (10) |
| • | One key |
| • | The accumulator control valve plug (5) |
| • | The accumulator control valve spring (6) |
| • | The accumulator control valve (7) |
| • | One pin |
| • | The low coast modulator valve plug (4) |
| • | The low coast modulator valve spring (3) |
| • | The low coast modulator valve (2) |

| • | One pin |
| • | The throttle valve sleeve (4) |
| • | The downshift plug (5) |
| • | The downshift plug spring (6) |
| • | The throttle valve (7) |
| • | One key |
| • | The 2nd coast modulator valve spring (3) |
| • | The 2nd coast modulator valve (2) |

| • | One key |
| • | The cut-back valve plug (7) |
| • | The cut-back valve (8) |
| • | One key |
| • | The lock-up relay valve plug (6) |
| • | The lock-up relay valve (5) |
| • | The lock-up relay valve spring (4) |
| • | The control valve (3) |
| • | The lock-up relay valve sleeve (2) |
Assembly Procedure
- Install the following components of the lock-up relay valve assembly onto the upper valve body (1):
- Install the following components of the cut-back valve assembly onto the upper valve body:
- Install the following components of the 2nd coast modulator valve assembly onto the upper valve body (1):
- Install the following components of the throttle valve assembly onto the upper valve body:
- Install the following components of the low coast modulator valve assembly onto the upper valve body (1):
- Install the following components of the accumulator control valve assembly onto the upper valve body:
- Install the following components of the throttle modulator valve assembly onto the upper valve body:
- Install the following components of the throttle valve assembly onto the upper valve body (5):
- Install the vibrating stopper (3) onto the upper valve body. Secure with one bolt.
- Verify the locations of the throttle valve retainers (1).
- Install the check ball (2).
Important: Use J 36850 or equivalent in order to retain the installed components.
| • | The lock-up relay valve sleeve (2) |
| • | The control valve (3) |
| • | The lock-up relay valve spring (4) |
| • | The lock-up relay valve (5) |
| • | The lock-up relay valve plug (6) |
| • | One key |
| • | The cut-back valve (8) |
| • | The cut-back valve plug (7) |
| • | One key |
| • | The 2nd coast modulator valve (2) |
| • | The 2nd coast modulator valve spring (3) |
| • | One key |
| • | The throttle valve (7) |
| • | The downshift plug spring (6) |
| • | The downshift plug (5) |
| • | The throttle valve sleeve (4) |
| • | One pin |
| • | The low coast modulator valve (2) |
| • | The low coast modulator valve spring (3) |
| • | The low coast modulator valve plug (4) |
| • | One pin |
| • | The accumulator control valve (7) |
| • | The accumulator control valve spring (6) |
| • | The accumulator control valve plug (5) |
| • | One key |
| • | The throttle modulator valve spring (10) |
| • | The throttle modulator valve (9) |
| • | The throttle modulator valve plug (8) |
| • | One key |
| • | The throttle valve spring (1) |
| Important: Count the number of adjusting rings prior to removal because the number of adjusting rings determines the throttle pressure. You must install the same number of rings that you removed in order to ensure proper transaxle shift points. Some valve bodies do not require adjusting rings. |
| • | The adjusting rings (2) |
| • | The throttle valve cam assembly (4) |
Notice: Use the correct fastener in the correct location. Replacement fasteners must be the correct part number for that application. Fasteners requiring replacement or fasteners requiring the use of thread locking compound or sealant are identified in the service procedure. Do not use paints, lubricants, or corrosion inhibitors on fasteners or fastener joint surfaces unless specified. These coatings affect fastener torque and joint clamping force and may damage the fastener. Use the correct tightening sequence and specifications when installing fasteners in order to avoid damage to parts and systems.
Tighten
Tighten the cam bolt to 10 N·m (89 lb in).

