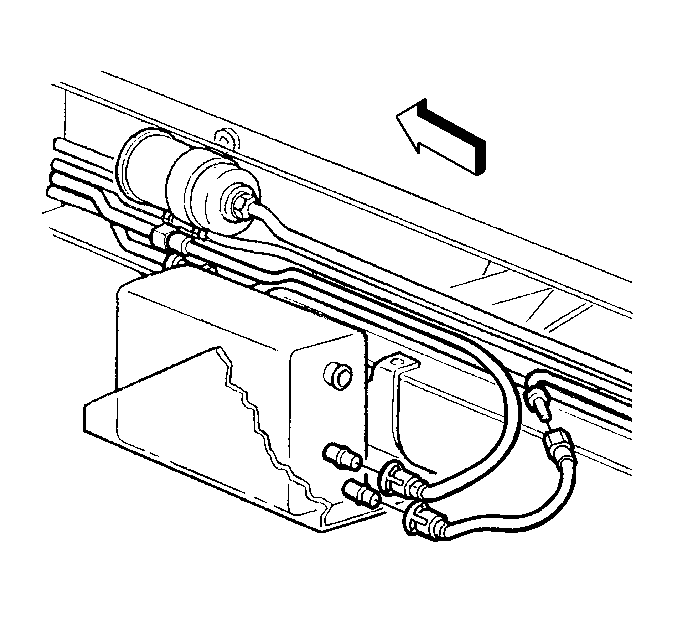
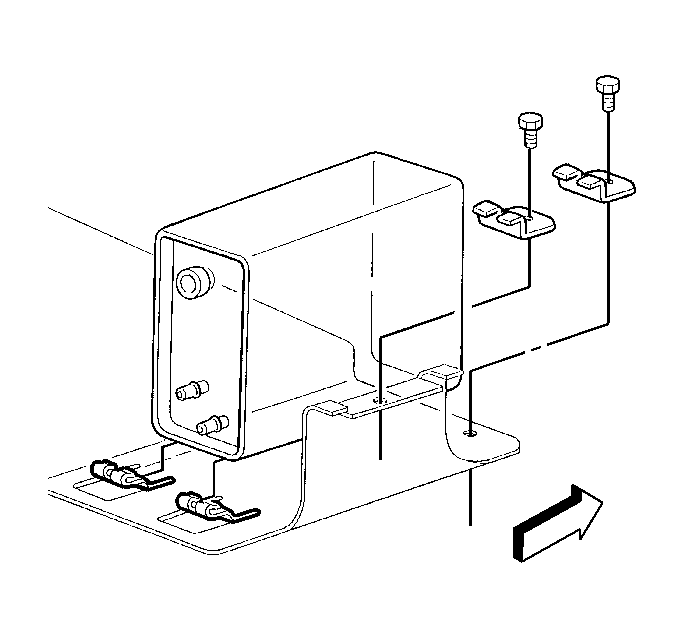
Removal Procedure
- Disconnect the EVAP canister vent hose.
| 1.1. | Grasp both sides of the fitting and twist the female connector
in each direction in order to loosen any dirt within the fitting. |
| 1.2. | Squeeze the plastic retainer release tabs. |
| 1.3. | Pull the connectors apart. |

- Disconnect the EVAP vapor purge and EVAP
tank hose.
| 2.1. | Grasp both sides of the fitting and twist the female connector
in each direction in order to loosen any dirt within the fitting. |
| 2.2. | Squeeze the plastic retainer release tabs. |
| 2.3. | Pull the connectors apart. |

- Remove the bolts and retainers then slide
the canister forward and up.
Installation Procedure

- Install the EVAP canister to the bracket.
| 1.1. | Position the canister in the bracket. |
| 1.2. | Slide the canister back into the canister bracket clips. |

- Install the clips and bolts.

- Clean any dirt from the EVAP vapor purge
and EVAP tank hose fittings and connect the hoses to the canister.
| 3.1. | Push the fitting together in order to cause the retainers to snap
into place. |
| 3.3. | Twist and pull the fittings in order to make sure that the fittings
are secure. |

- Clean any dirt from EVAP canister vent
hose fittings and connect the hose to the canister.
| 4.1. | Push the fitting together in order to cause the retainers to snap
into place. |
| 4.3. | Twist and pull the fittings in order to make sure that the fittings
are secure. |


