INFORMATIONAL - HIGH OIL CONSUMPTION DIAGNOSIS

SUBJECT: INFORMATION ON HIGH OIL CONSUMPTION DIAGNOSIS
MODELS: 1990-1993 TOPKICK/KODIAK EQUIPPED WITH 3116 ENGINES (RPO LXO)
INTRODUCTION
This lefter and its attachments are a reference guide to be used for accurate diagnosis of all high oil consumption concerns with 3116 truck engines. Accurate diagnosis should result in equitable treatment for the customer and all parties involved. The repair can then be completed in a timely manner.
VERIFICATION
Oil consumption can result from a number of causes and therefore, can be misinterpreted. It is important to carefully investigate the report in order to determine the cause, before proceeding with the repair.
Verification is the first step in oil consumption diagnosis. If accurate customer records of oil and fuel consumption are not available, the Oil Consumption Test report must be completed.
INSPECTION
Once the concern has been verified, an inspection of external and internal components is necessary. Begin by inspecting the clean air transfer system, air brake compressor and tanks and air cleaner element.
During disassembly, the air intake piping must be inspected as well as the turbocharger, piston rings, and cylinder bores.
REPAIR ACTION
Refer to the attached pages for details.
REPAIR RESPONSIBILITY
If the customer is partially or entirely responsible for the repair, their participation must be agreed to prior to starting the repair.
In cases where the cause is not found during the investigation, or where the air cleaner element is determined to be the cause, the appropriate Caterpillar Service Representative, Dealer Service Manager, and/or GMC Truck Assistant Zone Manager Service Representative must be contacted.
NOTE: Contrary to Caterpillar Technical Information Bulletin, dated 5/13/92, DO NOT contact Donaldson Co. regarding a suspected element.
WARRANTY
Warranty claims for oil consumption repairs should be submitted using the established guidelines. Additional requirements for claim submission are included in the attached pages.
ATTACHMENTS
PLEASE REFER TO THE DETAILS IN THE FOLLOWING PAGES WHEN ADDRESSING AN OIL CONSUMPTION CONCERN. IMPORTANT MATERIALS ARE INCLUDED AND OTHERS ARE REFERENCED IN THE TEXT.
DETAIL ATTACHMENT
TOPKICK/KODIAK 3116 DIESEL ENGINE HIGH OIL CONSUMPTION DIAGNOSIS
INTRODUCTION
There has been some confusion on the proper handling of oil consumption reports on TopKick/Kodiak 3116 Truck Engines. On May 13, 1992, a Caterpillar Technical Information Bulletin was written describing the possibility of worn air cleaner filter cartridges and instructing that the Donaldson Company be contacted directly if a worn filter cartridge was determined to be the cause of wear leading to oil consumption. A General Motors Warranty Information Letter (D-92-5), dated April 6, 1992, addressed the same subject. These publications have, in 6ome cases, added to confusion on administering oil consumption reports. This letter is intended to clarify the handling of those reports to assure equitable treatment of the customer and prompt repair.
Oil consumption can result from a number of causes, is sometimes misinterpreted from other symptoms, and is an expensive repair. Therefore, it is important to carefully investigate the report and determine the cause before proceeding with the repair.
Sometimes oil consumption is inferred by other symptoms - notably "slobber" and high blowby. These symptoms may or may not be present with oil consumption.
Slobber is the black tar-like substance that may leak from joints in the exhaust system or from the exhaust stack. It is more frequent in cold weather and may be fuel as well as oil.
When oil consumption increases, crankcase fumes (blowby) also increase. However, blowby may increase from other causes. Therefore, higher blowby by itself is not sufficient to initiate an oil consumption repair.
VERIFICATION
A comment of increased or "high" oil consumption must always be verified before repair is begun. Accurate customer records of oil and fuel consumption may provide adequate verification. Lacking good records, the Caterpillar Oil Consumption Test Report must be completed. This report is included in the TEPS Service Warranty Guide, Bulletin 4.4, EXCESSIVE ENGINE OIL CONSUMPTION (form SELD3023).
During the verification process, oil analysis must be used to help identify the cause of the oil consumption through checking for wear metals, contamination such as silicon (indicative of foreign material and dirt entry) and the soot content of the oil (indicative of improper oil change intervals). Oil analysis must be performed by the Caterpillar dealer organization.
When verifying the concern, start by taking a sample of the oil that is in the engine. Then drain and refill the crankcase and install a new oil filter, and auxiliary filter, if equipped. Run the new oil for a full change period or until operating records clearly indicate the rate of consumption. Take another oil sample at the end of the test period.
It is important to note that engine oil level should be checked in a consistent manner. During an oil consumption verification test, the oil should be checked in the morning, prior to engine start-up when the engine is cold. Oil should not be added until the level reaches the "ADD" mark.
INSPECTION
A. External
To begin the inspection process, examine the clean air transfer system for cracks, loose clamps, leaking ether fittings (if used), and leaking filter service indicator fittings. Also see the "Service Magazine", dated 8/26/91, or "Truck Engine News", dated 8/l/91, for a new hose used on the turbo outlet on TopKick/Kodiak Trucks (reference GMC Truck Technical Service Bulletin 91-6A-97A (Corporate bulletin 166101), dated May 1991).
If equipped with air brakes, air tanks should be drained and checked for oil. Inspect air brake compressor fittings for leaks and the filter for proper maintenance as the air brake compressor could be another source of oil consumption. The air compressor filter should be cleaned or replaced every 6,000 miles or 6 months (whichever occurs first).
B. Internal
Refer to Attachment 1 for an eight step procedure to remove the air cleaner filter cartridge. Record the filter cartridge brand, part number and date of manufacture.
CAUTION:
Check for accidental dirt entry during filter servicing. Care should be taken in order to avoid debris that is dislodged during removal of the cartridge, falling directly into the clean side of the air intake system. If not removed before replacing the cartridge, it will be drawn into the engine immediately upon start-up. It is the servicing person's responsibility to guard against this possibility.
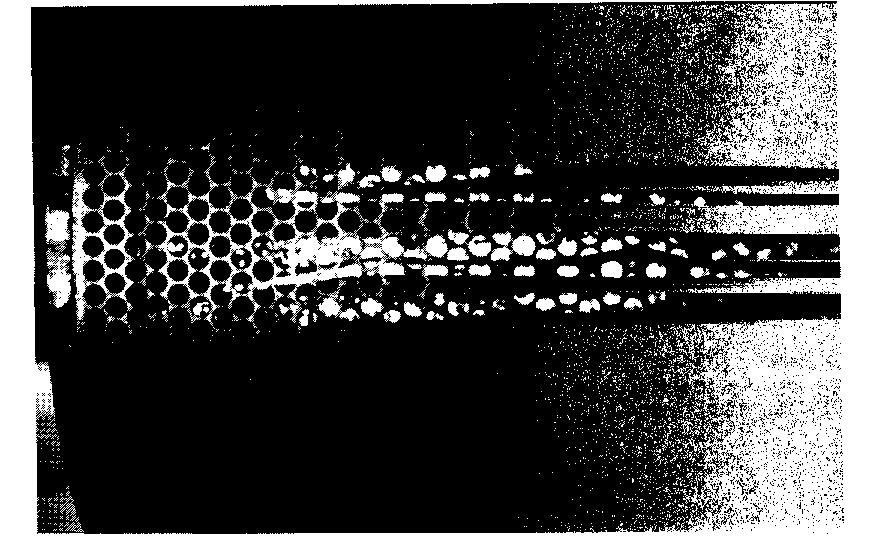
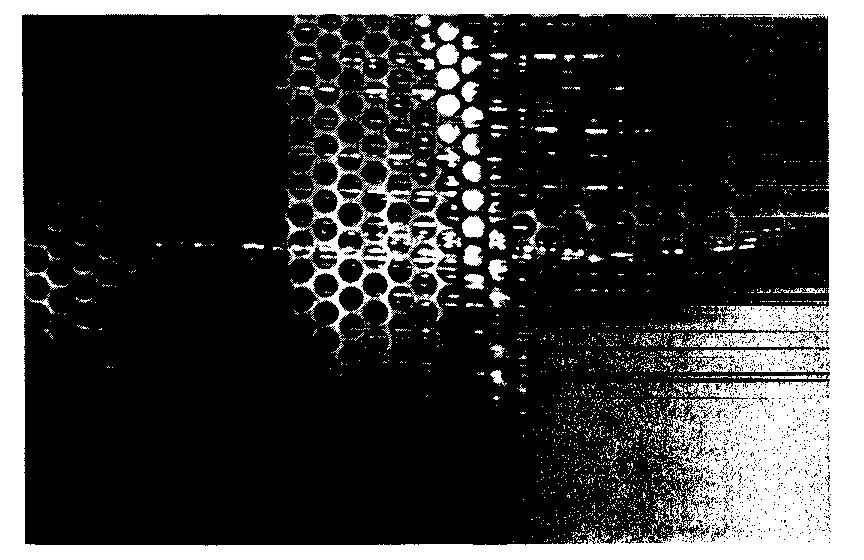
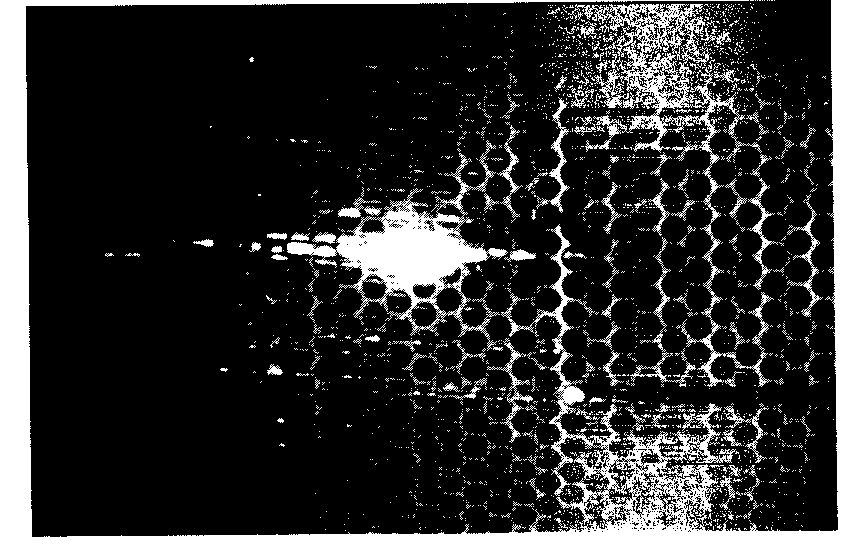
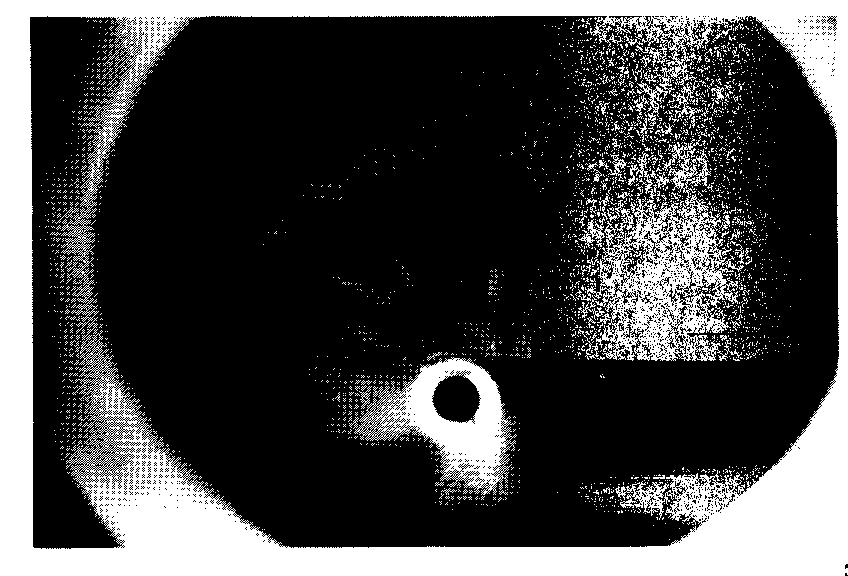
Inspect the removed air filter cartridge for damage, gasket leaks or wear holes in the filter paper (reference GMC Truck Technical Service Bulletin 92-6A-69A, (Corporate bulletin 266101R), dated June 1992). Gasket leaks can be identified by the presence of dust trails on the inner sealing surface. Holes in the filter paper can be identified by the presence of dust trails on the inner expanded metal cylinder in line with the leak, or very bright light shining through isolated small spots in the inner pleat tips (folds) in the paper (see Figures 1-4).
NOTE: Some light will shine through the pleat tips of a dirty filter. This may appear to be a hole when it is actually due to the fact that this part of the filter does not pass air. Since air does not pass, neither does dirt. This results in a clean area that is in high contrast to the surrounding dirt. It is often due to the binder material that holds the filter paper fibers together. The binder can create a lens effect when it is folded. This is normal and does not indicate a leak or hole in the filter.
Using the lube oil change interval is not a good guide for air cleaner servicing. Excessive removal of the filter cartridge at frequent intervals for the purpose of inspecting or replacing may result in dirt entry. An air cleaner restriction gauge is located in the air intake tube below the air cleaner on the right side of the engine. A new air cleaner should be installed only when the red ring is in the sight glass.
During repair, the air inlet piping must be disassembled and inspected for indications of leakage and collection of dirt or debris.
The turbocharger compressor wheel blades should be checked at this time for damage or wear due to foreign material in the inlet air. Blades with a sharp, polished edge are indicative of fine dust entry. Blades with an irregular surface on the leading edge indicate the entry of larger dirt particles.
Piston ring and bore condition must be carefully checked for excess wear and piston ring grooves inspected for collection of hard carbon ("carbon packing") that would hold rings tightly against the bore. High soot content in the oil analysis could indicate the presence of carbon packing.
Oil consumption will usually be accompanied by cylinder bore wear. Measure the wear "step" at the top of top ring travel. Measurements should be made in both the longitudinal and transverse directions. The degree of step can be determined by comparing the measurements in the worn area to the unworn portion of the bore above ring travel. (Clean the carbon from the upper bore area before measuring).
Piston ring wear can be determined by measuring the ring gap with the rings installed in the unworn portion of the bore. The amount of wear can be determined by comparing gaps of worn and new rings.
REPAIR ACTION
Blowby: Unless blowby is accompanied by verified oil consumption, no repair action is needed.
Slobber: Often slobber can be controlled by reducing engine idling such as shutting off during deliveries. When the engine must be idled for extended periods (such as in a utility boom truck) replacement of the exhaust valve seals will often control slobber. Slobber is often more prevalent during extreme cold weather and can be controlled by taking steps to maintain engine heat such as using radiator shutters.
Verified Oil Consumption: Once oil consumption is verified, repair action will be dictated by the internal condition of the engine. Refer to the Caterpillar "GUIDELINE FOR REUSABLE PARTS AND SALVAGE OPERATIONS - Reconditioning Procedures for 3114 and 3116 Engines" (form SEBF8167) for limits on cylinder bore wear and other reconditioning procedures. Caterpillar Special Instruction SEHS9047 - Installation of 7C6208 Cylinder Sleeve" contains instruction for salvaging a damaged cylinder by installing a replacement cylinder sleeve. When damage is extensive, options of remanufactured short block, remanufactured engine and replacement block should be compared to assure customer satisfaction while controlling cost.
REPAIR RESPONSIBILITY
Oil consumption may result from an engine problem, installation problem, defective parts or improper maintenance. Therefore, it is extremely important to define the cause of the concern. If the cause is wholly or partially the resuit of customer action, their participation must be agreed to prior to starting the repair.
If the air cleaner filter cartridge is found or suspected to be the cause of wear, the Donaldson Co. should NOT be contacted. These instructions replace those in the Caterpillar Technical Information Bulletin, dated 5/13/92. The suspect filter cartridge should be retained for the warranty claim.
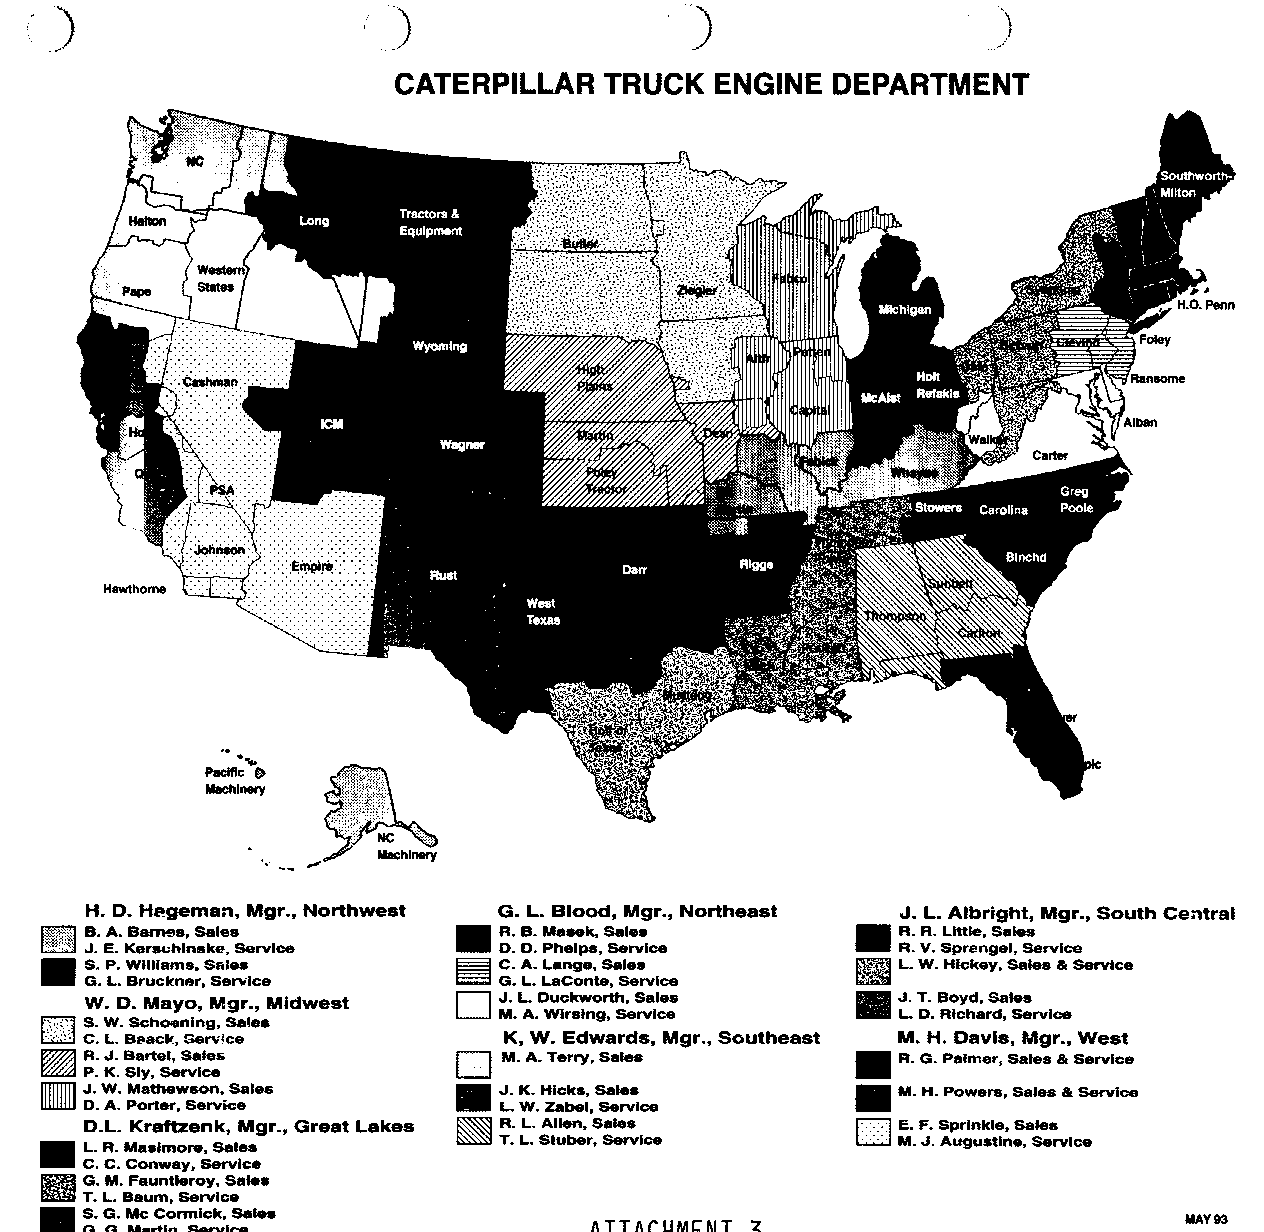
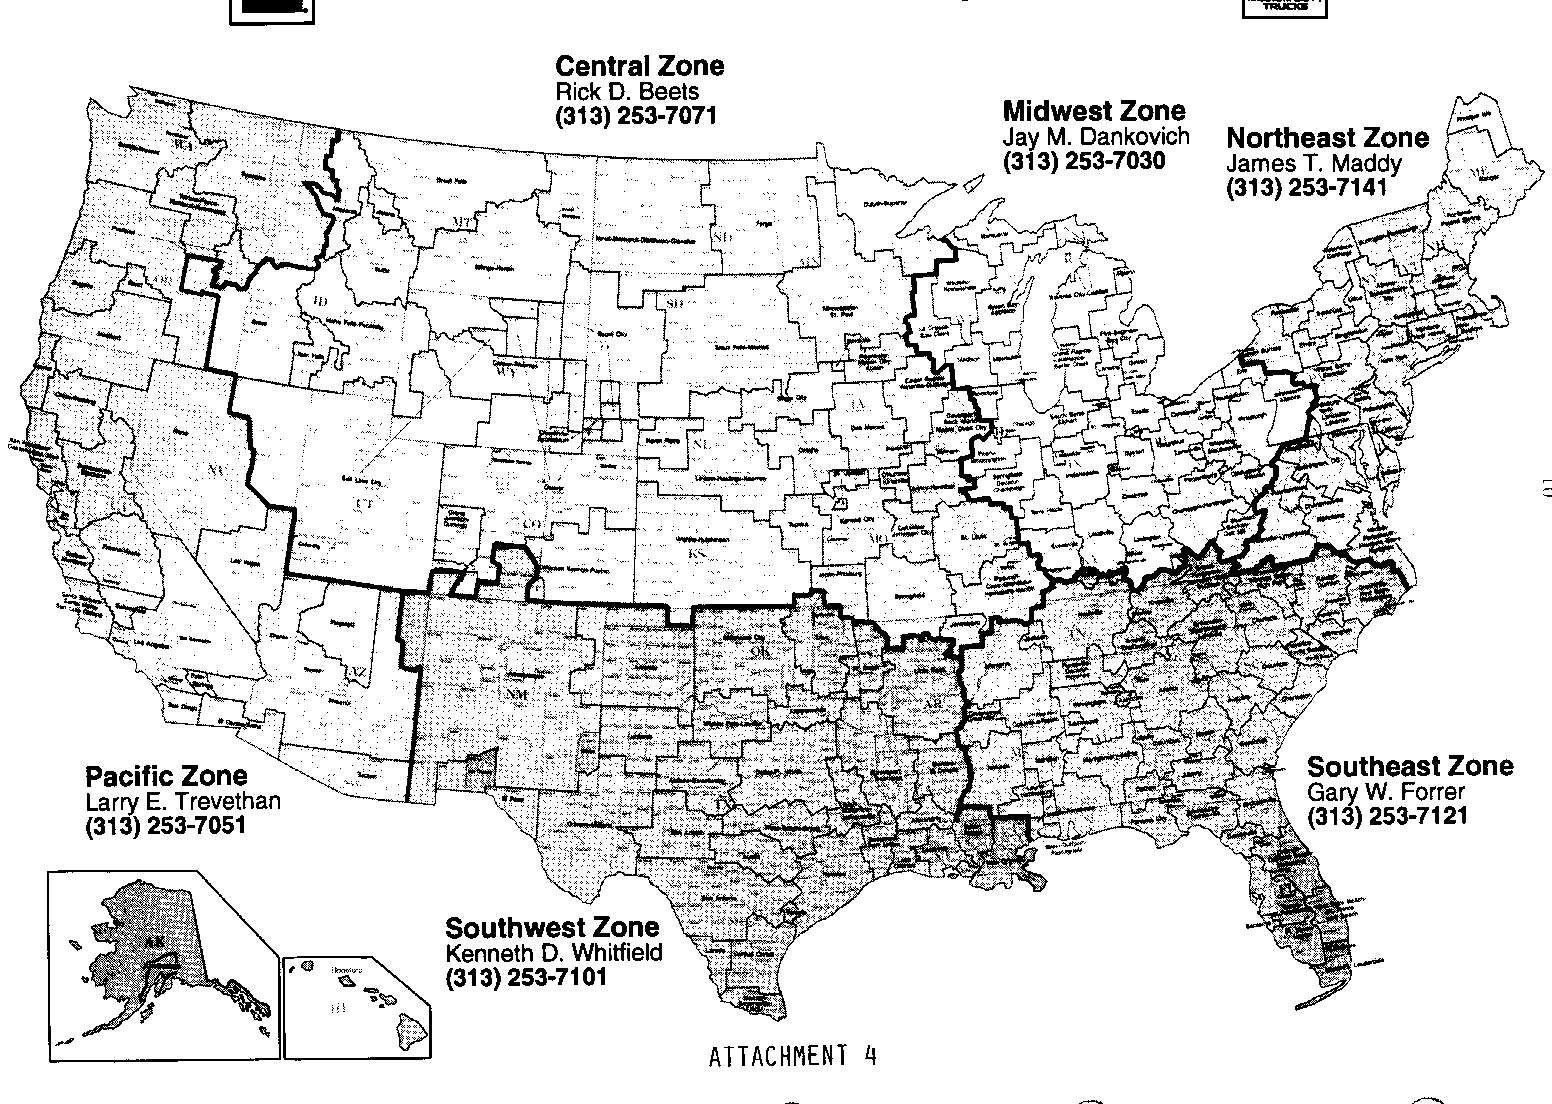
In cases where the cause is not found during the investigation, or where the filter cartridge is determined to be the cause, the appropriate Caterpillar Service Representative, Dealer Service Manager and/or GMC Truck Assistant Zone Manager-Service must be involved to determine warranty and/or policy participation (see Attachments 2-4 listing corresponding Caterpillar/GMC Truck Assistant Zone Manager-Service Representatives). This requirement is not intended to delay prompt repair as approval may be given over the telephone if the representative cannot inspect the unit promptly.
WARRANTY
Caterpillar and General Motors claims for oil consumption repairs should be submitted using established guidelines.
All parts related to oil consumption repairs, including any defective air cleaner filter cartridges, must be retained for 30 days following payment of the warranty claim.
Be sure the following information is available to support the warranty claim. If parts are requested for return, this information must also be returned:
- Copies of available maintenance records/service history.
- A summary of oil and fuel consumption and miles operated during verification.
- Results of oil analysis run during verification and any past analysis history.
- Detailed description of parts inspected including cylinder bore condition and measurements, piston ring condition and turbo compressor wheel condition.
- Condition of the air cleaner filter cartridge, brand name, part number and date of manufacture.
Service Instructions
Due to the new, patented design of EPG Style air cleaners. there are a few unique service steps that are required for proper maintenance.
1 - Release the Filter Seal Gently
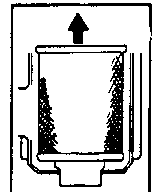
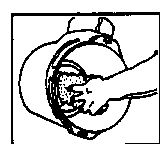
The filter fits tightly over the outlet tube, creating the critical seal on the inside diameter of the filter end cap. The filter should be removed gently to reduce the amount of dust dislodged. There will be some initial assistance, similar to breaking the seal on a jar. Gently move the end of the filter up and down and side to side or twist to disengage the seal.
2 - Avoid Dislodging Dust from the Filter
Gently pull the filter off the outlet tube and out of the housing. Avoid knocking the filter against the housing.
3 - Always Clean the Sealing Surface of the Outlet Tube
Dust on the outer diameter of the outlet tube could hinder an effective seal and cause leakage. Make sure that all contaminant is removed before the new filter is inserted
4 - Always Clean the Inside of the Outlet Tube Carefully
Dirt accidentally transferred to the inside of the outlet tube will reach the engine and cause wear. Be careful not to damage the filter sealing area on the tube.
5 - Check Your Old Filter
Your old filter could help you detect foreign material on the sealing surface that is causing leakage. A streak of dust on the clean air side of the filter is the tell-tale sign. If it exists, be sure the cause is removed before installing a new filter.
6 - Inspect the New Filter for Damage
Always look for possible shipping or handling damage. Pay particular attention to the inside of the open end (the sealing area). Check for cuts, etc. Do not install a damaged filter.
7- Insert the New Filter Properly
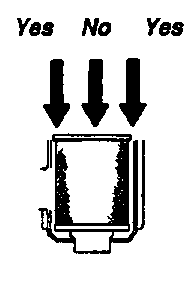
The radial seal area is on the inside of the open end of the filter. This critical sealing area will stretch slightly, adjust itself and distribute the sealing pressure evenly on to the outlet tube as the filter is installed. To complete a tight seal, apply firm pressure at the outer rim of the filter, not the flexible center. Due to its unique design, cover pressure is not necessary to compress the filter seal.
8 - Check Connections & Ducts for Air Tight Fit
FIGURE 1 - THIS FILTER DOES NOT LEAK. THE LIGHT AREAS HAVE LOW DUST BUILDUP AT THE FOLDS, WHICH ALLOWS THE LIGHT TO SHINE THROUGH THE MEDIA. NO HOLES, NO LEAKS.
FIGURE 2 - THIS FILTER DOES NOT LEAK. THE LIGHT AREAS ARE LOW DUST BUILDUP AT THE FOLDS AND ON THE PLASTISOL BEADING.
FIGURE 3 - THIS PHOTO SHOWS ONE SMALL HOLE IN THE MEDIA WITH THE BRIGHT LAMP FILAMENT SHINING THROUGH. THE LIGHT AREAS BELOW THE HOLE AND ON THE BEADING ARE NOT HOLES.
FIGURE 4-THIS PHOTO SHOWS OBVIOUS DUST TRAILS ON THE ENDCAP OF THE CLEAN SIDE OF THE FILTER,
CATERPILLAR TRUCK ENGINE DISTRICT MANAGERS - PRODUCT SUPPORT FIELD OPERATIONS ------------------------------------------------ SOUTHEAST --------- Loren Zabel, Florida (813)-677-8360 Terry Stuber, Atlanta (404)-928-0136 Chuck Mooberry, Charlotte (704)-543-0316
SOUTH CENTRAL
Dick Sprangel, Dallas (214)-985-6941 Wayne Hickey, Houston (713)-895-2321 Luc Richard, Nashville (615)-373-1870
NORTHEAST
Mike Wirsing, Richmond (804)-741-6409 Jerry LaConte, Harrisburg (717)-761-8930 Darrel Phelps, Hartford (203)-677-6528
WEST
Mary Jo Augustine, Phoenix (602)-730-0151 Mike Powers, S.F. (510)-827-4333
GREAT LAKES
Tom Baum, Peoria (309)-578-7191 Cliff Conway, Detroit (313)-474-9022 Gary Martin, St. Louis (314)-391-3166
MIDWEST
Dennis Porter, Peoria (309)-675-6683 Clarissa Baack, Minn. (612)-636-6055 Paul Sly, Kansas City (816)-453-6140
NORTHWEST
Jim Kerschinske, Seattle (206)-822-9795 Geo. Bruckner, Denver (303)-279-5080
CANADA
Ringo Chow, Vancouver (604)-654-1800 Steve Rutherford, Toronto (416)-850-3655 Mike Staley, Toronto (416)-850-3655


General Motors bulletins are intended for use by professional technicians, not a "do-it-yourselfer". They are written to inform those technicians of conditions that may occur on some vehicles, or to provide information that could assist in the proper service of a vehicle. Properly trained technicians have the equipment, tools, safety instructions and know-how to do a job properly and safely. If a condition is described, do not assume that the bulletin applies to your vehicle, or that your vehicle will have that condition. See a General Motors dealer servicing your brand of General Motors vehicle for information on whether your vehicle may benefit from the information.
