For 1990-2009 cars only
Tools Required
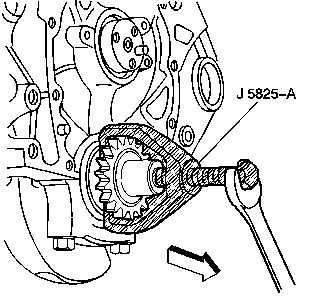
| • | J 5825-A Crankshaft Gear Remover |
| • | J 5590 Pinion Bearing Race Installer - Rear |
Removal Procedure
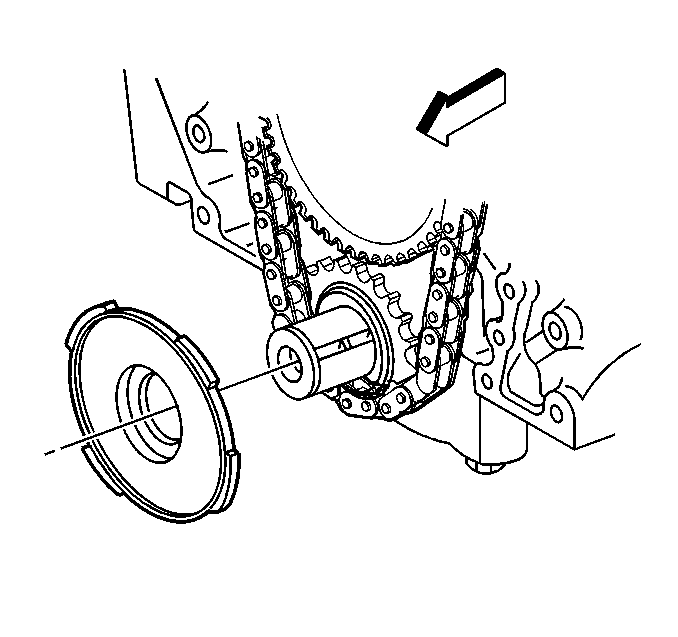
- Remove the engine front cover and the crankshaft position sensor reluctor ring. Refer to Crankshaft Position Sensor Reluctor Ring Replacement .
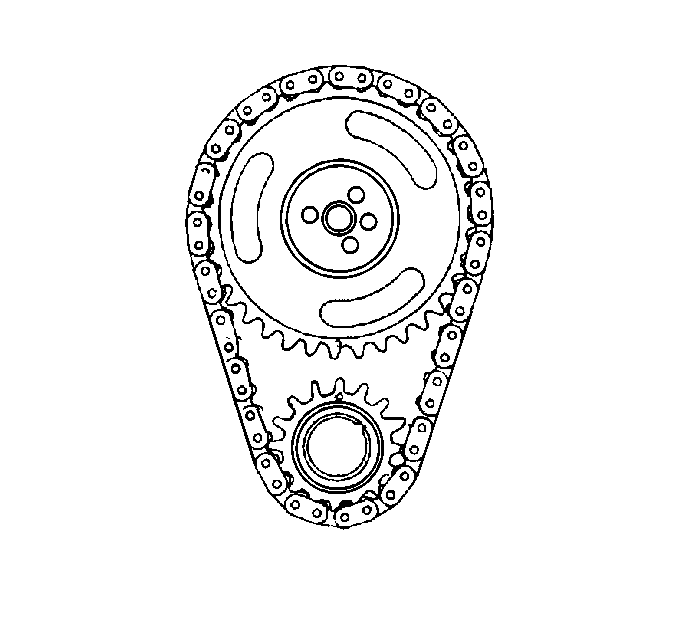
- Rotate the crankshaft until the timing marks on both sprockets line up.
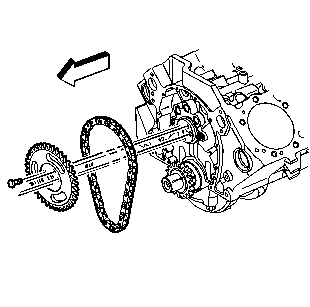
- Remove the camshaft sprocket bolts.
- Remove the camshaft sprocket and the camshaft timing chain.
- Use the J 5825-A in order to remove the crankshaft sprocket.
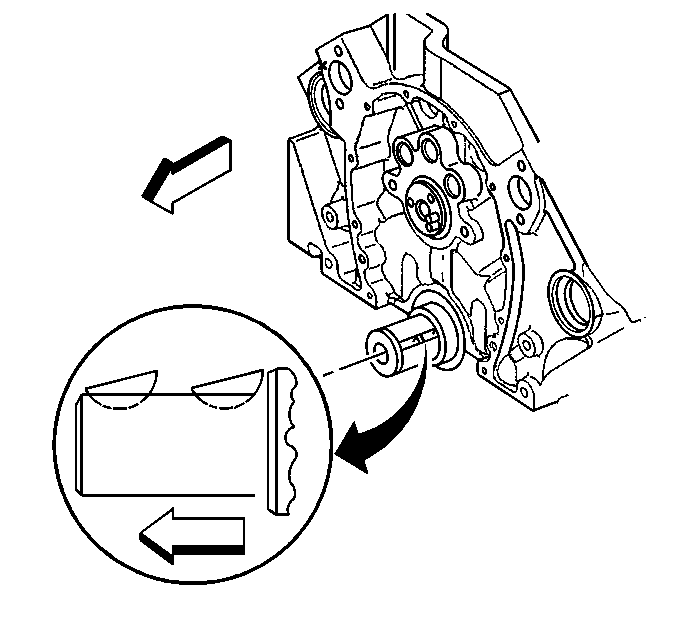
- Remove the woodruff key (crankshaft balancer), if necessary.
Installation Procedure
Important: Once the engine front cover is removed, do not re-install it.
Always install a NEW engine front cover.- Install the woodruff key (crankshaft balancer) into the crankshaft, if removed.
- Align the keyway of the crankshaft sprocket with the woodruff key (crankshaft balancer).
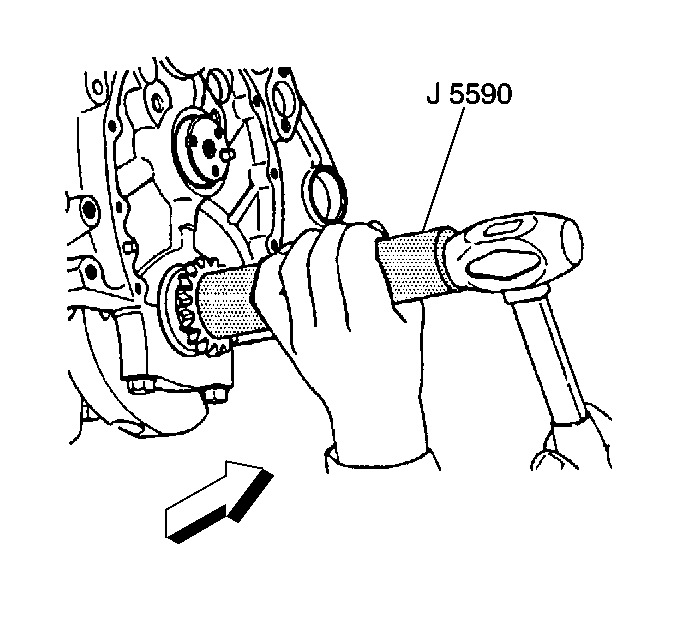
- Use the J 5590 and a hammer in order to install the crankshaft sprocket.
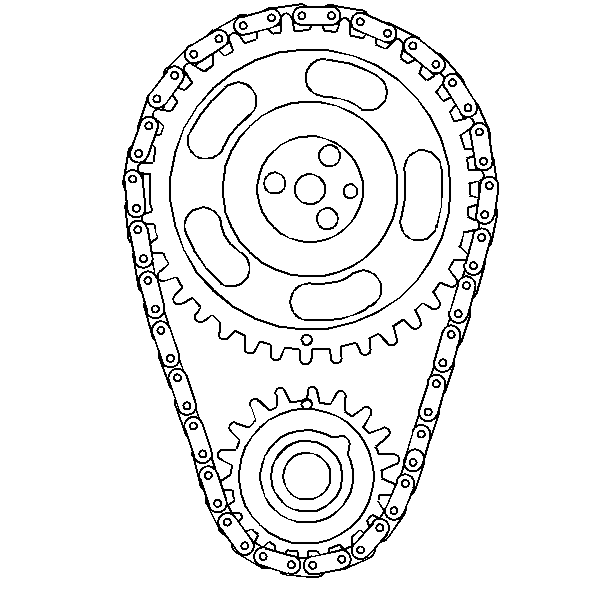
- Make sure that the camshaft and crankshaft sprocket timing marks are properly aligned.
- Align the timing marks on both sprockets. Look to ensure that the crankshaft sprocket alignment mark is in the 12 o'clock position.
- Install the camshaft sprocket and the camshaft timing chain. The camshaft sprocket alignment mark must be in the 6 o'clock position.
- Install the camshaft sprocket bolts.
- Look to ensure that the camshaft sprocket and the crankshaft sprocket alignment marks are in the correct position.
- Install the crankshaft position sensor reluctor ring and the engine front cover. Refer to Crankshaft Position Sensor Reluctor Ring Replacement .
Caution: Wear safety glasses in order to avoid eye damage.

Notice: Refer to Fastener Notice in the Preface section.
Tighten
Tighten the bolts to 25 N·m (18 lb ft).
