Special Tools
| • | EN-45059 Torque Angle Sensor Kit
|
For equivalent regional tools, refer to
Special Tools.
Crankshaft End Play, Check

Note : Crankshaft attached with crankshaft bearing caps.
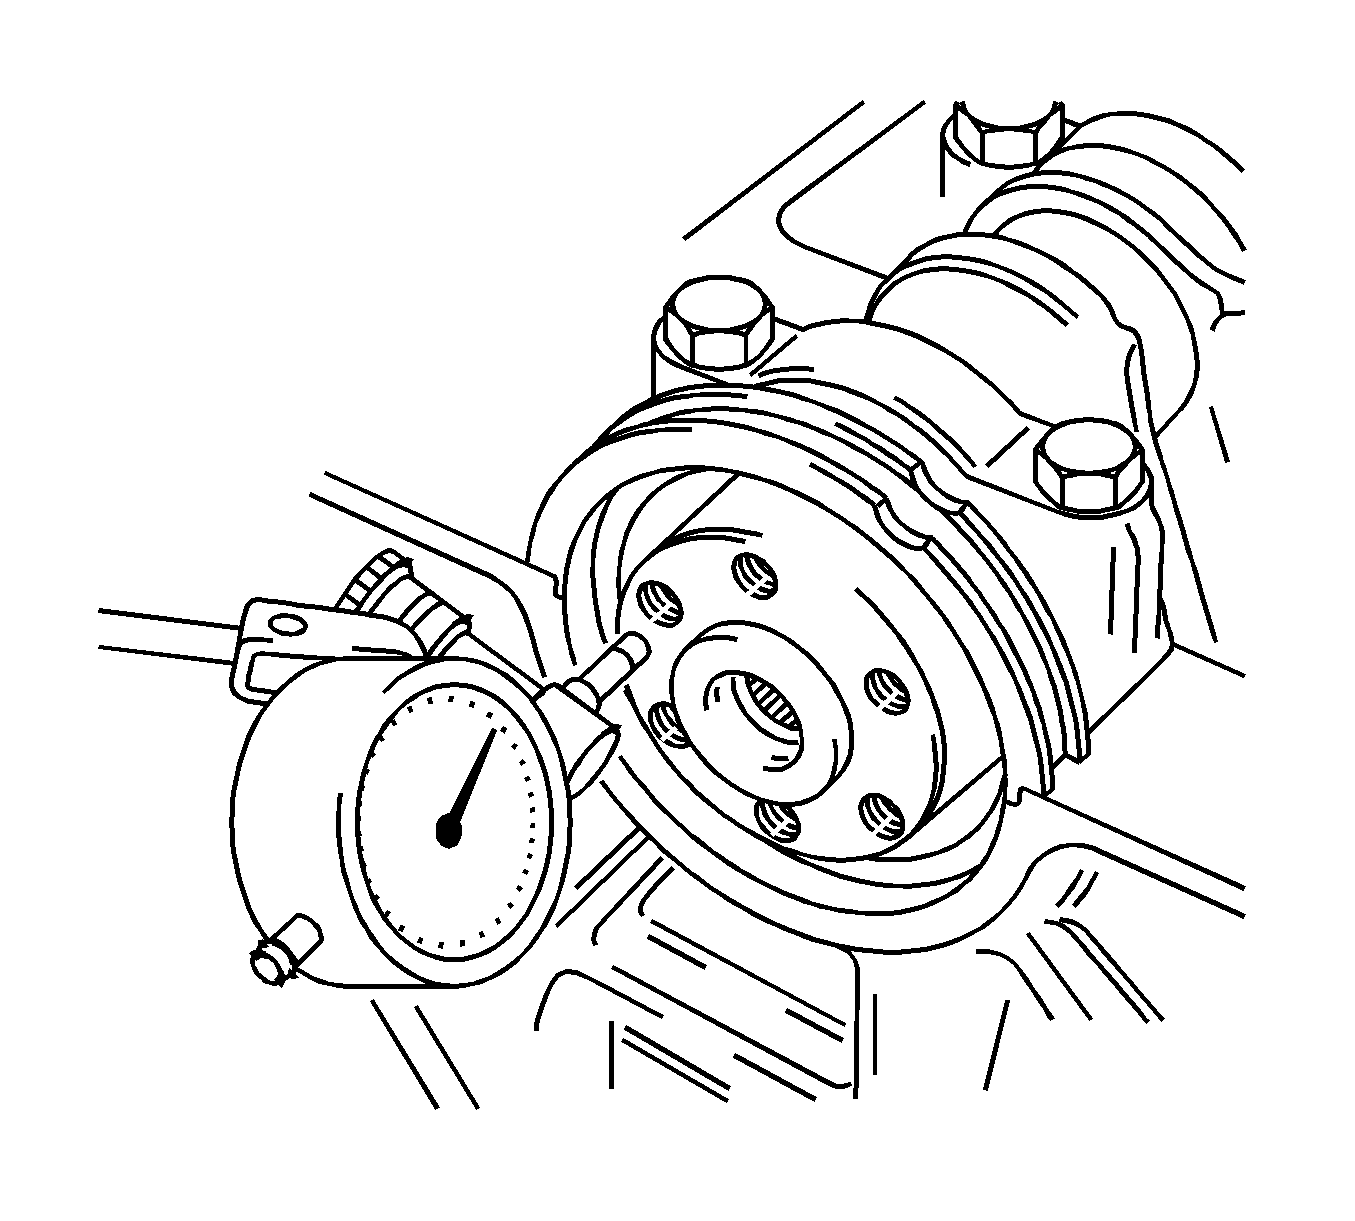
- Install the
GE-571-B gage
.
| 1.1. | Install in the holder on the front of the engine block. |
| 1.2. | Place the dial gage plunger against the crankshaft and adjust. |
- Measure the longitudinal play of the crankshaft.
| • | Move the crankshaft in the longitudinal direction. |
| • | Permissible crankshaft end play: 0.100-0.202 mm (0.0039-0.0080 in) |
- Remove the
GE-571-B gage
.
Crankshaft Out-of-Round, Check

Note: Crankshaft removed.
- Insert the crankshaft in the engine block.
- Install the
GE-571-B gage
.
| 2.1. | Attach to the bracket on the engine block. |
| 2.2. | Place the dial gage plunger against the crankshaft bearing journal and adjust. |
- Check the rotational play of the crankshaft.
| • | Turn the crankshaft evenly. |
| • | Maximum permissible rotational play: 0.03 mm (0.001 in). |
- Remove the
GE-571-B gage
.
Check Crankshaft Bearing Clearance (With Plastigage)

Note:
| • | Do not rotate the crankshaft. |
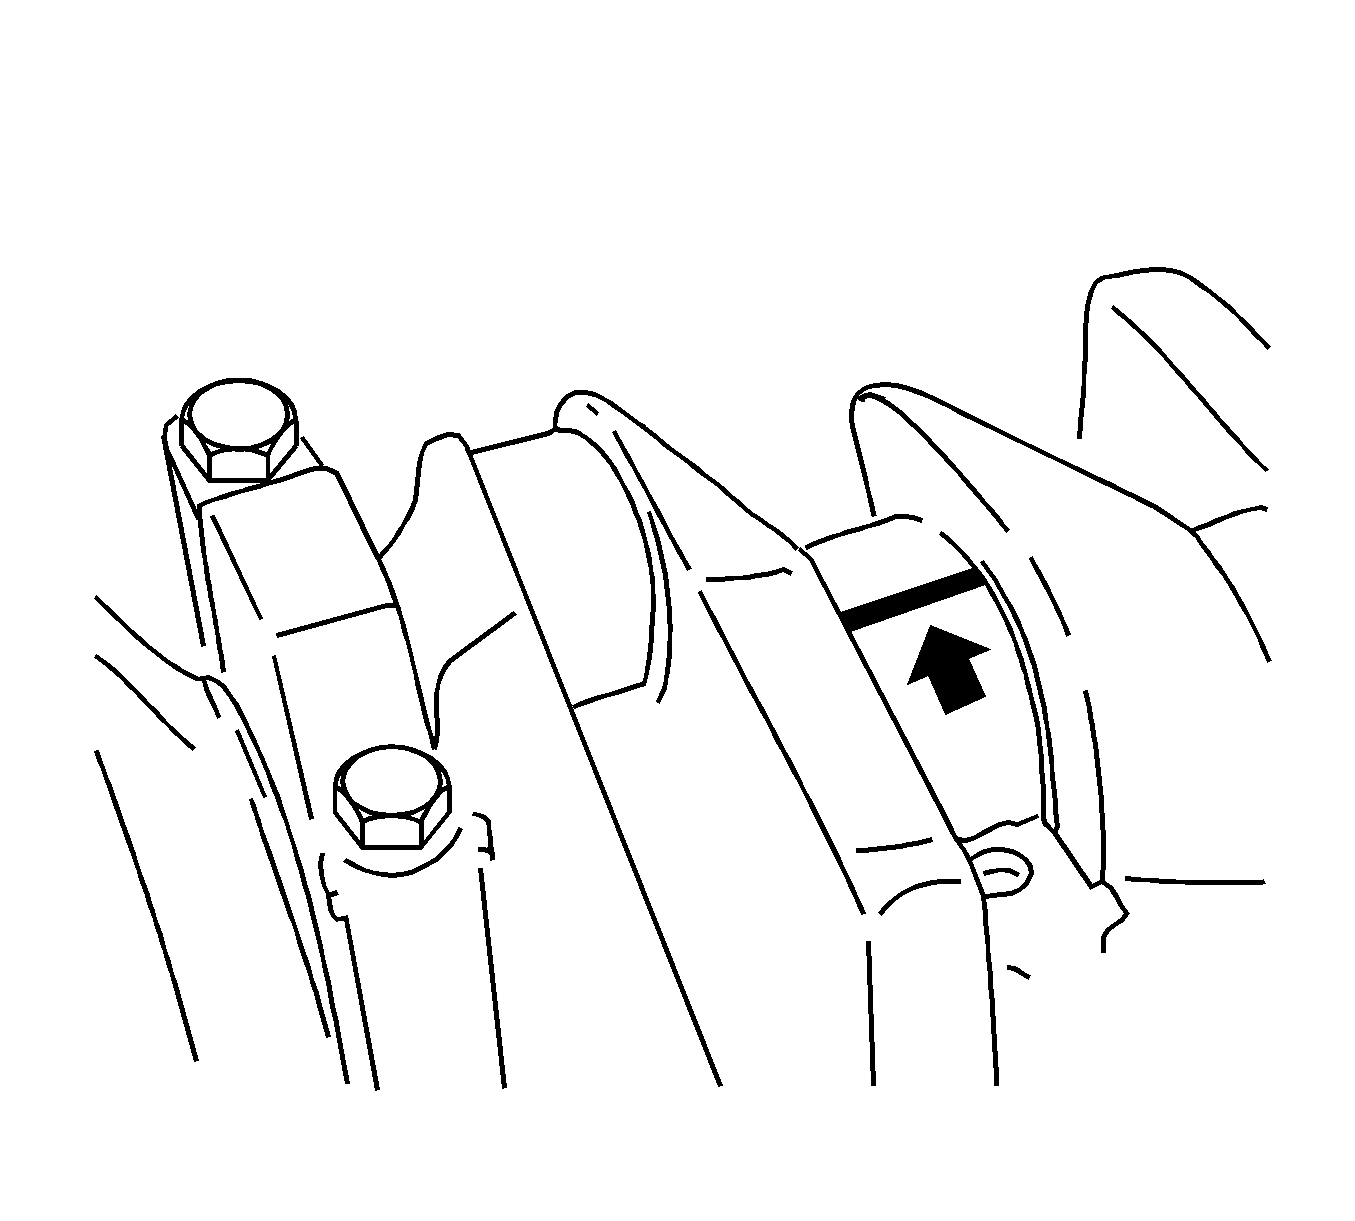
- Lay on Plastigage. Refer to
Adhesives, Fluids, Lubricants, and Sealers or the recommended plastigage.
Lay out Plastigage (flexible plastic thread) around the entire width of the con-rod bearing journal (arrow).
Caution: Refer to Fastener Caution in the Preface section.
Note:
| • | Note the correct tightening sequence. |
| • | The bolts can be reused for checking the crankshaft bearing play. |
- Install the crankshaft bearing cap. Tighten the 2 crankshaft bearing cap bolts in 3 passes. Use the
EN-45059 sensor kit
:
| 2.1. | First pass to
50 N·m (37 lb ft) |
| 2.2. | Second pass to
45 degrees |
| 2.3. | Third pass to
15 degrees |
- Remove the 2 crankshaft bearing cap bolts.

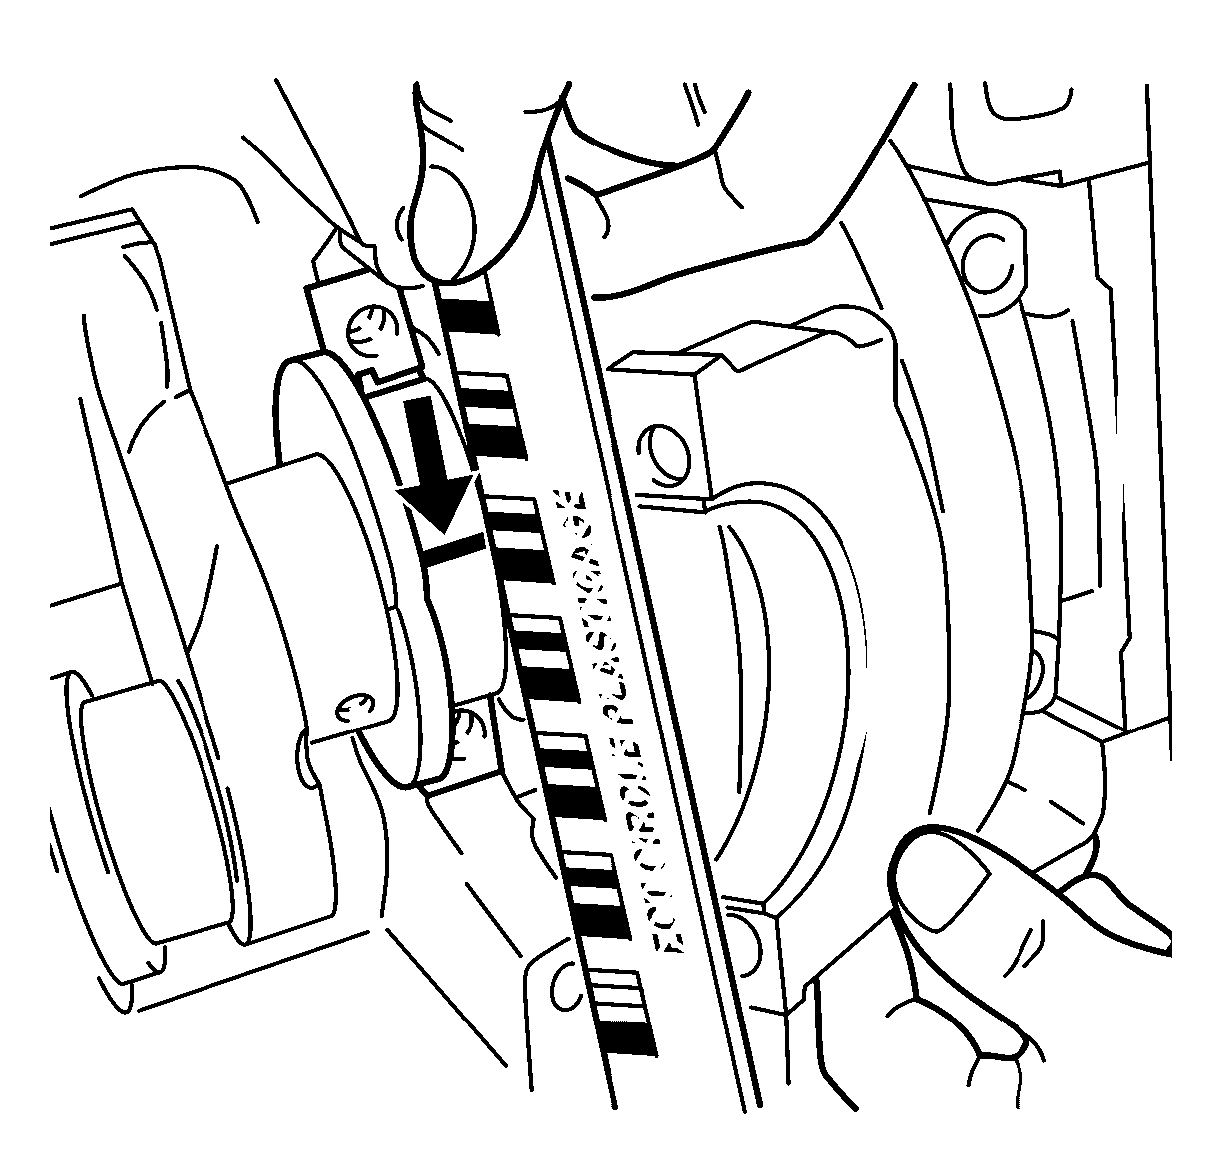
Note: When reading the value, do not confuse millimeters and inches on the measuring scale.
- Measure the crankshaft bearing play.
| • | Compare the width of the flattened plastic thread (arrow) to the measuring scale. |
| • | Permissible crankshaft bearing play: 0.005-0.059 mm (0.0002-0.0023 in). |
Check Crankshaft Bearing Clearance (With Micrometer Gage Internal Measuring Device)
Note:
| • | Note the correct tightening sequence. |
| • | The bolts can be reused for checking the crankshaft bearing play. |
- Install the crankshaft bearing cap with the crankshaft bearing clips to the cylinder block.
Tighten the 2 crankshaft bearing cap bolts in 3 passes. Use the
EN-45059 sensor kit
:
| 1.1. | First pass to
50 N·m (37 lb ft) |
| 1.2. | Second pass to
45 degrees |
| 1.3. | Third pass to
15 degrees |

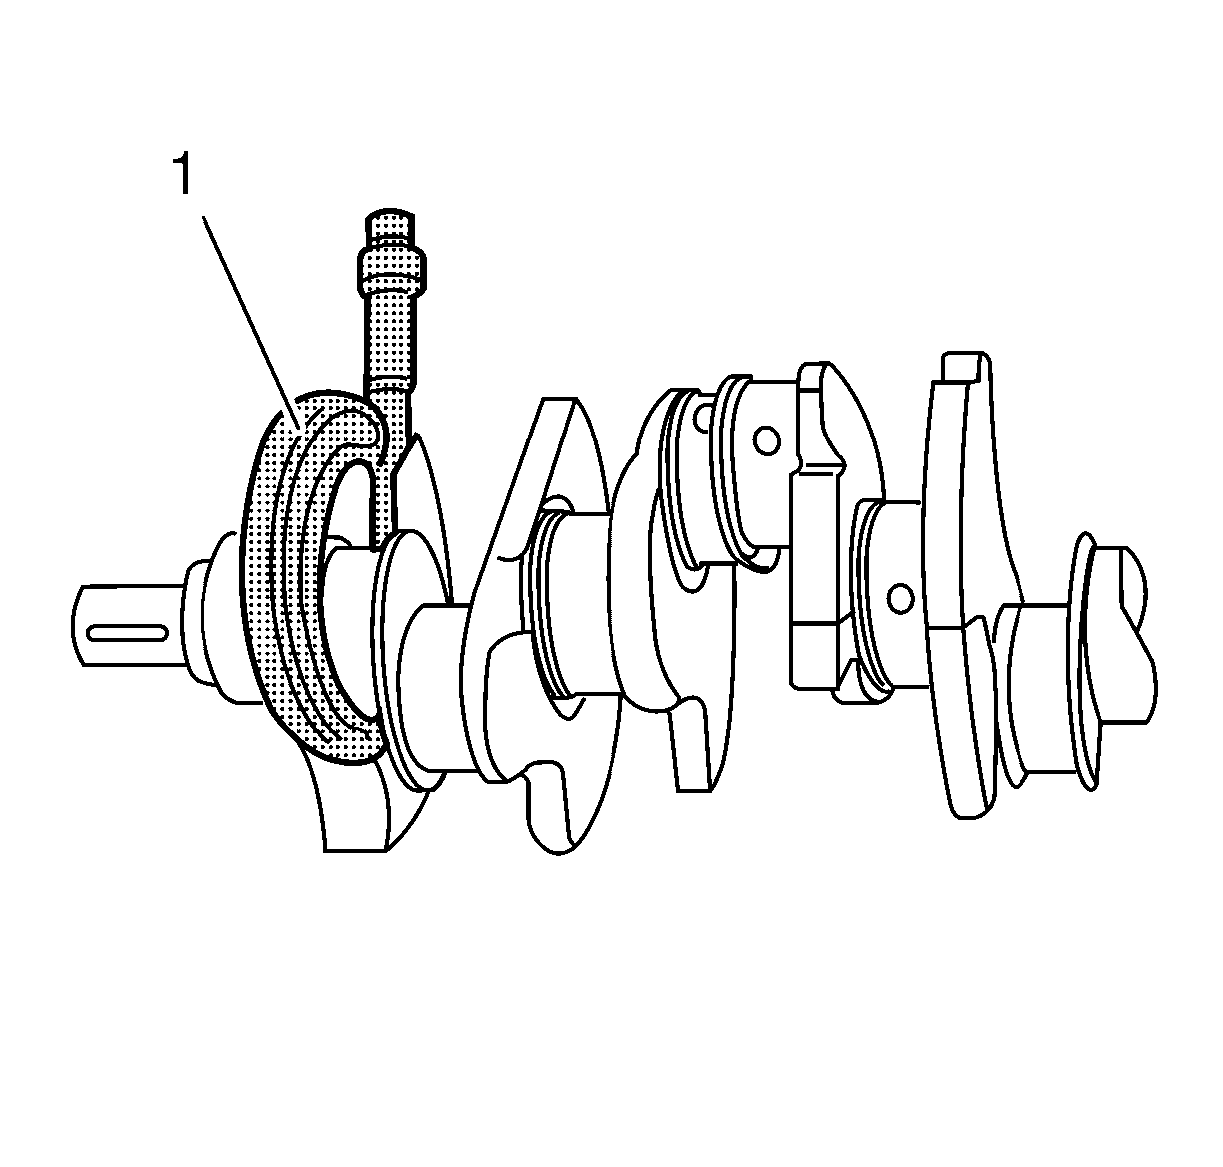
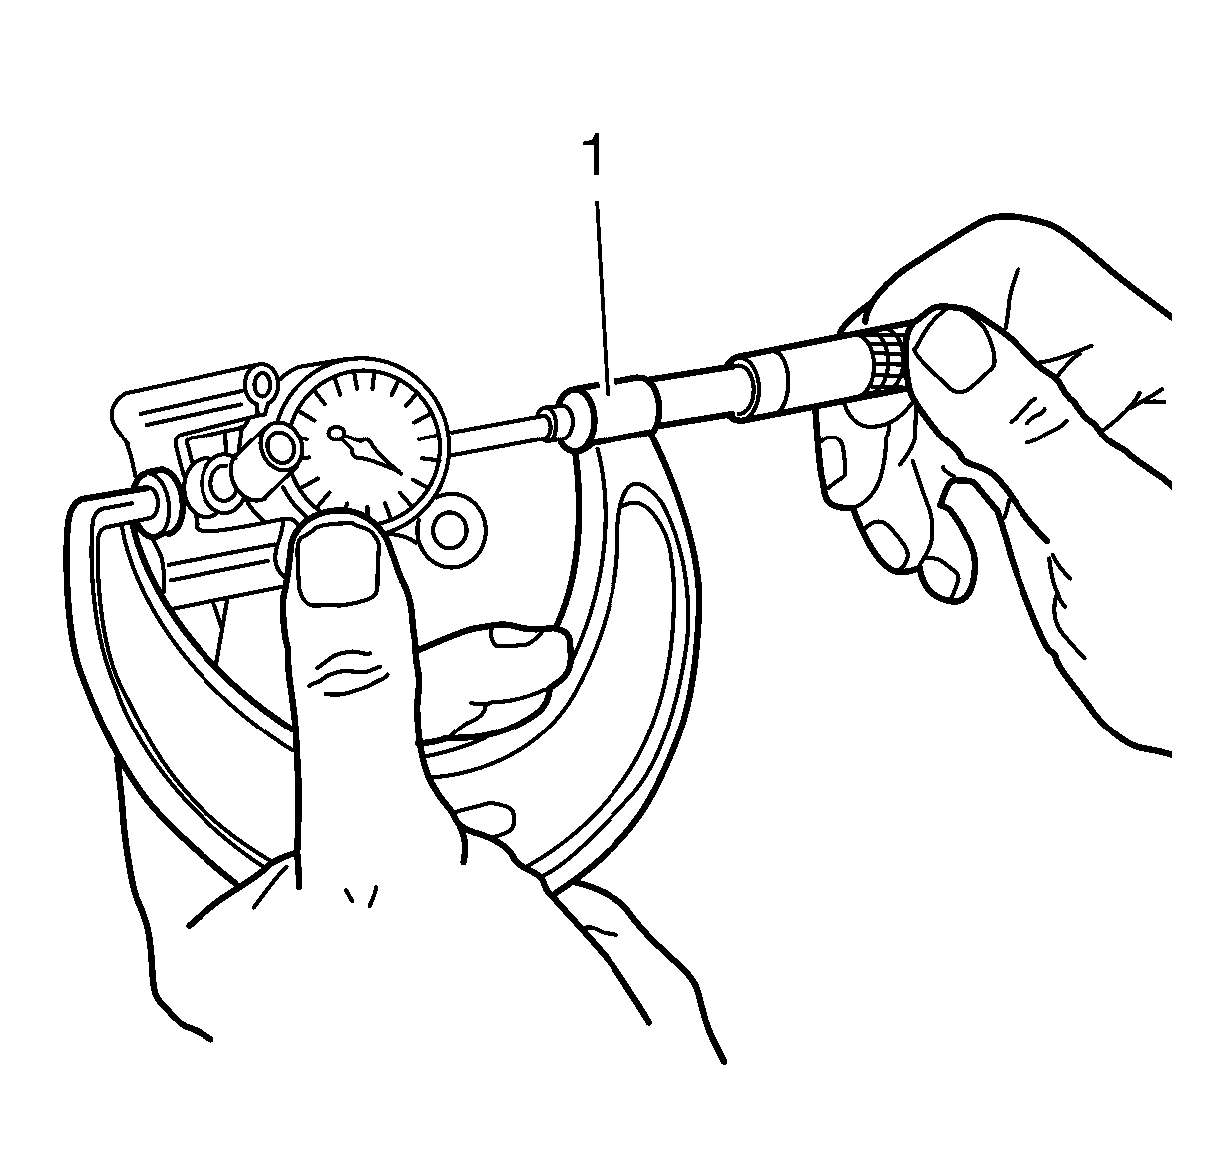
- Install the inner plunger and calibrate with the micrometer gage (1).

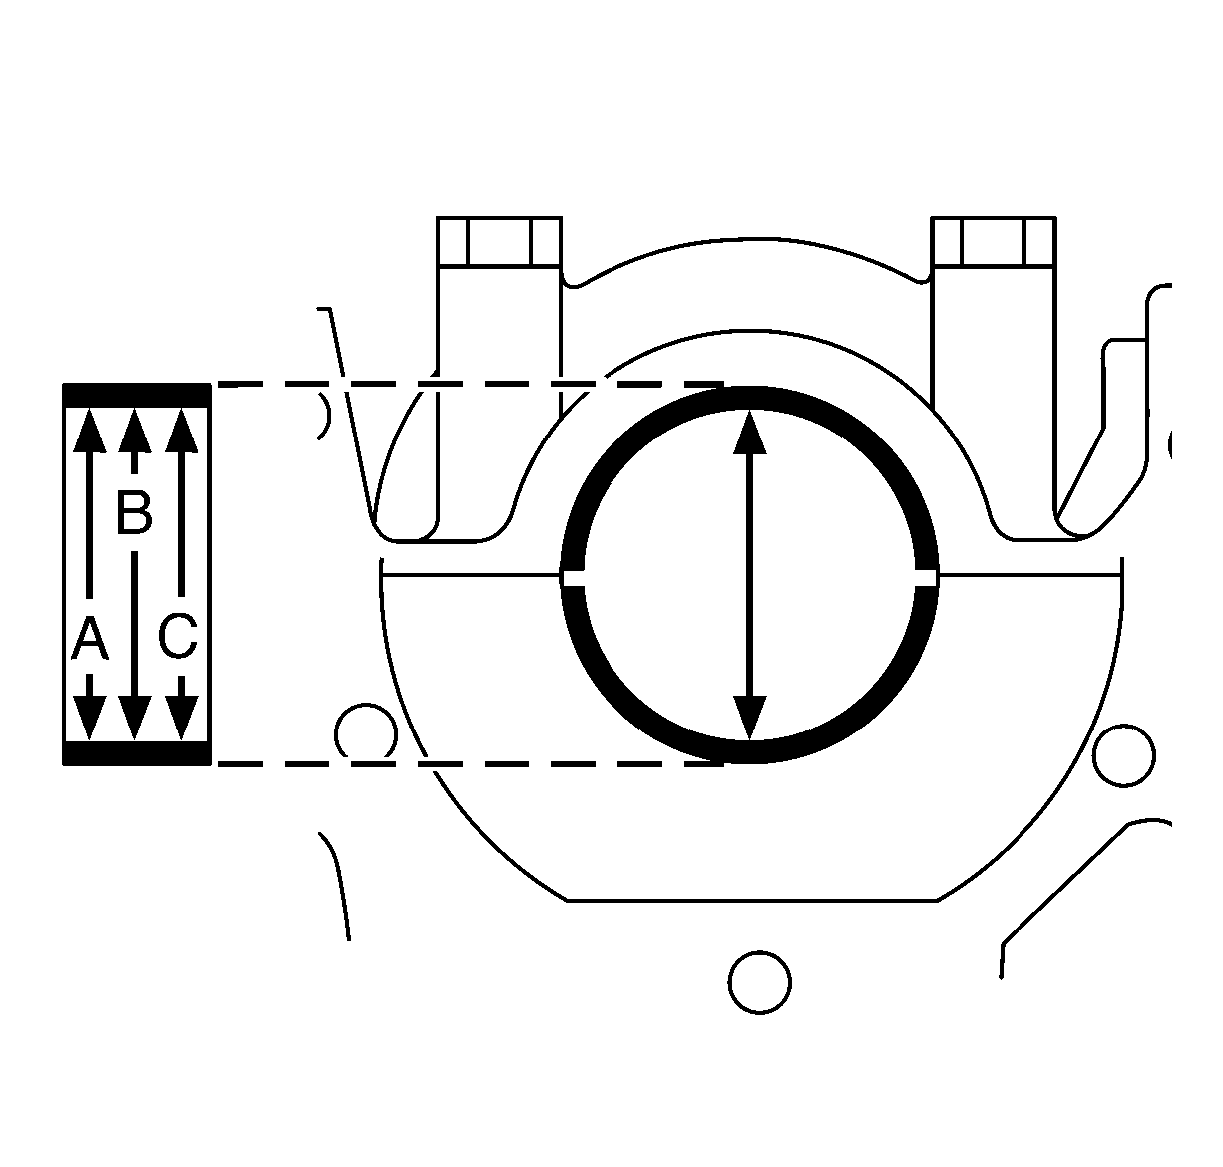
- Measure the crankshaft bearing diameter at 3 points.
| • | Measure at points A, B and C with the internal measuring device. |
| • | Calculate the average crankshaft bearing diameter. |

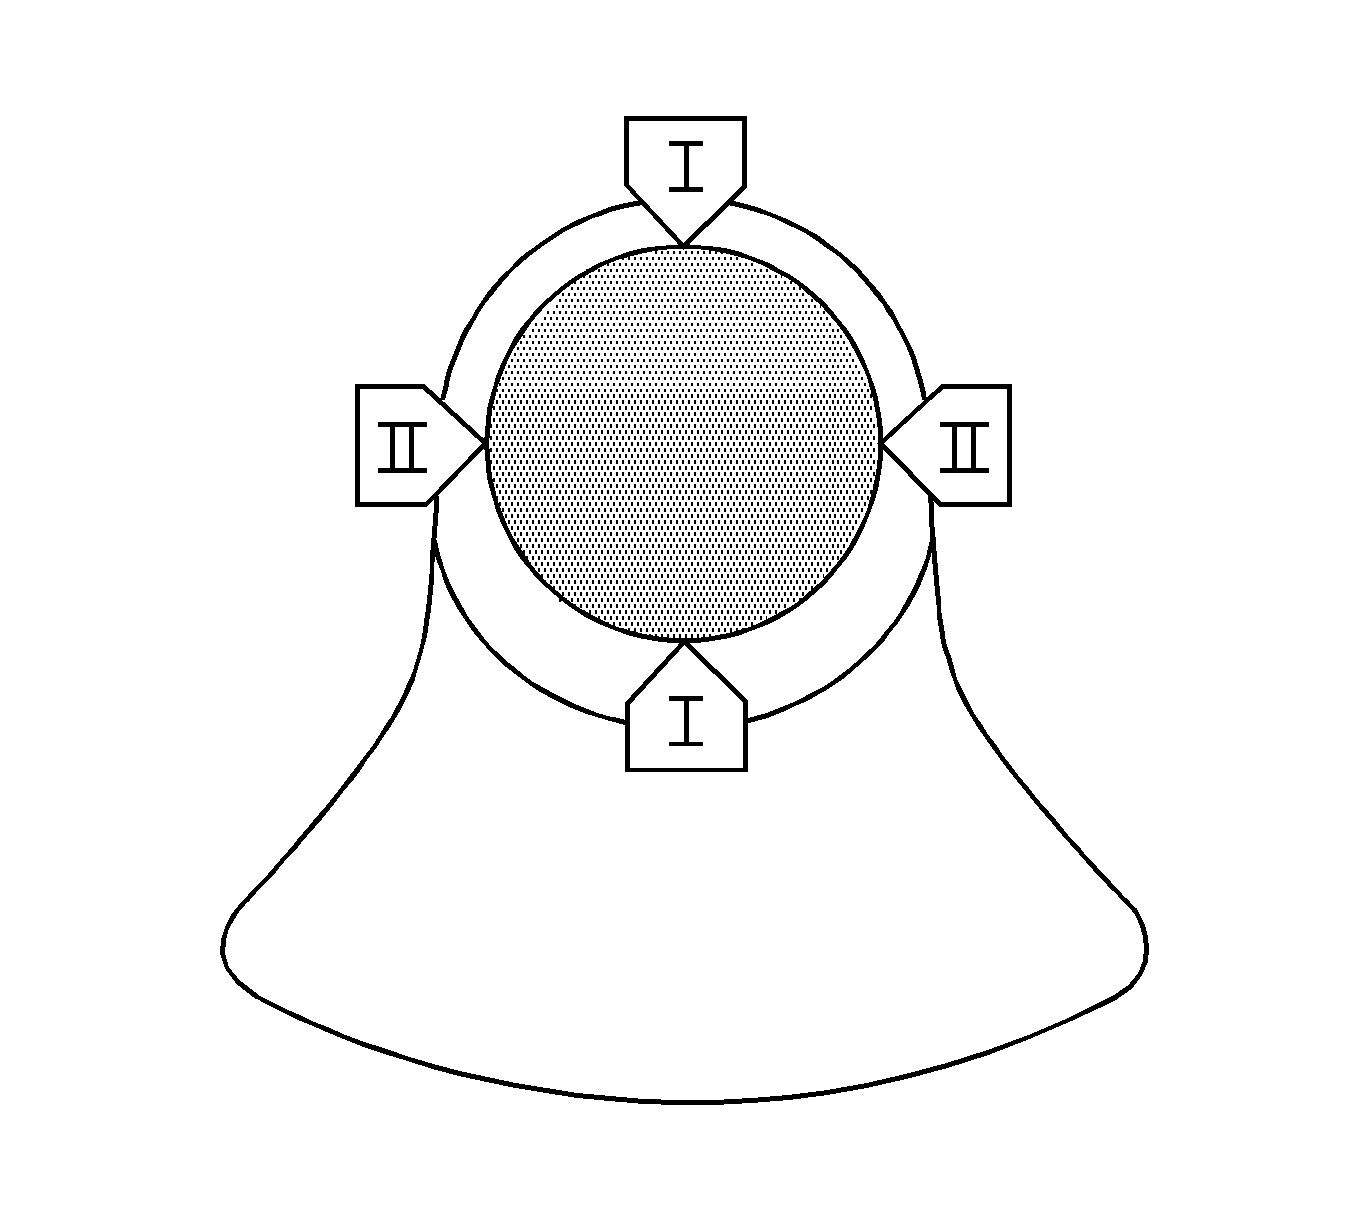
- Measure the crankshaft bearing journal diameter at 2 points.
Measure at points I and II with the micrometer gage.
- Calculate the average crankshaft bearing journal diameter.
Formula: I + II/2.
- Determine the crankshaft bearing play.
Calculation formula: average crankshaft bearing diameter minus average crankshaft bearing journal diameter.
- Nominal-Actual comparison.
Permissible crankshaft bearing play: 0.005-0.059 mm (0.0002-0.0023 in).
