Removal Procedure
Tools Required
J 5825-A Crankshaft Sprocket Remover
- Remove the engine front cover. Refer to Engine Front Cover Replacement .
- Rotate the crankshaft until the timing marks in the following locations are aligned:
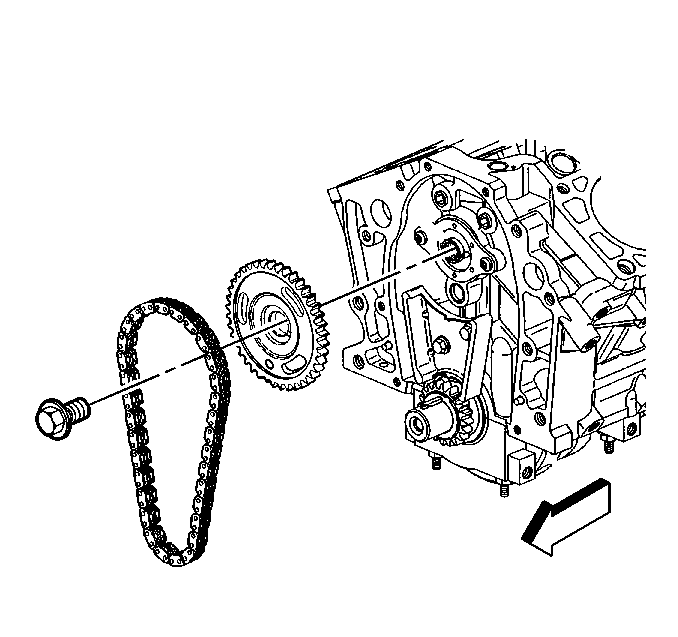
- Remove the camshaft sprocket bolt.
- Remove the camshaft sprocket.
- Remove the timing chain.
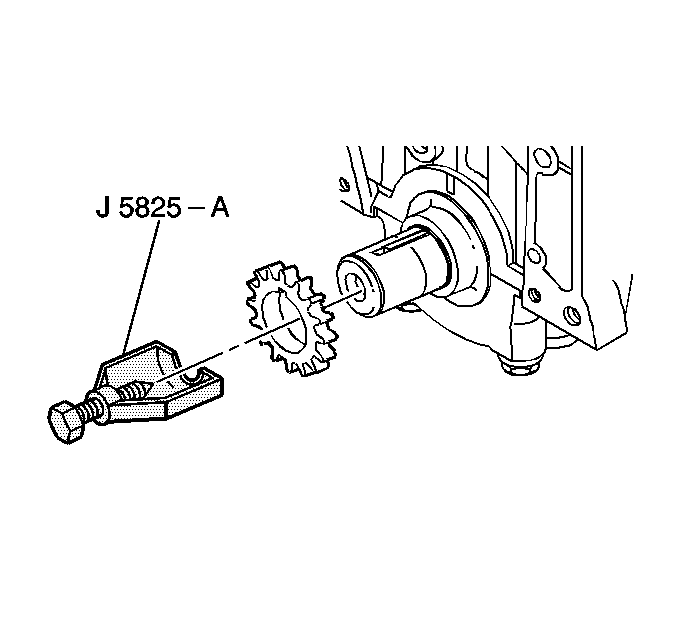
- Use J 5825-A in order to remove the crankshaft sprocket.
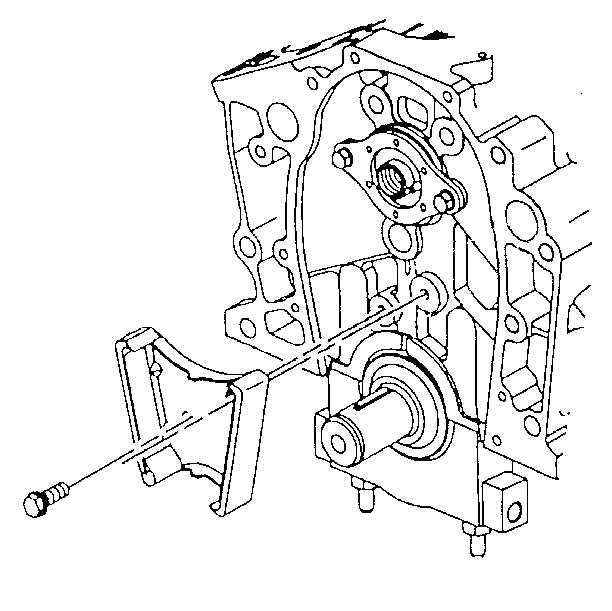
- Remove the timing chain dampener bolts.
- Remove the timing chain dampener.
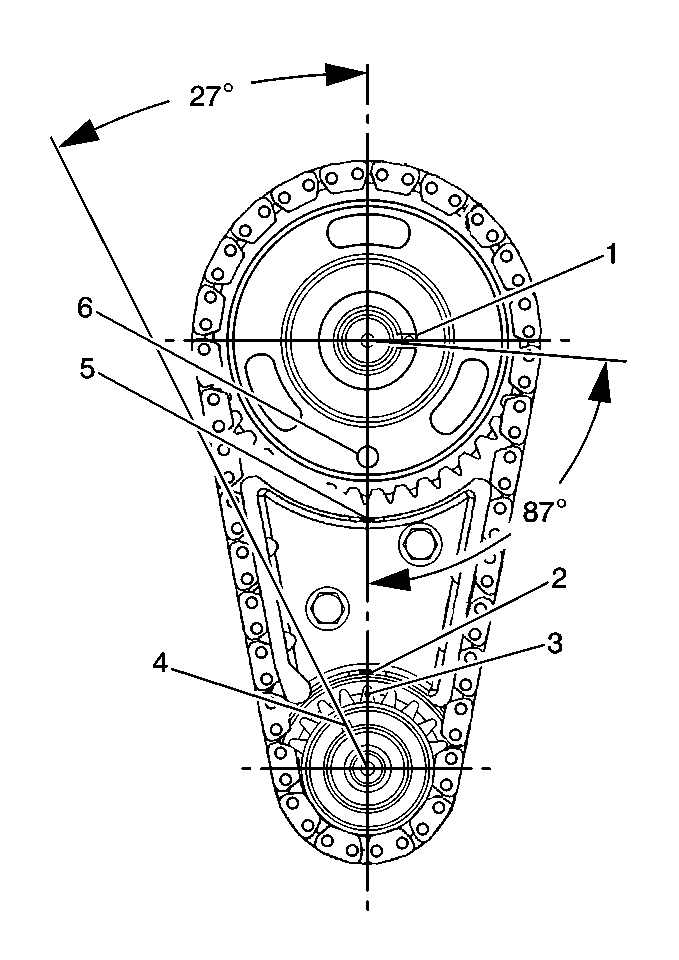
| • | The camshaft alignment pin (1). |
| • | The timing chain dampener (2) to the crankshaft sprocket (3). |
| • | The crankshaft key (4). |
| • | The timing chain dampener (5) to the camshaft sprocket locator hole (6). |
Installation Procedure
Tools Required
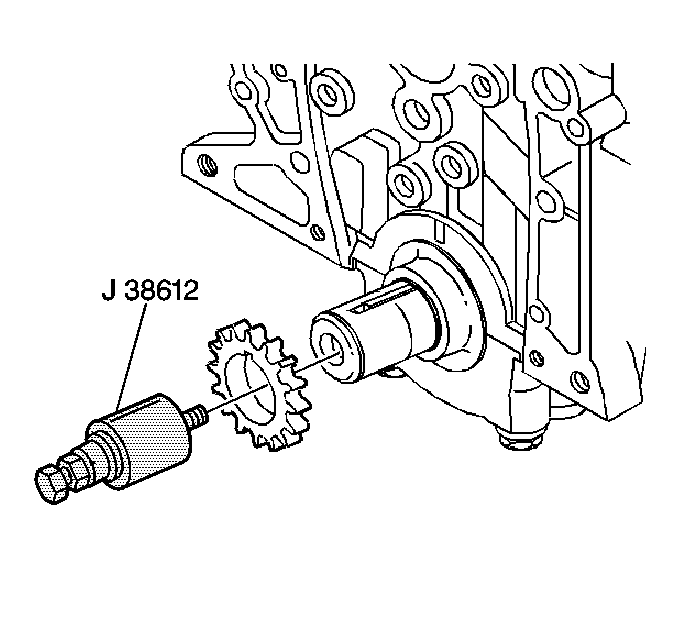
J 38612 Crankshaft Sprocket Installer
- Install the crankshaft sprocket using J 38612 .
- Apply Engine Oil Supplement (EOS) GM P/N 1052367 or equivalent to the sprocket thrust surface.
- Install the timing chain dampener to the block.
- Align the crankshaft timing mark (3) to the timing mark on the bottom of the timing chain dampener (2).
- Hold the camshaft sprocket with the chain hanging down, and install the chain to the crankshaft gear.
- Align the timing mark on the camshaft gear, center line of the locator hole (6), with the timing mark on the top of the chain dampener (5).
- Remove J 38612 .
- Align the dowel in the camshaft with the dowel hole in the camshaft sprocket (1).
- Draw the camshaft sprocket onto the camshaft using the mounting bolt.
- Coat the crankshaft and camshaft sprocket with engine oil.
- Install the bolt.
- Install the engine front cover. Refer to Engine Front Cover Replacement .

Tighten
Tighten the timing chain dampener bolts to 21 N·m (15 lb ft).
Notice: Use the correct fastener in the correct location. Replacement fasteners must be the correct part number for that application. Fasteners requiring replacement or fasteners requiring the use of thread locking compound or sealant are identified in the service procedure. Do not use paints, lubricants, or corrosion inhibitors on fasteners or fastener joint surfaces unless specified. These coatings affect fastener torque and joint clamping force and may damage the fastener. Use the correct tightening sequence and specifications when installing fasteners in order to avoid damage to parts and systems.

Tighten
Tighten the bolt to 110 N·m (81 lb ft).
