For 1990-2009 cars only
Removal Procedure
- Raise and support the vehicle. Refer to Lifting and Jacking the Vehicle in General Information.
- Remove the rear tire and wheel assembly. Refer to Tires and Wheels.
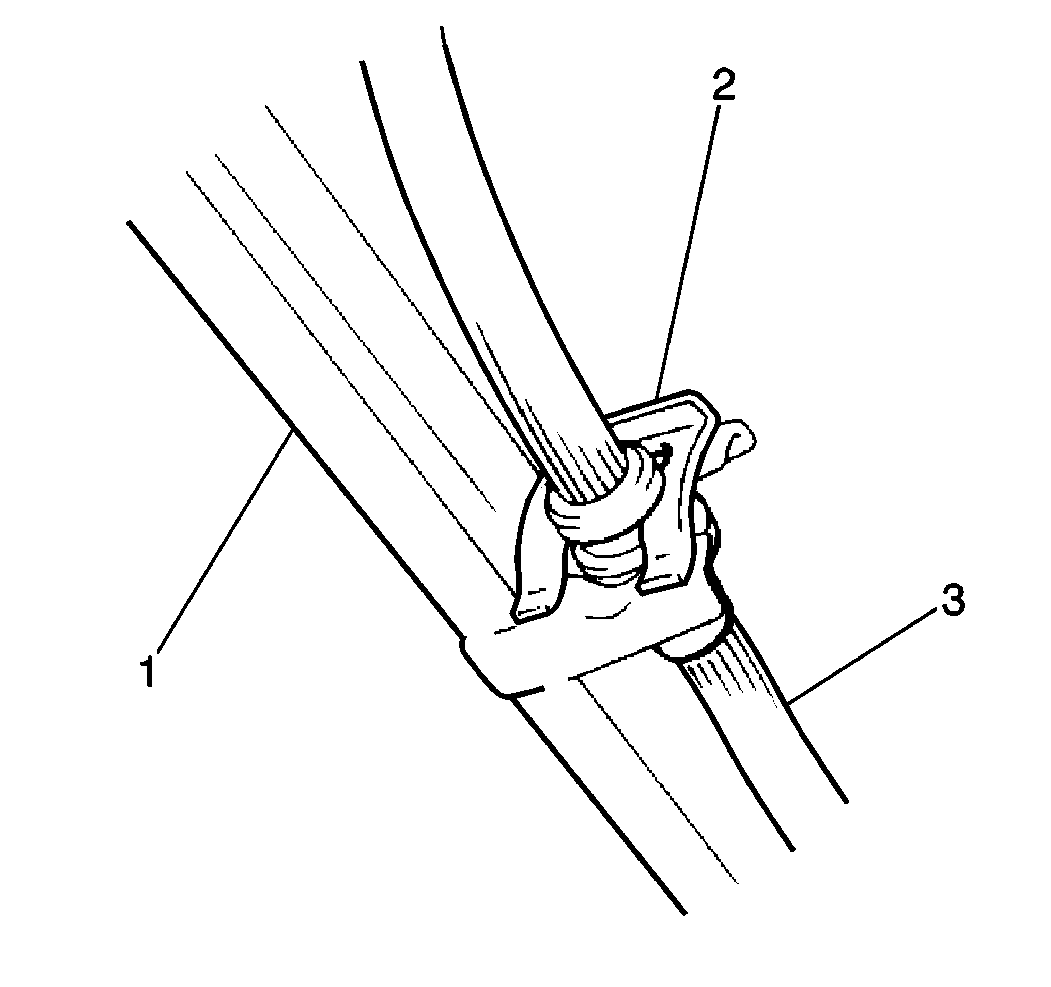
- Disconnect the brake hose (2) from the control arm bracket.
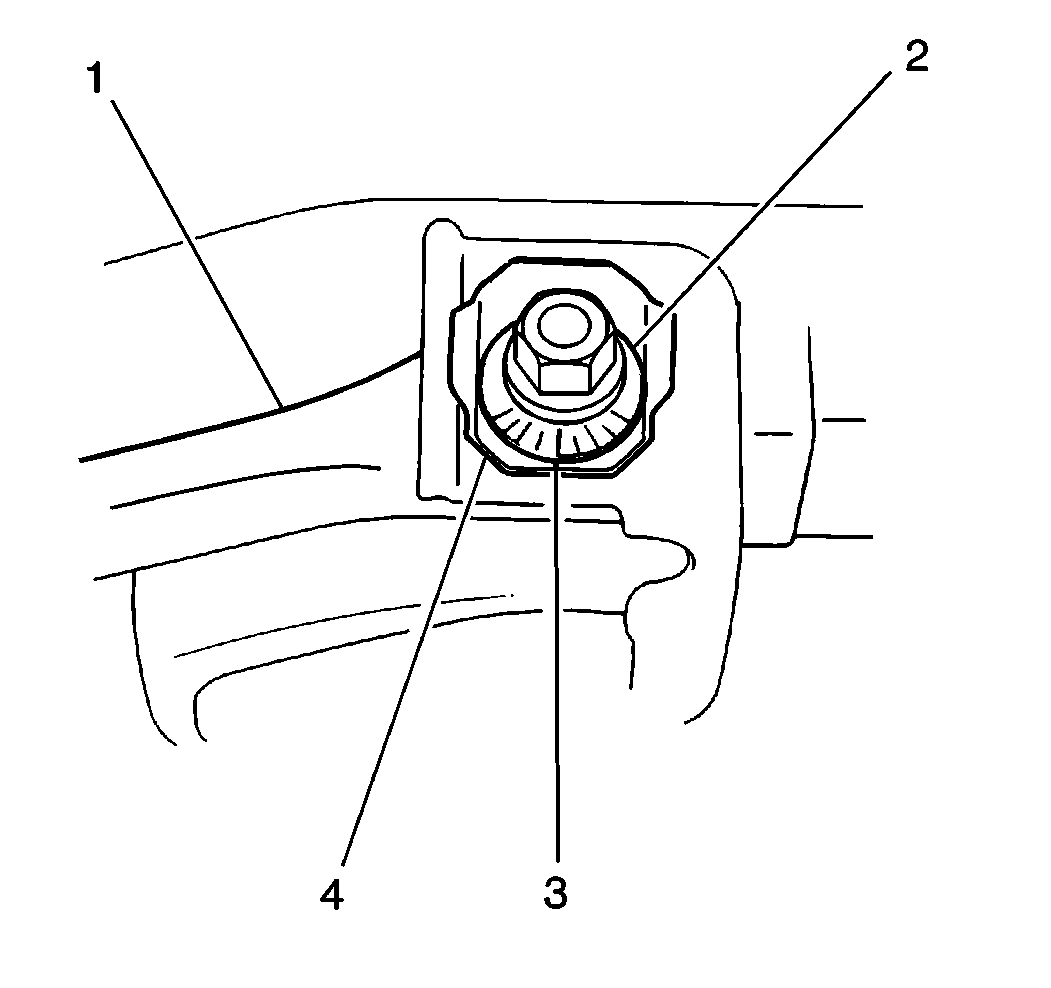
- Scribe a matchmark (3) on the control rod-to-body eccentric cam (2) prior to the bolt removal. This ensures proper eccentric cam positioning and toe following installation of the control rod (1).
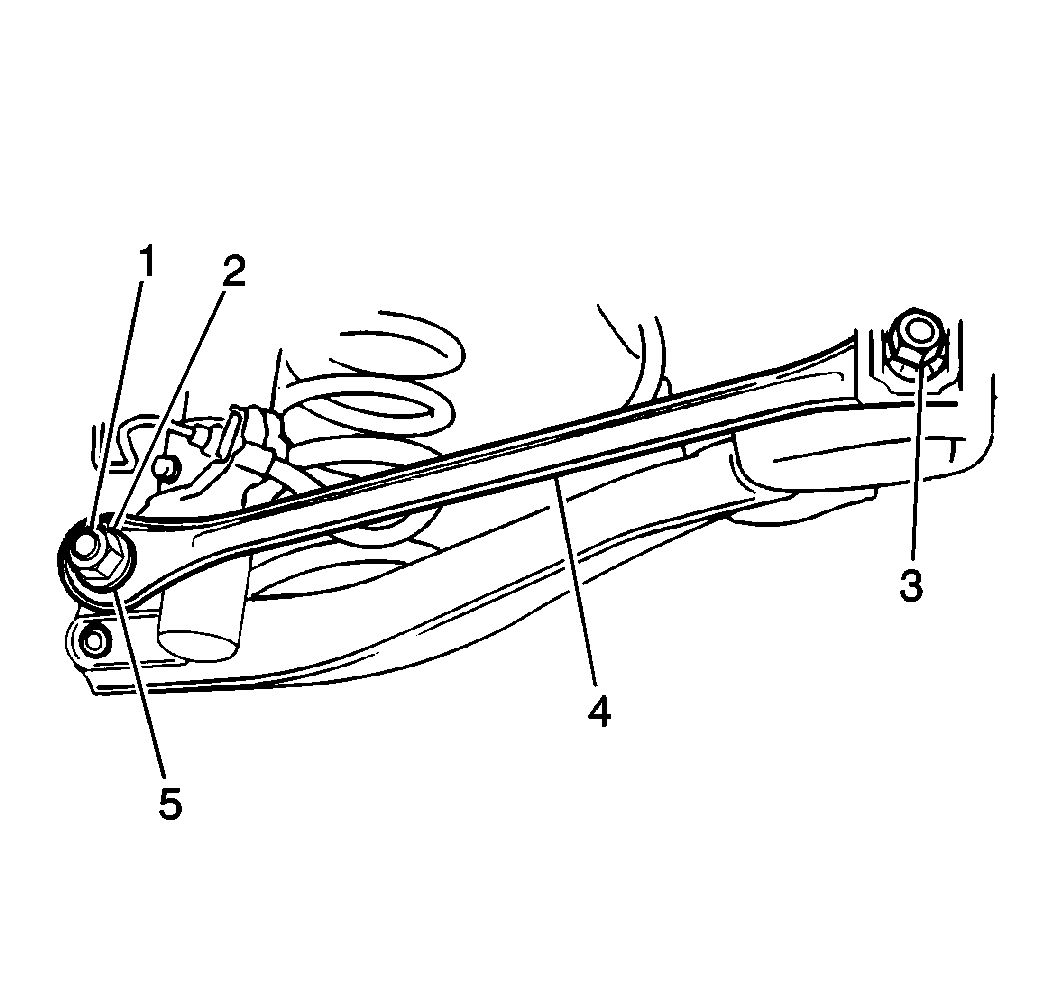
- Remove the control rod-to-body nut and the bolt (3).
- Remove the control rod-to-knuckle nut (2) and the washer. Pull the control rod (4) from the knuckle stud and remove the control rod from the vehicle.
- Inspect the control rod and the bushings for the following conditions. Replace damaged parts as necessary.
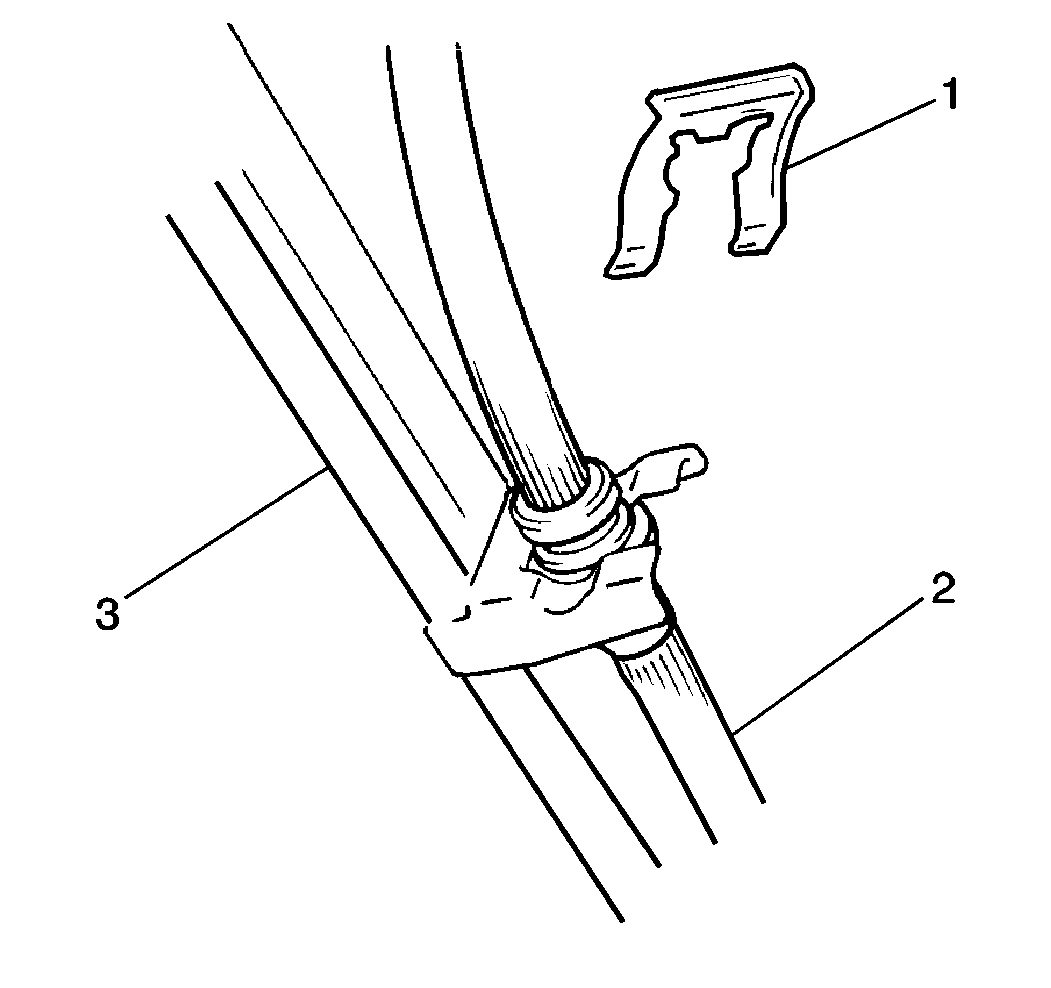
| 3.1. | Remove the E-clip (1) using pliers. |
| 3.2. | Pull the hose from the bracket. |
| • | Cracks |
| • | Deterioration |
| • | Wear |
Installation Procedure
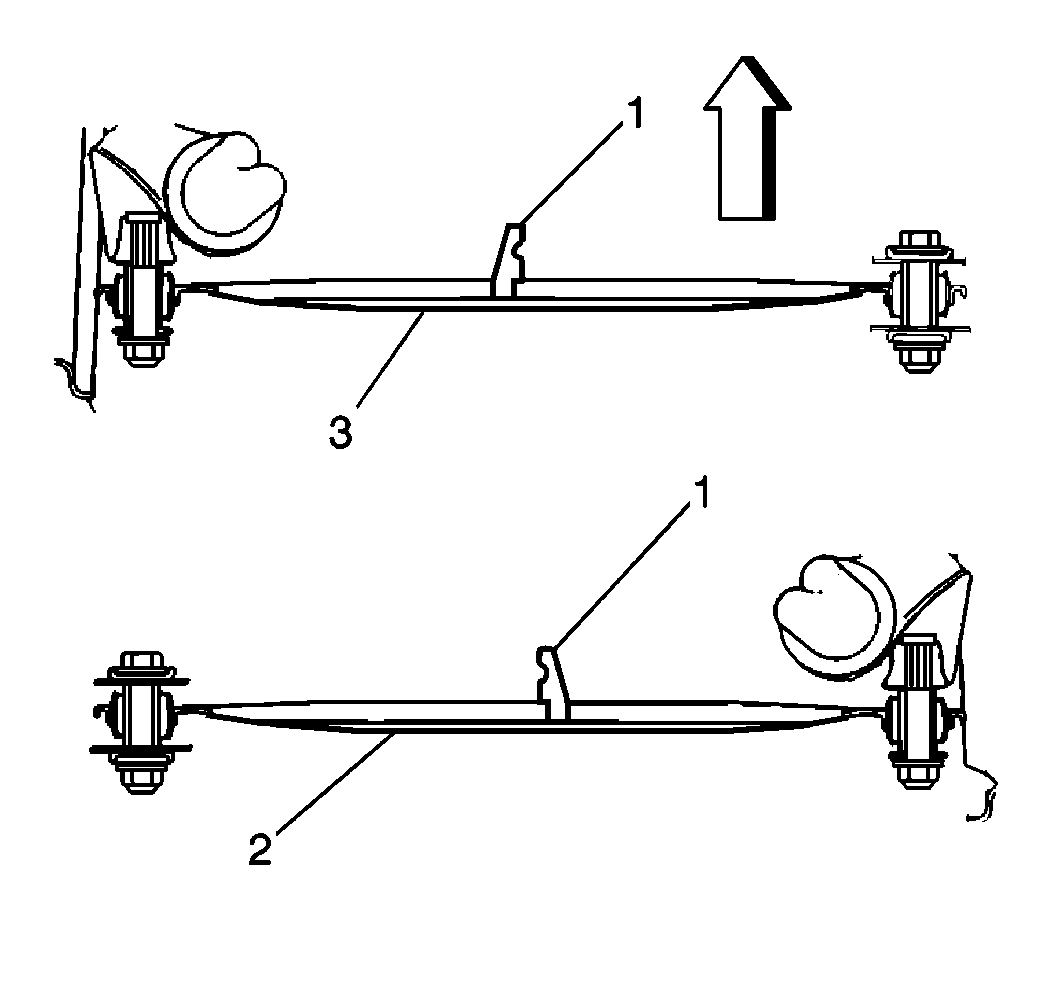
- Note the angle of the brake hose mounting brackets (1) welded to each control rod. This determines the installation direction of the control rod.
- Install the control rod to the suspension knuckle. Secure with a washer (3) and a nut (2).
- Install the control rod to the body:
- Install the brake hose (3) to the control arm bracket. Secure with the E-clip (2).
- Install the rear tire and wheel assembly. Refer to Tire and Wheel Removal and Installation in Tires and Wheels.
- Lower the vehicle.

| 3.1. | Install the bolt, the eccentric cam, the washer and the nut. Align the slots on the bolt washer and the cam. |
| 3.2. | Align the match marks on the eccentric cam and the body made prior to removal. Turn the bolt in order to move the cam (they will move together). |
Notice: Use the correct fastener in the correct location. Replacement fasteners must be the correct part number for that application. Fasteners requiring replacement or fasteners requiring the use of thread locking compound or sealant are identified in the service procedure. Do not use paints, lubricants, or corrosion inhibitors on fasteners or fastener joint surfaces unless specified. These coatings affect fastener torque and joint clamping force and may damage the fastener. Use the correct tightening sequence and specifications when installing fasteners in order to avoid damage to parts and systems.
| 3.3. | Hold the bolt head using a wrench when tightening the nut in order to keep the eccentric cam stationary. |
Tighten
| • | Tighten the control rod-to-suspension knuckle nut to 80 N·m (59 lb ft). |
| • | Tighten the control rod-to-body bolt and the nut to 80 N·m (59 lb ft). |
