Removal Procedure
- Raise and support the vehicle. Refer to Lifting and Jacking the Vehicle in General Information.
- Remove the rear wheel and tire assembly. Refer to Tire and Wheel Removal and Installation in Tires and Wheels.
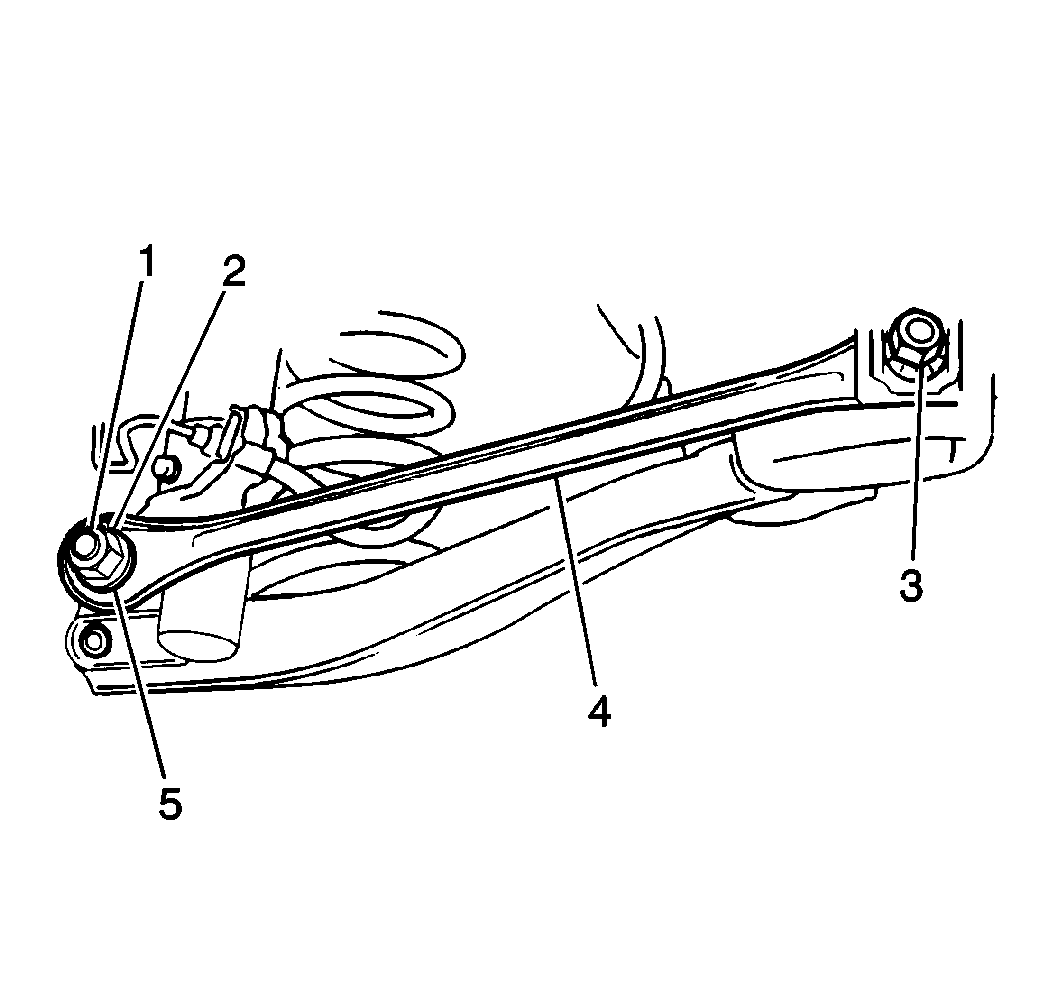
- Remove the control rod-to-knuckle nut (2) and the washer.
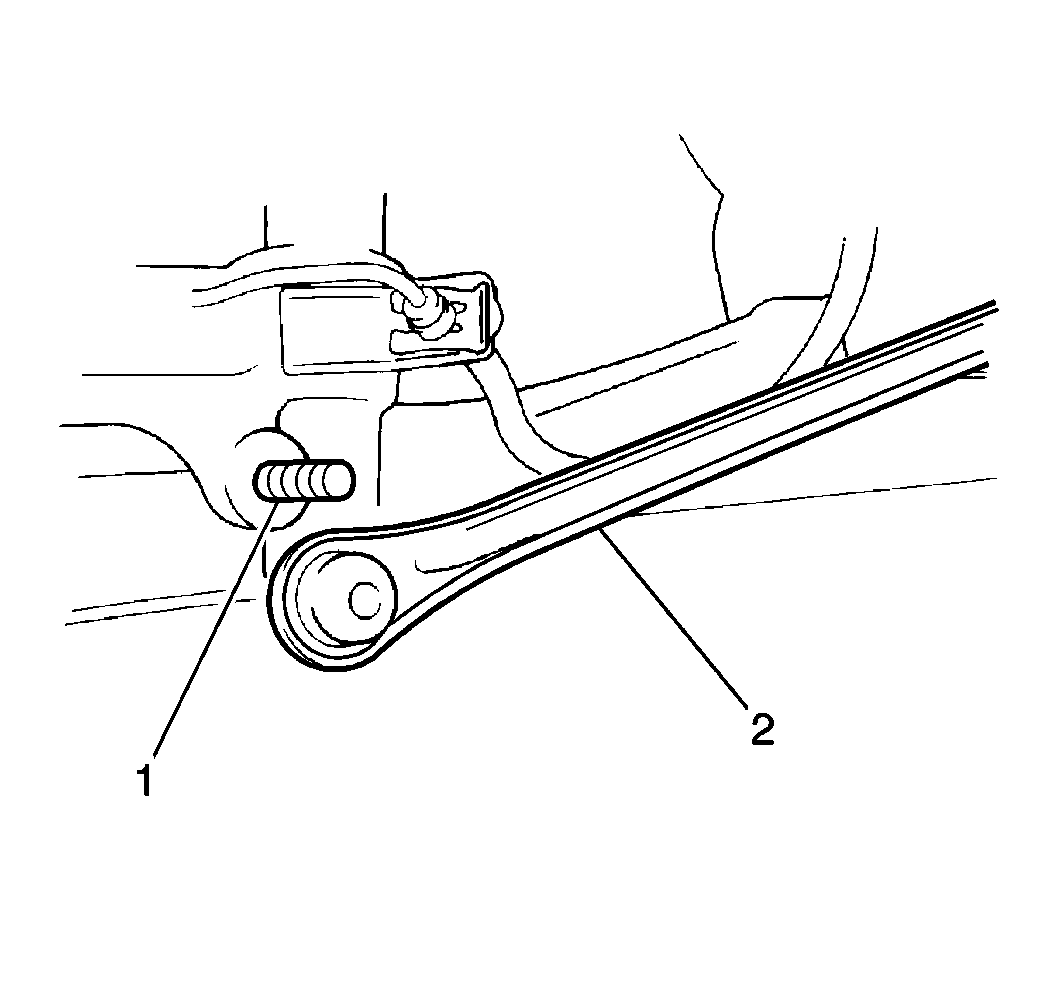
- Remove the control rod (2) from the knuckle stud (1).
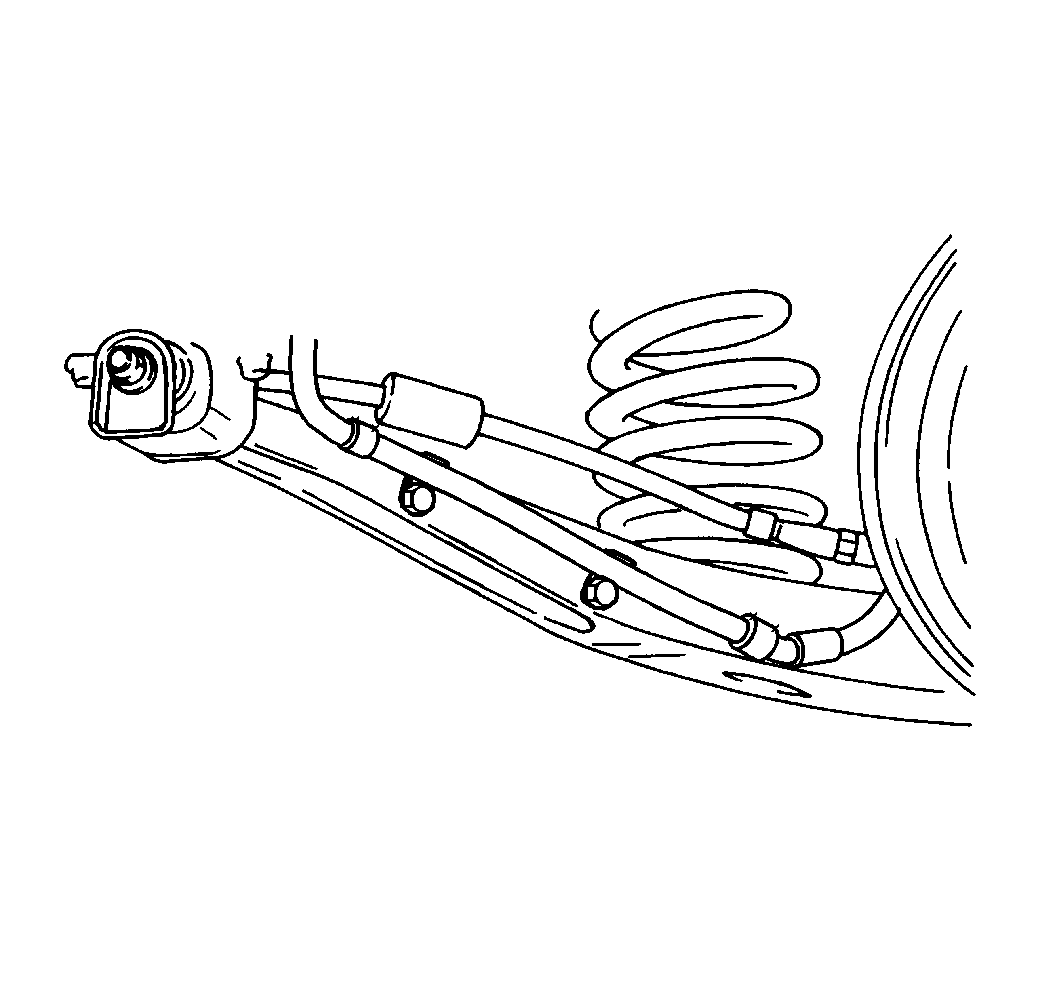
- On ABS equipped vehicles, disconnect the wheel speed sensor electrical connector and remove the sensor harness from the control arm.
- Remove the stabilizer link from the control arm.
- Support the suspension arm using a floor jack.
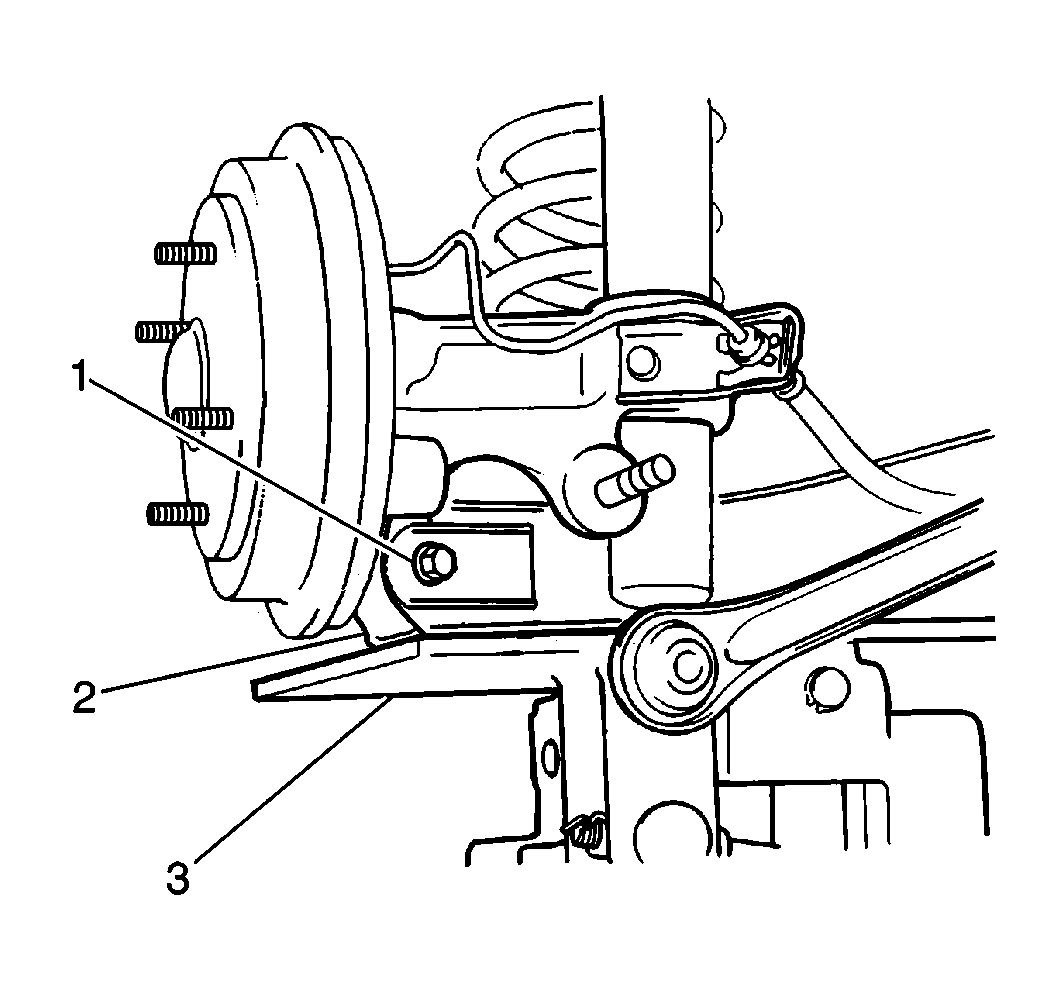
- Remove the suspension arm-to-knuckle bolt (1) and the nut.
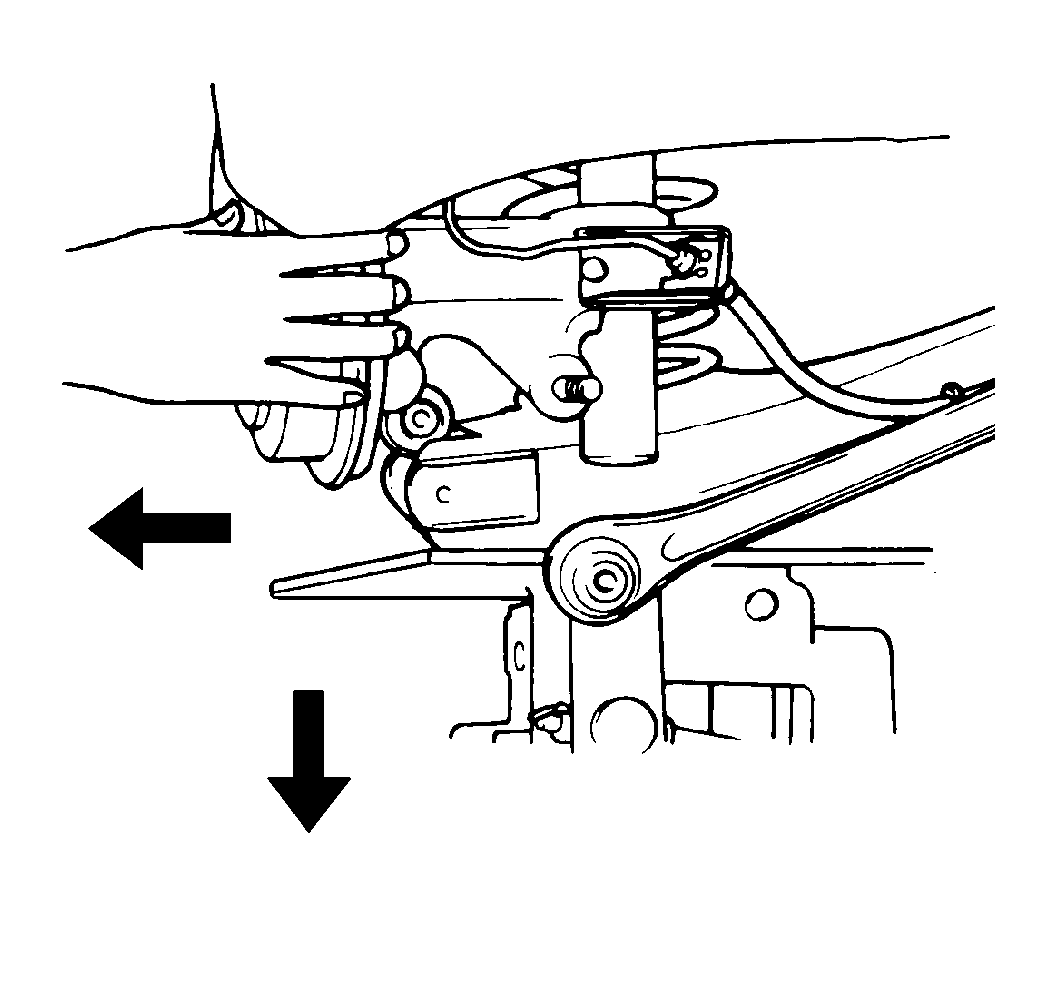
- Manually pull the knuckle assembly from the suspension arm.
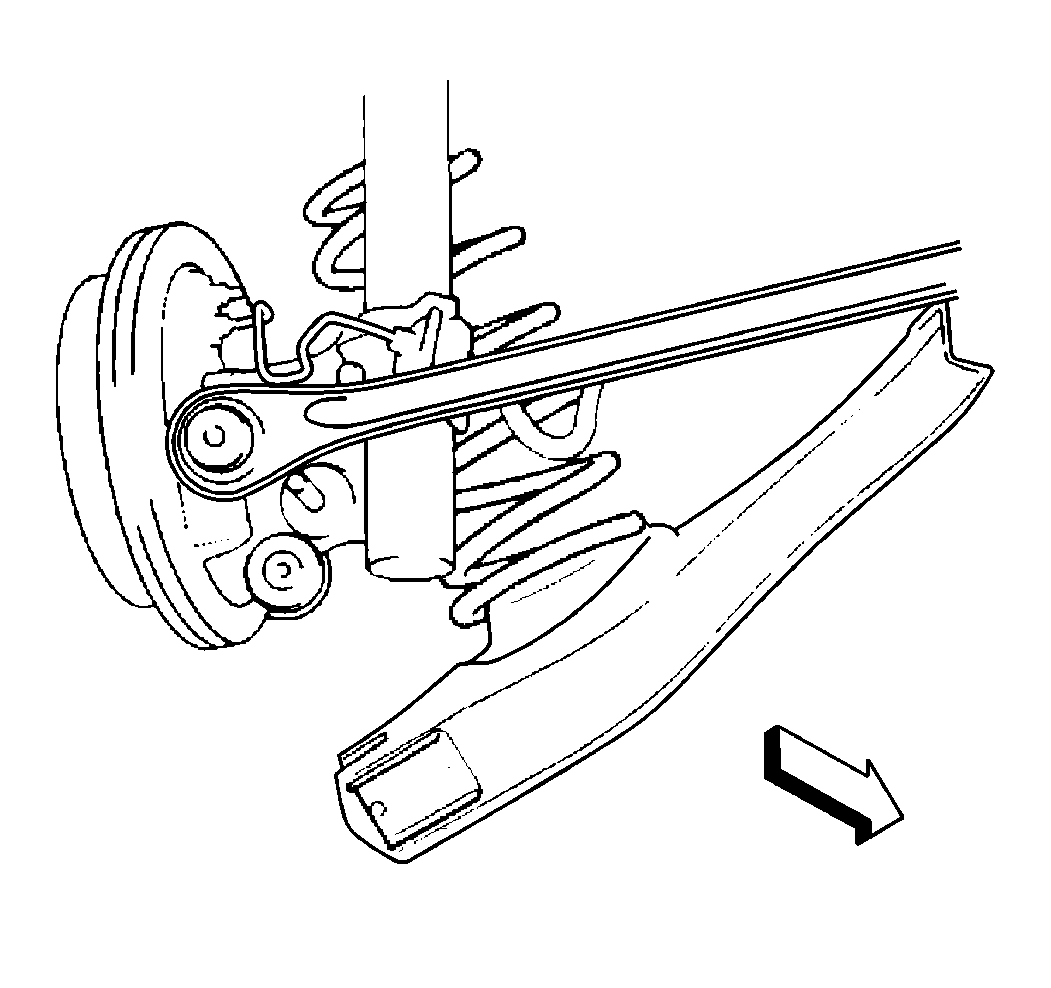
- Slowly lower the floor jack, dropping the suspension arm and the coil spring.
- Remove the spring from the suspension arm and the upper seat.
- Inspect the spring and the upper seat for the following conditions. Replace the seats as necessary.
| • | Cracks |
| • | Deterioration |
| • | Wear |
Installation Procedure
- Install the spring (2) to the suspension arm (3). Ensure that the spring seats properly in the stepped part of the arm (1).
- Raise the floor jack until the suspension arm is level with the suspension knuckle. Align the bolt holes on the suspension arm and the knuckle assembly.
- Install the suspension arm-to-knuckle bolt (1) and the nut.
- On ABS equipped vehicles, connect the wheel speed sensor electrical connector and install the sensor harness to the control arm.
- Install the stabilizer link to the control arm.
- Install the control rod (2) to the knuckle stud (1).
- Secure the control rod (4) with the washer and the nut (2).
- Lower and remove the floor jack.
- Install the rear tire and wheel assembly. Refer to Tire and Wheel Removal and Installation in Tires and Wheels.
- Lower the vehicle.
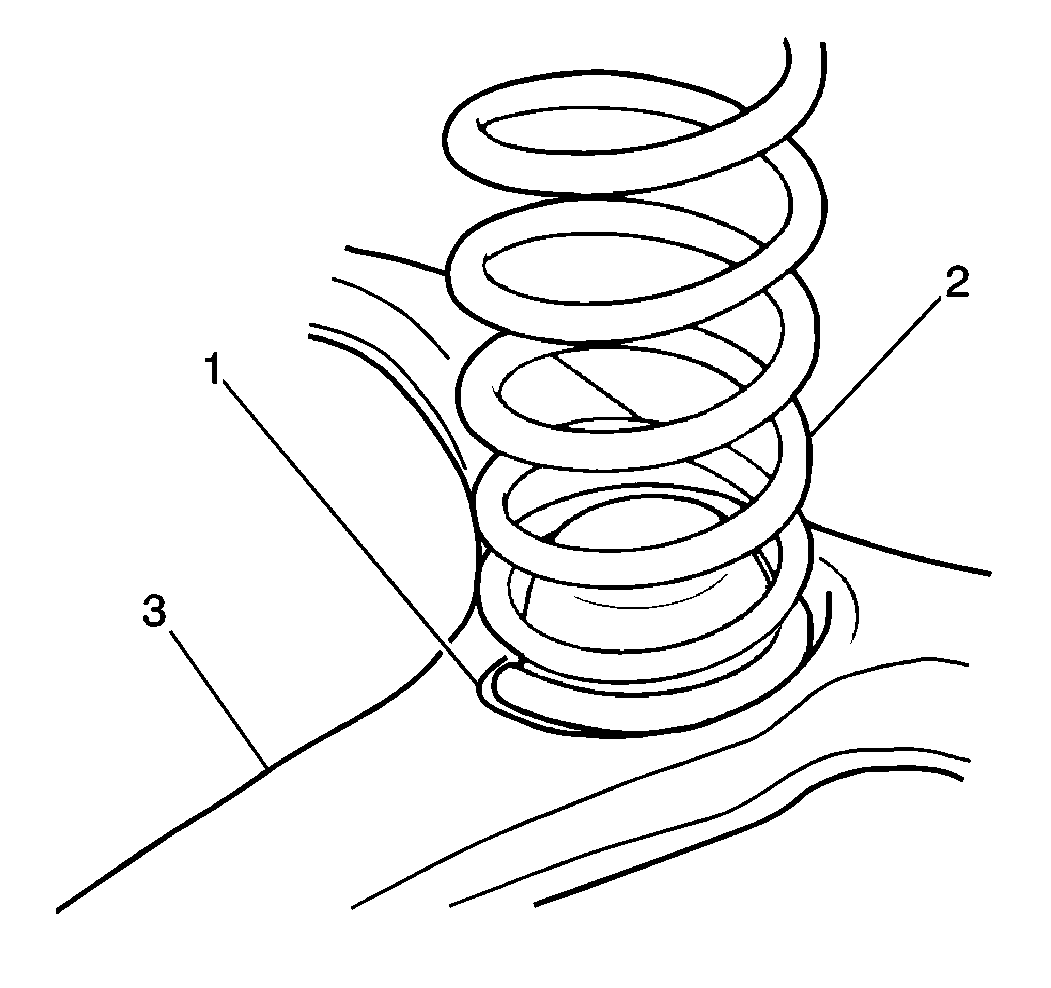
Important: The bottom of the spring is larger in diameter than the top. Do not install the spring upside down.

Notice: Use the correct fastener in the correct location. Replacement fasteners must be the correct part number for that application. Fasteners requiring replacement or fasteners requiring the use of thread locking compound or sealant are identified in the service procedure. Do not use paints, lubricants, or corrosion inhibitors on fasteners or fastener joint surfaces unless specified. These coatings affect fastener torque and joint clamping force and may damage the fastener. Use the correct tightening sequence and specifications when installing fasteners in order to avoid damage to parts and systems.
Tighten
Tighten the suspension arm-to-knuckle bolt and the nut to 40 N·m
(29 lb ft).

Tighten
Tighten the stabilizer link-to-control arm link nut to 25 N·m
(19 lb ft).


Tighten
Tighten the control rod-to-suspension knuckle nut to 80 N·m
(59 lb ft).
