For 1990-2009 cars only
Removal Procedure
- With the tires in the straight forward position, remove the key from the ignition.
- Disconnect the negative battery cable. Refer to Battery Negative Cable Disconnection and Connection .
- Remove the air inlet duct and resonator . Refer to Air Cleaner Outlet Resonator Replacement .
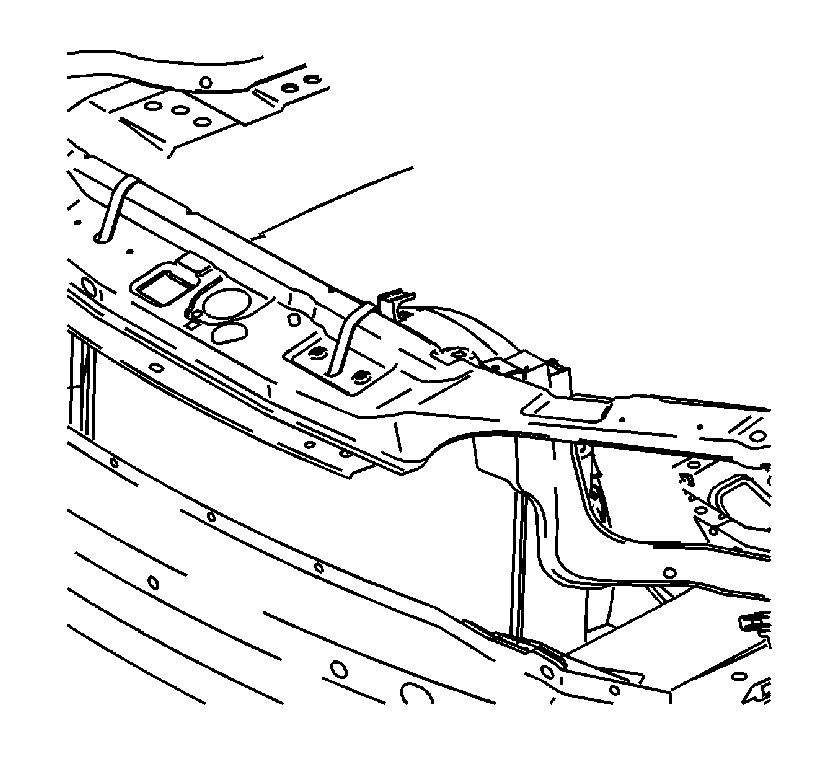
- Secure the cooling module to the upper body structure.
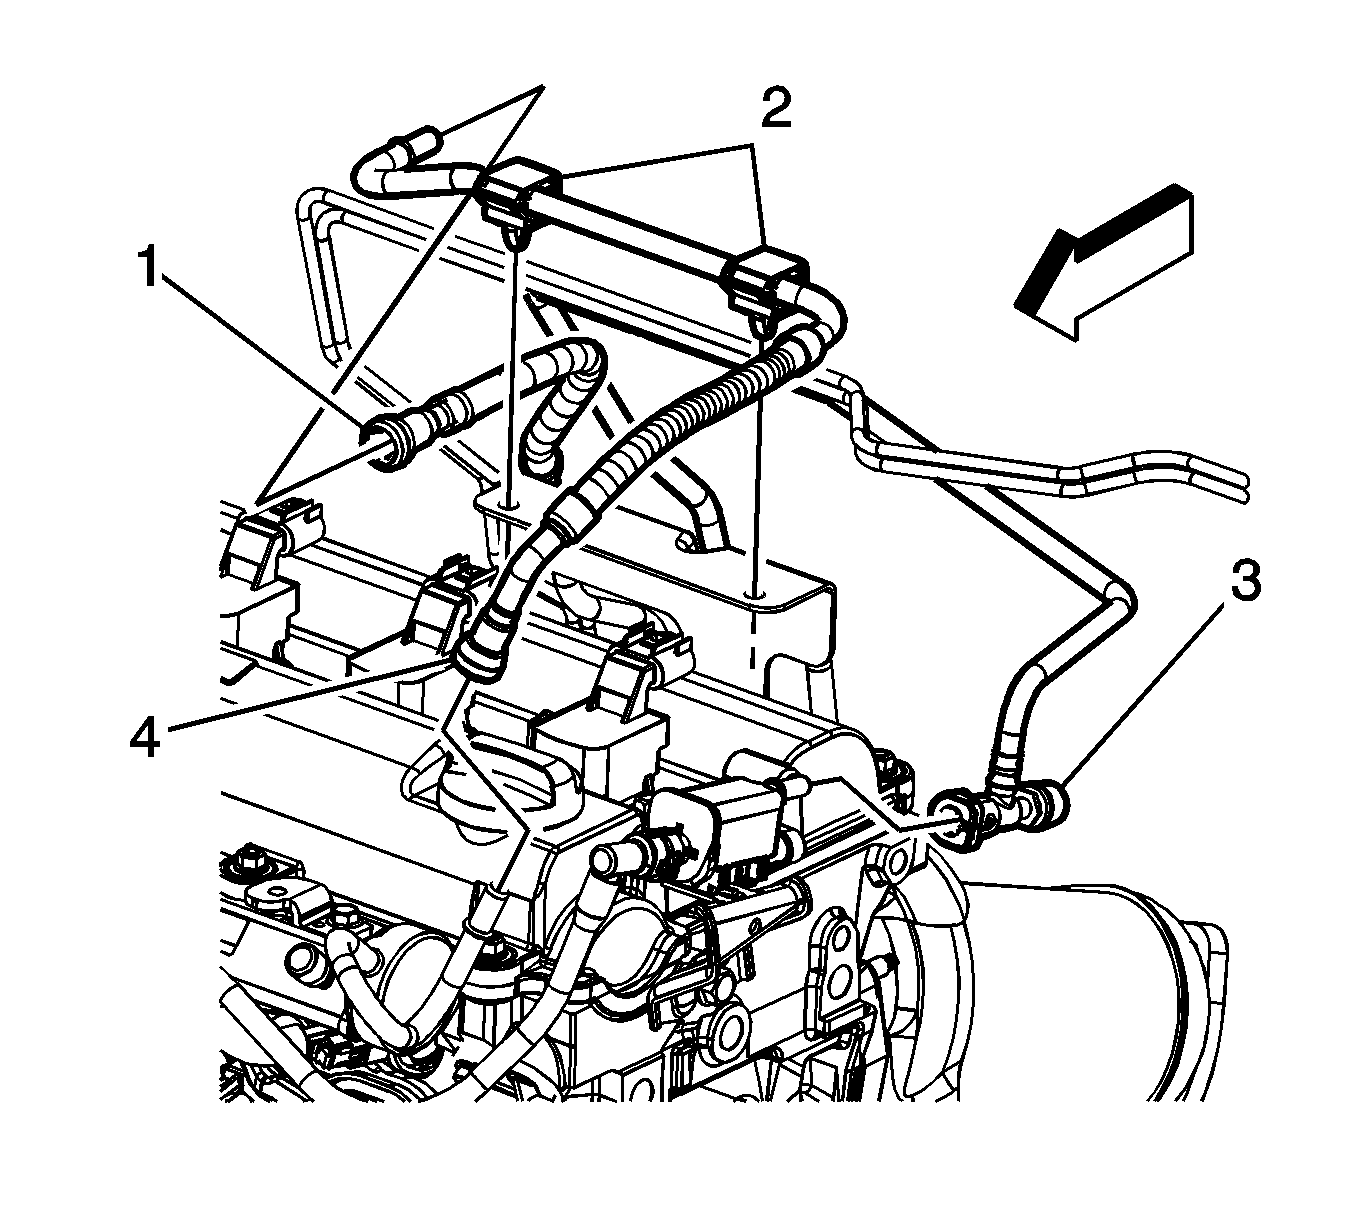
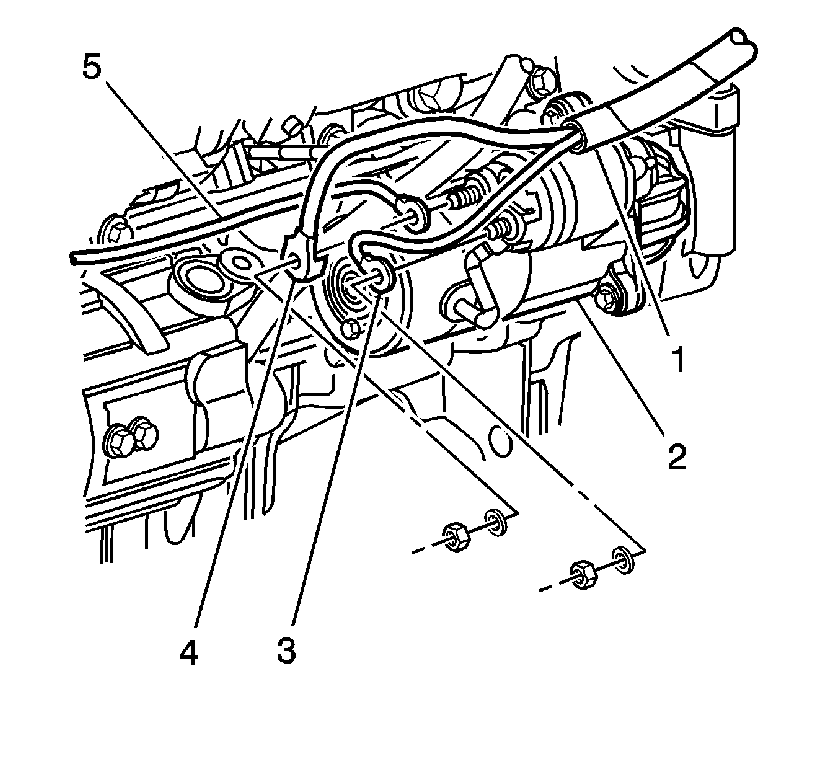
- Disconnect the engine compartment fuel feed line quick connect fitting (4) from the fuel rail. Refer to Metal Collar Quick Connect Fitting Service .
- Drain the cooling system. Refer to Cooling System Draining and Filling .
- Remove the radiator inlet hose. Refer to Radiator Inlet Hose Replacement .
- Remove the surge tank to cylinder head hose. Refer to Radiator Surge Tank Inlet Hose/Pipe Replacement and Radiator Surge Tank Outlet Hose/Pipe Replacement .
- Remove the radiator outlet hose. Refer to Radiator Outlet Hose Replacement .
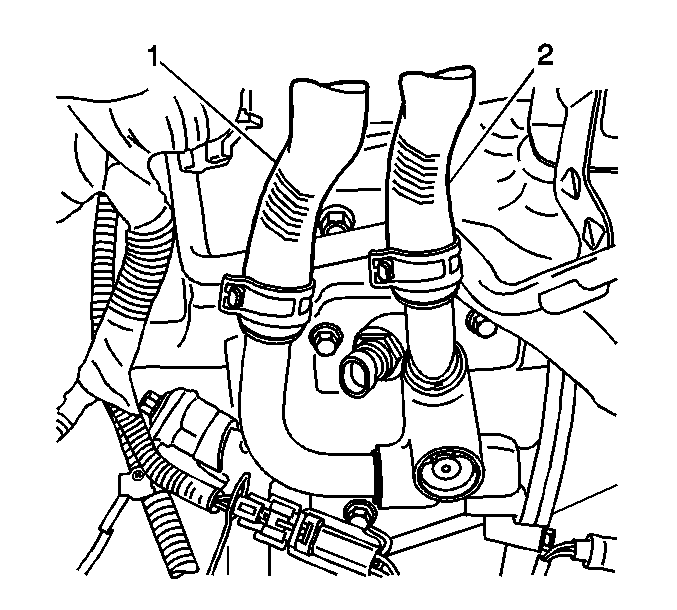
- Remove the inlet (1) and outlet (2) heater hoses. Refer to Heater Inlet Hose Replacement and to Heater Outlet Hose Replacement .
- Disconnect the following harness connectors:
- Raise and suitably support the vehicle. Refer to Lifting and Jacking the Vehicle .
- Remove the engine drive belt. Refer to Drive Belt Replacement .
- Remove the AC compressor bolts and set the compressor aside.
- Disconnect the starter harness connectors (3, 4, 5).
- Disconnect the generator harness connectors.
- Drain the engine oil.
- Disconnect the front exhaust pipe from the exhaust manifold. Refer to Exhaust Manifold Replacement .
- Disconnect the transmission harness connectors.
- Disconnect the transmission shift cable from the transmission.
- Use blocks of wood to support the powertrain assembly between the frame and the powertrain.
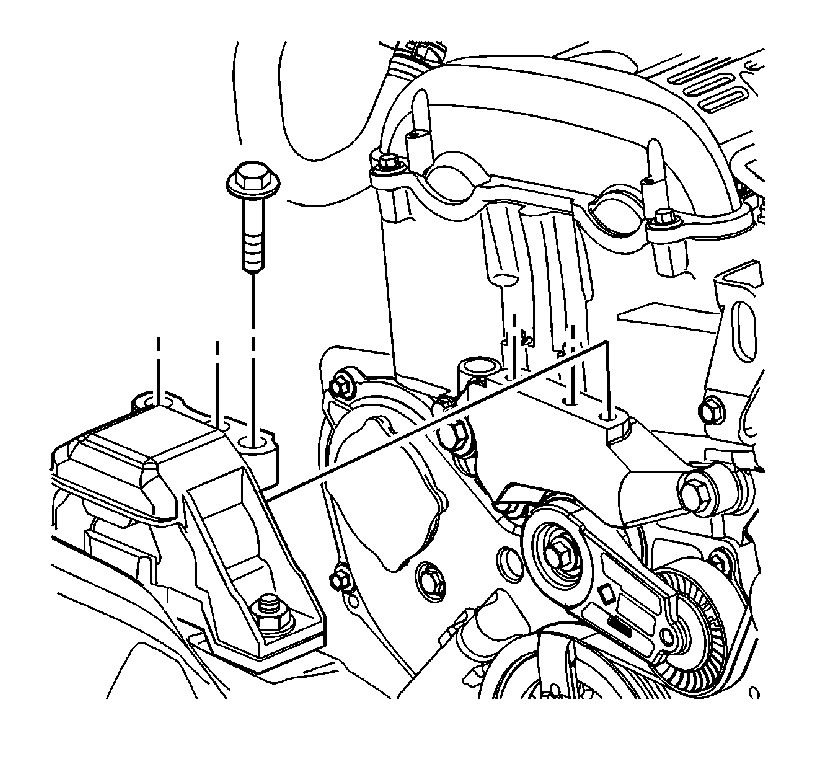
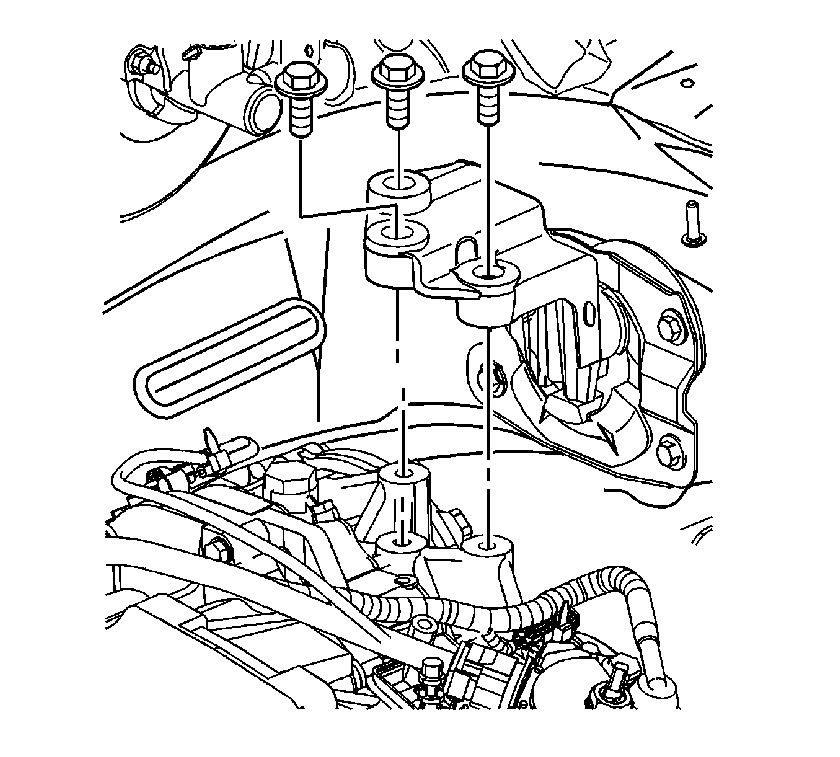
- Remove the engine mount. Refer to Engine Mount Replacement .
- Remove the side transmission mount. Refer to Transmission Replacement .
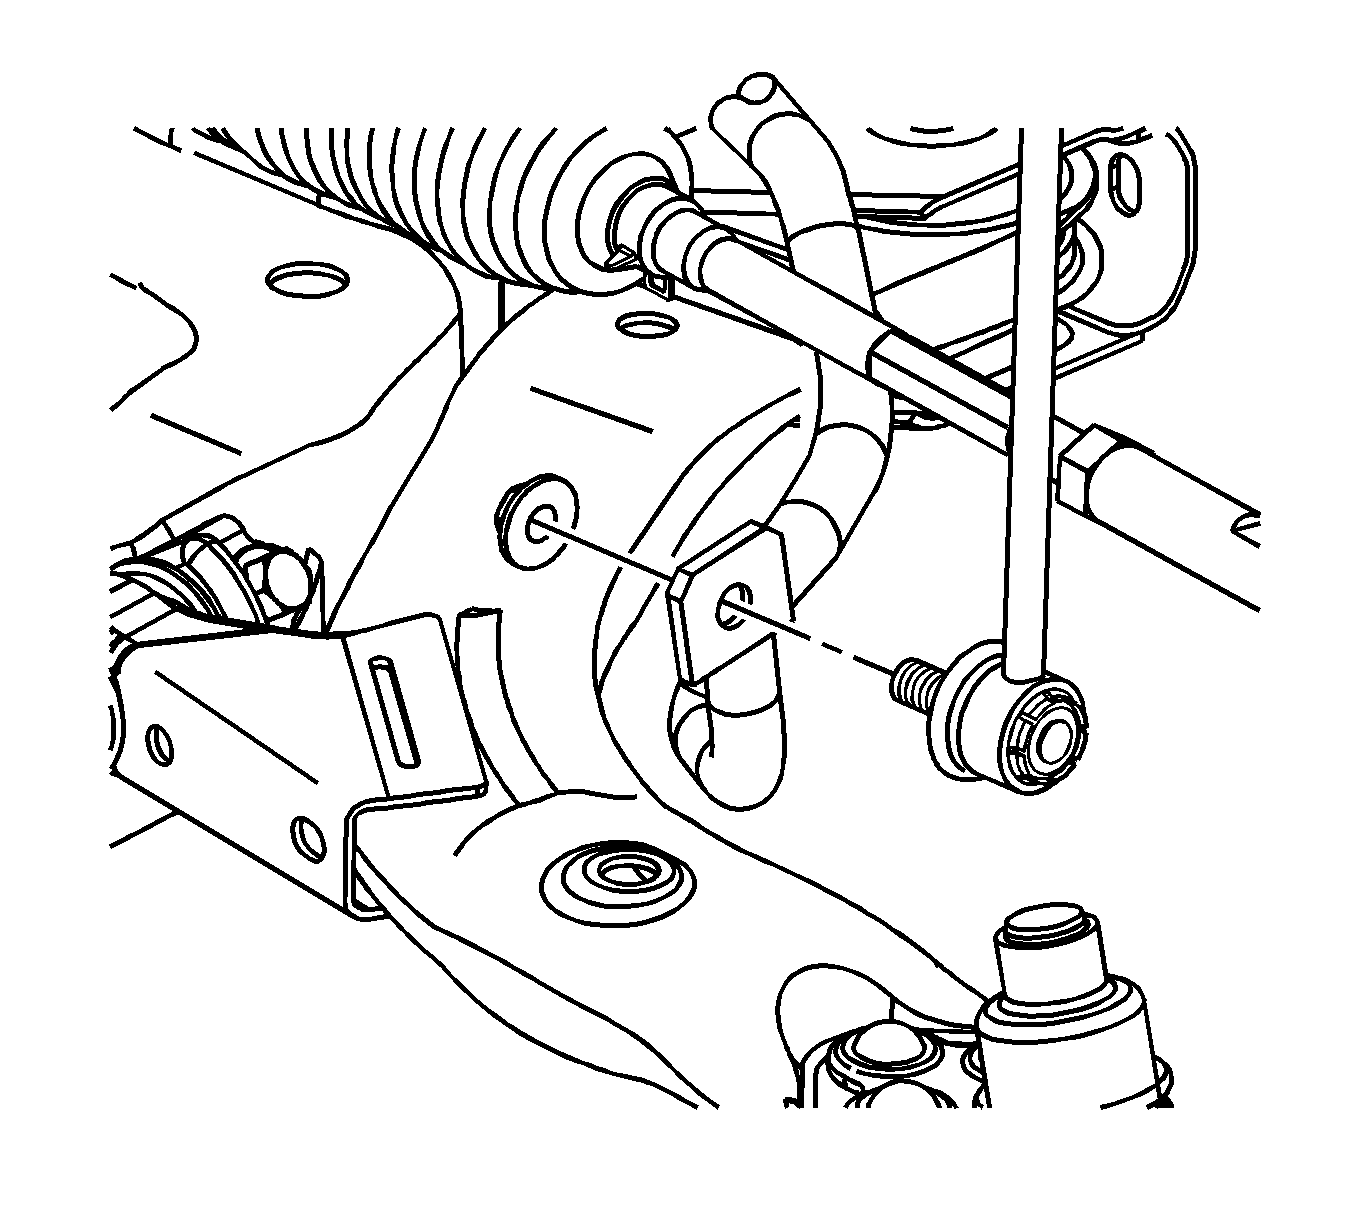
- Disconnect the stabilizer links from the stabilizer bar. Refer to Stabilizer Shaft Link Replacement .
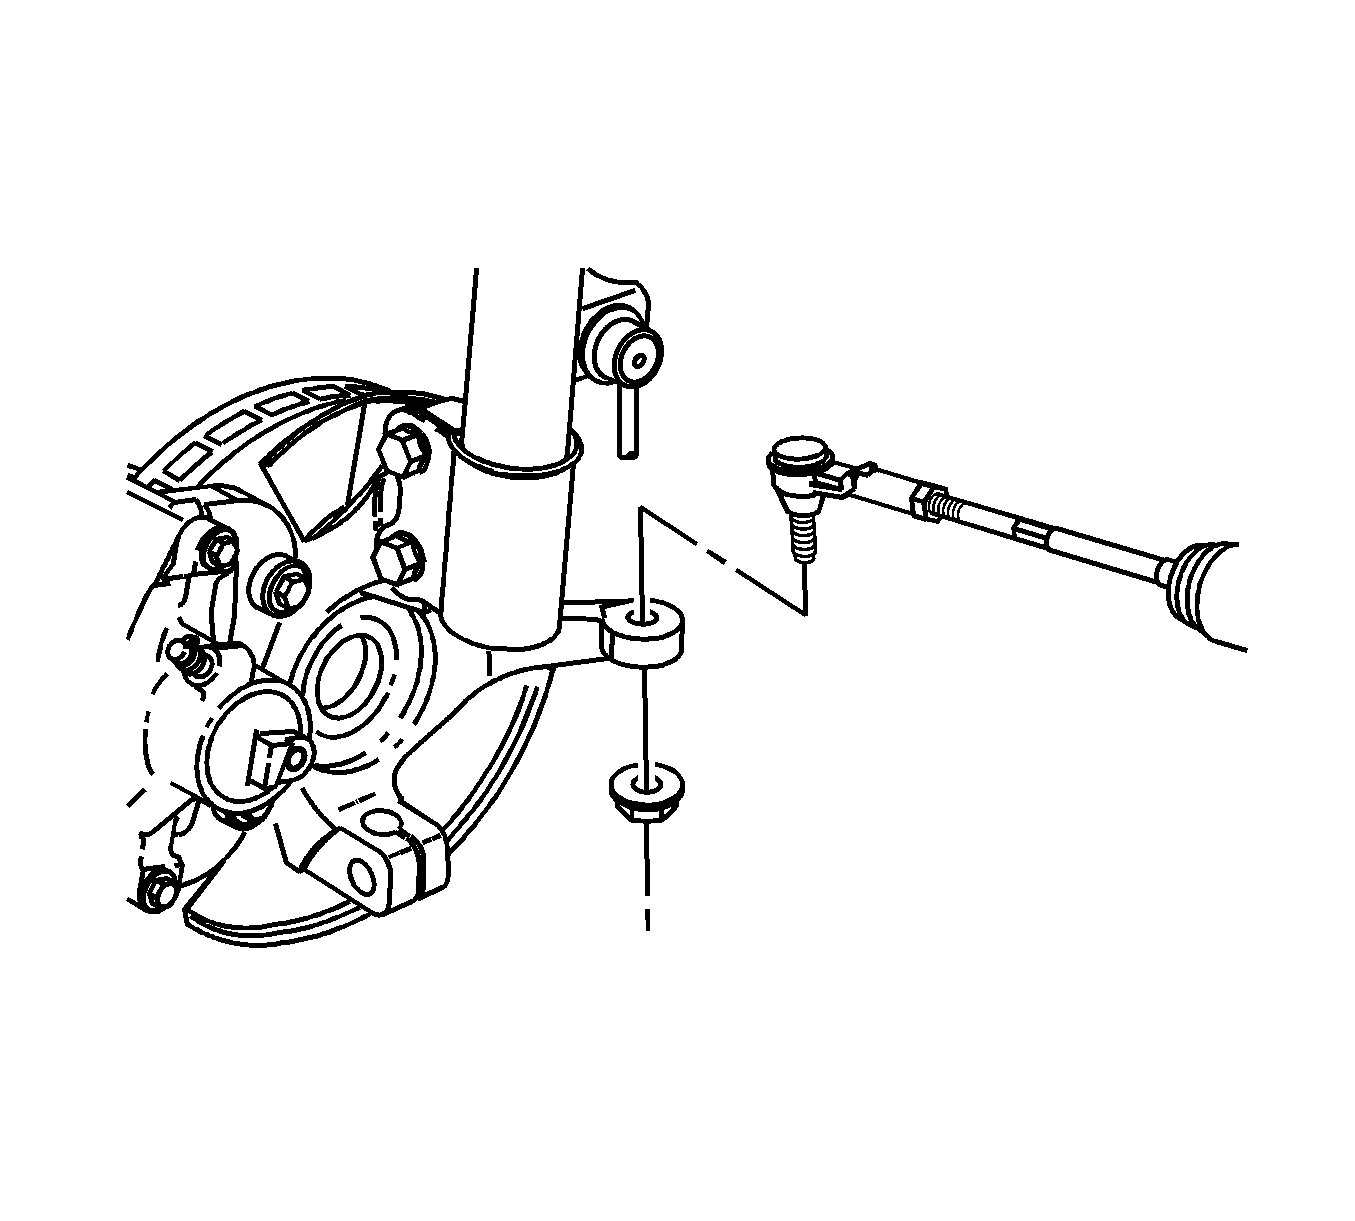
- Disconnect the outer tie rod ends from the steering knuckles. Refer to Rack and Pinion Outer Tie Rod End Replacement .
- Disconnect the intermediate shaft from the steering gear. Refer to Intermediate Steering Shaft Replacement .
- Disconnect the lower control arms from the steering knuckles. Refer to Lower Control Arm Replacement .
- Disconnect the drive axles from the steering knuckle. Refer to Wheel Drive Shaft Replacement .
- Use a paint pen or magic marker in order to mark the frame to body position.
- Lower the vehicle to about 3 feet off the ground in order to position the lift table under the frame.
- Use wood blocks as necessary between the lift table and the frame to support the assembly.
- Slowly remove the frame bolts using the following sequence:
- Slowly lower the table to the floor.
- Attach the engine lift hoist to the engine lift hooks.
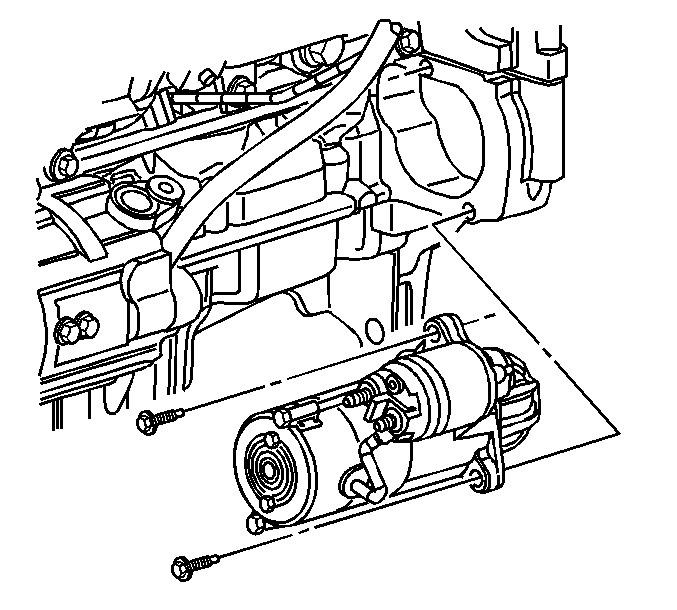
- Remove the starter.
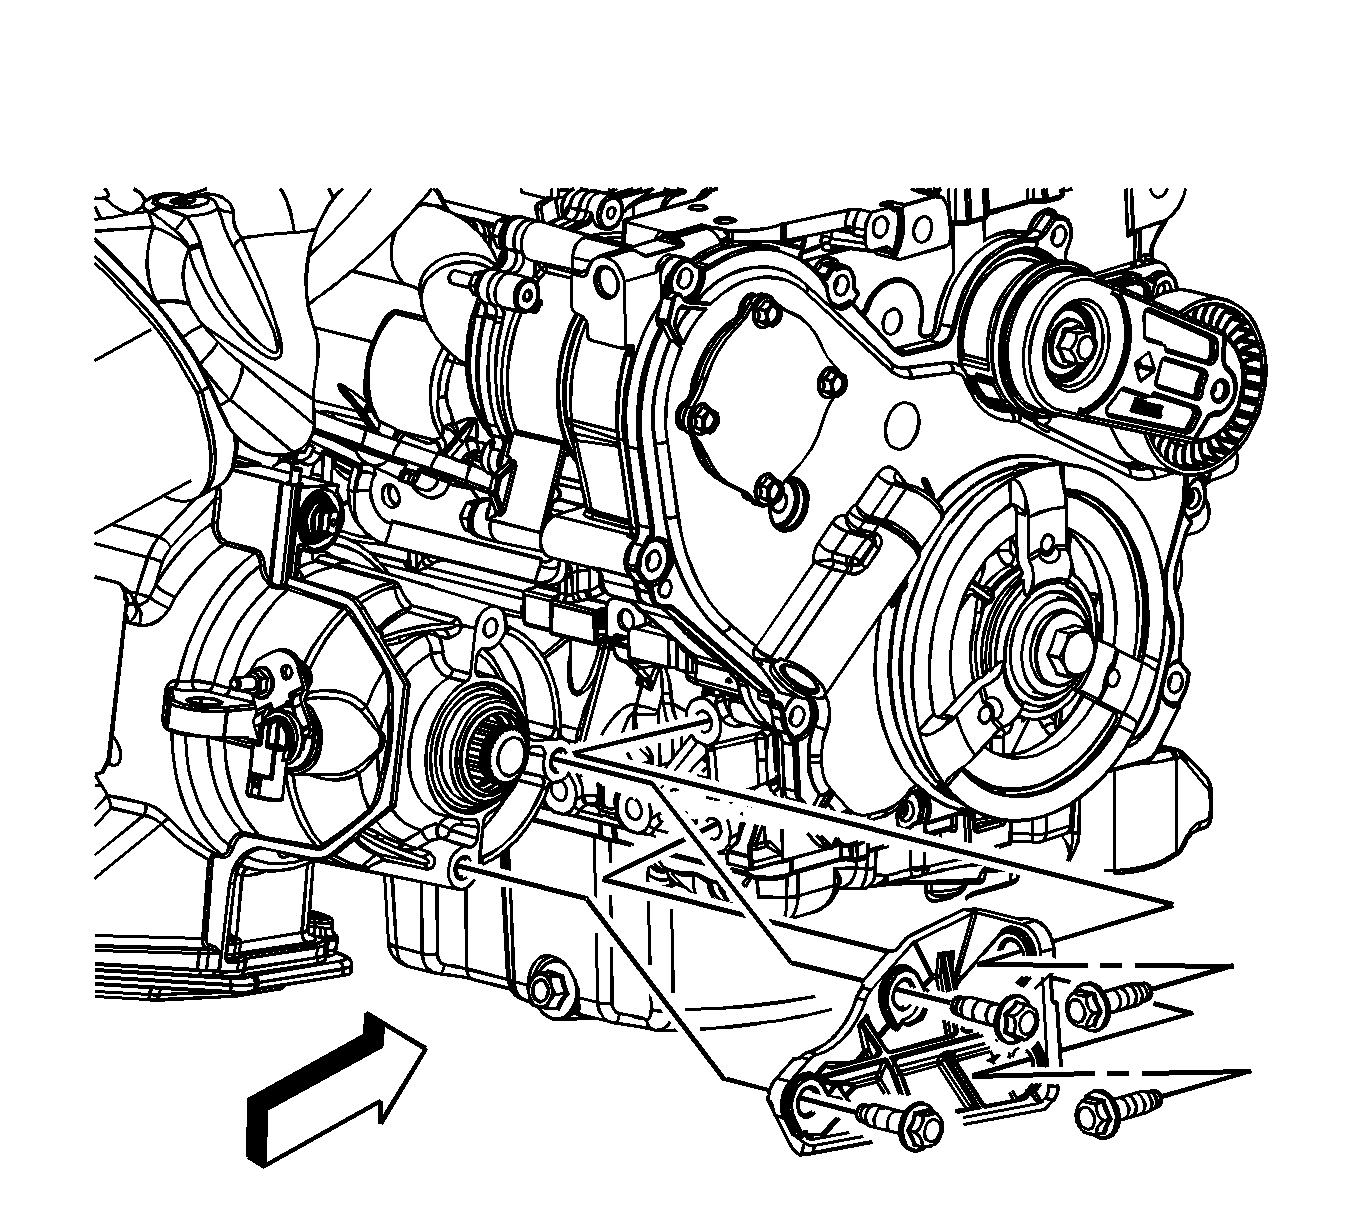
- Remove the transaxle brace to engine bolts.
- Remove the transaxle brace to transaxle bolts and brace.
- Remove the torque converter to flywheel bolts, if applicable.
- Remove the transaxle to engine bolts.
- Separate the engine from the transaxle.
- Remove the clutch pressure plate and disc. if applicable.
- Remove the following components:
- Install the engine to a suitable engine stand.
| • | The electronic throttle control |
| • | The map sensor |
| • | The crankshaft sensor |
| • | The oil pressure sensor |
| • | The purge solenoid |
| • | The ignition coil and module assembly |
| • | The O2 sensor |
| • | The vehicle speed sensor |
| • | The engine temperature sensor |
| • | The back-up lamp switch |
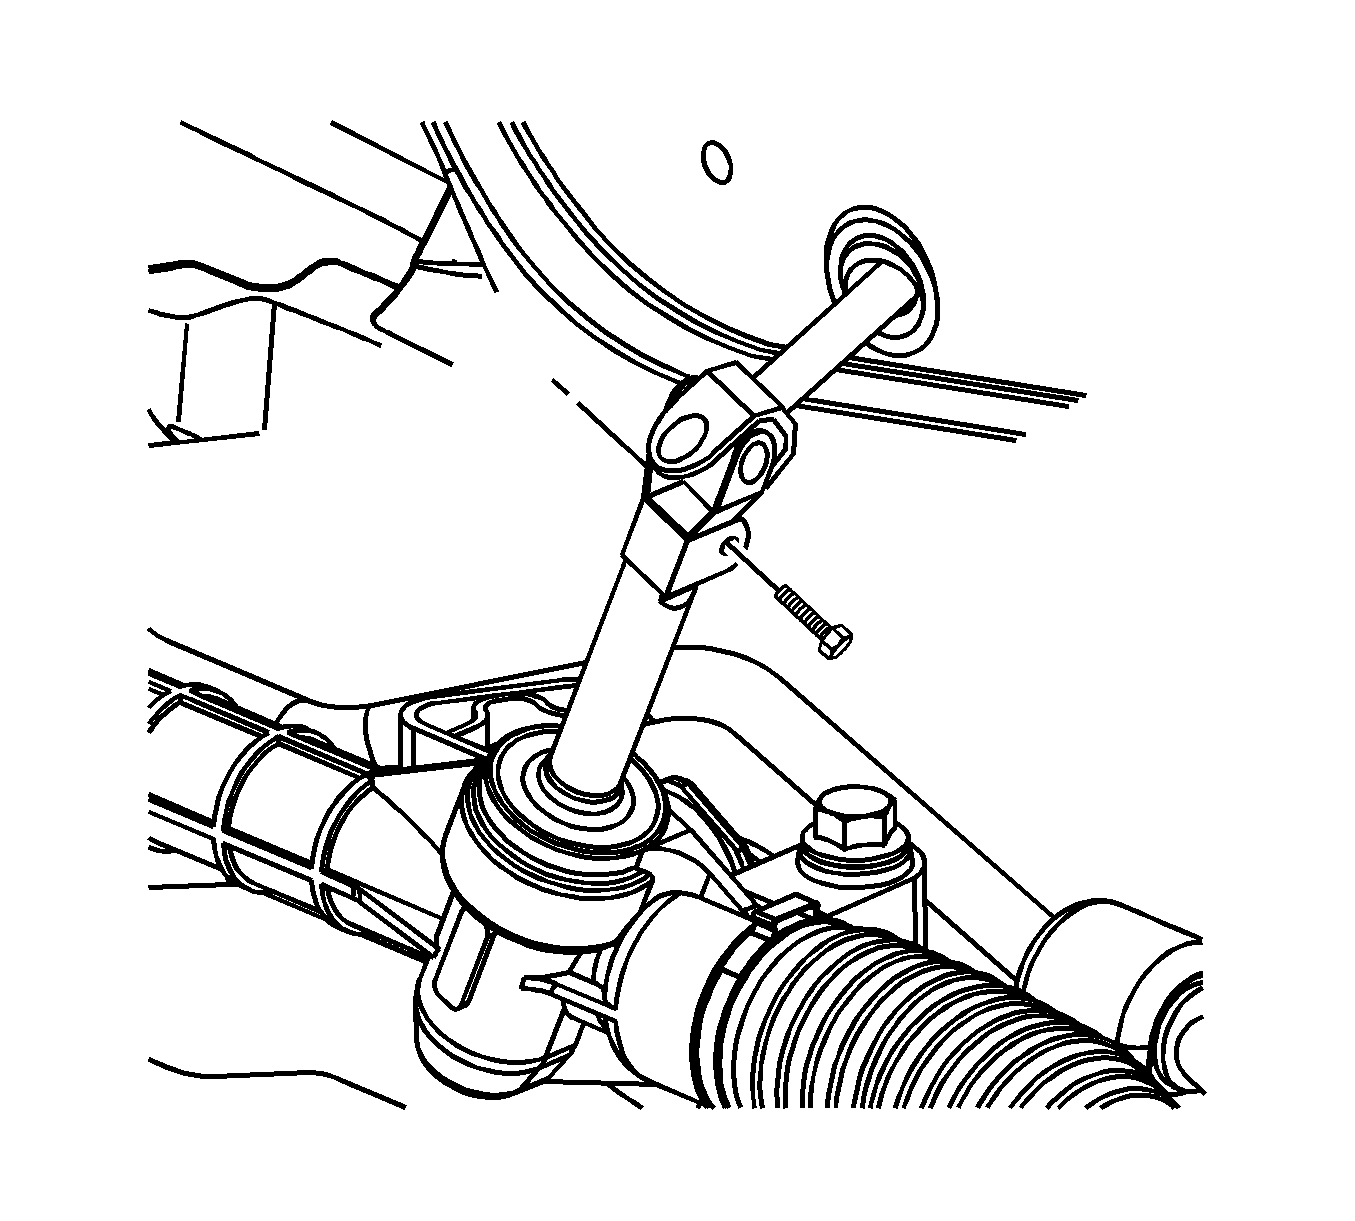
Important: In order to prevent possible SIR system deployment, do not attempt to rotate the steering shaft.
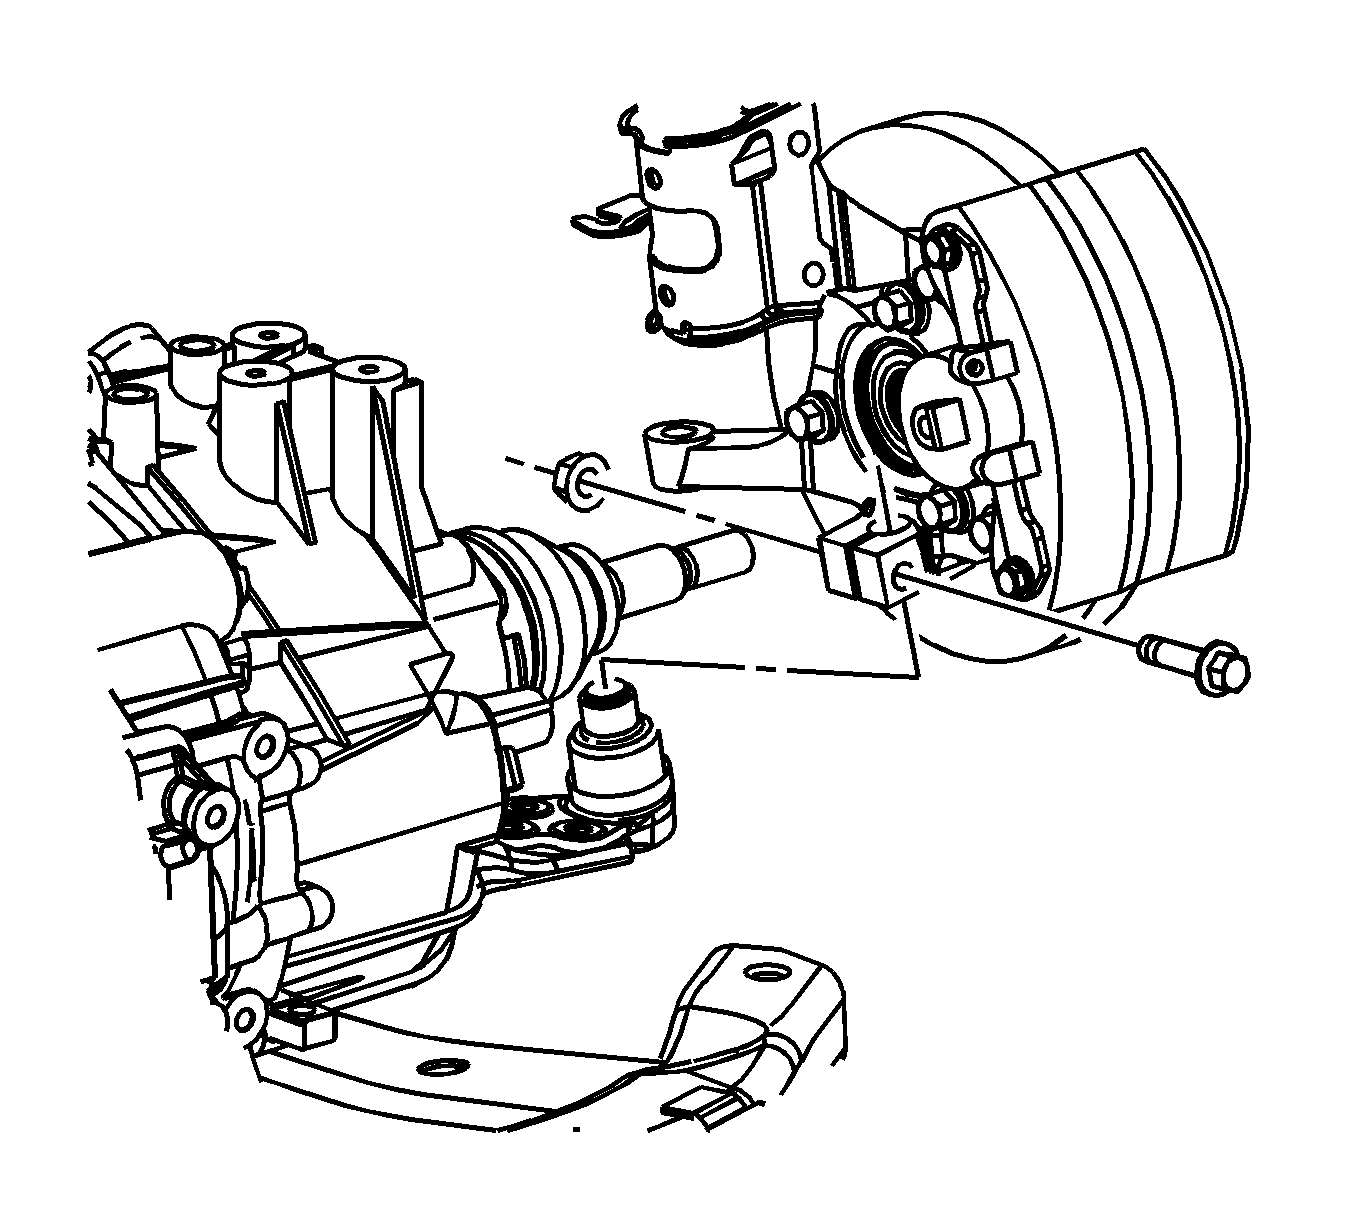
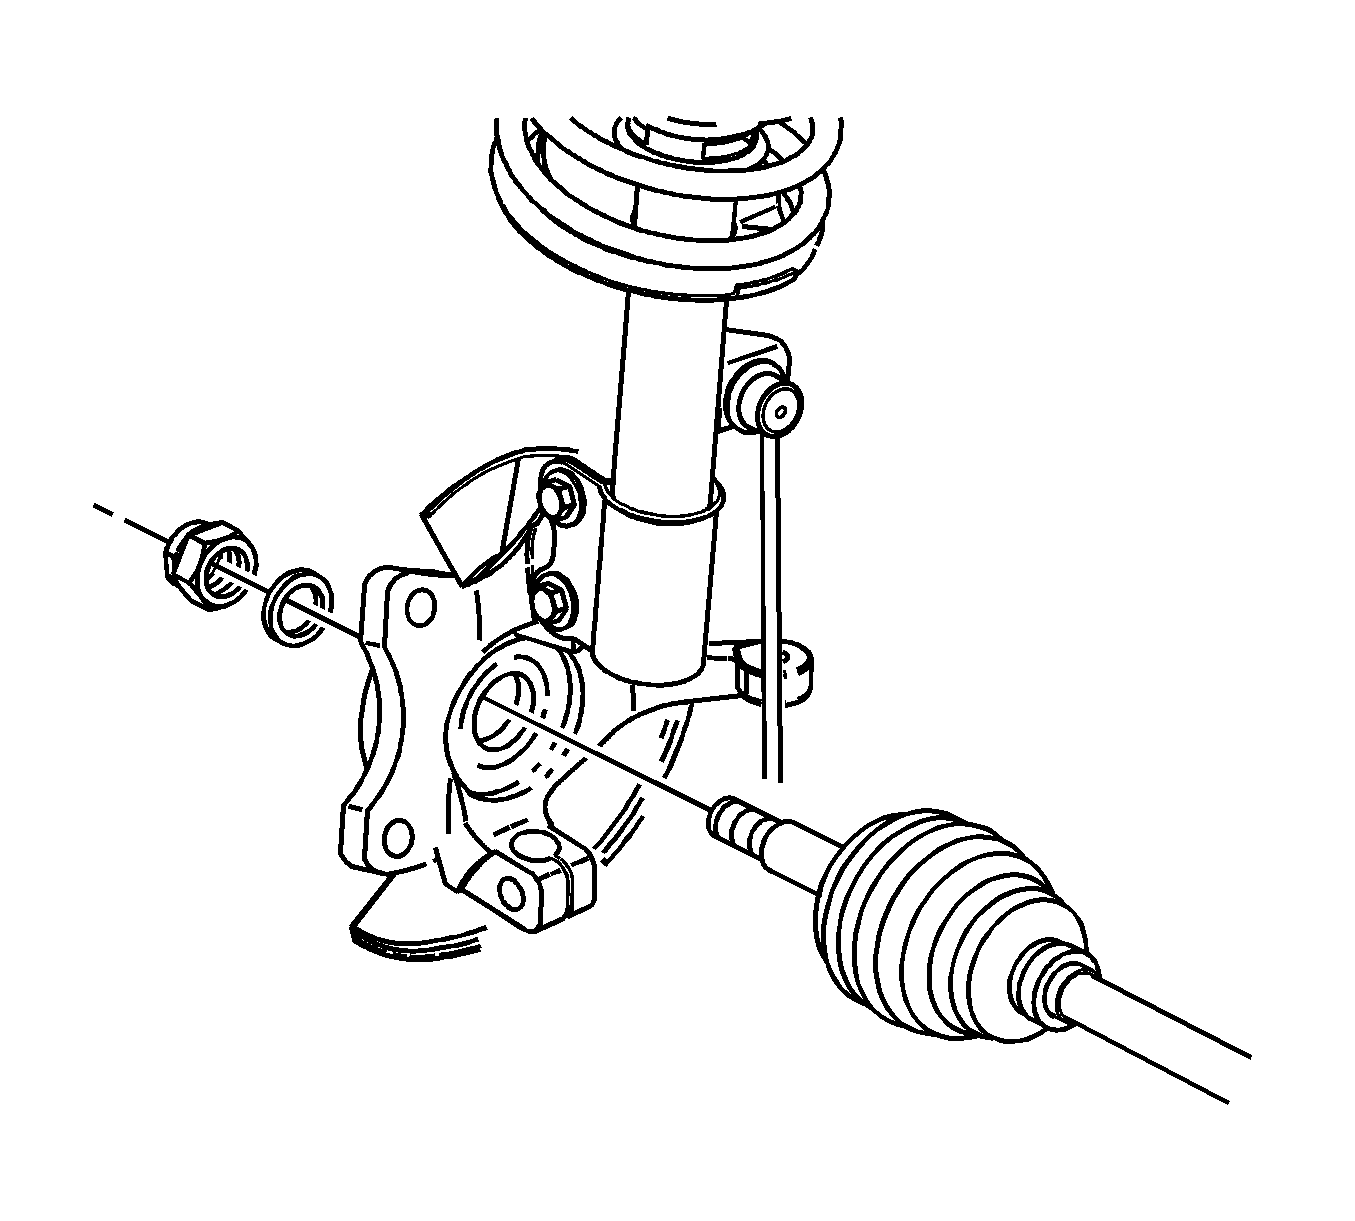
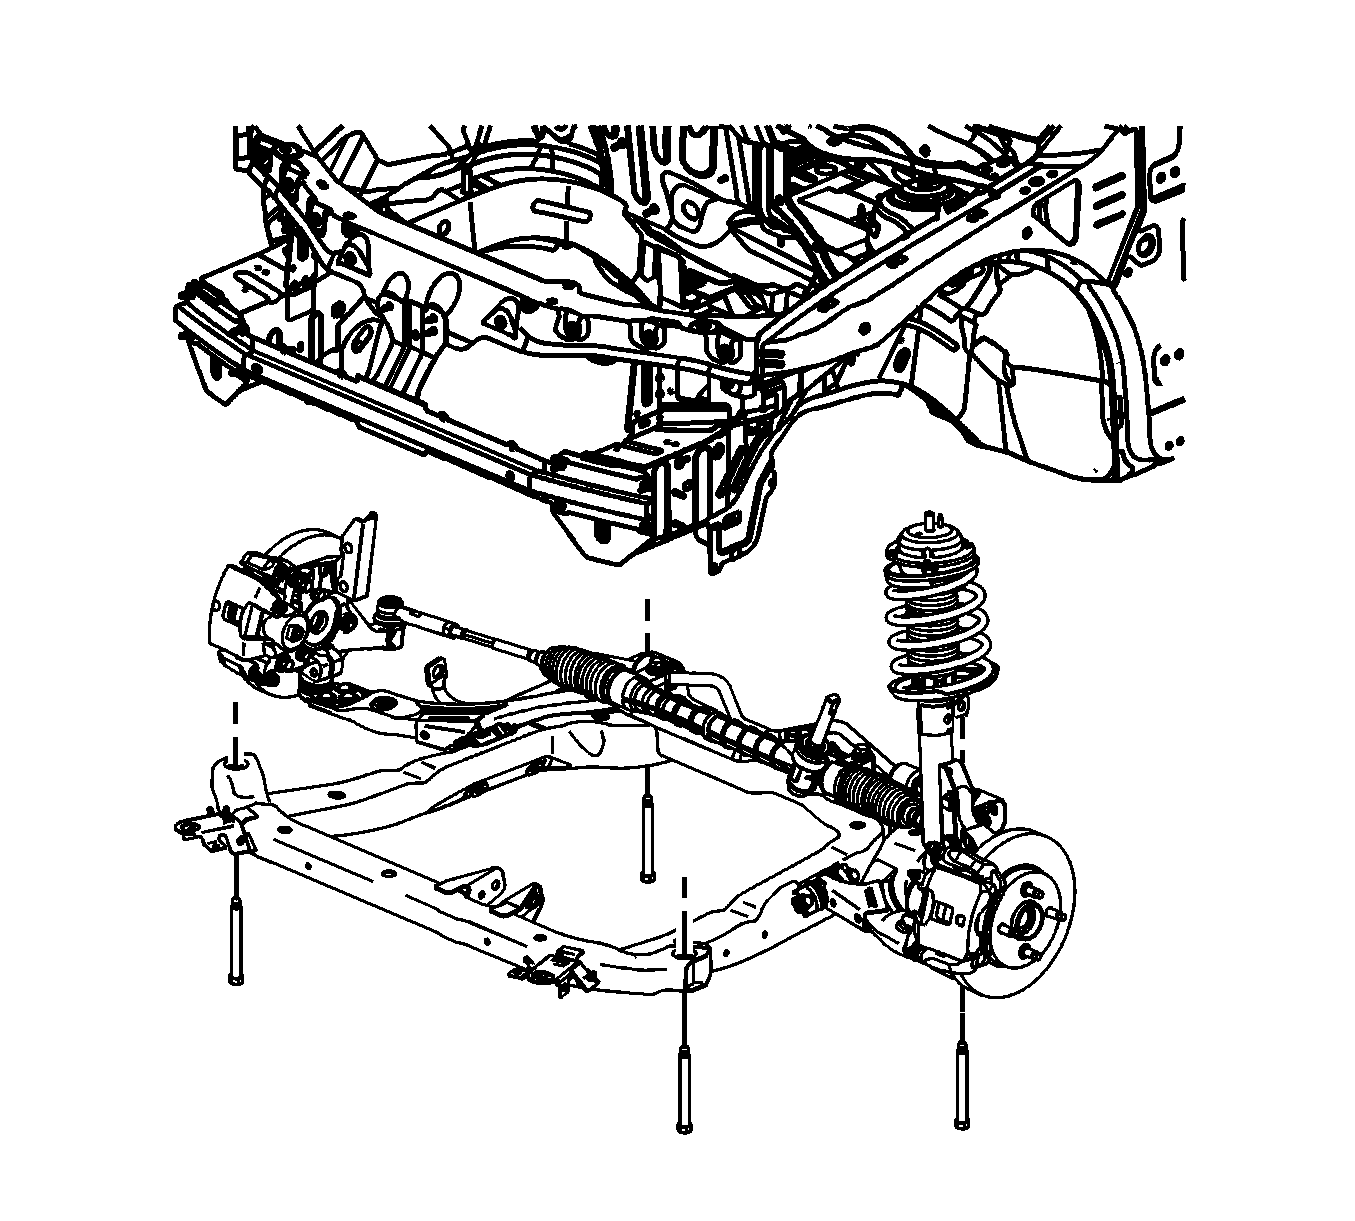
| 32.1. | Remove the front frame bolts. |
| 32.2. | Partially unscrew the rear frame bolts until 1.5 inches of bolt shank is exposed. |
| • | The exhaust manifold and catalytic converter assembly |
| • | The exhaust manifold studs |
| • | The engine mount bracket |
| • | The engine block heater |
| • | The thermostat housing and feed pipe |
| • | The generator |
Installation Procedure
- Attach the engine lift hoist to the engine lift hooks.
- Install the following components:
- If applicable, install the clutch pressure plate and disk.
- Align the engine to the transmission.
- Secure the engine to the transaxle.
- If applicable, install the torque converter bolts.
- Position the transaxle brace to the engine and transaxle and install the brace to transaxle bolts.
- Install the transaxle brace to engine block bolts.
- Install the starter. Refer to Starter Motor Replacement .
- Remove the engine lift from the engine.
- Raise and position the frame and powertrain assembly to the vehicle.
- Hand start all the frame bolts while aligning the frame to the paint marks.
- Tighten the frame bolts.
- Remove the lift table.
- Connect the drive axles to the steering knuckles. Refer to Wheel Drive Shaft Replacement .
- Connect the lower control arm to the steering knuckle. Refer to Lower Control Arm Replacement .
- Connect the intermediate steering shaft to the steering gear. Refer to Steering Gear Replacement .
- Connect the outer tie rod ends to the steering knuckles. Refer to Rack and Pinion Outer Tie Rod End Replacement .
- Connect the stabilizer links to the stabilizer bar. Refer to Stabilizer Shaft Link Replacement .
- Install the side transmission mount. Refer to Transmission Replacement .
- Install the engine mount. Refer to Engine Mount Replacement .
- Remove the wood blocks between the powertrain and frame.
- Connect the transmission shift cable to the transmission.
- Connect the transmission harness connector.
- Connect the exhaust takedown pipe to the exhaust manifold.
- Connect the generator harness connectors.
- Connect the starter harness connectors (3, 4, 5).
- Install the AC compressor to the engine. Refer to Air Conditioning Compressor Replacement .
- Install the engine drive belt. Refer to Drive Belt Replacement .
- Connect the following harness connectors:
- Install the inlet heater hose (1) and outlet heater hose (2). Refer to Heater Inlet Hose Replacement and Heater Outlet Hose Replacement .
- Install the radiator outlet hose. Refer to Radiator Inlet Hose Replacement .
- Connect the engine compartment fuel feed line quick connect fitting (4) to the fuel rail. Refer to Metal Collar Quick Connect Fitting Service .
- Connect the brake booster hose at the brake booster.
- Release the cooling module from the upper body structure.
- Install the air inlet duct and resonator. Refer to Air Cleaner Outlet Resonator Replacement .
- Connect the negative battery cable. Refer to Battery Negative Cable Disconnection and Connection .
- Fill the engine with engine oil to the proper level. Refer to Fluid and Lubricant Recommendations .
- Fill the cooling system. Refer to Cooling System Draining and Filling .
- Road test the vehicle.
| • | The exhaust manifold - Refer to Exhaust Manifold Replacement . |
| • | The engine mount bracket - Refer to Engine Mount Bracket Replacement . |
| • | The fuel rail - Refer to Fuel Injection Fuel Rail Assembly Replacement . |
| • | The engine block heater, if equipped - Refer to Coolant Heater Replacement . |
| • | The drive belt tensioner - Refer to Drive Belt Tensioner Replacement . |
| • | The thermostat housing and feed pipe - Refer to Engine Coolant Thermostat Replacement . |
| • | The generator - Refer to Generator Replacement . |
| • | The flywheel - Refer to Engine Flywheel Replacement . |
Notice: Refer to Fastener Notice in the Preface section.
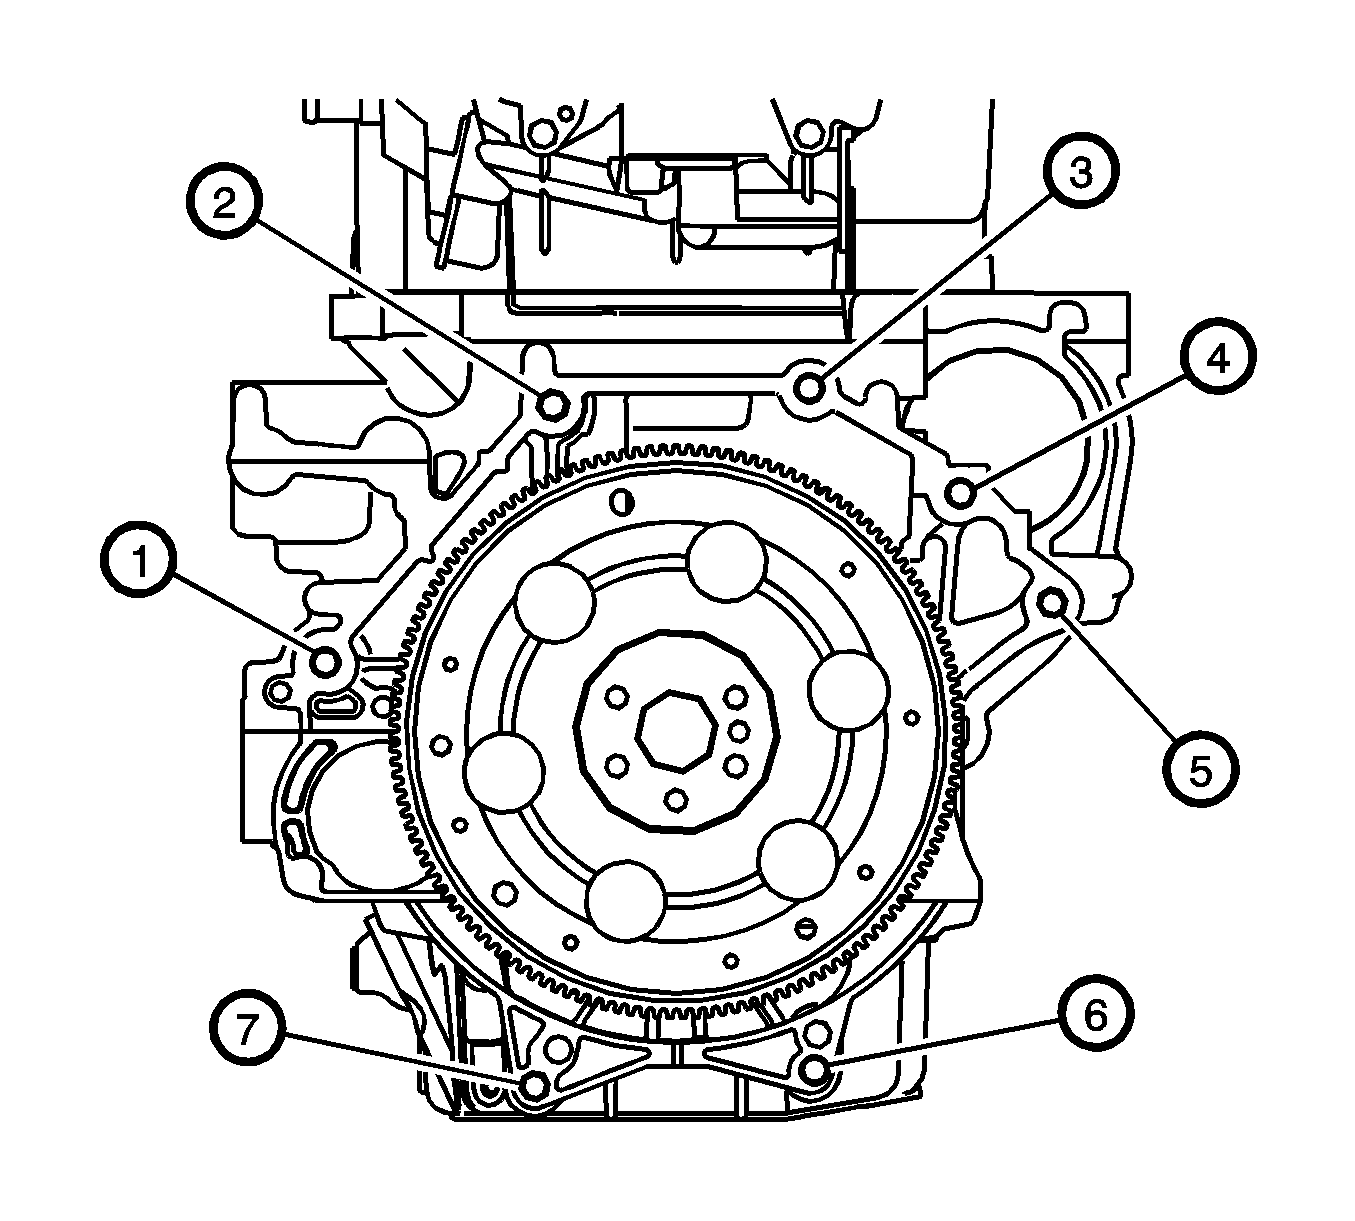
Important: The number 3 bolt location is not used.
Tighten
Tighten the bolts to 75 N·m (55 lb ft).
Tighten
Tighten the bolts to 62 N·m (46 lb ft).

Tighten
Tighten the bolts to 50 N·m (37 lb ft).


Tighten
Tighten the frame bolts to 100 N·m (74 lb ft) plus 180 degrees.


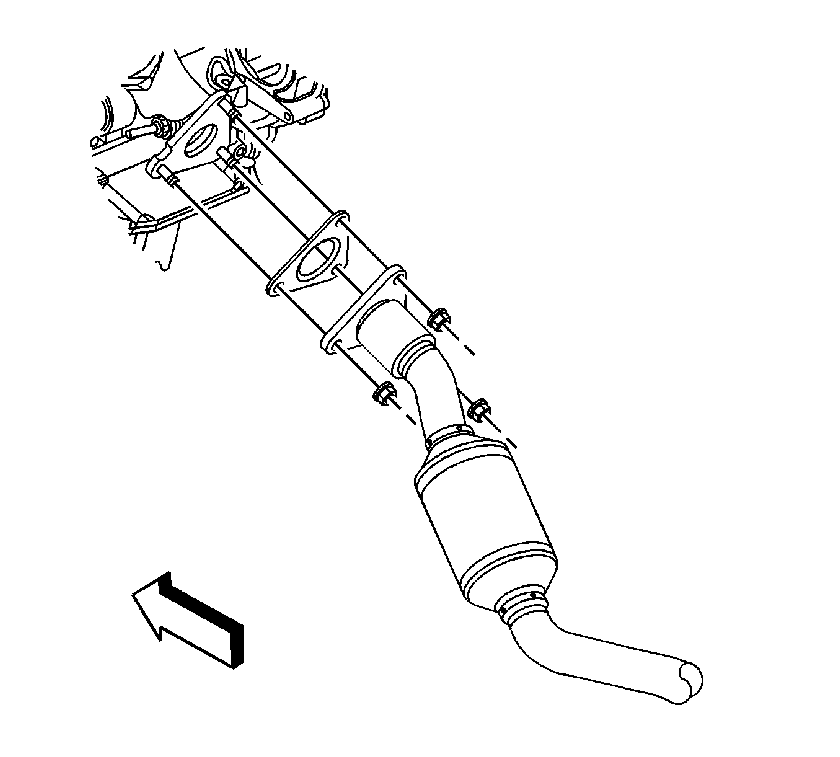
Tighten
Tighten the nuts to 30 N·m (22 lb ft).
Tighten
Tighten the nut to 20 N·m (15 lb ft).

Tighten
| • | Tighten the battery terminal nut to 17 N·m (13 lb ft). |
| • | Tighten the S-terminal nut to 3 N·m (27 lb in). |
| • | The electronic throttle control |
| • | The map sensor |
| • | The crankshaft sensor |
| • | The oil pressure sensor |
| • | The purge solenoid |
| • | The ignition coil and module assembly |
| • | The O2 sensor |
| • | The vehicle speed sensor |
| • | The engine temperature sensor |


