Cooling Fan and Shroud Replacement L61
Removal Procedure
- Remove the left headlamp. Refer to Headlamp Assembly or Headlamp Bulb and/or Cornering, Sidemarker, Park, Turn Signal Bulb Replacement in Lighting Systems.
- Remove the right headlamp. Refer to Headlamp Assembly or Headlamp Bulb and/or Cornering, Sidemarker, Park, Turn Signal Bulb Replacement in Lighting Systems.
- Unclip the upper transmission oil cooler pipe from the fan shroud. Do not disconnect transmission oil cooler pipe from transmission or radiator.
- Loop a rope around each of the upper 2 tabs on the condenser and tie a rope around the upper tie bar.
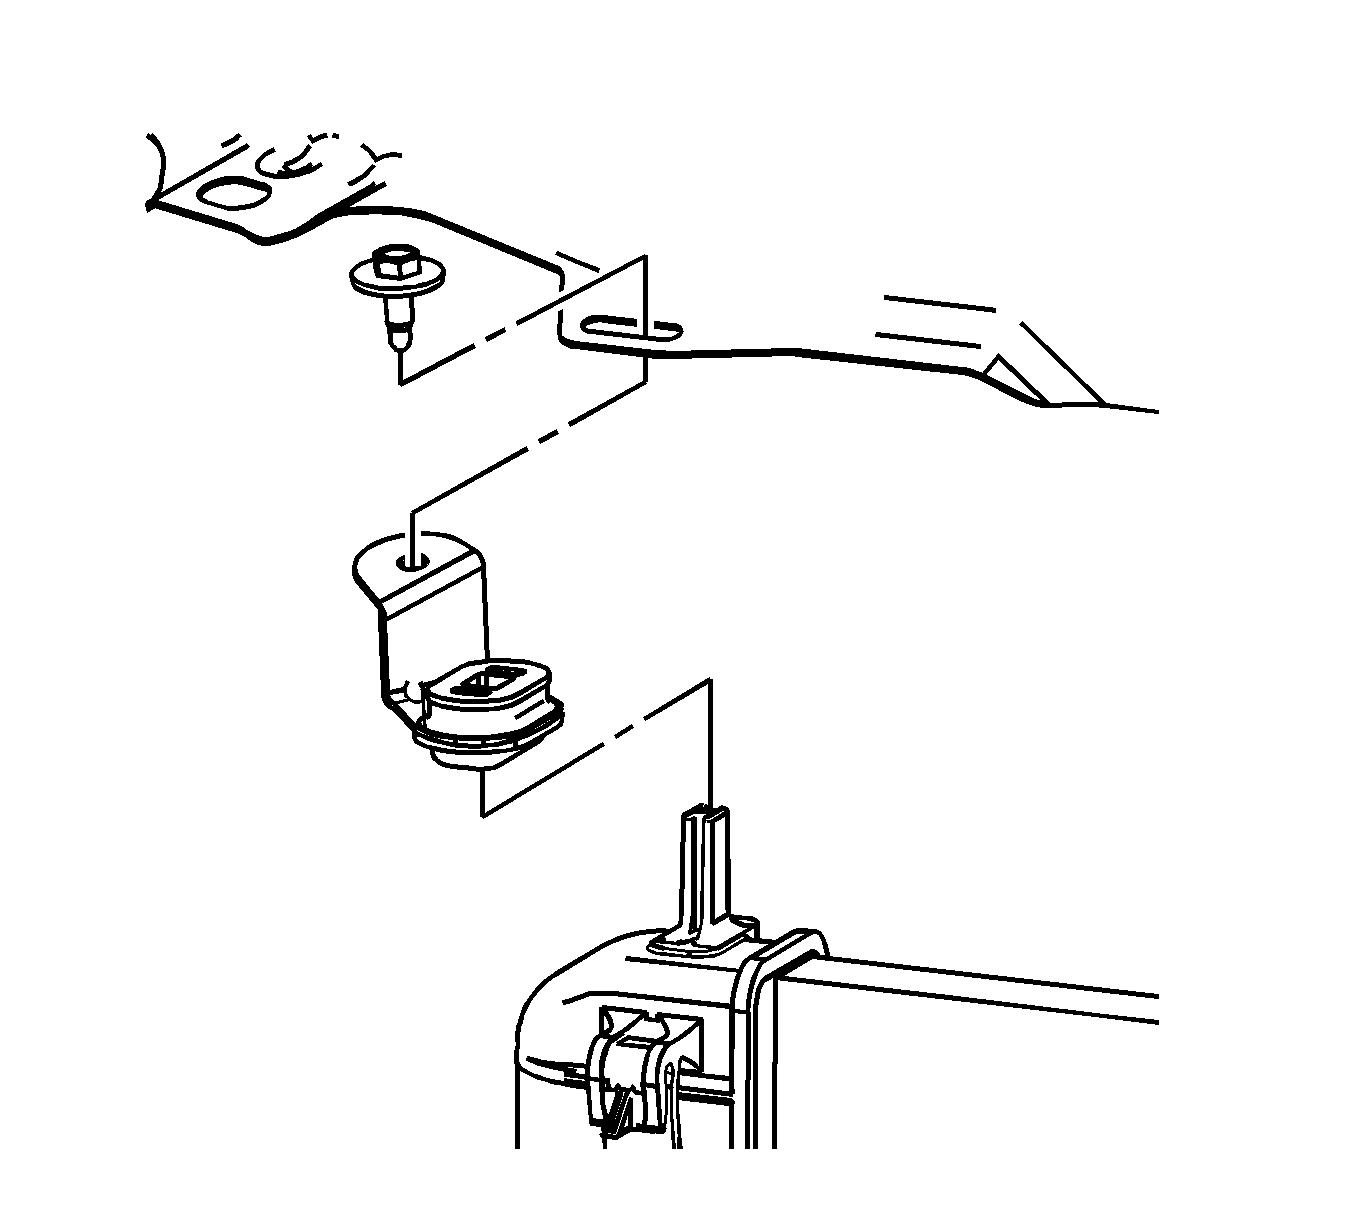
- Remove the upper radiator support bracket bolts.
- Remove the upper radiator support brackets.
- Pry upward on the fan shroud tabs at the radiator clips.
- Raise the vehicle. Refer to Lifting and Jacking the Vehicle in General Information.
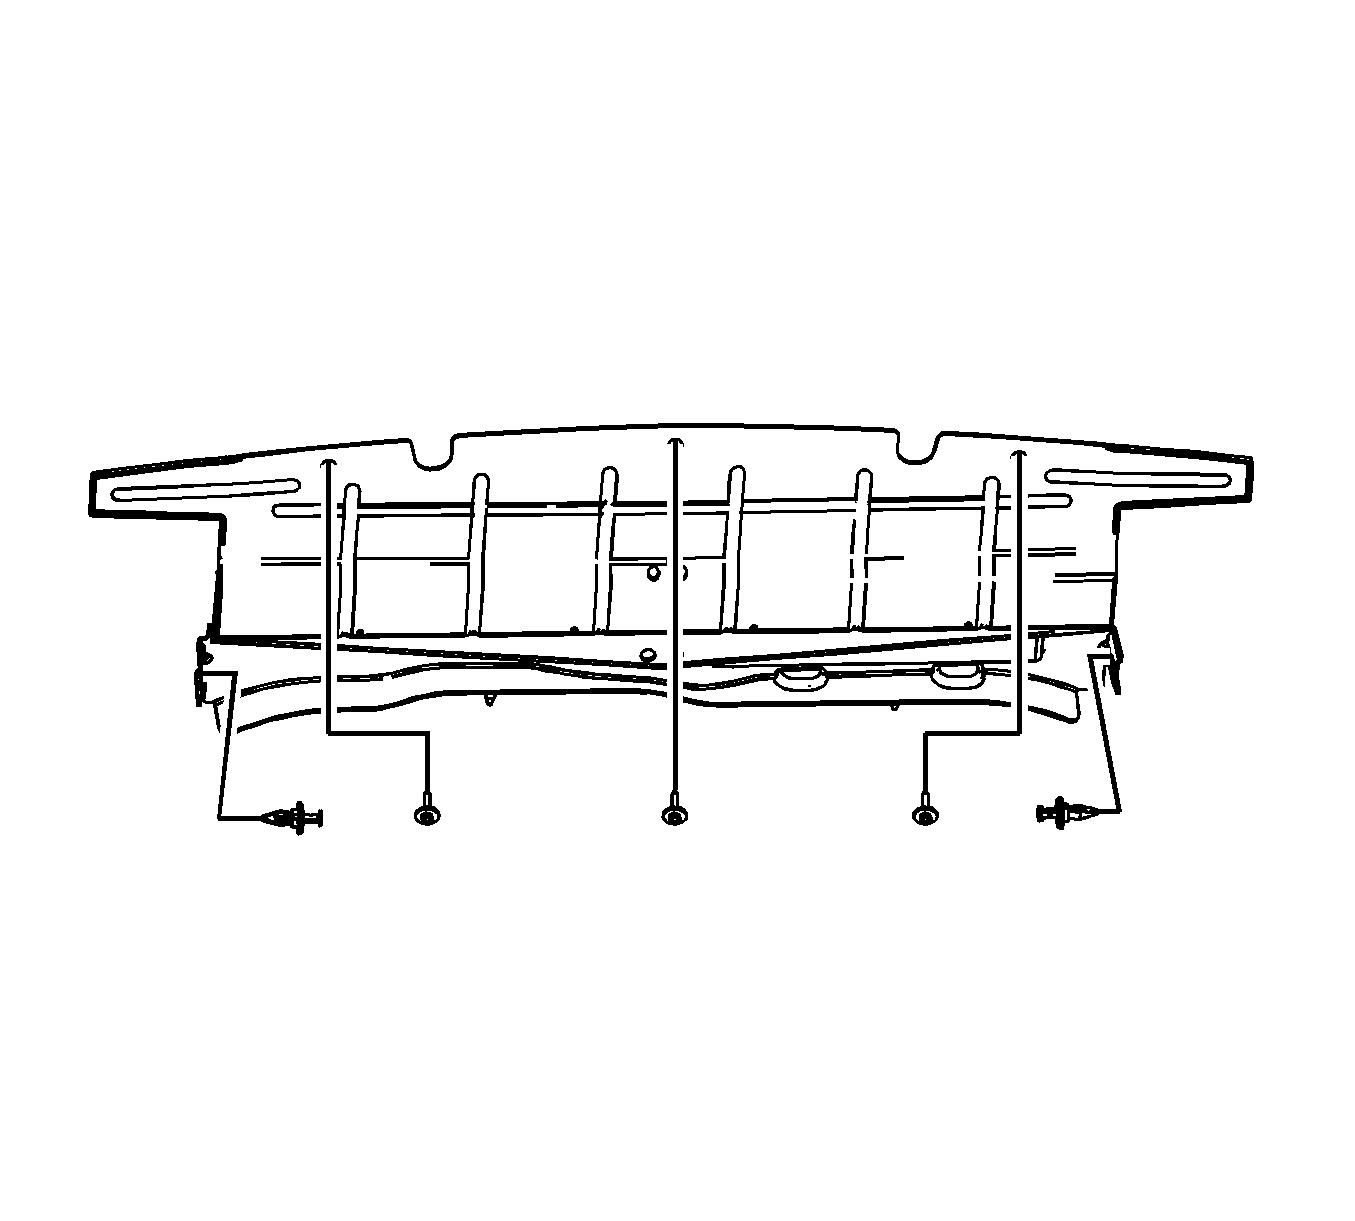
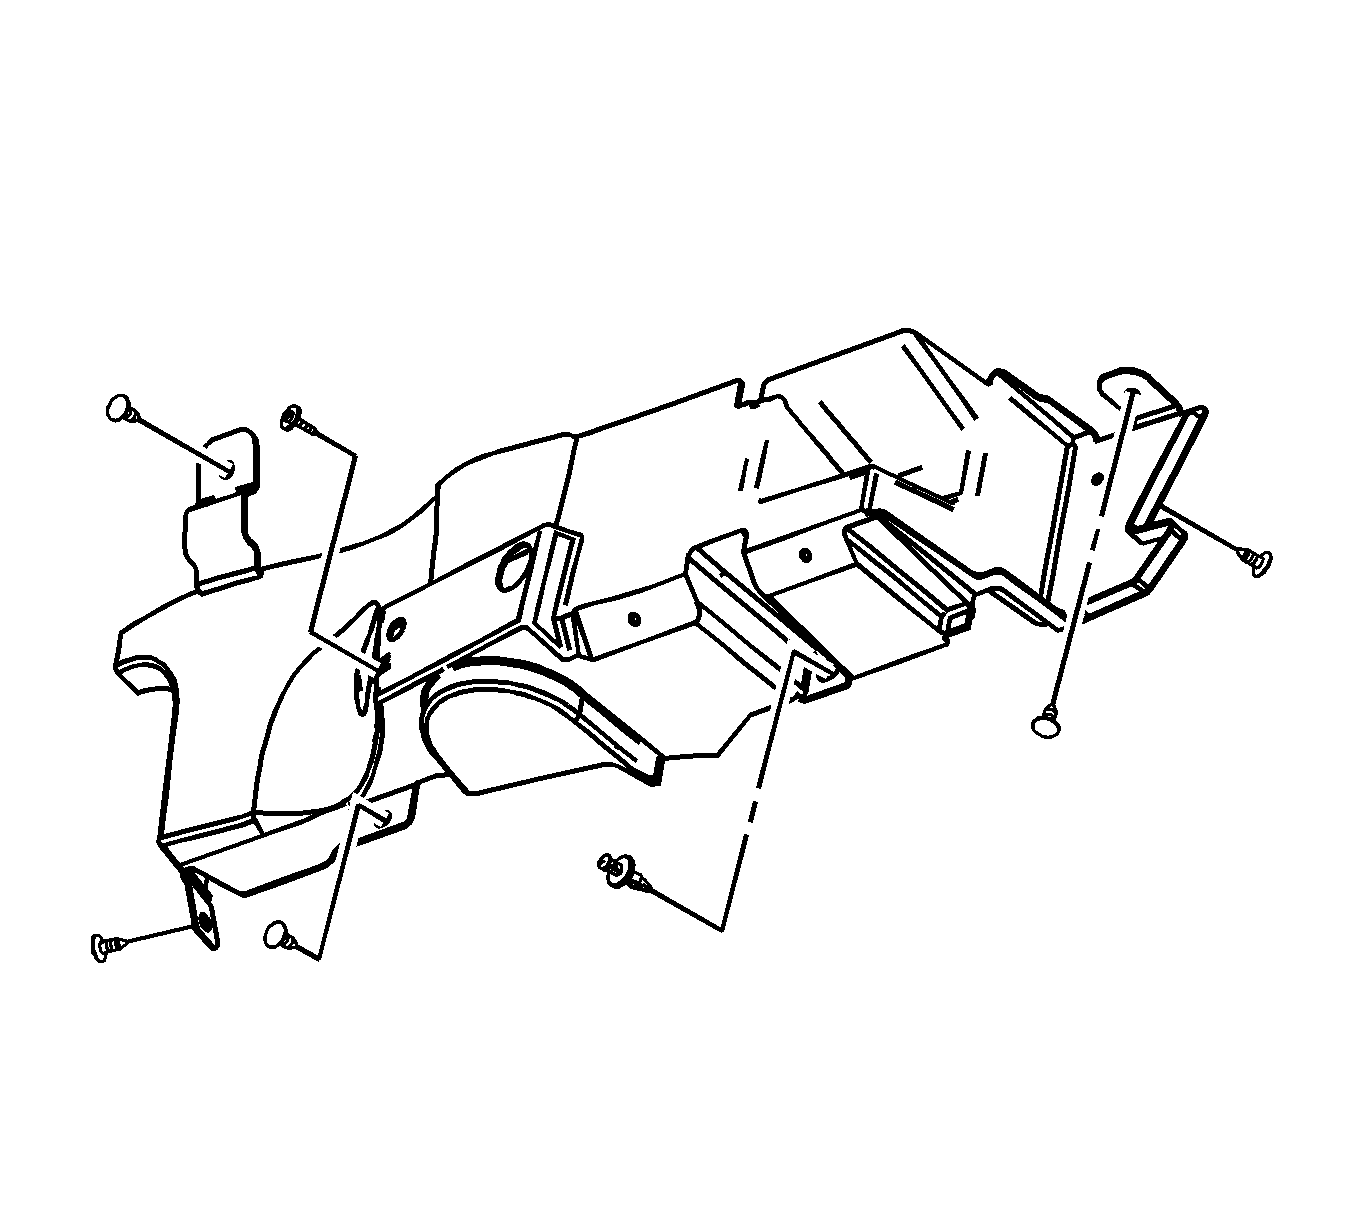
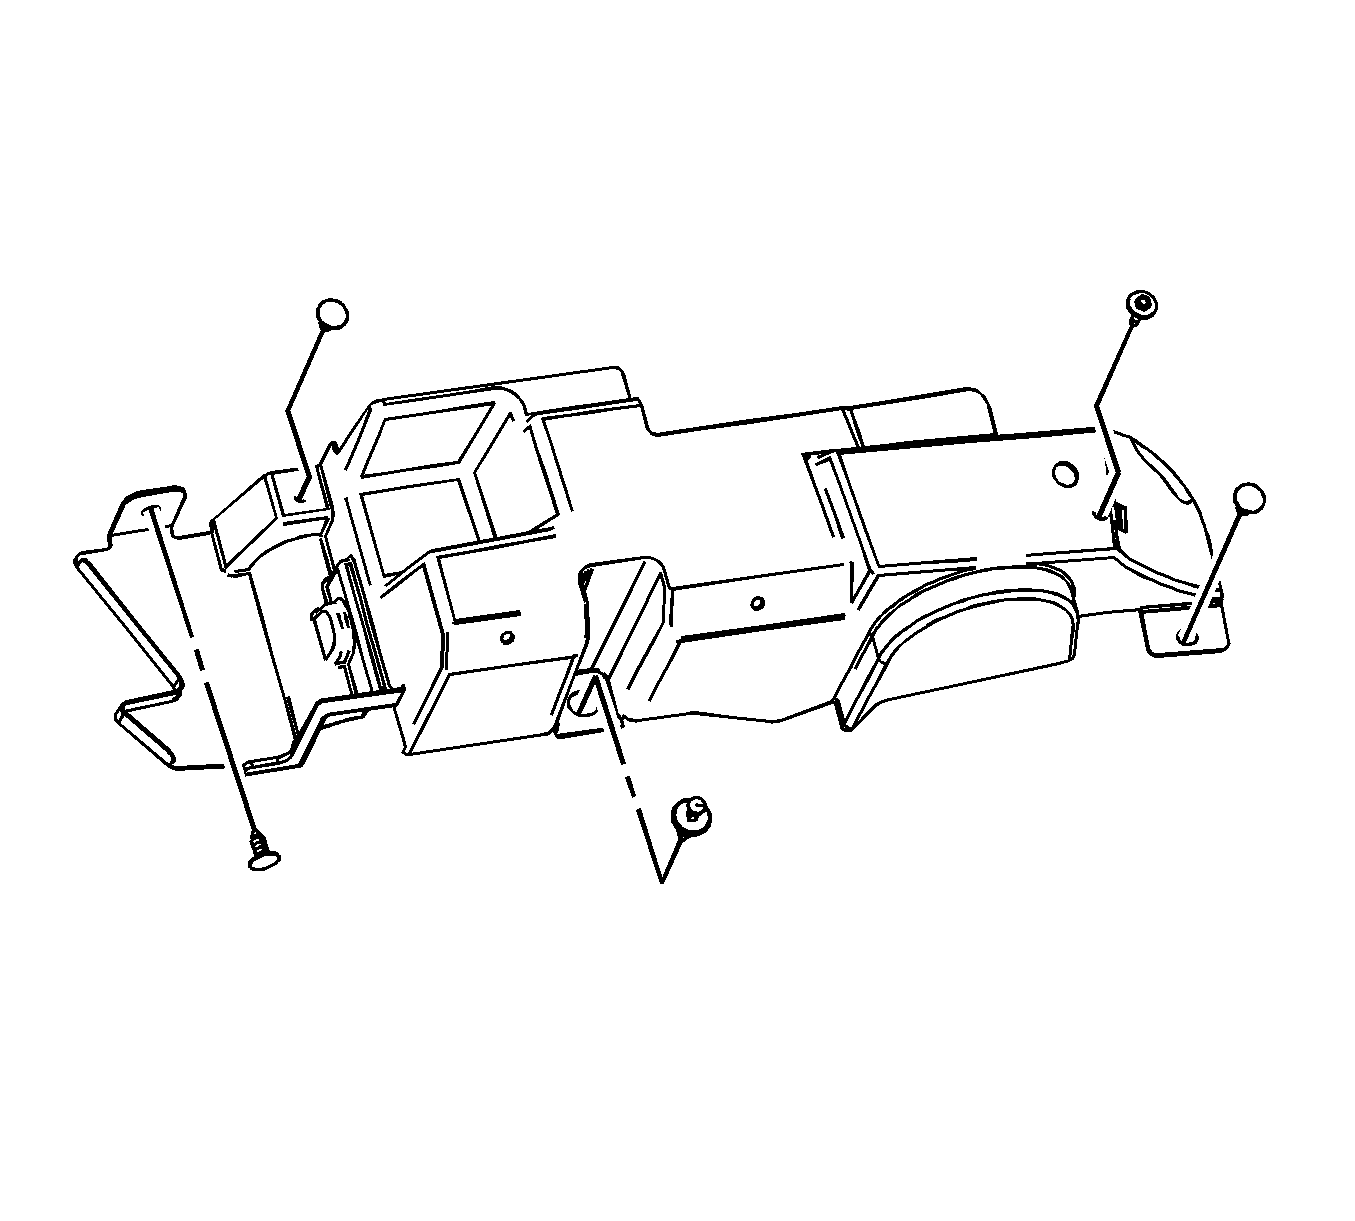
- Remove the lower radiator air deflector retainers.
- Remove the lower radiator air deflector.
- Remove the right front fender liner. Refer to Front Fender Liner Replacement in Body Front End.
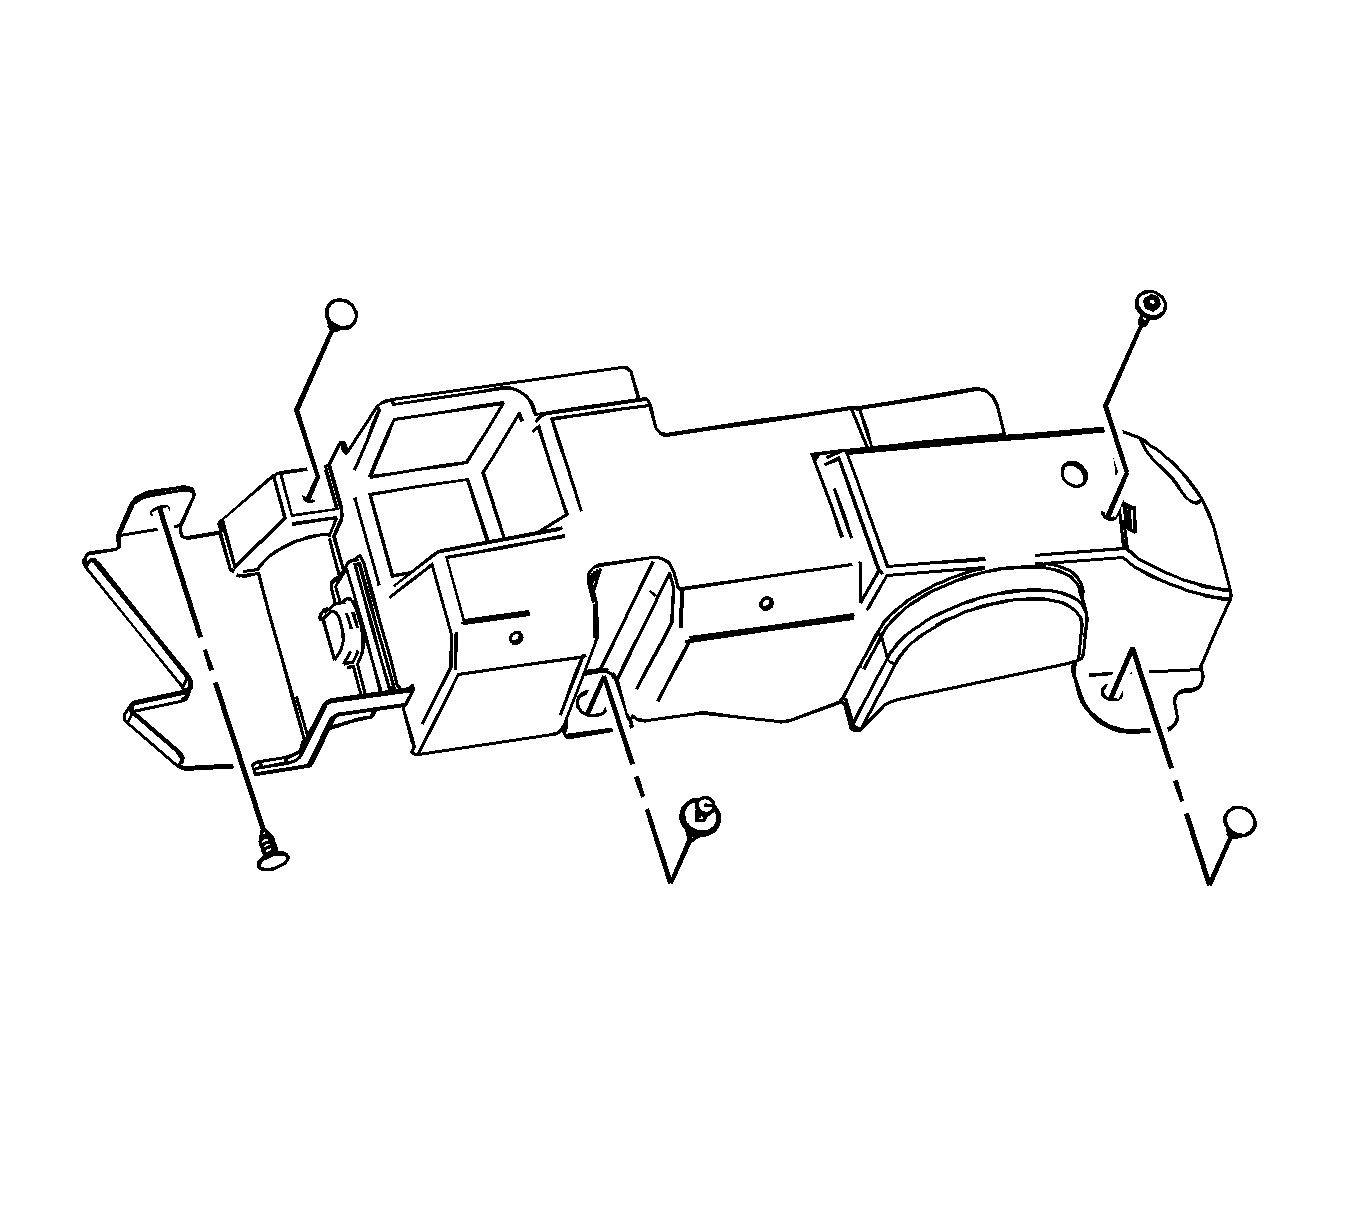
- Remove the right radiator air deflector retainers.
- Remove the right radiator air deflector.
- Remove the left radiator air deflector retainers.
- Remove the left radiator air deflector.
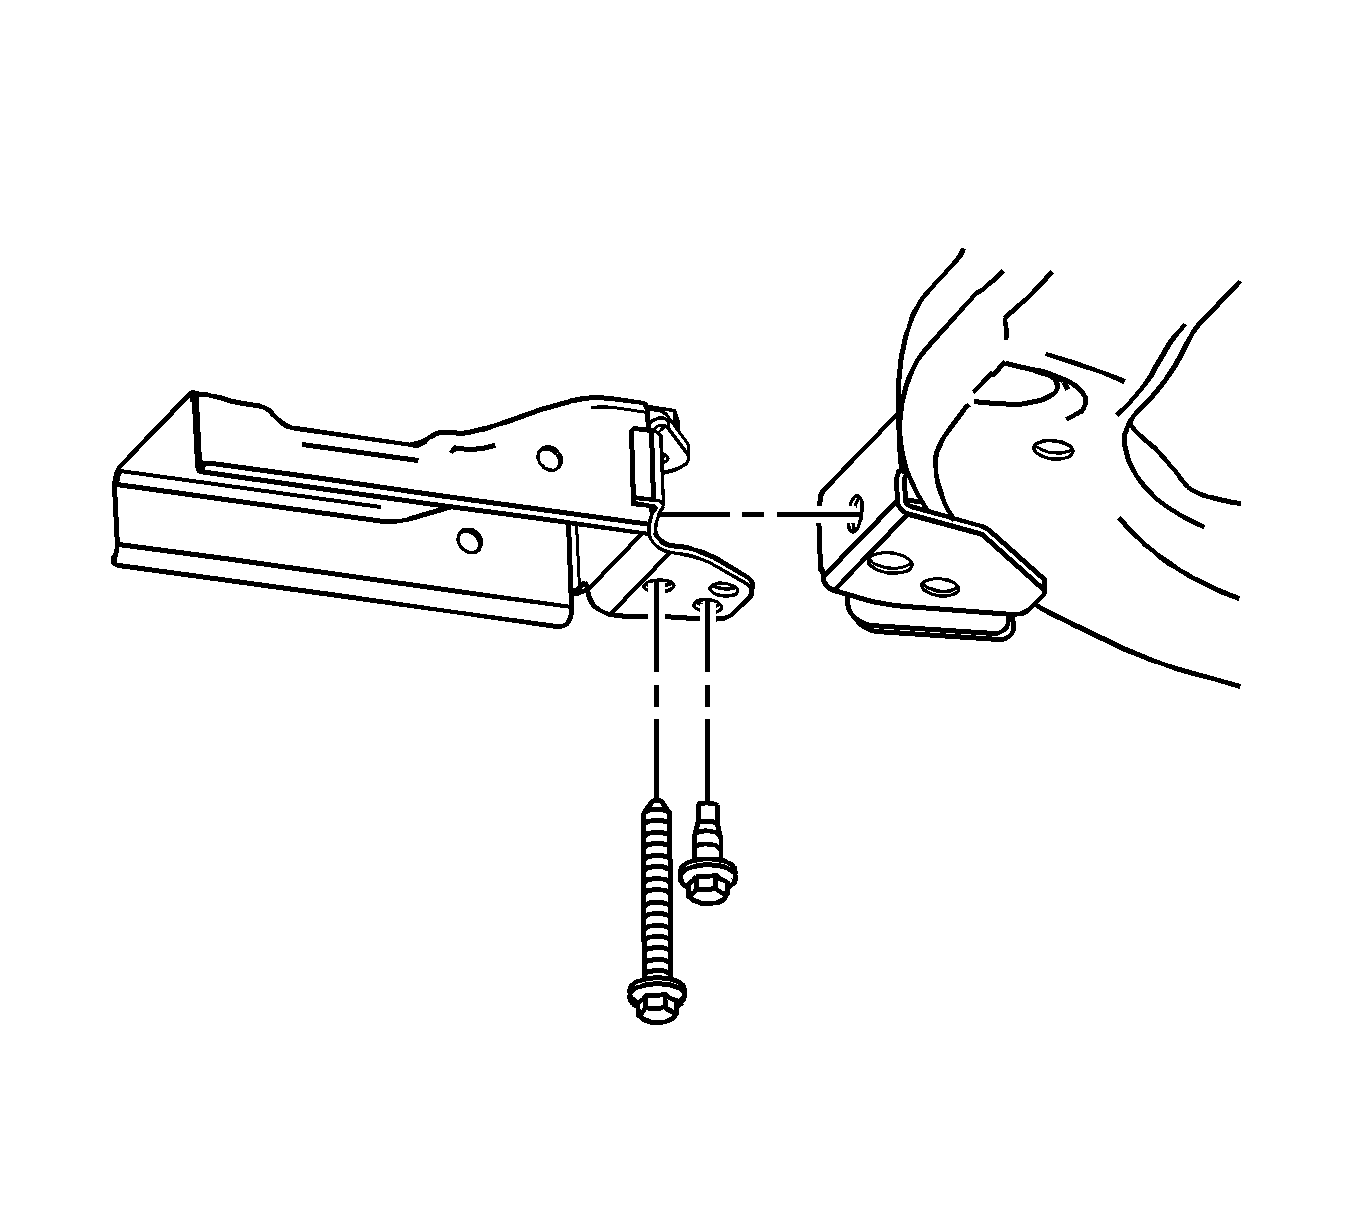
- Remove the lower radiator support bracket bolts.
- Remove the lower radiator support brackets.
- Remove the fan wire harness connectors.
- Remove the fan shroud assembly.




Installation Procedure
- Install the fan shroud assembly.
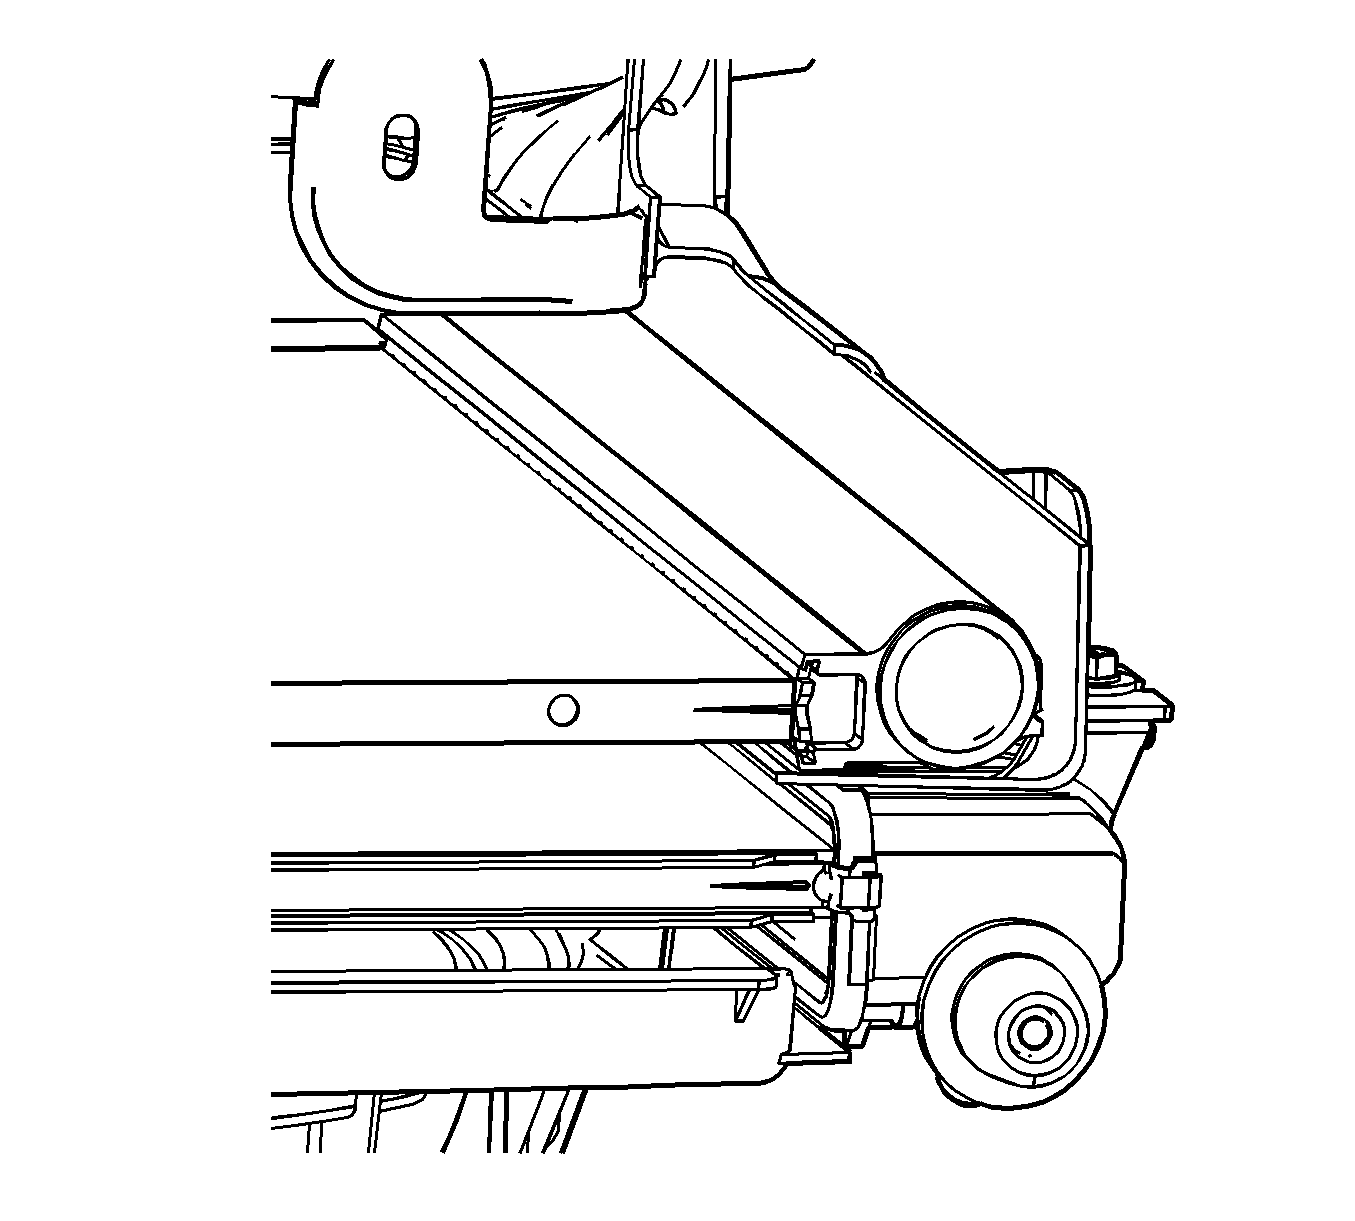
- Bend the radiator air side seals and insert the seals into the channel of the intake air splash shields.
- The radiator air side seals must be in the proper position for proper air flow.
- Install the lower radiator support brackets.
- Install the lower radiator support bracket bolts.
- Install the fan wire harness connectors.
- Install the left radiator air deflector.
- Install the left radiator air deflector retainers.
- Install the right radiator air deflector.
- Install the right radiator air deflector retainers.
- Install the right front fender liner. Refer to Front Fender Liner Replacement in Body Front End.
- Install the lower radiator air deflector.
- Install the lower radiator air deflector retainers.
- Lower the vehicle.
- Snap the fan shroud tabs into the radiator clips.
- Remove the rope attached to the condenser and upper tie bar.
- Install the upper radiator support brackets.
- Install the upper radiator support bracket bolts.
- Clip the upper transmission oil cooler pipe to the shroud.
- Install the right headlamp. Refer to Headlamp Assembly or Headlamp Bulb and/or Cornering, Sidemarker, Park, Turn Signal Bulb Replacement in Lighting Systems.
- Install the left headlamp. Refer to Headlamp Assembly or Headlamp Bulb and/or Cornering, Sidemarker, Park, Turn Signal Bulb Replacement in Lighting Systems.



Notice: Refer to Fastener Notice in the Preface section.
Tighten
Tighten the bolts to 60 N·m (44 lb ft).

Important: Radiator air deflectors must be properly installed or reduced A/C and engine cooling system performance could occur.


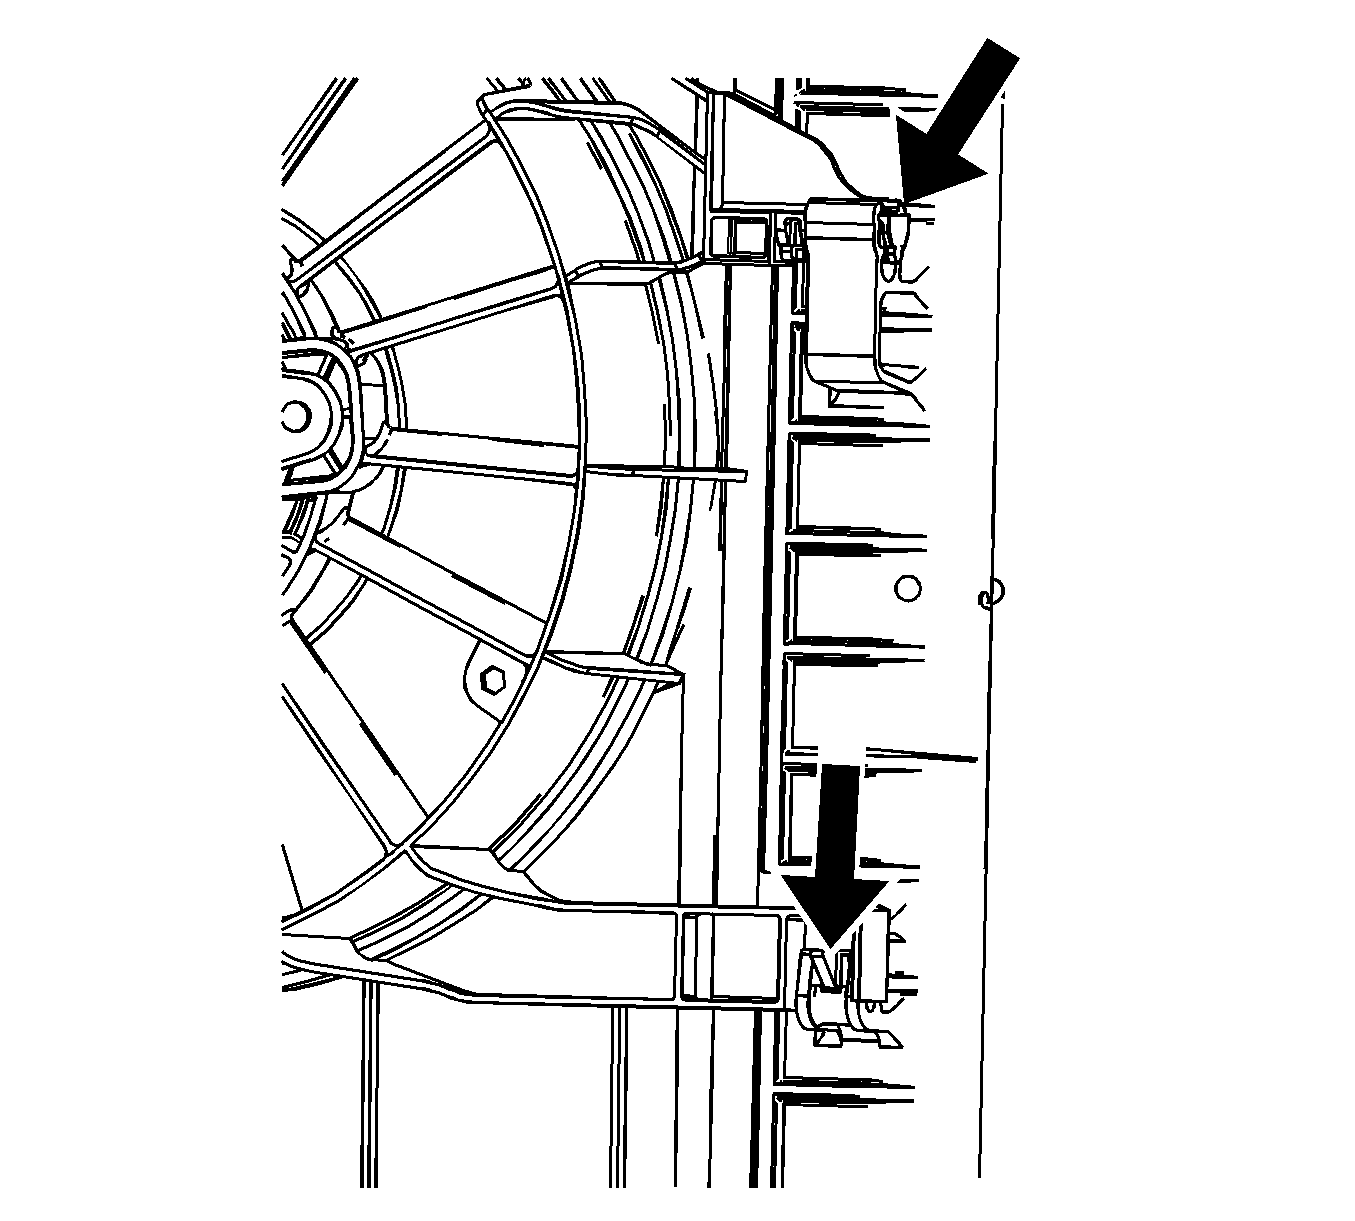

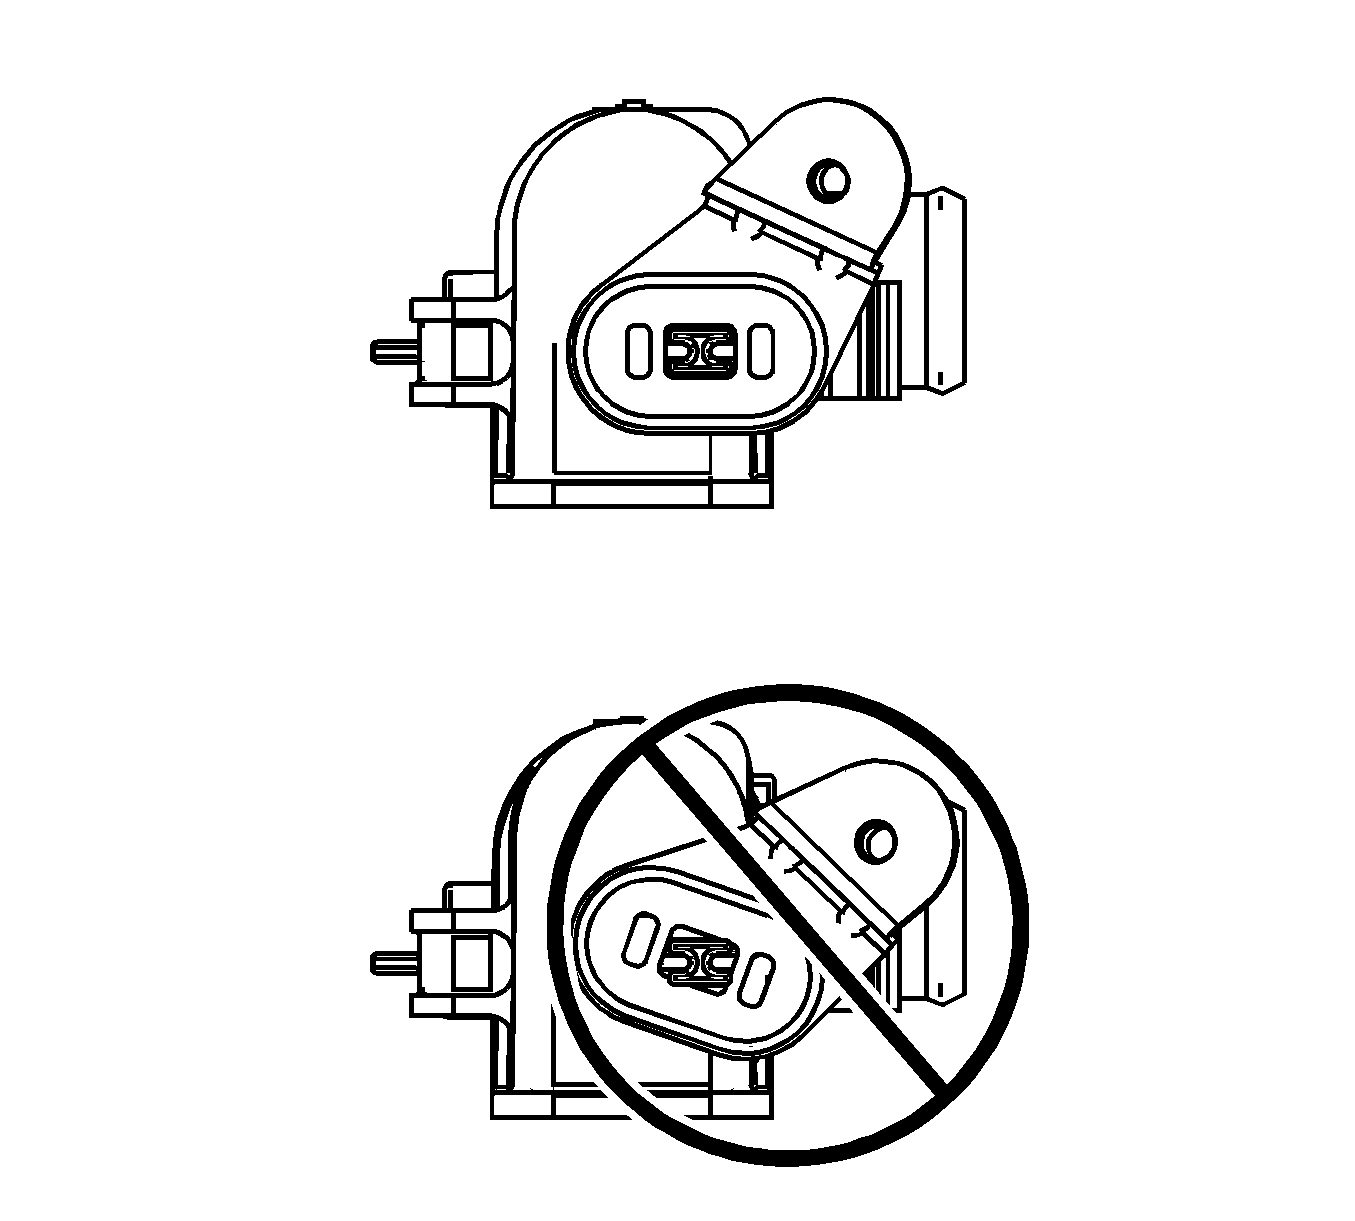
Important: Do not allow the upper bracket to twist when tightening the screw or vibration may result.
Tighten
Tighten the bolts to 10 N·m (89 lb in).
Cooling Fan and Shroud Replacement LX9
Tools Required
J 38185 Hose Clamp Pliers
Removal Procedure
- Drain the coolant. Refer to Cooling System Draining and Filling .
- Remove the left headlamp. Refer to Headlamp Assembly or Headlamp Bulb and/or Cornering, Sidemarker, Park, Turn Signal Bulb Replacement in Lighting Systems.
- Remove the right headlamp. Refer to Headlamp Assembly or Headlamp Bulb and/or Cornering, Sidemarker, Park, Turn Signal Bulb Replacement in Lighting Systems.
- Remove the upper transmission oil cooler pipe from the radiator. Refer to Transmission Fluid Cooler Hose/Pipe Quick-Connect Fitting Disconnection and Connection in Automatic Transaxle - 4T40-E/4T45-E.
- Loop a rope around each of the upper 2 tabs of the condenser and tie a rope around the upper tie bar.
- Remove the upper radiator support bracket bolts.
- Remove the upper radiator support brackets.
- Pry upward on the fan shroud tabs at the radiator clips.
- Raise the vehicle. Refer to Lifting and Jacking the Vehicle in General Information.
- Remove the lower radiator air deflector retainers.
- Remove the lower radiator air deflector.
- Remove the right front fender liner. Refer to Front Fender Liner Replacement in Body Front End.
- Remove the right radiator air deflector retainers.
- Remove the right radiator air deflector.
- Remove the left radiator air deflector retainers.
- Remove the left radiator air deflector.
- Reposition the radiator outlet hose clamp at the radiator using the J 38185 .
- Remove the radiator outlet hose from the radiator.
- Remove the fan wire harness connectors.
- Remove the lower radiator support bracket bolts.
- Remove the lower radiator support brackets.
- Place a drain pan under the transmission oil cooler pipes.
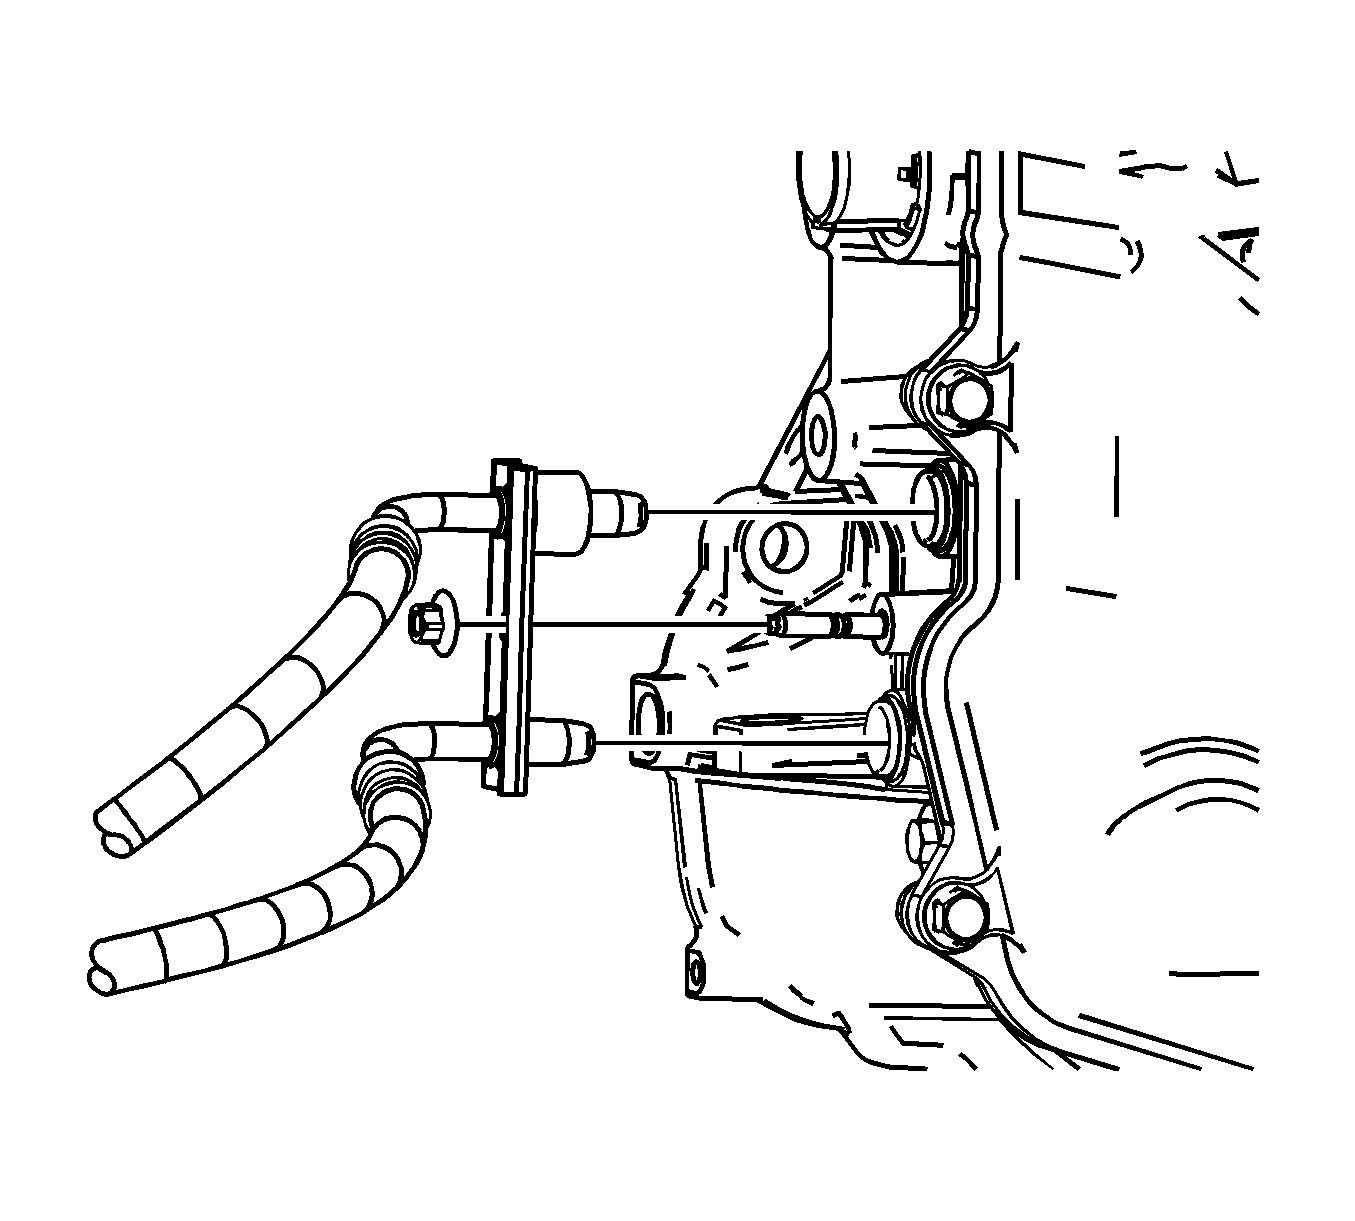
- Remove the transmission oil cooler pipes attachment nut from the transmission.
- Remove both transmission oil cooler pipes from the transmission.
- Remove the transmission oil cooler pipe clip from the fan shroud.
- Remove the lower transmission oil cooler pipe from the radiator. Refer to Transmission Fluid Cooler Hose/Pipe Quick-Connect Fitting Disconnection and Connection in Automatic Transaxle - 4T40-E/4T45-E.
- Remove the transmission oil cooler pipes.
- Remove the fan wire harness connectors.
- Remove the fan shroud assembly.





Installation Procedure
- Install the fan shroud assembly.
- Install the transmission oil cooler pipes.
- Install the lower transmission oil cooler pipe to the radiator. Refer to Transmission Fluid Cooler Hose/Pipe Quick-Connect Fitting Disconnection and Connection in Automatic Transaxle - 4T40-E/4T45-E.
- Install the transmission oil cooler pipe clip to the fan shroud.
- Install both transmission oil cooler pipes to the transmission.
- Install the transmission oil cooler pipe attachment nut to the transmission.
- Bend the radiator air side seals and insert the seals into the channel of the intake air splash shields.
- The radiator air side seals must be in the proper position for proper air flow.
- Install the lower radiator support brackets.
- Install the lower radiator support bracket bolts.
- Install the fan wire harness connectors.
- Install the radiator outlet hose to the radiator.
- Reposition the radiator outlet hose clamp at the radiator using the J 38185 .
- Install the left radiator air deflector.
- Install the left radiator air deflector retainers.
- Install the right radiator air deflector.
- Install the right radiator air deflector retainers.
- Install the right front fender liner. Refer to Front Fender Liner Replacement in Body Front End.
- Install the lower radiator air deflector.
- Install the lower radiator air deflector retainers.
- Lower the vehicle.
- Snap fan shroud tabs into the radiator clips.
- Remove the rope attached to the condenser and upper tie bar.
- Install the upper radiator support brackets.
- Install the upper radiator support bracket bolts.
- Install the upper transmission oil cooler pipe to the radiator. Refer to Transmission Fluid Cooler Hose/Pipe Quick-Connect Fitting Disconnection and Connection in Automatic Transaxle - 4T40-E/4T45-E.
- Install the right headlamp. Refer to Headlamp Assembly or Headlamp Bulb and/or Cornering, Sidemarker, Park, Turn Signal Bulb Replacement in Lighting Systems.
- Install the left headlamp. Refer to Headlamp Assembly or Headlamp Bulb and/or Cornering, Sidemarker, Park, Turn Signal Bulb Replacement in Lighting Systems.
- Fill the coolant. Refer to Cooling System Draining and Filling .
- Inspect the transmission fluid level. Refer to Transmission Fluid Check in Automatic Transaxle - 4T40-E/4T45-E.


Notice: Refer to Fastener Notice in the Preface section.
Tighten
Tighten the nut to 7 N·m (62 lb in).


Tighten
Tighten the bolts to 60 N·m (44 lb ft).

Important: Radiator air deflectors must be properly installed or reduced A/C and engine cooling system performance could occur.


Important: Do not allow the upper bracket to twist when tightening the screw or vibration may result.

Tighten
Tighten the bolts to 10 N·m (89 lb in).
