For 1990-2009 cars only
Removal Procedure
- Remove the rear seat assembly. Refer to Rear Seat Replacement in Seats.
- Remove the seat back cover. Refer to Rear Seat Back Cushion Cover and Pad Replacement in Seats.
- Remove the comfort guide, if equipped.
- Remove the seat back cover.
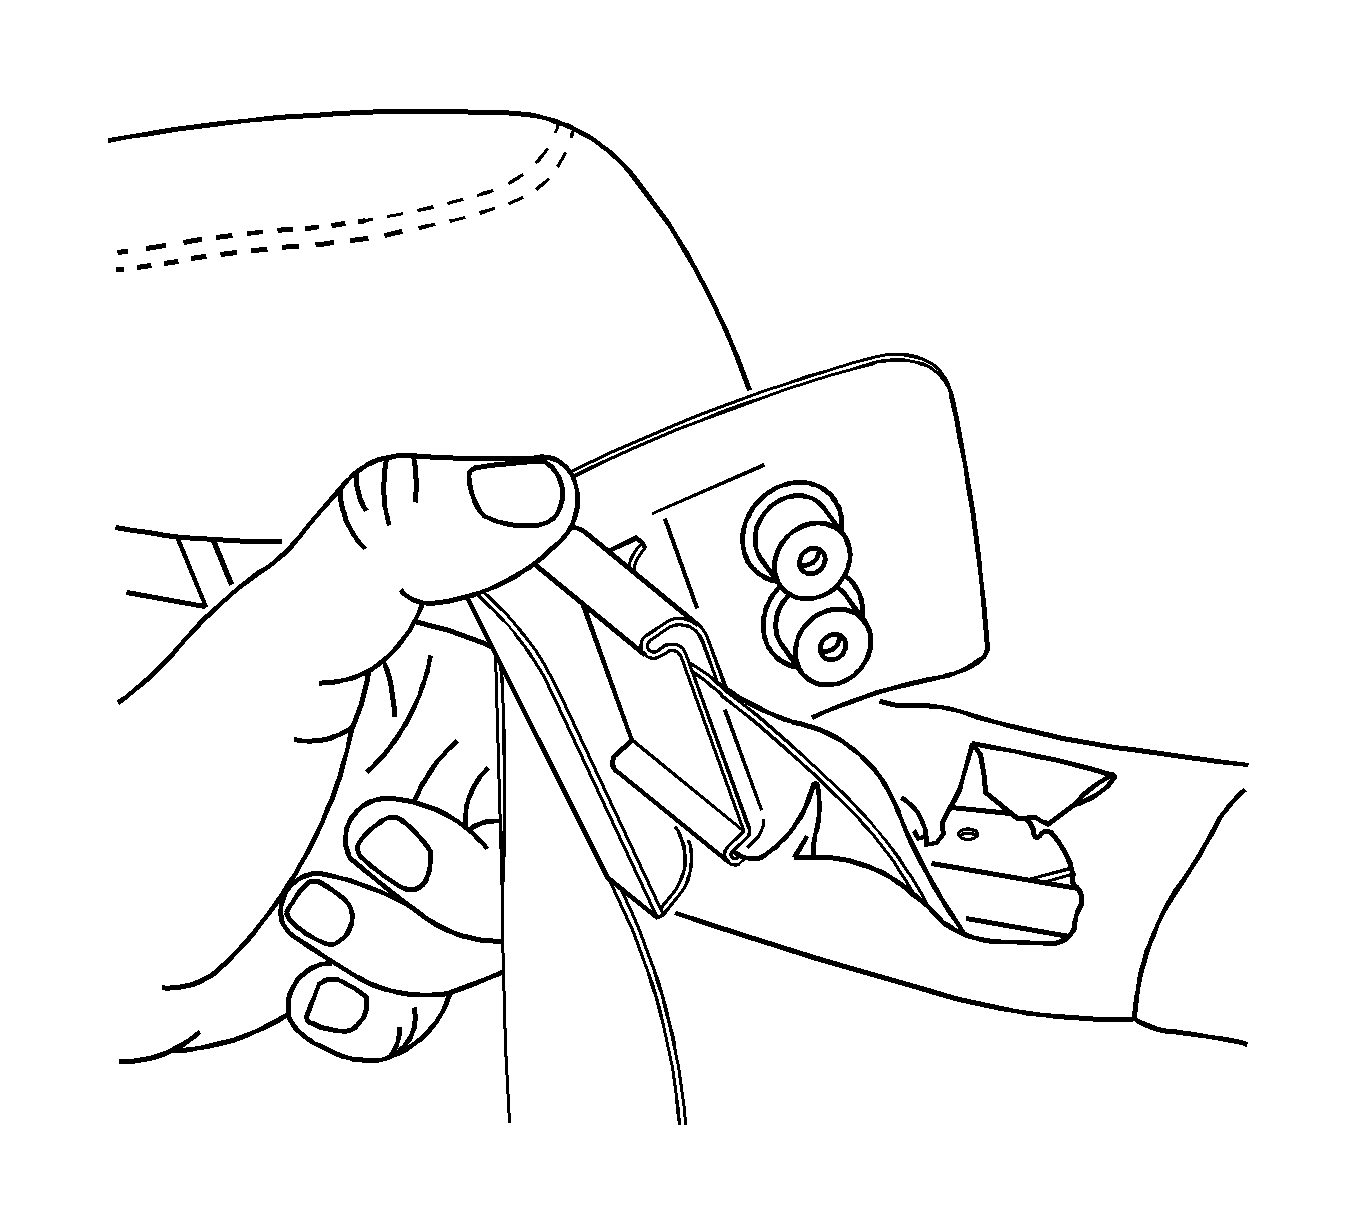
- Feed the seat belt webbing, the bezel, and the anchor plate through the cover.
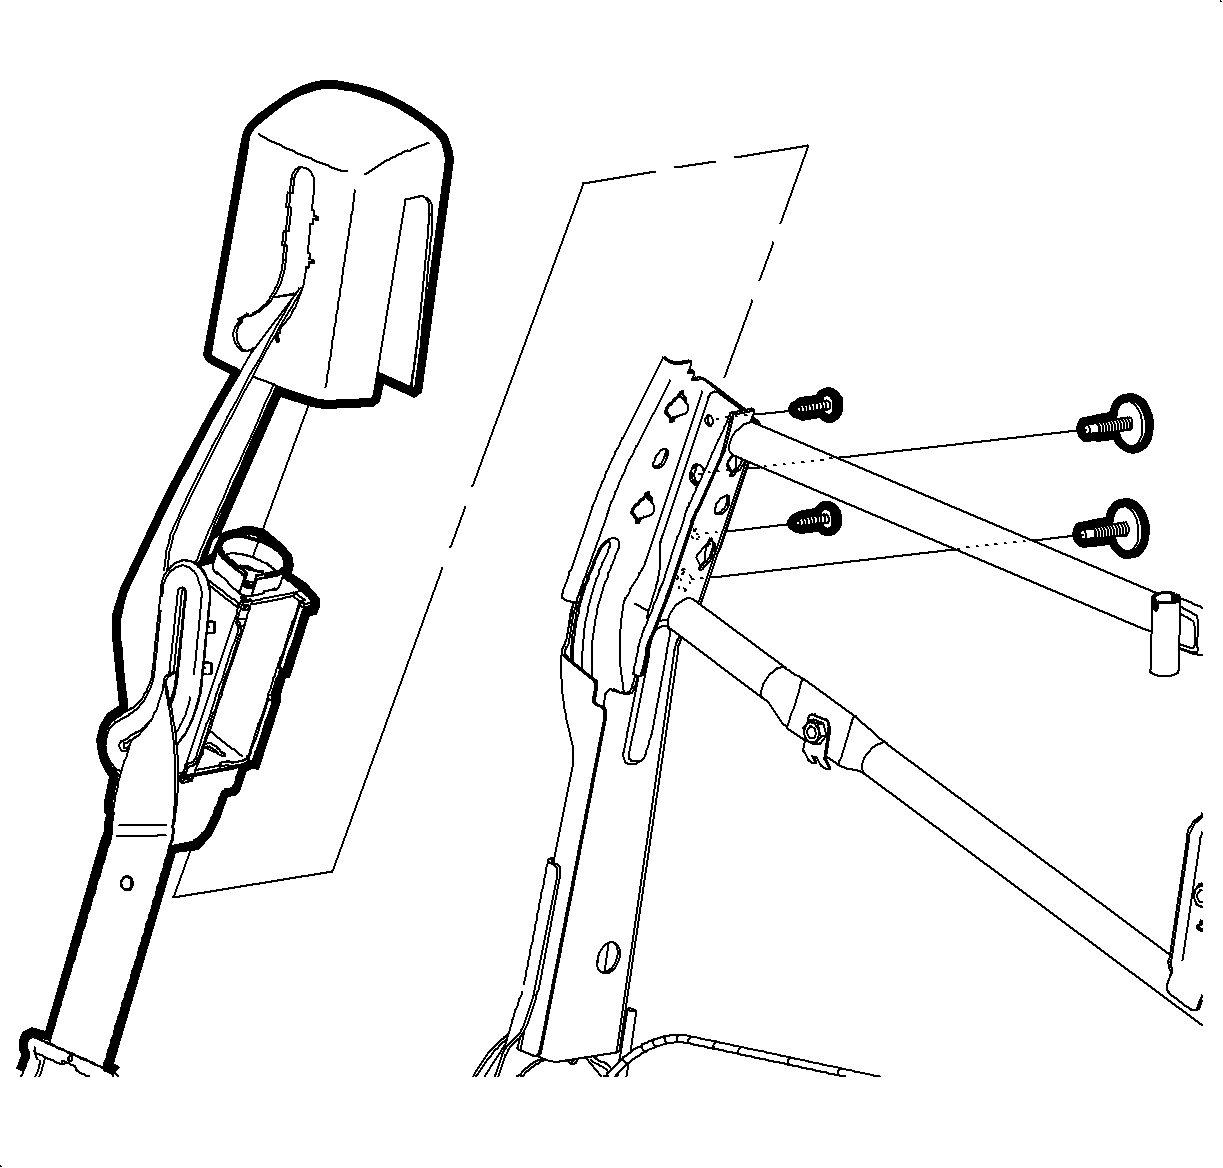
- Remove the retractor cover fasteners.
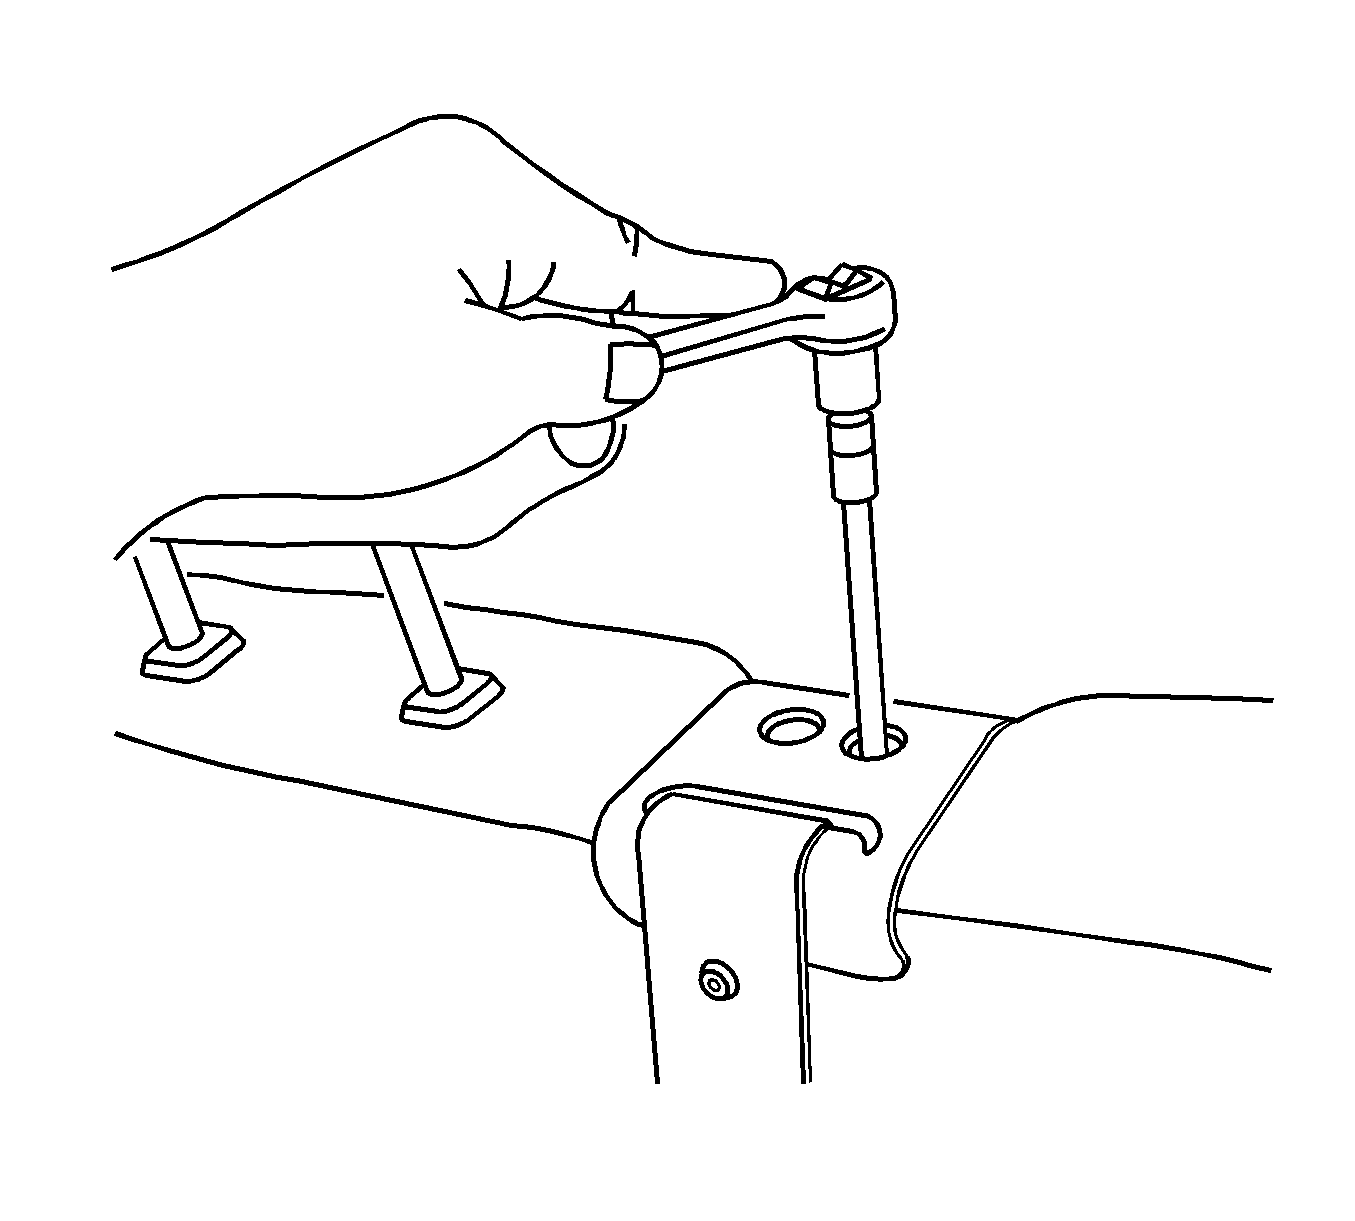
- Remove the rear shoulder belt fasteners.
- Pull upward on the retractor unit cover and remove the retractor from the rear seat back frame.


Installation Procedure
- Position the retractor into the rear seat back frame and install the fasteners.
- Position the retractor cover over the shoulder belt retractor and install the TORX® fasteners.
- Route the webbing and the escutcheon through the seat back trim cover.
- Continue to install the seat back trim cover by pressing over the hook and loop locations to ensure proper engagement.
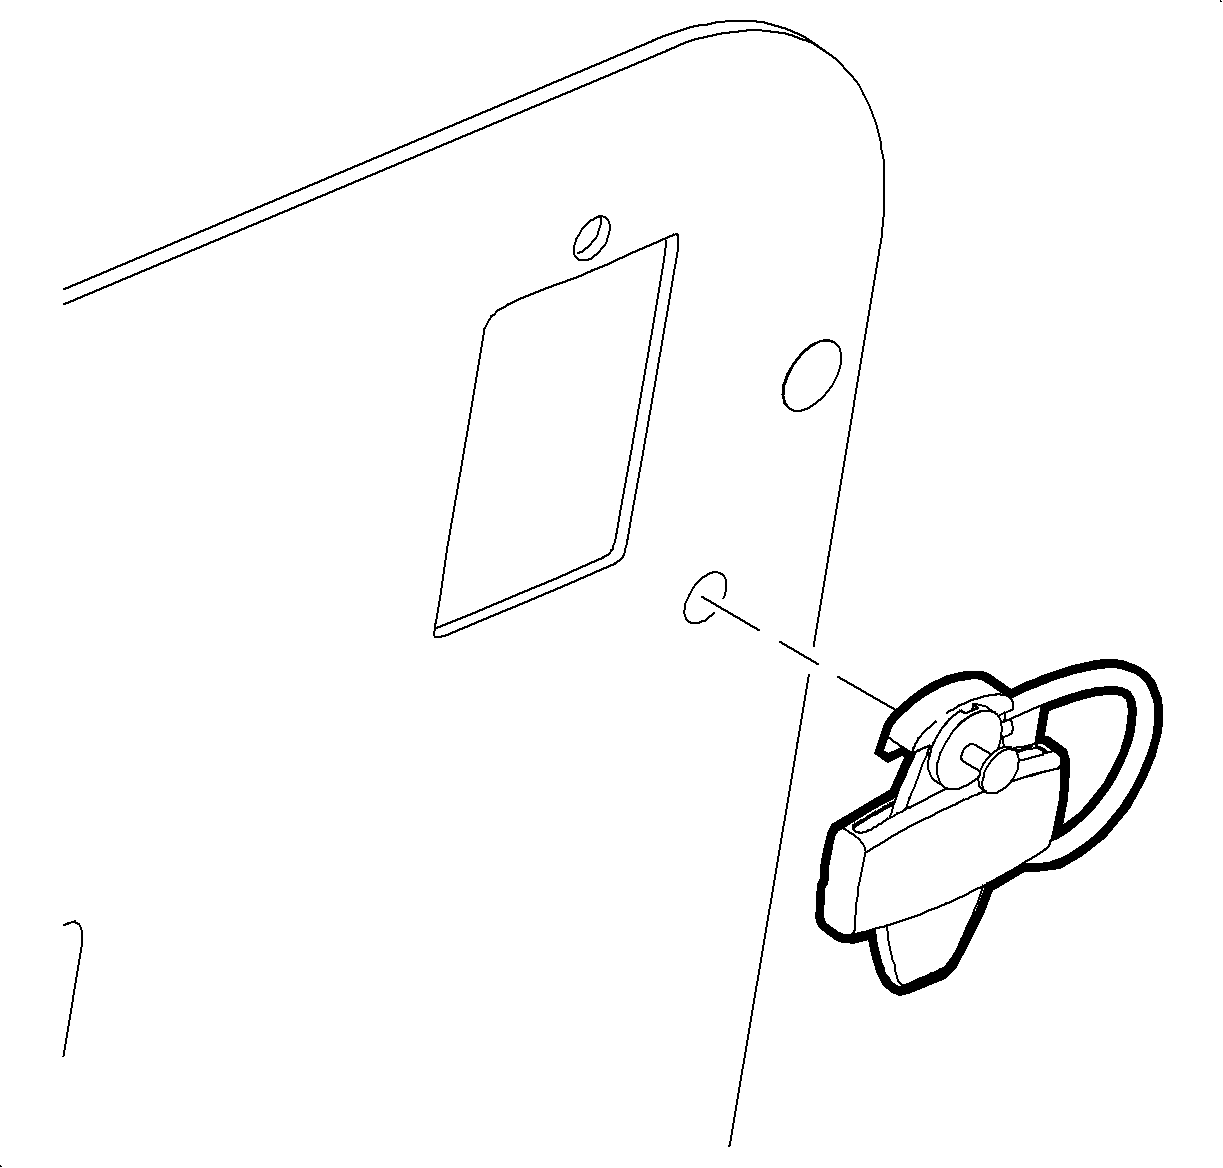
- Install the seat belt webbing bezel.
- Install the seat back cover. Refer to Rear Seat Back Cushion Cover and Pad Replacement in Seats.
Notice: Refer to Fastener Notice in the Preface section.

Important: Apply Permatex® 24200 on all restraint fasteners prior to installation.
Tighten
Tighten the fasteners to 45 N·m (33 lb ft).
Tighten
Tighten the fasteners to 20 N·m (15 lb ft).

Important: Verify that the shoulder belt is not twisted.

Tighten
Tighten the rear seat belt center bezel screws to
2.5 N·m (22 lb in).
