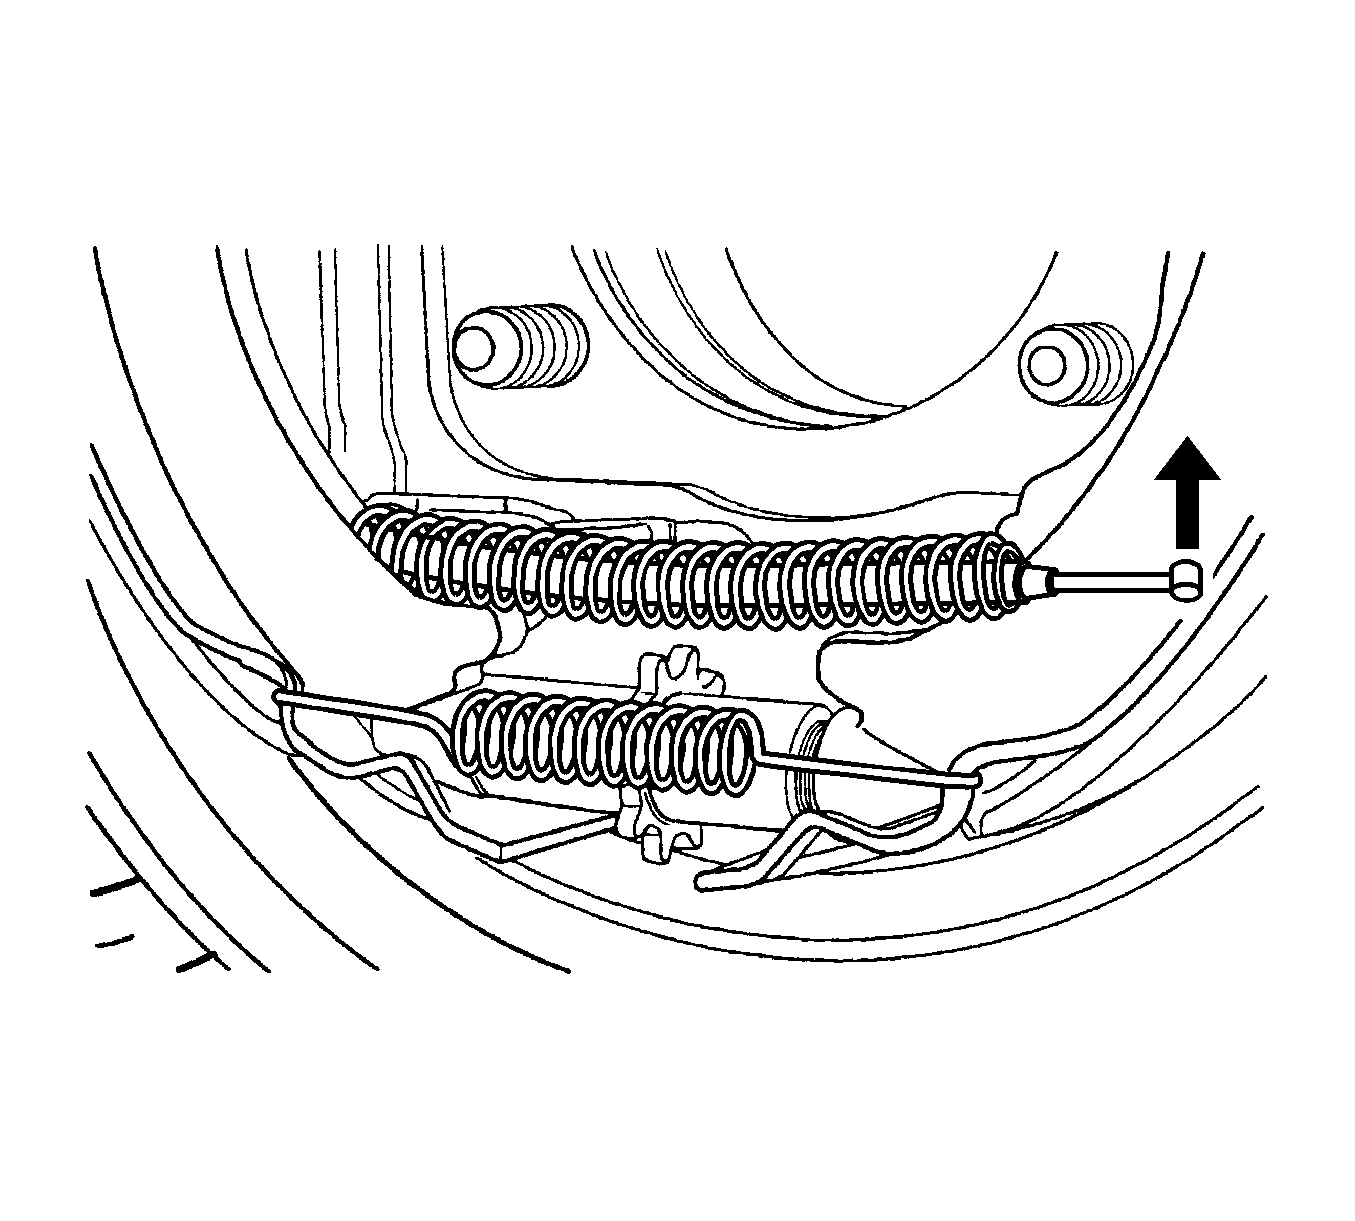
For 1990-2009 cars only
Adjustment Procedure
- Release the parking brake.
- Raise and suitably support the vehicle. Refer to Lifting and Jacking the Vehicle.
- Remove the rear wheels. Refer to Tire and Wheel Removal and Installation.
- Remove the caliper and the rotor assemblies. Refer to Rear Brake Caliper Replacement , and Rear Brake Rotor Replacement.
- Disconnect the parking brake cable from the backplate groove.
- Inspect and replace any parts of doubtful strength or quality because of discoloration from heat or stress.
- Using a vernier caliper, adjust the shoe assembly to 167.4-167.6 mm (6.59-6.60 in) by turning the adjuster nut clockwise to increase the diameter.
- Install the caliper and the rotor assemblies. Refer to Rear Brake Caliper Replacement , and Rear Brake Rotor Replacement.
- Install the rear wheels. Refer to Tire and Wheel Removal and Installation.
- Install the parking brake cable to the backplate groove.
- In the vehicle cabin, pull on the parking brake handle and stop after hearing 2 clicks.
- Turn the rear wheel by hand until the wheel begins to drag.
- Release the parking brake.
- Turn the rear wheel by hand to check drag and to readjust the cable, if necessary.
- Repeat the process for the other rear wheel and lower the vehicle.

Danger: To avoid any vehicle damage, serious personal injury or death when major components are removed from the vehicle and the vehicle is supported by a hoist, support the vehicle with jack stands at the opposite end from which the components are being removed and strap the vehicle to the hoist.
