Creak or Popping Noise from Roof Near Windshield/A Pillar (Replace Plastic Guides in Roof Striker and Add Flocking Tape and Shim Stock)

| Subject: | Creak or Popping Noise from Roof Near Windshield/"A" Pillar (Replace Plastic Guides In Roof Striker and Add Flocking Tape and Shim Stock) |
| Models: | 2005-2007 Chevrolet Corvette |
| with Lift Off Roof Only |
This bulletin is being revised to emphasize the replacement of the plastic guide. Please discard Corporate Bulletin Number 05-08-59-003D (Section 08 - Body and Accessories).
DO THIS | DON'T DO THIS |
|---|---|
Replace the plastic guide. | DO NOT replace the roof handles. |
Condition 1
Some customers may comment on a creak or popping noise in the roof near the windshield area.
Condition 2
Some customers may comment on a creak or popping noise in the A-pillar area.
Cause 1
The roof guide pins may have elongated the plastic guides.
Cause 2
The windshield garnish molding may be causing the noise.
Correction 1

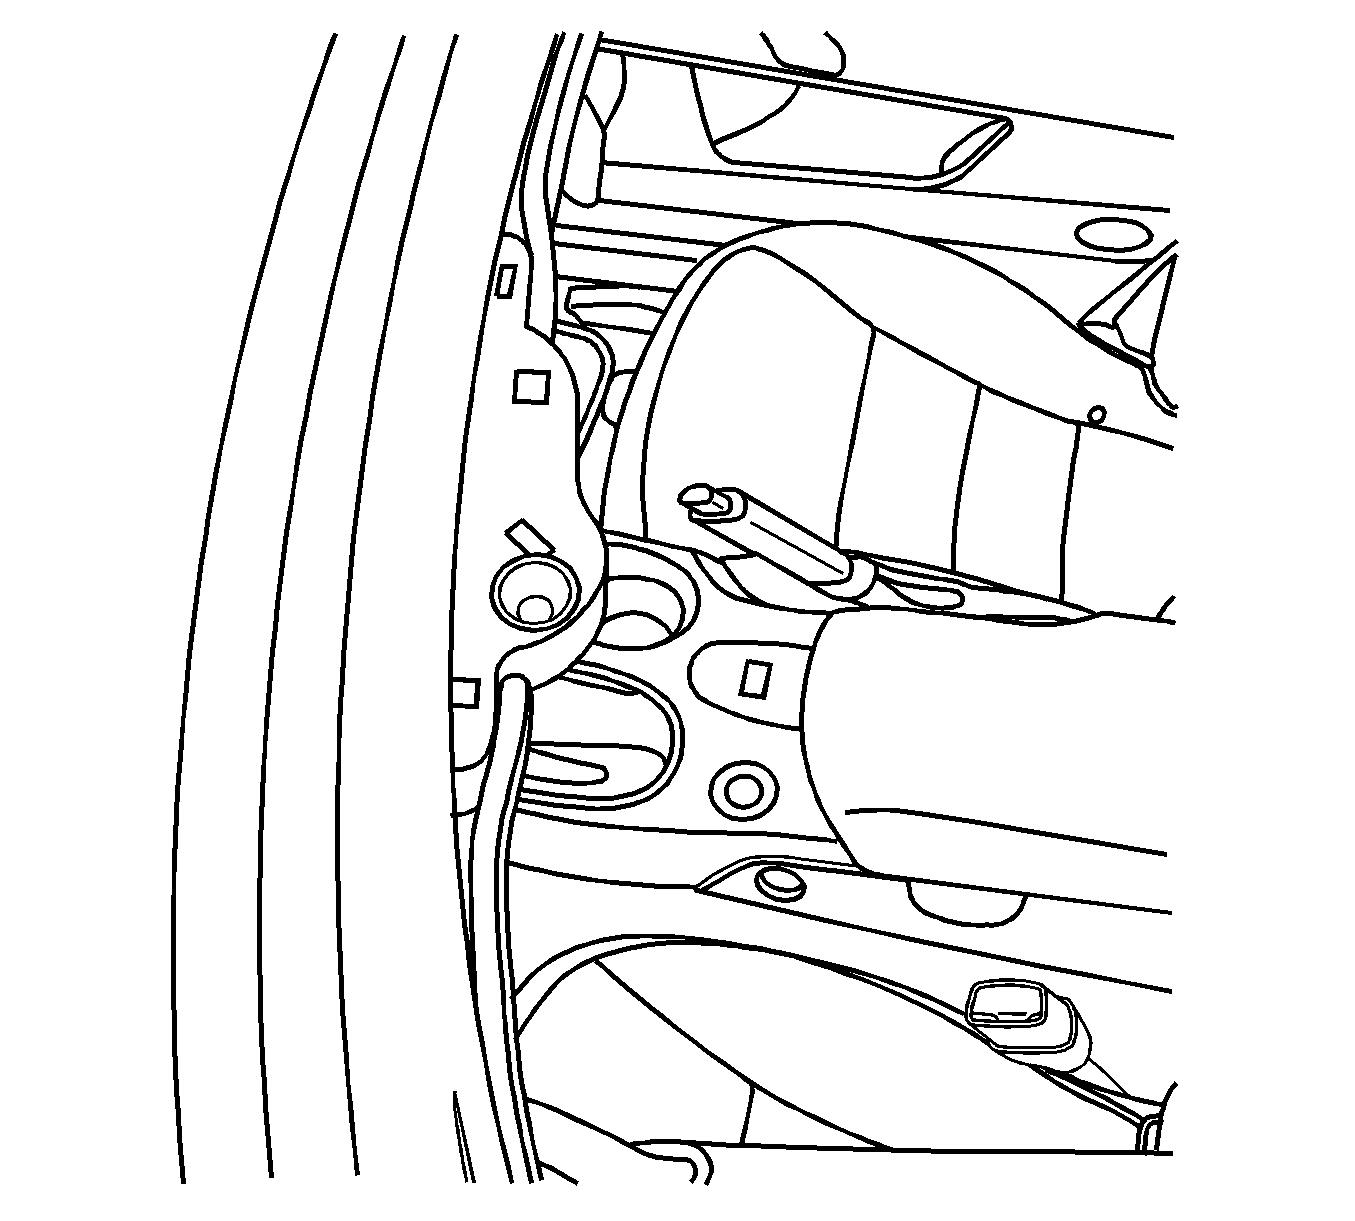
Replace the left and right plastic guide in the roof latch striker following the procedure below. (Note that the latch is on the headliner, next to the "A" pillar.)
- Unlatch and remove the roof.
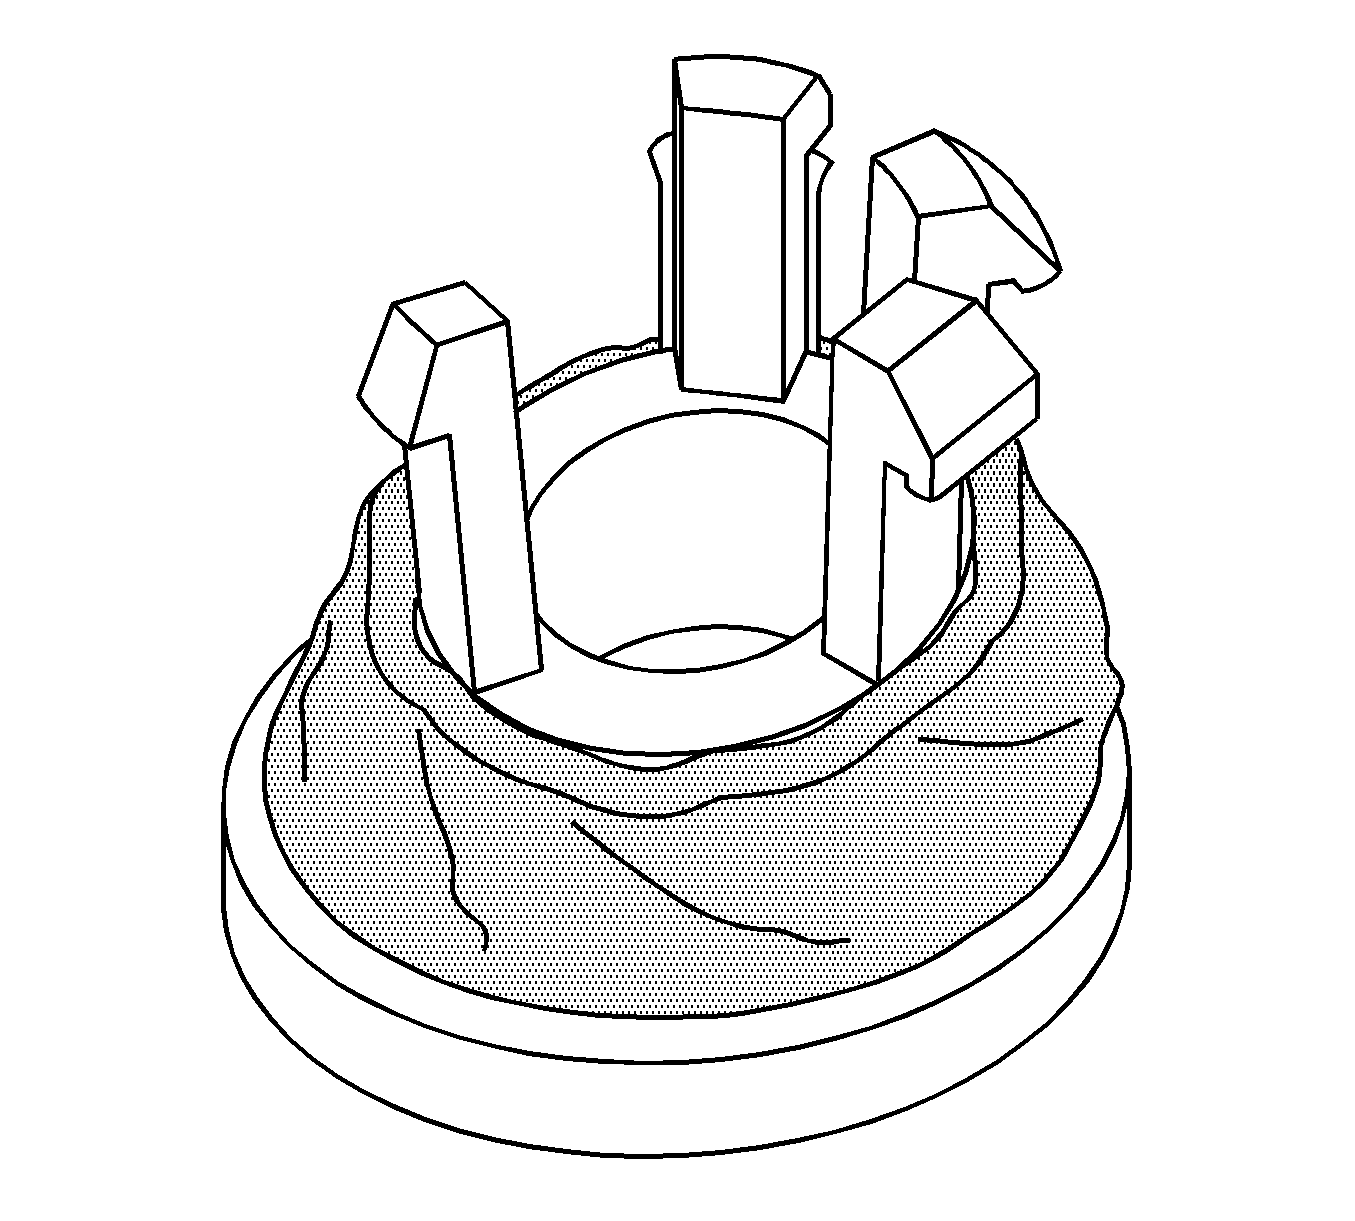
- With a small screw driver, unlock the four fingers of the guide from the striker and discard them.
- Remove the flocking tape from the new guides.
- Install a piece of flocking tape under the brim of each of the guides (8 mm [0.31 in] wide by 50 mm [2 in] long) as shown above.
- Install the new plastic guides into the striker.
- Install the roof.

Correction 2
Install flocking tape and shim stock to the following areas
| • | The A-pillar (shim stock) |
| • | At the end of the windshield garnish molding (flocking tape) |
- Remove the windshield garnish. Refer to Windshield Garnish Molding Replacement in SI.
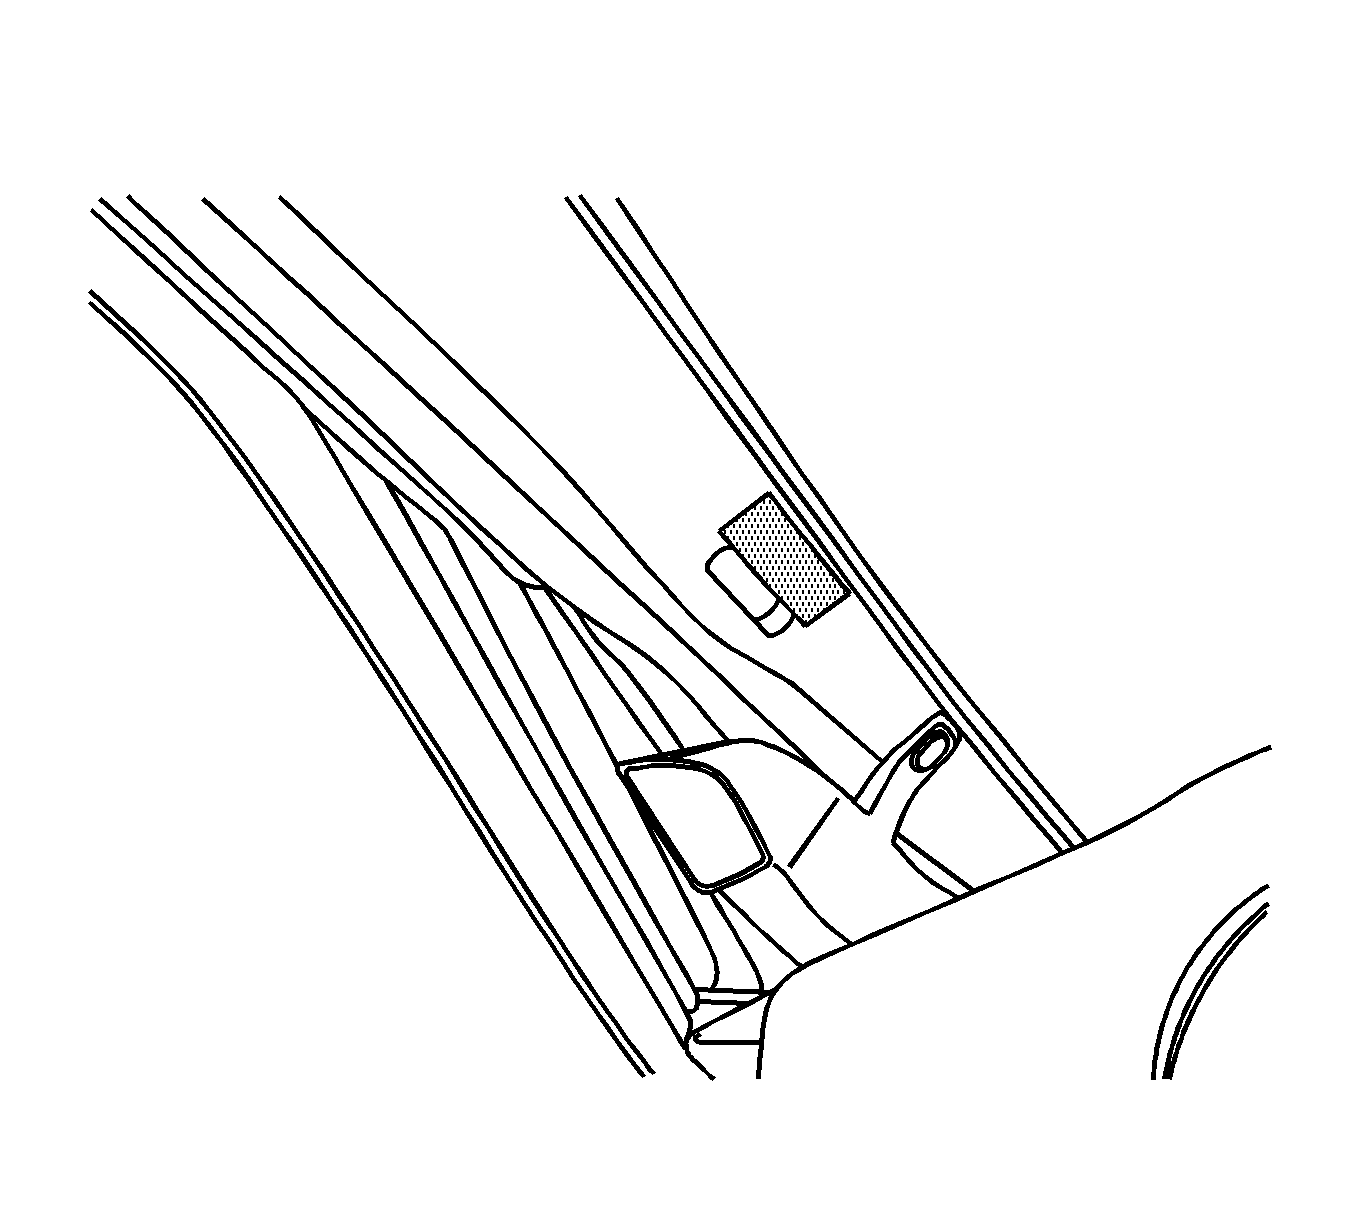
- Install a piece of 2 mm (.080 in) shim stock, 40 mm long by 10 mm wide (0.31 in by 1.6 in) to the A-pillar as shown above.
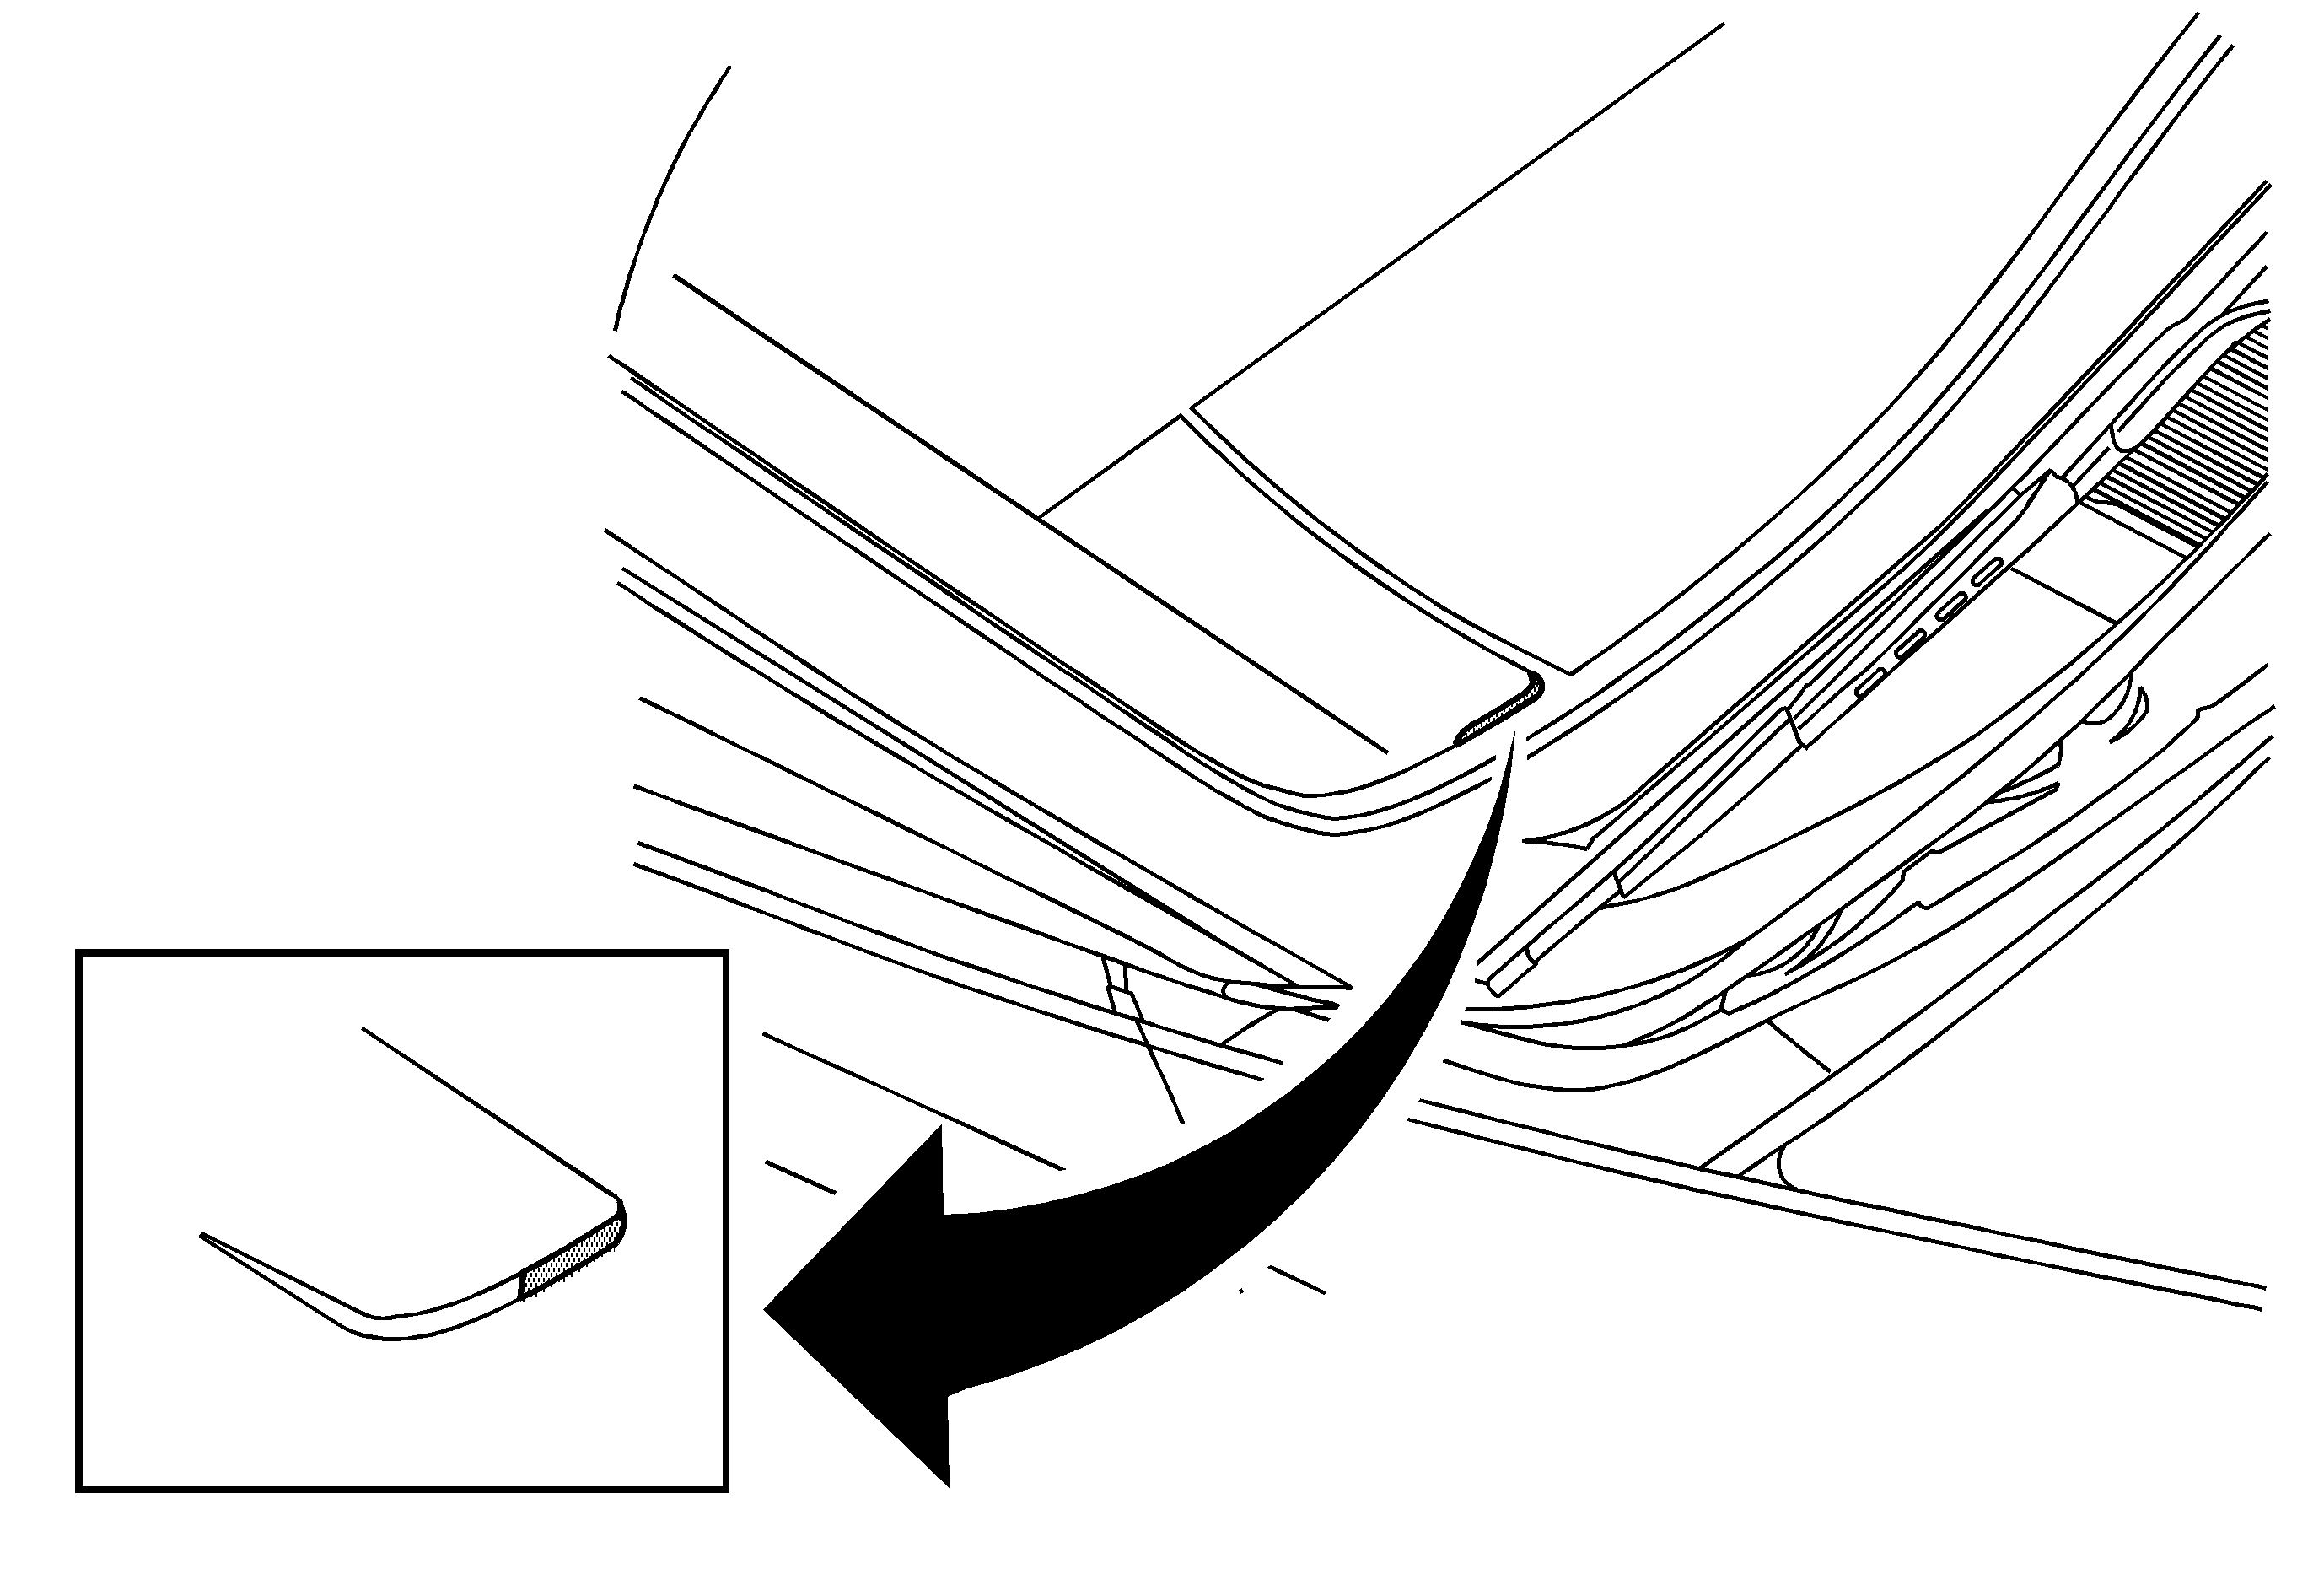
- Install a piece of flocking tape 8 mm wide by 40 mm long (0.31 in by 1.6 in) to the edge of the windshield garnish molding and wrap it around the back side of the molding as shown above.
- Install the windshield garnish. Refer to Windshield Garnish Molding Replacement in SI.


Parts Information
Order BRS Tape and Adhesive Back Shim Stock from Kent Automotive at 1-888-YES-KENT or online at www.kent-automotive.com.
Part Number | Description | Qty |
|---|---|---|
19120702 | Spacer, RF Lift Off Pnl/Wdo Frt Stkr (LH) | 1 |
19121172 | Spacer, RF Lift Off Pnl/Wdo Frt Stkr (RH) | 1 |
KT-13485 | BRS Tape |
|
P40100 | Adhesive Back Shim Stock |
|
Important: The Material Allowance is 65 cents (75 cents in Canada) per vehicle for flocking tape and 44 cents (51 cents in Canada) per vehicle for adhesive back shim stock.
Warranty Information
For vehicles repaired under warranty, use:
Labor Operation | Description | Labor Time |
|---|---|---|
B9767* | Replace Plastic Guide In Striker (Left And Right) | 0.2 hr |
C2000 | Windshield Garnish Molding Replacement (RH) | Use Published Labor Operation Time |
C2001 | Windshield Garnish Molding Replacement (LH) | |
Add: | Install Tape And Shim Stock | 0.2 hr |
*This labor operation is for bulletin use only. It will not be published in the Labor Time Guide | ||
