For 1990-2009 cars only
- Close the convertible top.
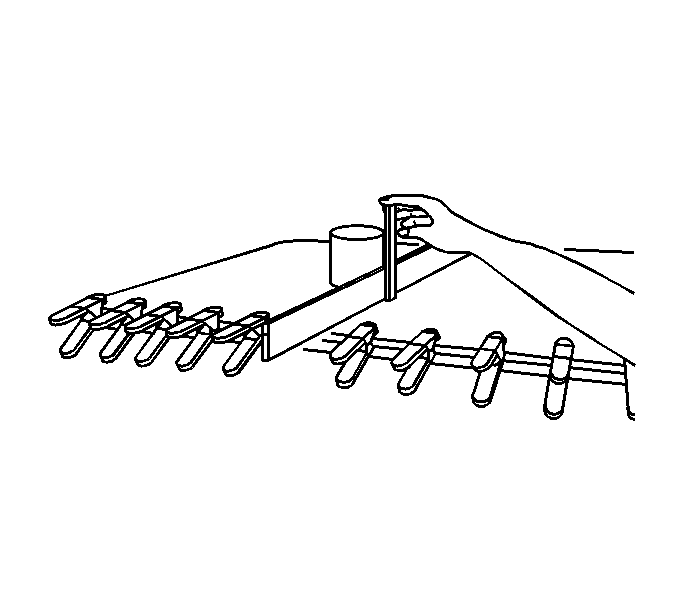
- Verify the tension in the folding top cover by setting a 1 M (3.28 ft) straight edge on the top cover between the #1 and the #2 bows.
- Set a 4.5 kg (10 lb) weight next to the straight edge in the center of the top.
- Using a ruler, measure the sag distance between the bottom of the straight edge and the top cover:
- If the tension does not meet these specifications, modify the tension by continuing with the following steps.
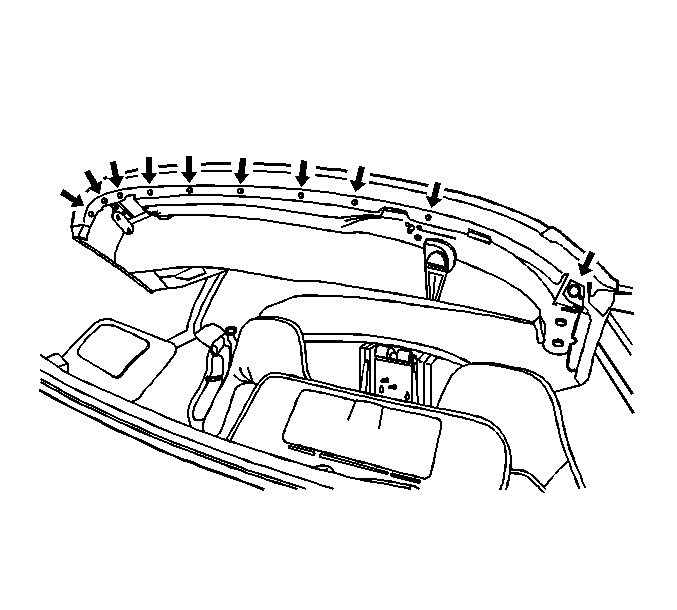
- To modify the tension in the folding top cover, remove the folding top. Refer to Folding Top Replacement
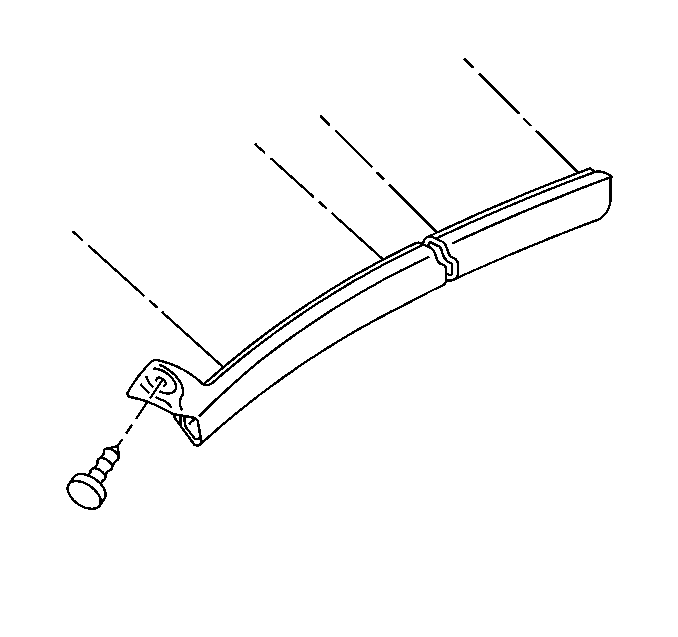
- At the #1 bow, remove the weatherstrip screws from the right and from the left front side rail.
- Remove the screws from the seal compression panel.
- Remove the seal compression panel.
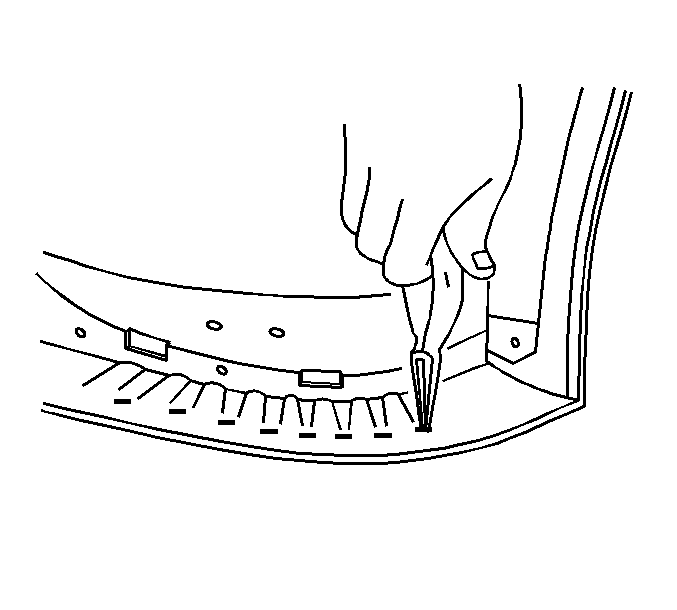
- Using a pair of needle nose pliers remove the top cover staples.
- Pull the top cover forward to increase the tension.
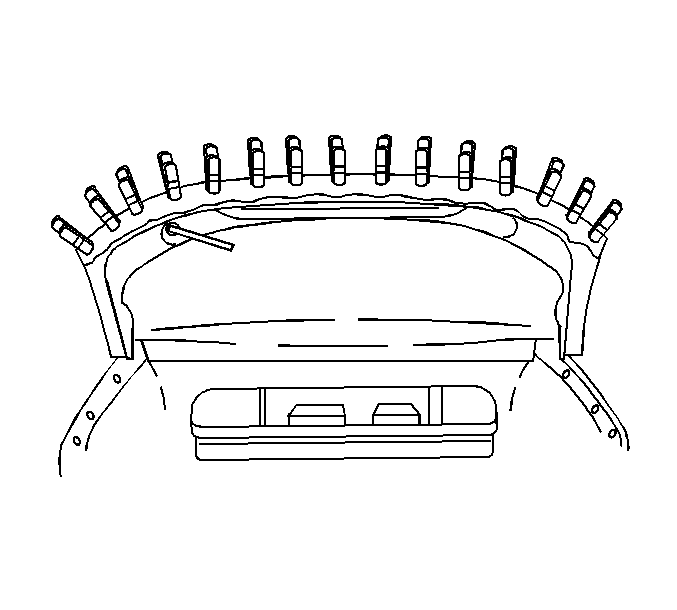
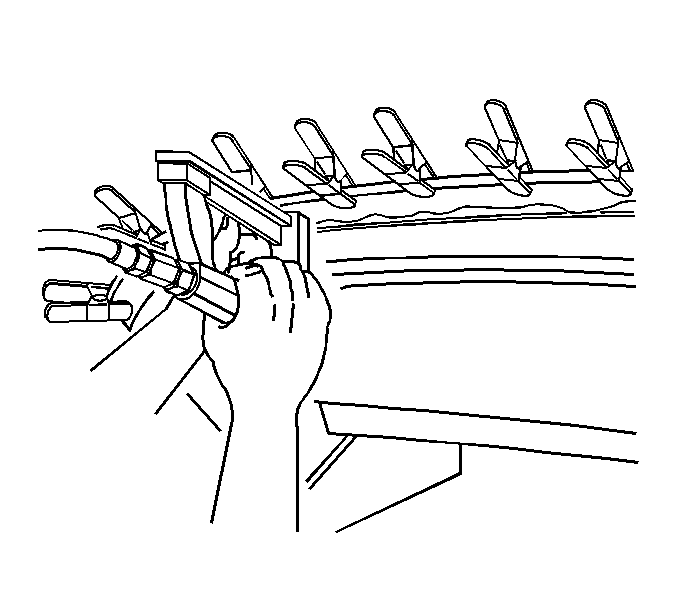
- Fold the top cover over the #1 bow and secure with 5 cm (2 in) pinch clamps. Place the clamps directly over the steel rivets within the bow.
- Using a ruler as before, verify the tension again and adjust the tension as necessary.
- If the tension is correct, staple the top cover to the bow.
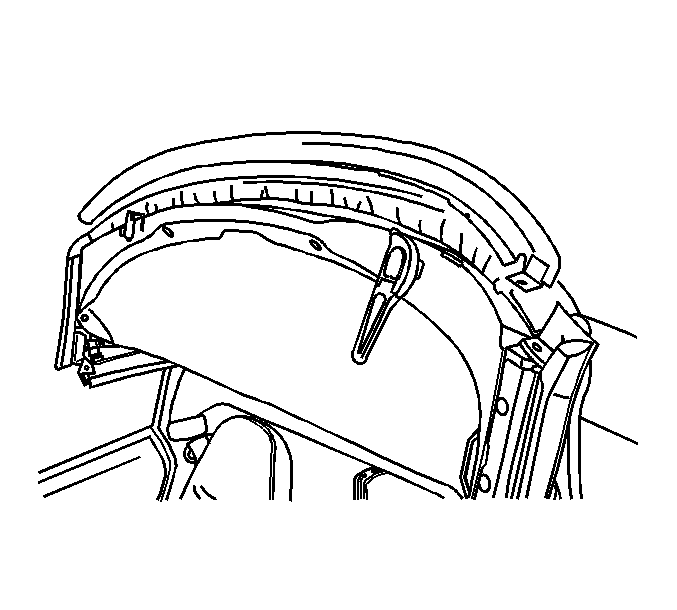
- Position the seal compression panel to the bow.
- Install the seal compression panel screws.
- Install the front side rail seal screws.
- Reposition the top to the original position.
| • | Cloth: 13-15 mm (0.51-0.60 in) |
| • | Vinyl: 17-20 mm (0.67-0.79 in) |
Notice: Use the correct fastener in the correct location. Replacement fasteners must be the correct part number for that application. Fasteners requiring replacement or fasteners requiring the use of thread locking compound or sealant are identified in the service procedure. Do not use paints, lubricants, or corrosion inhibitors on fasteners or fastener joint surfaces unless specified. These coatings affect fastener torque and joint clamping force and may damage the fastener. Use the correct tightening sequence and specifications when installing fasteners in order to avoid damage to parts and systems.
Tighten
Tighten the screws to 3 N·m (26 lb in).
Tighten
Tighten the screws to 2 N·m (18 lb in).
