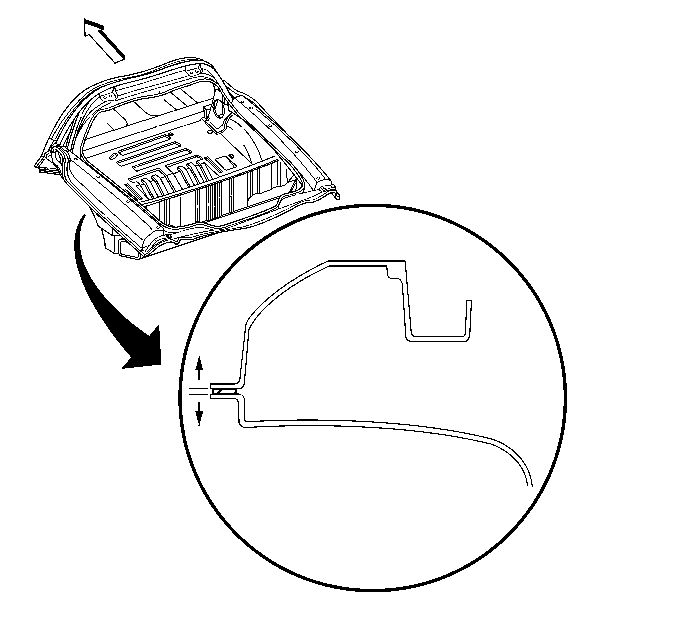
For 1990-2009 cars only
Tools Required
J 42058 Frame Adapter Clamp
Removal Procedure
Important: The frame rails and bumper impact bars must be serviced as required, and returned to three-dimensional coordinates before any Sheet Moulded Compound (SMC) repairs are attempted.
- Visually inspect and restore as much of the damage as possible to specifications using three-dimensional measuring procedures. Use J 42058 if pulling and straightening of the vehicle are required.
- Remove all interior components related to the rear of the vehicle.
- Remove the quarter panels.
- Remove the rear bumper cover.
- Remove the roof bow cover.
- Apply heat to the Rear Compartment Panel Frame side of the bond area and pry up on the damaged panel. Be careful not to damage the rear compartment panel.
- Once the rear surround is completely removed, clean off most of the adhesive bead. Leave a few small areas of adhesive, about 25 mm (1 in) in length, in place to act as shims for the new rear surround.
Important: Save any and all brackets, mounting studs, and accessories for transfer to the new rear compartment panel.

Installation Procedure
- Scuff the service panel bonding surface to ensure good adhesion.
- Temporarily assemble rear end of vehicle to check alignment with the doors. This includes installation of the quarter-panels, roof bow cover, and rear hatch. Place shims as necessary to achieve proper panel alignment and establish adhesive thickness.
- Remove and disassemble panels for installation.
- Scuff all bonding surfaces to ensure proper adhesion.
- Clean and prepare all bonding surfaces prior to SMC panel installation. Refer to Plastic Panels in Plastic Panel Information and Repair.
- Prime all bare metal surfaces with an approved anti-corrosion primer per GM P/N 4901M-D refinish manual. Do not top-coat any bonding surface.
- Apply a consistent bead of adhesive to the entire perimeter of the rear compartment panel mating flange (1). Apply enough adhesive for proper wet-out.
- Install shims and rear surround, clamping them in place.
- Tool excess adhesive to form a consistent leak-proof bond.
- Allow to cure according to the adhesive manufacturer's recommendations.
- Remove clamps and install roof bow panel.
- Install all related panels and components.


Important: Use only approved adhesives. Refer to Rigid Plastic Part Repair Materials in Plastic Panel Information and Repair.
