Removal Procedure
Important:
• Use the Offset Lap-Joint method to perform front rail repairs.
Refer to
Offset Lap Joint Repair • Check front of dash panel, floor panels, and all other SMC for
cracks or areas that may need to be repaired or resealed. • This procedure is used when damage to the frame rail is limited
to the portion rearward of the seat back area.
- The seat back sectioning area is exposed by modifying or removing close-out panels and tunnel braces to access to all sides of the rail. There are some high strength steel panels located in the rear of the vehicle which can be repaired if damage excludes kinks, or damage which would require the use of heat to straighten.
- Remove the fuel tank from the damaged side of the vehicle.
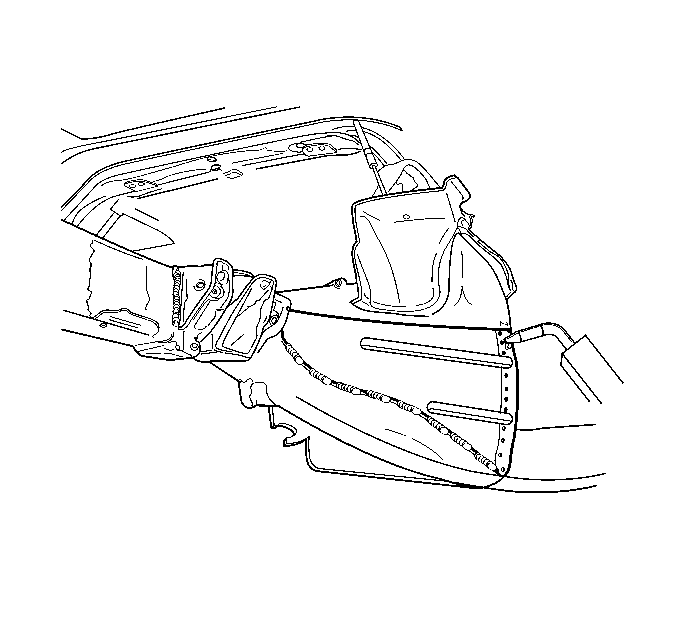
- Remove the outer lock pillar extension panel in order to access the rail.
- Apply a piece of 25 mm (1 in) tape along the lock pillar.
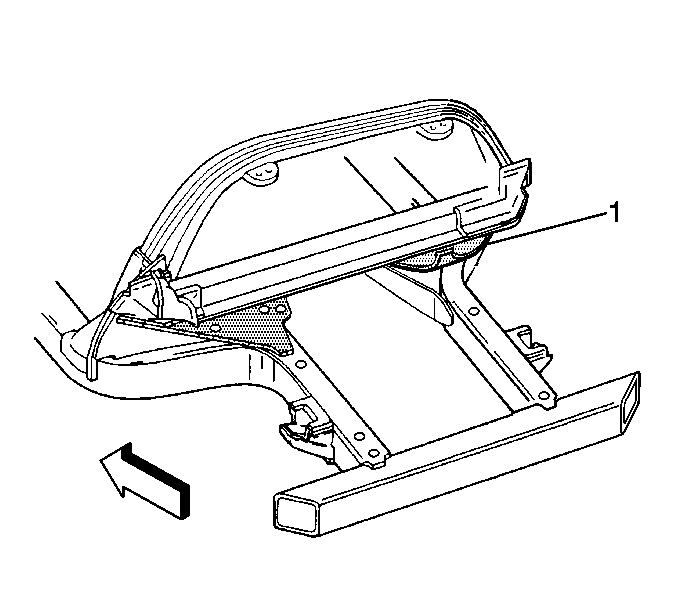
- Cut to create a weld flange for installing the new extension panel (1).
- Using a die grinder, cut along the edge of tape line.
- Cut stitch welds along the rail and drill out the resistance welds along the tunnel brace.
- Remove lock pillar extension panel.
- Loosen and pry up the upper extension panel (1) for the fuel tank for access to the rest of the rail for sectioning. Remove for replacement if damaged.
- Using a die grinder, cut through the stitch welds that attach the tunnel brace to the frame rail. Make cuts favoring the rail side of the welds.
- Determine the location to perform the sectioning; be sure to stay within the recommended areas.
- Cut the damaged rail accordingly.
- Remove the damaged rail portion.
- Clean and prepare all surfaces for assembly as necessary.
- Perform offset lap-joint sectioning as required.

Important: Save any and all brackets, mounting studs, and accessories for re-use as necessary.
Remove related panels and components, including rear compartment panel.


Caution: Sound deadener foam in the lock pillar can be a fire hazard. Avoid welding to the lock striker pillar.

Installation Procedure
- Stitch weld the tunnel brace to the frame rail, duplicating the factory welds.
- Attach upper extension panel.
- Weld the upper extension panel, duplicating factory welds as much as possible. It may be necessary to replace extension panel if heat is required to straighten.
- Trim new lock pillar extension panel to fit properly.
- Drill 8 mm (5/16 in) holes for plug welding along the edge which will overlap the flange created during removal.
- Stitch weld lower edge in factory locations to the frame rail.
- Apply anti-corrosion materials to all inner surfaces as necessary.
- After sectioning repairs are completed, attach panels and components as necessary.

Install lock pillar extension in factory location and plug weld to original extension flange and to tunnel brace.
| • | Do not combine paint systems. |
| • | Refer to paint manufacturer's recommendations. |
