Perform one or more of the following five adjustment procedures
to properly align the roof lift off panel.
Notice: Use the correct fastener in the correct location. Replacement fasteners
must be the correct part number for that application. Fasteners requiring
replacement or fasteners requiring the use of thread locking compound or sealant
are identified in the service procedure. Do not use paints, lubricants, or
corrosion inhibitors on fasteners or fastener joint surfaces unless specified.
These coatings affect fastener torque and joint clamping force and may damage
the fastener. Use the correct tightening sequence and specifications when
installing fasteners in order to avoid damage to parts and systems.
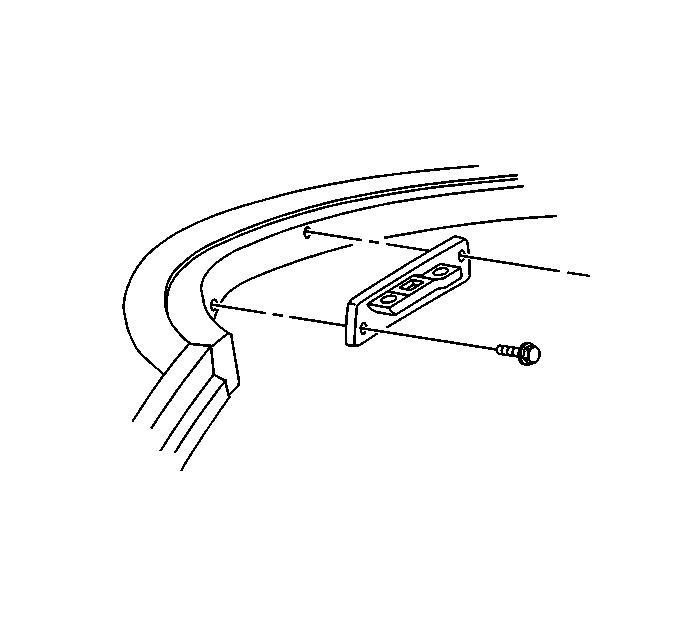
- To adjust the front
striker for up down roof alignment perform the following steps:
| 1.1. | For major up down roof adjustment loosen the striker bolts and
reposition the latch striker up or down. |
| 1.2. | For minor up or down roof adjustment loosen the striker outboard
bolt and slightly loosened the inboard bolt, pivot the striker on the inboard
bolt in 2 mm (0.08 in) increments up or down. |
| 1.3. | Tighten the striker bolts. |
Tighten
Tighten the roof front latch handle striker bolts to 10 N·m
(89 lb in).
| 1.4. | When the striker is properly adjusted the handle will snap closed. |
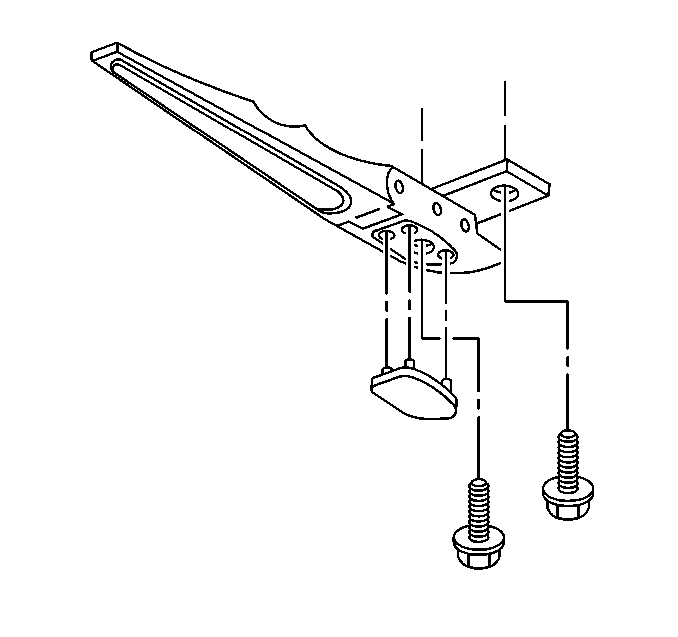
- To adjust the front latch
handle forward or rearward perform the following steps:
| 2.1. | Loosen the latch handle bolts. |
| 2.2. | Reposition the latch handle forward or rearward. Maintain a minimum
of 2 mm (0.08 in) clearance between latch handle and the latch
striker to avoid squeaks and rattles. |
| 2.3. | Assure the latch handle base is parallel to the striker to provide
clearance to the sunshade mirror door. |
| 2.4. | Tighten the latch handle bolts. |
Tighten
Tighten the roof front latch handle bolts to 13 N·m (10 lb ft).
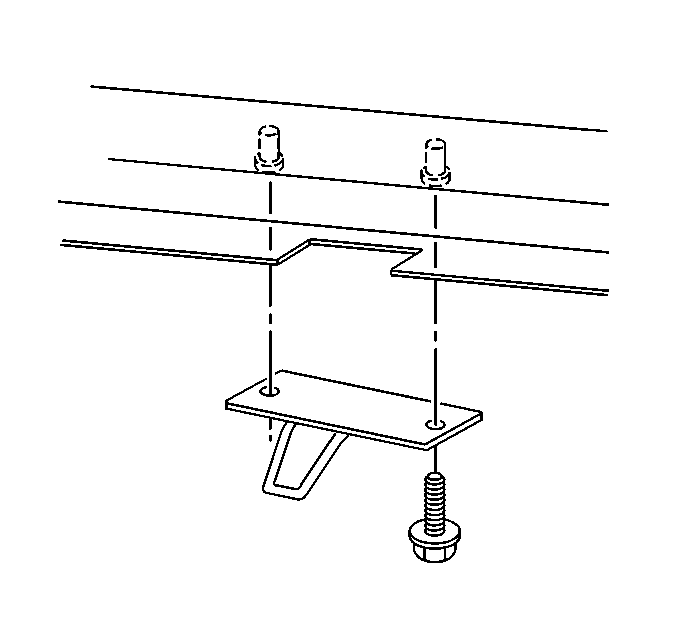
- For major rear latch adjustment
adjust the rear latch striker performing the following steps:
| 3.1. | Remove the roof lift off panel. |
| 3.3. | Loosen the rear latch striker attaching bolts. |
| 3.4. | Adjust the position of the latch striker forward or rearward for
major adjustment. |
| 3.5. | Tighten the striker attaching bolts. |
Tighten
Tighten the roof rear striker bolts to 10 N·m (89 lb in).
| 3.6. | Install the roof lift off panel. |
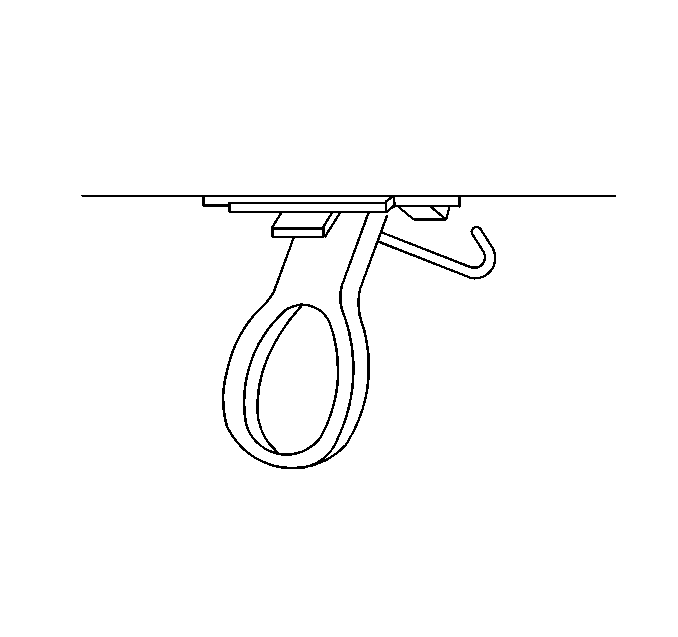
- For minor rear latch adjustment
adjust the latch handle hook one turn at a time to achieve moderate pressure
to the latch as follows.
| 4.1. | Remove the roof lift off panel. |
| 4.2. | Loosen the set screw locking the latch hook. |
| 4.3. | Turn the hook in to tighten or out to loosen. |
| 4.4. | Tighten the set screw. |
| 4.5. | Install the roof panel. |
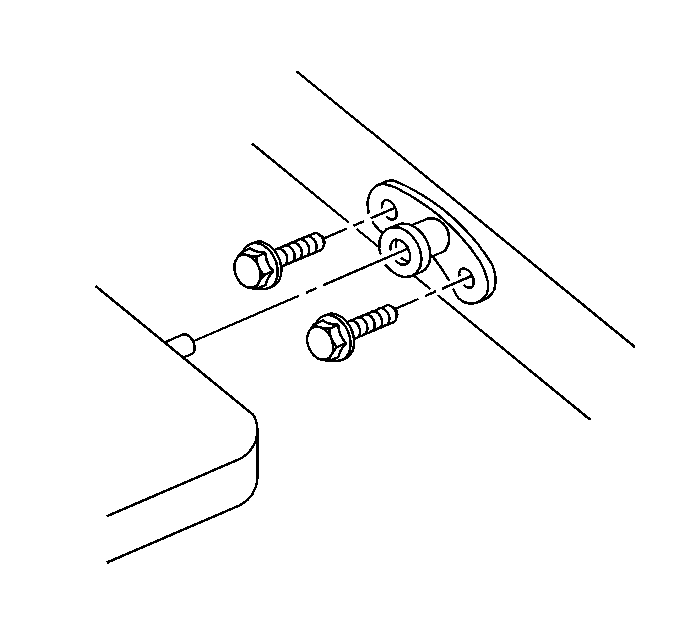
- To adjust the rear locator
perform the following steps:
| 5.1. | With the roof installed on the vehicle loosen the locator mounting
bolts. |
| 5.2. | Reposition the locator. |
| 5.3. | Tighten the mounting bolts. |
Tighten
Tighten the roof rear locator to locator bracket bolts to 10 N·m
(89 lb in).


