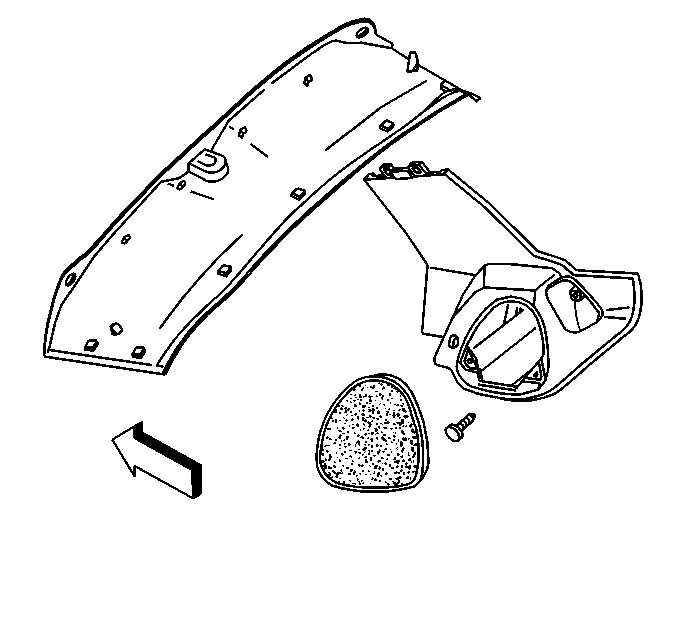
Rear Compartment Lift Window Panel Replacement Coupe
Removal Procedure
Notice: DO NOT close the lift window panel with the struts attached unless the window is installed and the window adhesive fully cured. The window adds strength and rigidity to the lift window panel. Attempting to close the lift window panel, with the struts installed, without a window or with the window adhesive not fully cured, could cause the panel to crack.
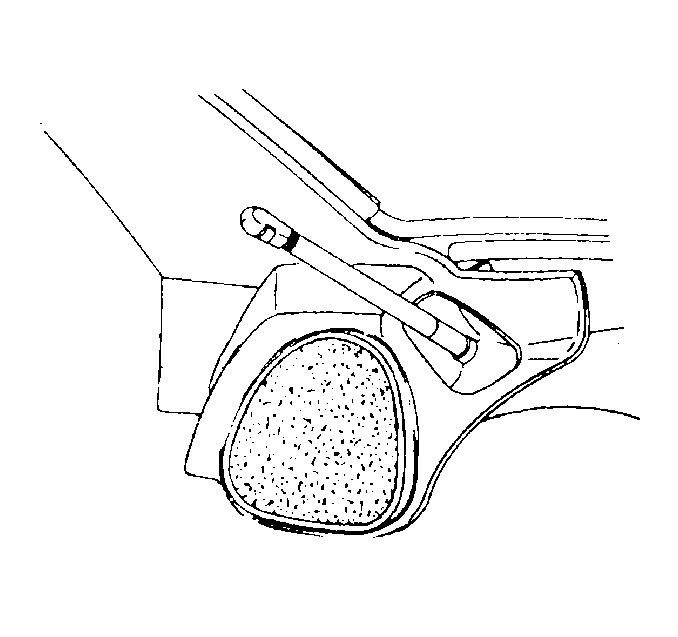
If necessary, the rear compartment lift window panel may be manually released by pulling on the manual release cables located behind the cargo compartment rear corner trim panels. Access the cables through the slots in the rear corner trim panels.
The procedure for removing the lift window from the lift window panel is found in Stationary Glass.
- Remove the removable roof panel.
- Open the lift window panel and suitably support.
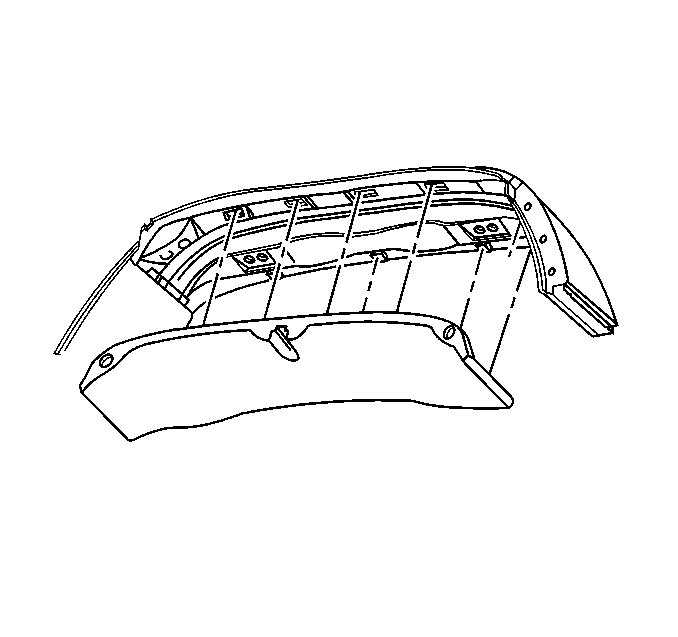
- Remove the roof bow center interior trim panel. Refer to Rear Roof Bow Trim Panel Replacement in Interior Trim.
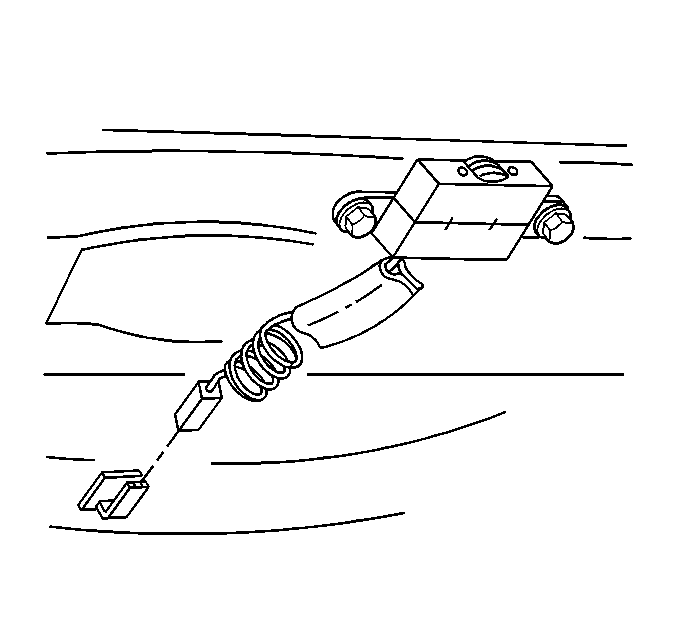
- Disconnect the antenna jumper cable connection.
- Disconnect the upper defogger connection from each strut.
- Remove the struts from the lift window panel.
- Remove the support and lower the lift window. DO NOT latch the lift window.
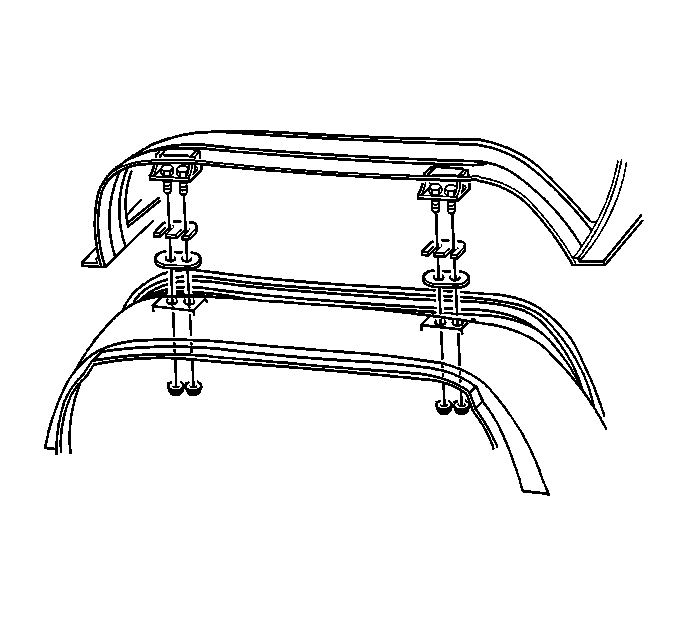
- Remove the nuts from the hinges.
- With the aid of a helper remove the lift window panel and place the panel on a clean protective surface.
- Transfer parts as necessary.

Installation Procedure
Notice: DO NOT close the lift window panel with the struts attached unless the window is installed and the window adhesive fully cured. The window adds strength and rigidity to the lift window panel. Attempting to close the lift window panel, with the struts installed, without a window or with the window adhesive not fully cured, could cause the panel to crack.
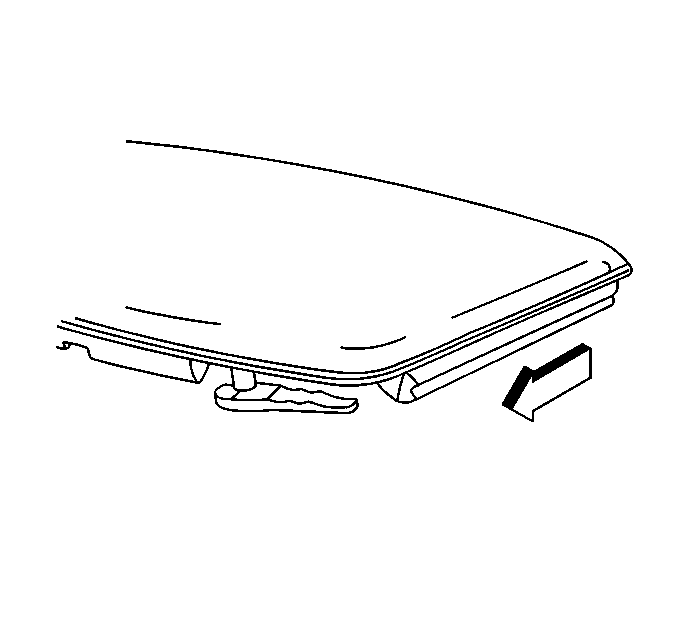
- Install sealant to the hinge studs to prevent water leaks.
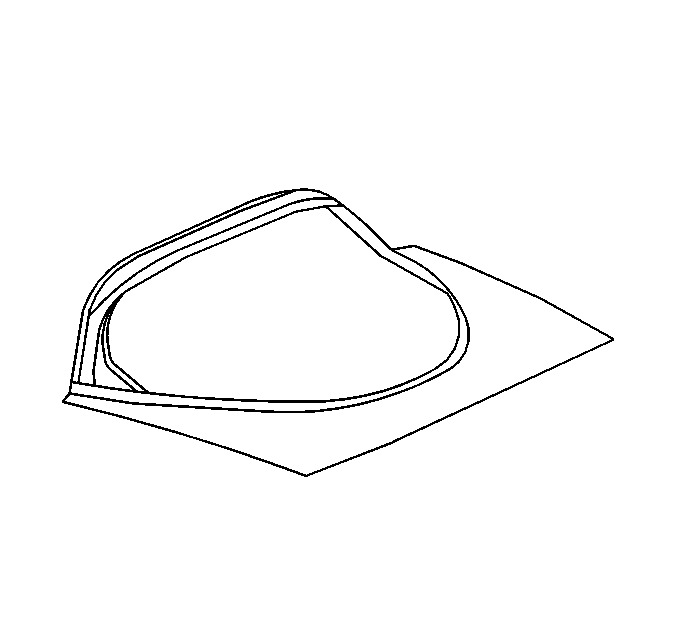
- Place a protective covering over the roof bow.
- With the aid of a helper position the lift window panel with the shims to the roof bow.
- Align the lift window panel to the opening with a 7 mm (0.27 in) gap between the window and the roof bow.
- Install the hinge nuts.
- Open and support the lift window panel.
- Install the struts to the lift window panel.
- Remove the lift window panel temporary support.
- Connect the window defogger connections.
- Connect the antenna jumper cable to the lift window.
- Install the trim panel to the roof bow. Refer to Rear Roof Bow Trim Panel Replacement in Interior Trim.
- Close the lift window panel.
- Install the roof panel.


Notice: Use the correct fastener in the correct location. Replacement fasteners must be the correct part number for that application. Fasteners requiring replacement or fasteners requiring the use of thread locking compound or sealant are identified in the service procedure. Do not use paints, lubricants, or corrosion inhibitors on fasteners or fastener joint surfaces unless specified. These coatings affect fastener torque and joint clamping force and may damage the fastener. Use the correct tightening sequence and specifications when installing fasteners in order to avoid damage to parts and systems.
Tighten
Tighten the lift window hinge nuts to 25 N·m (18 lb ft).


