Door Striker Anchor Plate Replacement Convertible
Removal Procedure
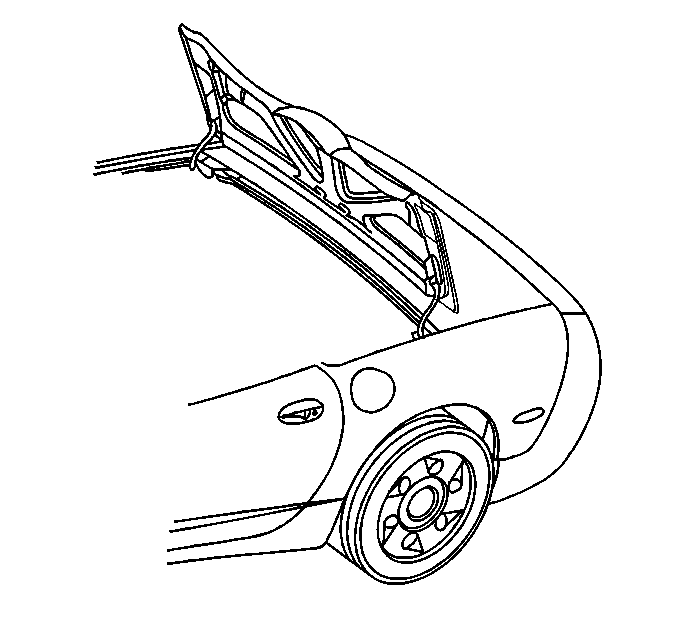
- Open and position the folding top with the number one and five bows up.
- Leave the stowage lid open.
- Remove the rear compartment side trim panel.
- Remove the upper lock pillar trim.
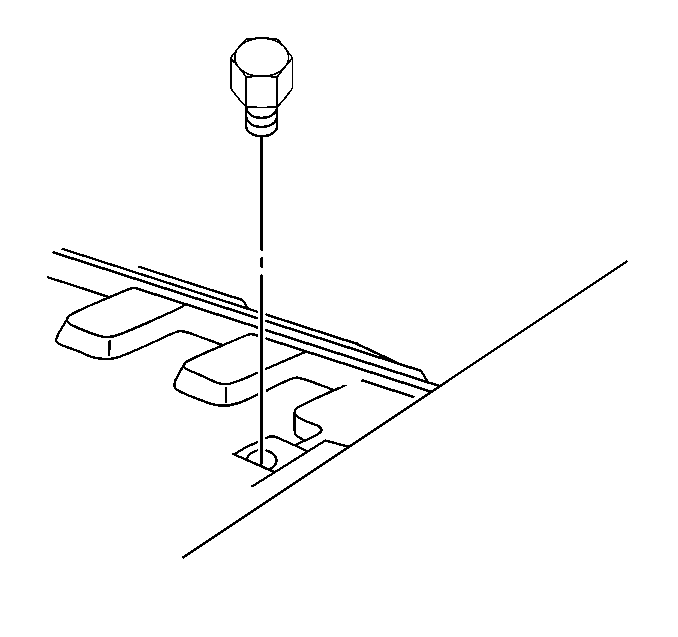
- Remove the folding top stowage lid bumper.
- Remove the door sill plate. Refer to Door Sill Plate Replacement in Interior trim.
- Remove the lower lock pillar trim.
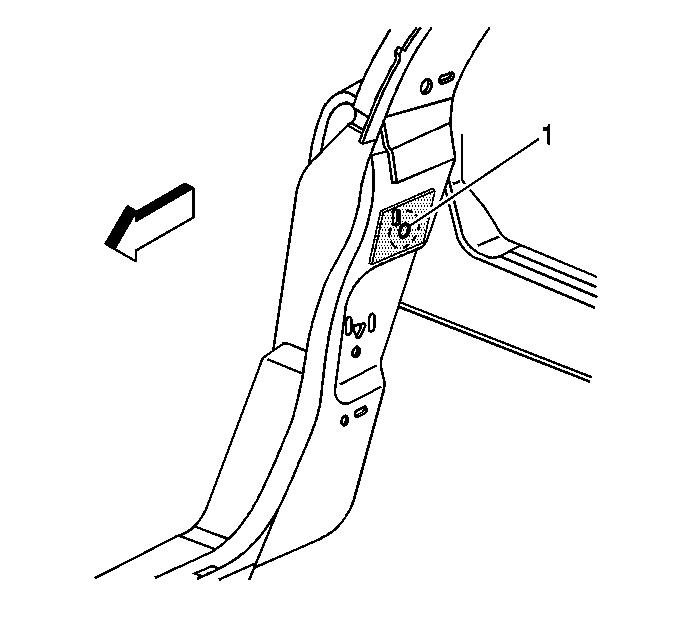
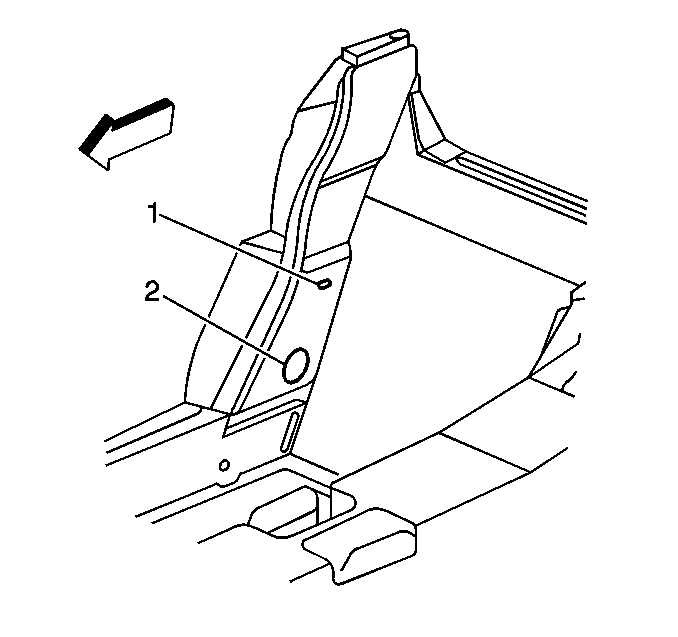
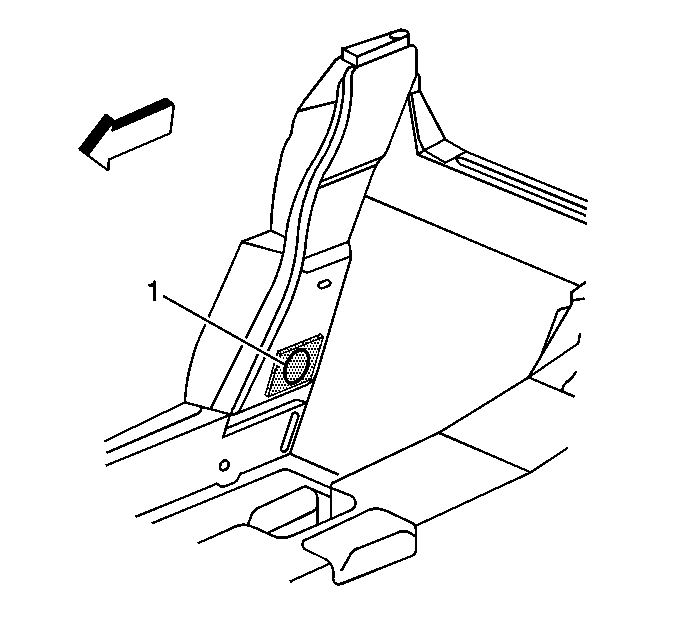
- Drill a 38.1 mm (1.5 in) access hole (2) 150 mm (5.9 in) below the lower gage slot (1) on a line parallel to the seat back.
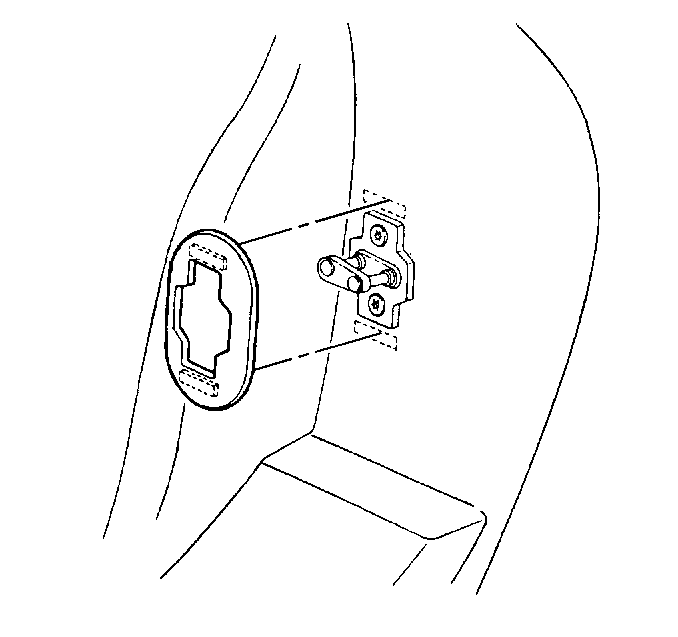
- Remove the door lock striker trim.
- Mark the location of the door lock striker.
- Remove the door lock striker.
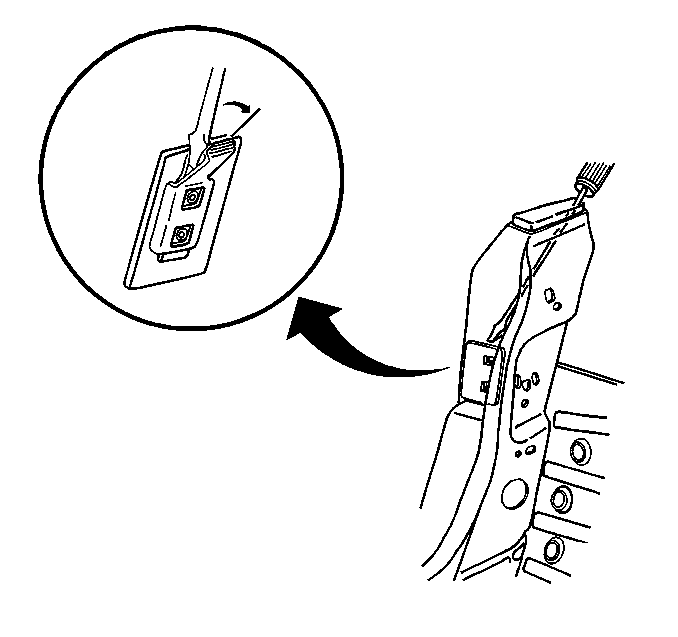
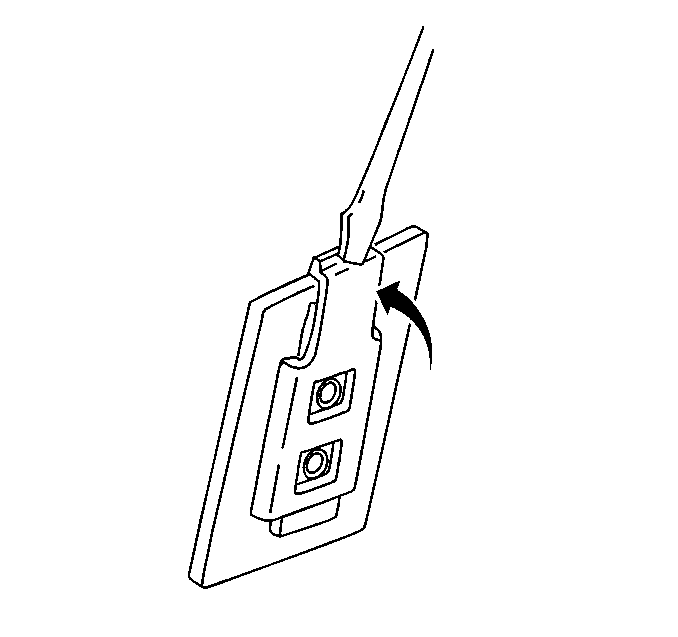
- Insert a long flat bladed screwdriver through the folding top stowage lid bumper opening and bend rearward the upper tab on the anchor plate retaining bracket.
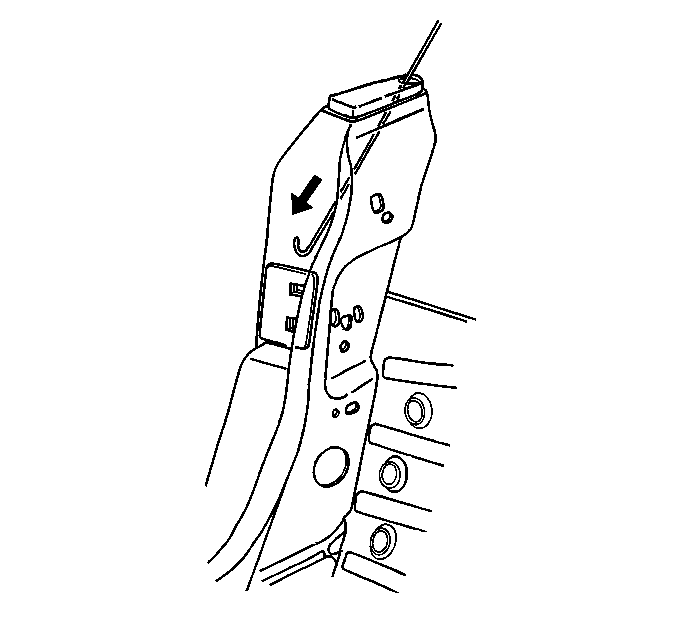
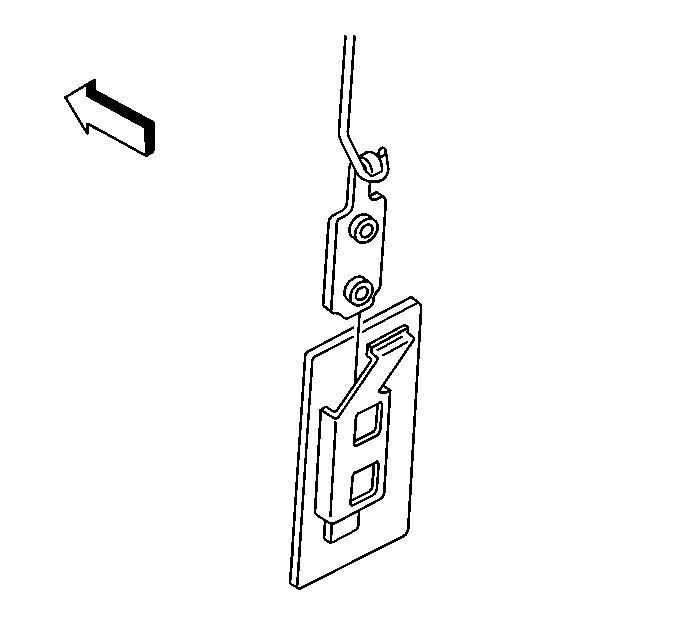
- Insert a stiff wire, such as a 1.6 mm (1/16 in) diameter MIG welding rod, with a hook on one end down through the bumper hole and hook the anchor plate.
- Lift the anchor plate up out of the retainer, lower the anchor plate to the frame rail, and remove the anchor plate thorough the access hole.
- Remove the anchor plate from the stiff wire.
- Remove the stiff wire.

| 3.1. | Remove the push-pin from the front of the panel. |
| 3.2. | Pull the panel from the housing. |
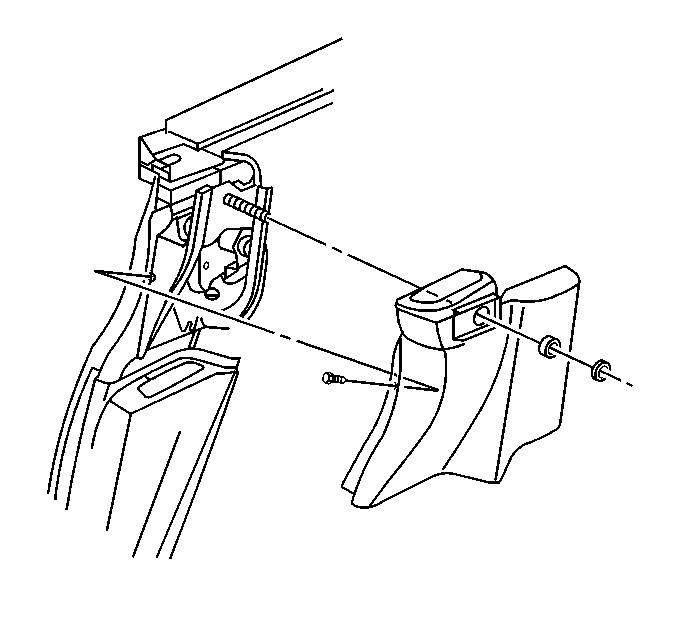
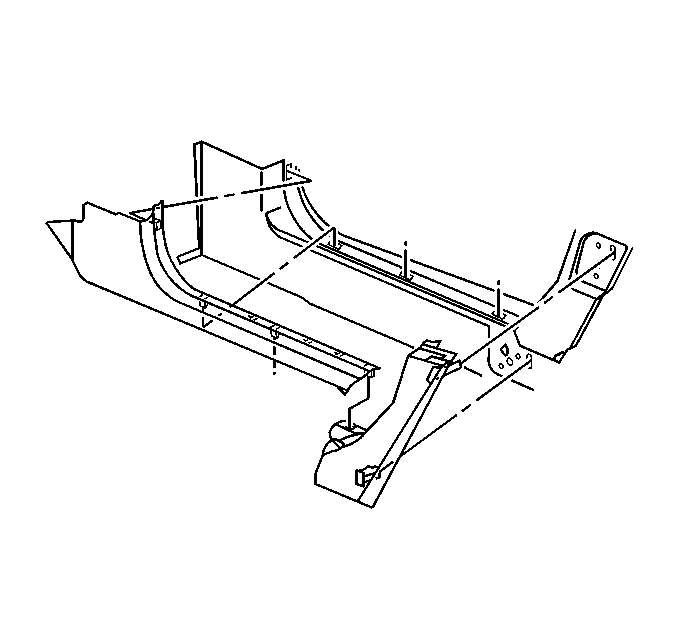
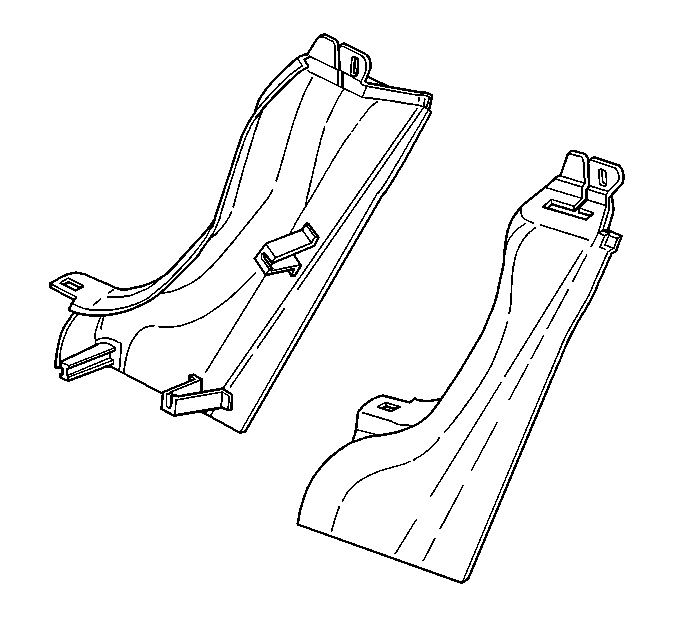
| 7.1. | Pull the lower lock pillar panel with retainers from the lock pillar and side rail. |
| 7.2. | Separate the trim panel from the seat belt. |
Installation Procedure
- Tape a four foot long flexible wire to the stiff wire used in removing the old anchor plate.
- Insert the joined end of the wires down through the stowage lid bumper opening and out the access hole.
- Remove the flexible wire from the stiff wire.
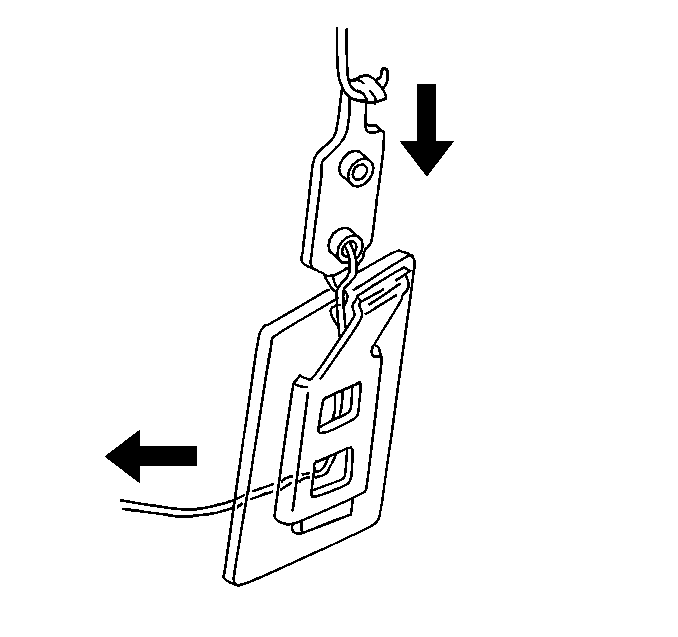
- Attach the flexible wire to the lower hole in a new anchor plate.
- Remove the stiff wire back up through the bumper hole.
- Attach the other end of the flexible wire to the stiff wire.
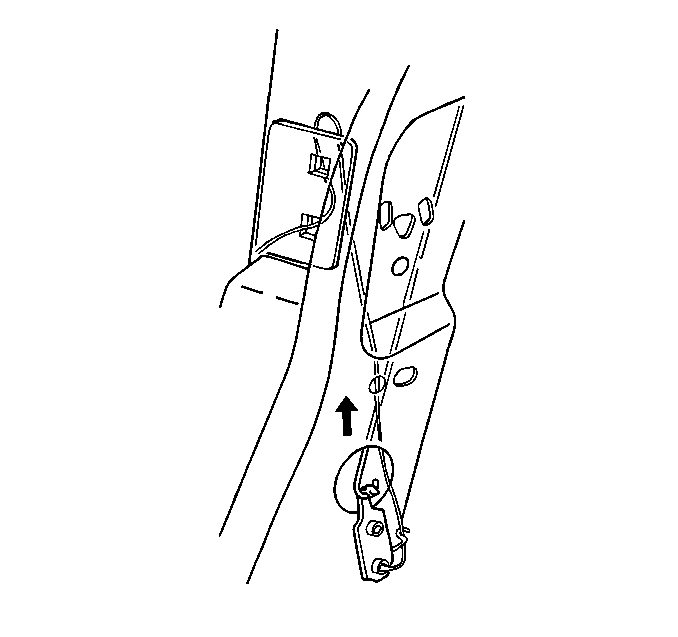
- Using the bumper hole, fish the wires down into the anchor plate retaining bracket and out through the lower striker screw opening.
- Remove the flexible wire from the stiff wire and secure a length of the flexible wire out through the lower striker screw opening.
- Fish the stiff wire down to the access hole.
- Position the anchor plate with the loop facing the rear of the vehicle.
- Attach the stiff wire to the loop on the top of the new anchor plate.
- Pull the anchor plate up past the bracket and then lower the plate into the bracket using the attached flexible wire to guide the plate.
- Remove the flexible wire.
- Loosely install the striker.
- Remove the stiff wire.
- Bend the tab down locking the anchor plate in the bracket.
- Cover the access hole (1).
- Install the lower lock pillar trim.
- Install the upper lock pillar trim and the seat belt guide.
- Install the stowage lid bumper.
- Install the rear compartment side trim panel.
- Close the folding top.
- Adjust the door striker.
- Tighten the striker screws.
- Install the striker trim plate.





Notice: Use the correct fastener in the correct location. Replacement fasteners must be the correct part number for that application. Fasteners requiring replacement or fasteners requiring the use of thread locking compound or sealant are identified in the service procedure. Do not use paints, lubricants, or corrosion inhibitors on fasteners or fastener joint surfaces unless specified. These coatings affect fastener torque and joint clamping force and may damage the fastener. Use the correct tightening sequence and specifications when installing fasteners in order to avoid damage to parts and systems.
Tighten
Tighten the seat belt guide nut to 40 N·m (29 lb ft).


| 21.1. | Attach the panel with the push-pin to the lock pillar. |
| 21.2. | Align and press the panel to the clips in the housing. |

Tighten
Tighten the door striker screws to 24 N·m (18 lb ft).
Door Striker Anchor Plate Replacement Coupe, Hardtop
Removal Procedure
- Remove the door lock striker cover. Pull the cover loose from the hook and loop fastener patches.
- Mark the location of the door lock striker.
- Remove the door lock striker and shims.
- Remove the lock pillar trim panel. Refer to Body Lock Pillar Trim Panel Replacement in Interior Trim.
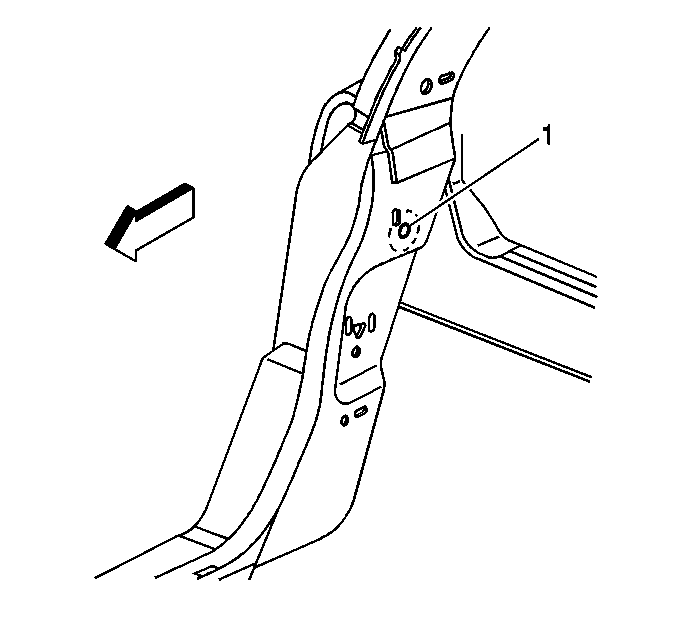
- Cut a 51 mm (2 in) access hole with a hole saw using the 3.6 mm (1/8 in) hole (1) located 24 mm (1 in) below the lock pillar inner trim panel upper clip slot on the lock pillar as a locator. The 3.6 mm (1/8 in) hole is located about 127 mm (5 in) higher than the striker on the inner upper surface of the lock pillar.
- Bend out the upper tab on the nut plate retaining bracket.
- Hook the nut plate with a stiff wire and carefully pull the nut plate up and out of the retaining bracket and out through the access hole.

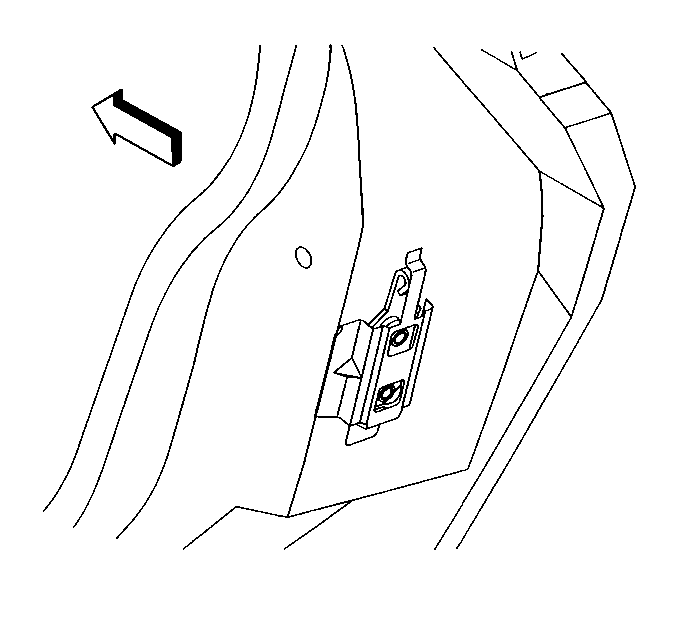
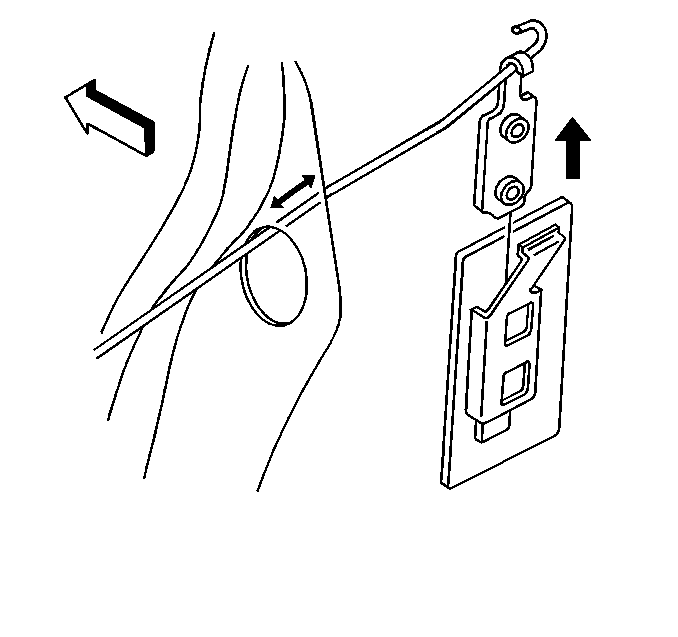
Important: When removing and installing the nut plate be extremely careful to securely hook the nut plate to prevent dropping the plate into the pillar resulting in a vehicle rattle.
Installation Procedure
- Attach a wire to the nut plate.
- Insert the nut plate through the access hole and into the retaining bracket.
- Remove the wire.
- Bend the bracket upper tab down to secure the nut plate in the bracket.
- Plug the access hole (1).
- Install the door lock striker. Refer to Door Striker Replacement .
- Install the lock pillar trim panel. Refer to Body Lock Pillar Trim Panel Replacement in Interior Trim.
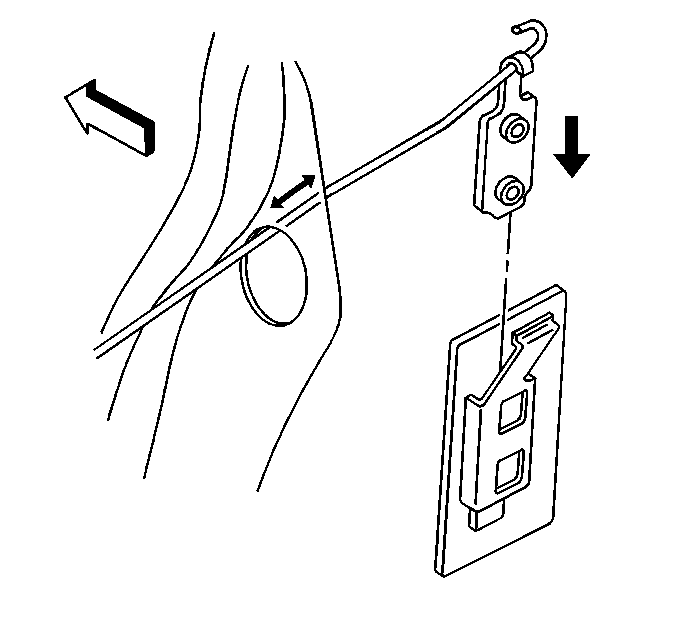
Important: When removing and installing the nut plate be extremely careful to securely hook the nut plate to prevent dropping the plate into the pillar resulting in a vehicle rattle.

