Removal Procedure
Notice: Handle the electronic throttle control components carefully. Use cleanliness in order to prevent damage. Do not drop the electronic throttle control components. Do not roughly handle the electronic throttle control components. Do not immerse the electronic throttle control components in cleaning solvents of any type.
An eight digit part identification number is stamped on the throttle body casting. Refer to this number if servicing, or part replacement is required.
- Raise the vehicle. Refer to Lifting and Jacking the Vehicle in General Information.
- Partially drain the cooling system in order to allow the hoses at the throttle body to be removed. Refer to Cooling System Draining and Filling in Engine Cooling.
- Lower the vehicle.
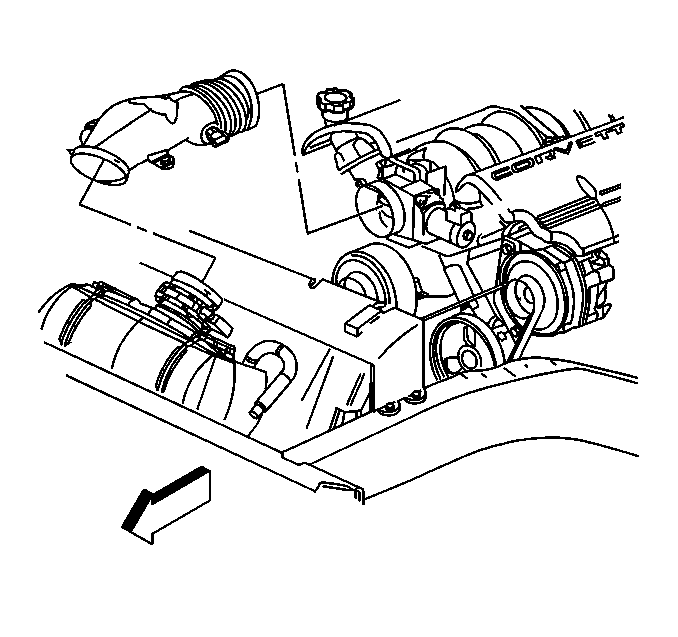
- Disconnect the intake air temperature sensor electrical connector.
- Remove the air intake duct.
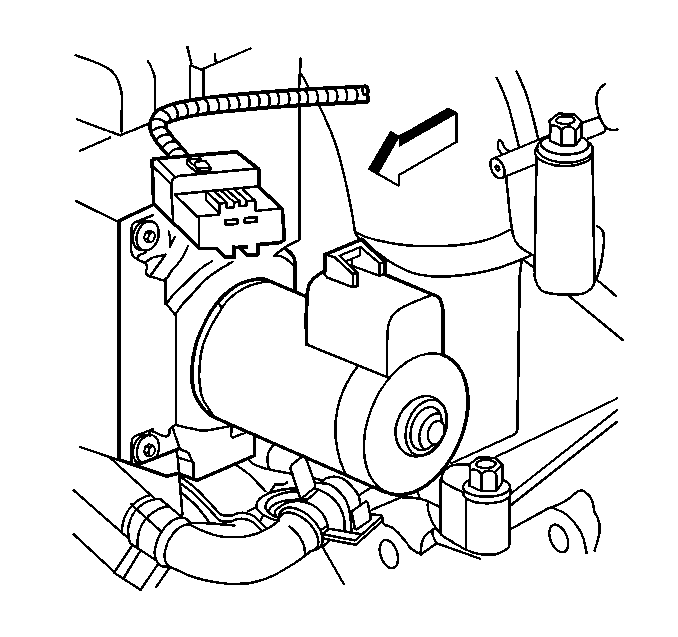
- Disconnect the air control valve electrical connector.
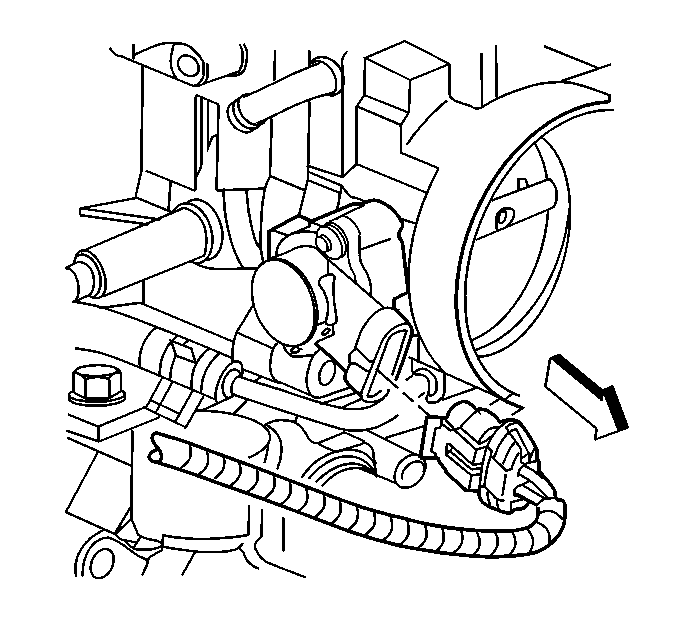
- Disconnect the TP sensor electrical connector.
- Disconnect the crankcase ventilation hose from the throttle body.
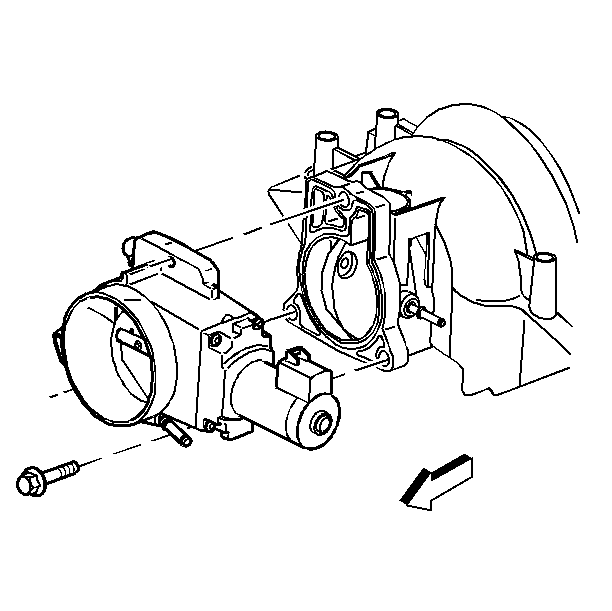
- Remove the throttle body attaching bolts.
- Disconnect the coolant hoses from the throttle body.
- Remove the throttle body and the gasket.
- Discard the throttle body gasket.
- Inspect the crankcase ventilation hose and the tube. Replace any damaged components.

Important: Cover or plug any openings when servicing the throttle body in order to prevent possible contamination.


Important: Do not reuse the throttle body gasket. Install a new gasket during assembly.
Installation Procedure
- Install a new throttle body gasket.
- Connect the coolant hoses to the throttle body.
- Install the throttle body assembly.
- Install the throttle body attaching bolts.
- Connect the TP sensor electrical connector.
- Connect the crankcase ventilation hose to the throttle body.
- Connect the air control valve electrical connector.
- Install the air intake duct.
- Connect the intake air temperature sensor electrical connector.
- Refill the cooling system. Refer to Cooling System Draining and Filling in Engine Cooling.
- Start the engine.
- Check for coolant leaks.

Notice: Use the correct fastener in the correct location. Replacement fasteners must be the correct part number for that application. Fasteners requiring replacement or fasteners requiring the use of thread locking compound or sealant are identified in the service procedure. Do not use paints, lubricants, or corrosion inhibitors on fasteners or fastener joint surfaces unless specified. These coatings affect fastener torque and joint clamping force and may damage the fastener. Use the correct tightening sequence and specifications when installing fasteners in order to avoid damage to parts and systems.
Important: Always use a torque wrench in order to obtain the proper torque.
Tighten
Tighten the throttle body bolts to 12 N·m (106 lb in).


Important: Ensure that the air control valve electrical connector and the connector seal are properly installed and not damaged.

