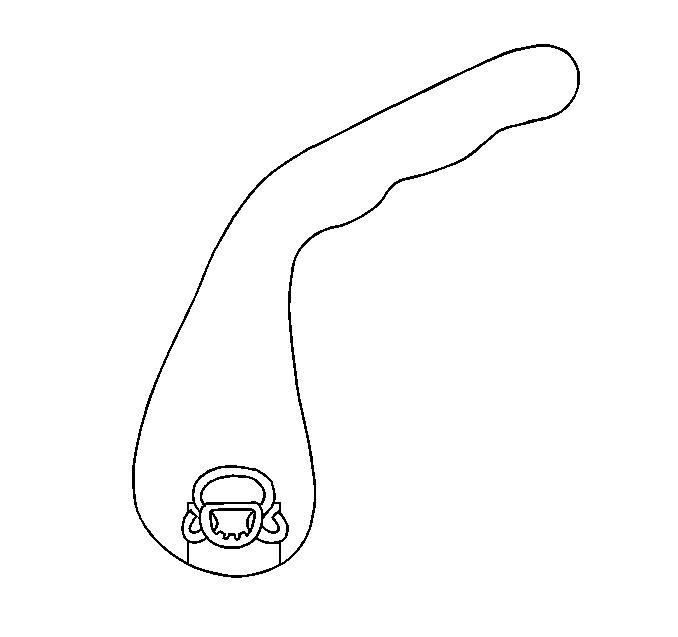
For 1990-2009 cars only
Removal Procedure
- Remove the seatback recliner handle. Refer to Driver Seat and Passenger Seat Recliner Handle Replacement .
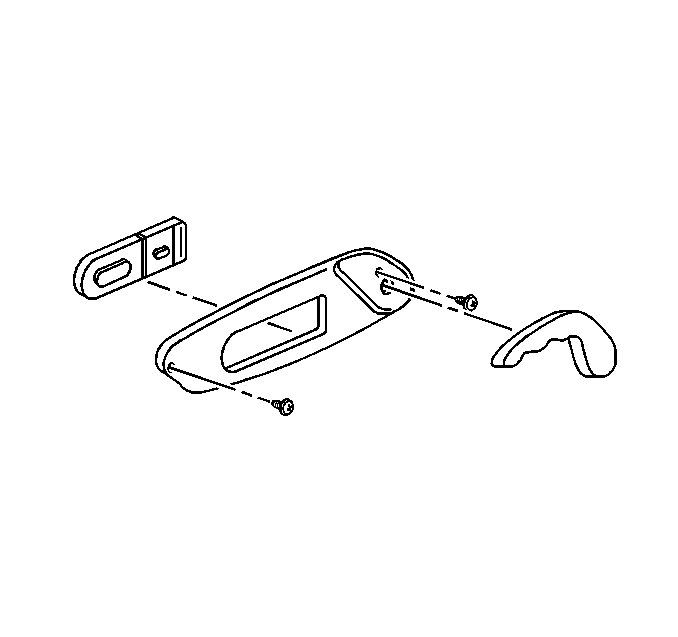
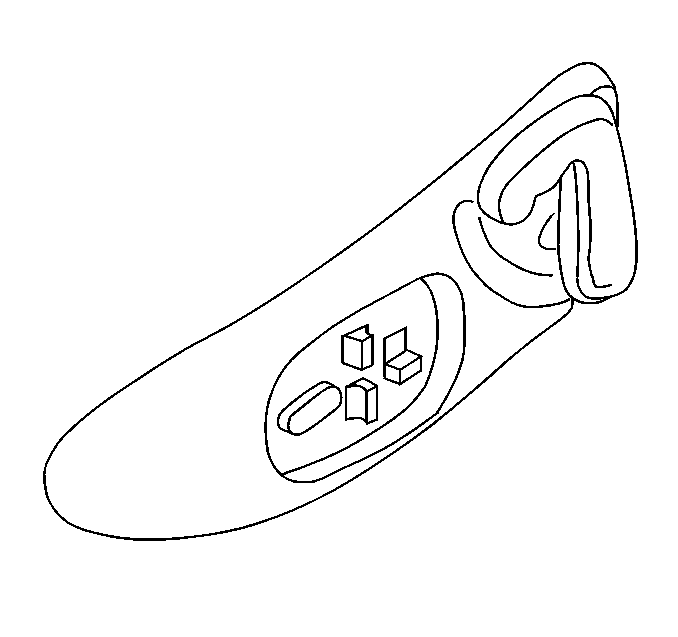
- Remove the screws attaching the seat side trim panel.
- Push in on the side of the seat cushion and visually determine if the trim is first design (no upper attaching push-in barrel post) or second design (has upper push-in attaching barrel post).
- Disconnect the switch harness.
- Remove the trim panel.
- Transfer the switch if necessary.
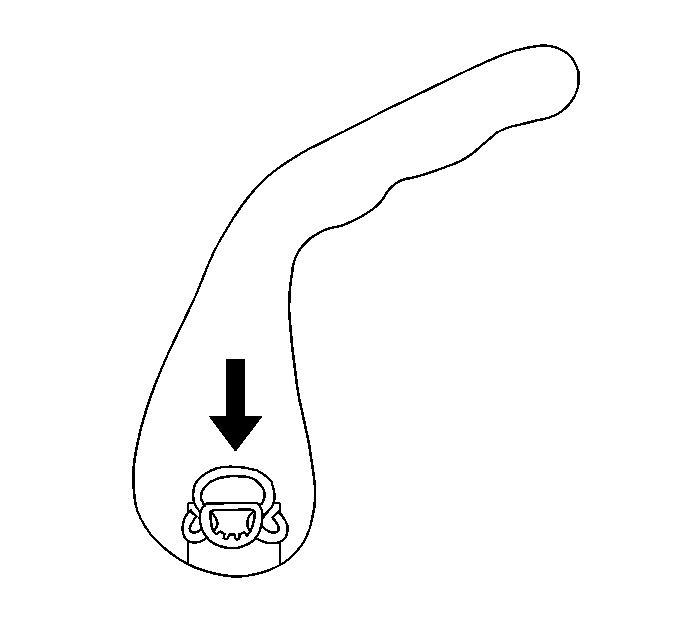
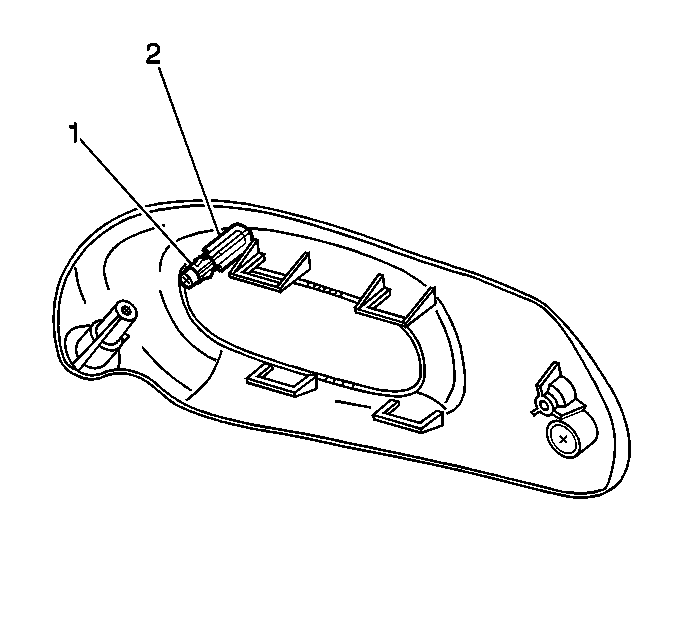
| • | With the push-in barrel post (2) (second design). |
| • | Rock the panel side to side working the barrel post clip (1) out of the seat frame. |
| • | With out the push-in barrel post (first design). |
| • | Reposition panel away from the seat. |
Installation Procedure
- Cut off the upper barrel post (2) from the trim panel (second design trim panel being installed on a first design seat only).
- Install a new barrel clip (1) to the trim panel upper barrel post (2) (second design only).
- Install the switch to the panel (if removed).
- Connect the switch harness.
- Install the seat side trim panel.
- Install the seatback recliner handle. Refer to Driver Seat and Passenger Seat Recliner Handle Replacement .

Important: When installing a second design trim panel to a first design seat (the first design seat does not have a hole in the trim cover and seat frame for insertion of the barrel post) it will be necessary to remove the barrel post (2).


| • | Push the barrel post with clip through the hole in the seat cover and into the hole in the seat frame (second design). |
| • | Install the front and rear trim panel attaching screws. |
