Removal Procedure
- Remove the steering column. Refer to Steering Column Replacement.
- Remove the tie strap from the power steering assist motor.
- Disconnect the power steering assist motor electrical connector.
- Secure the steering column in a vice with the reduction unit flange horizontal to the vice.
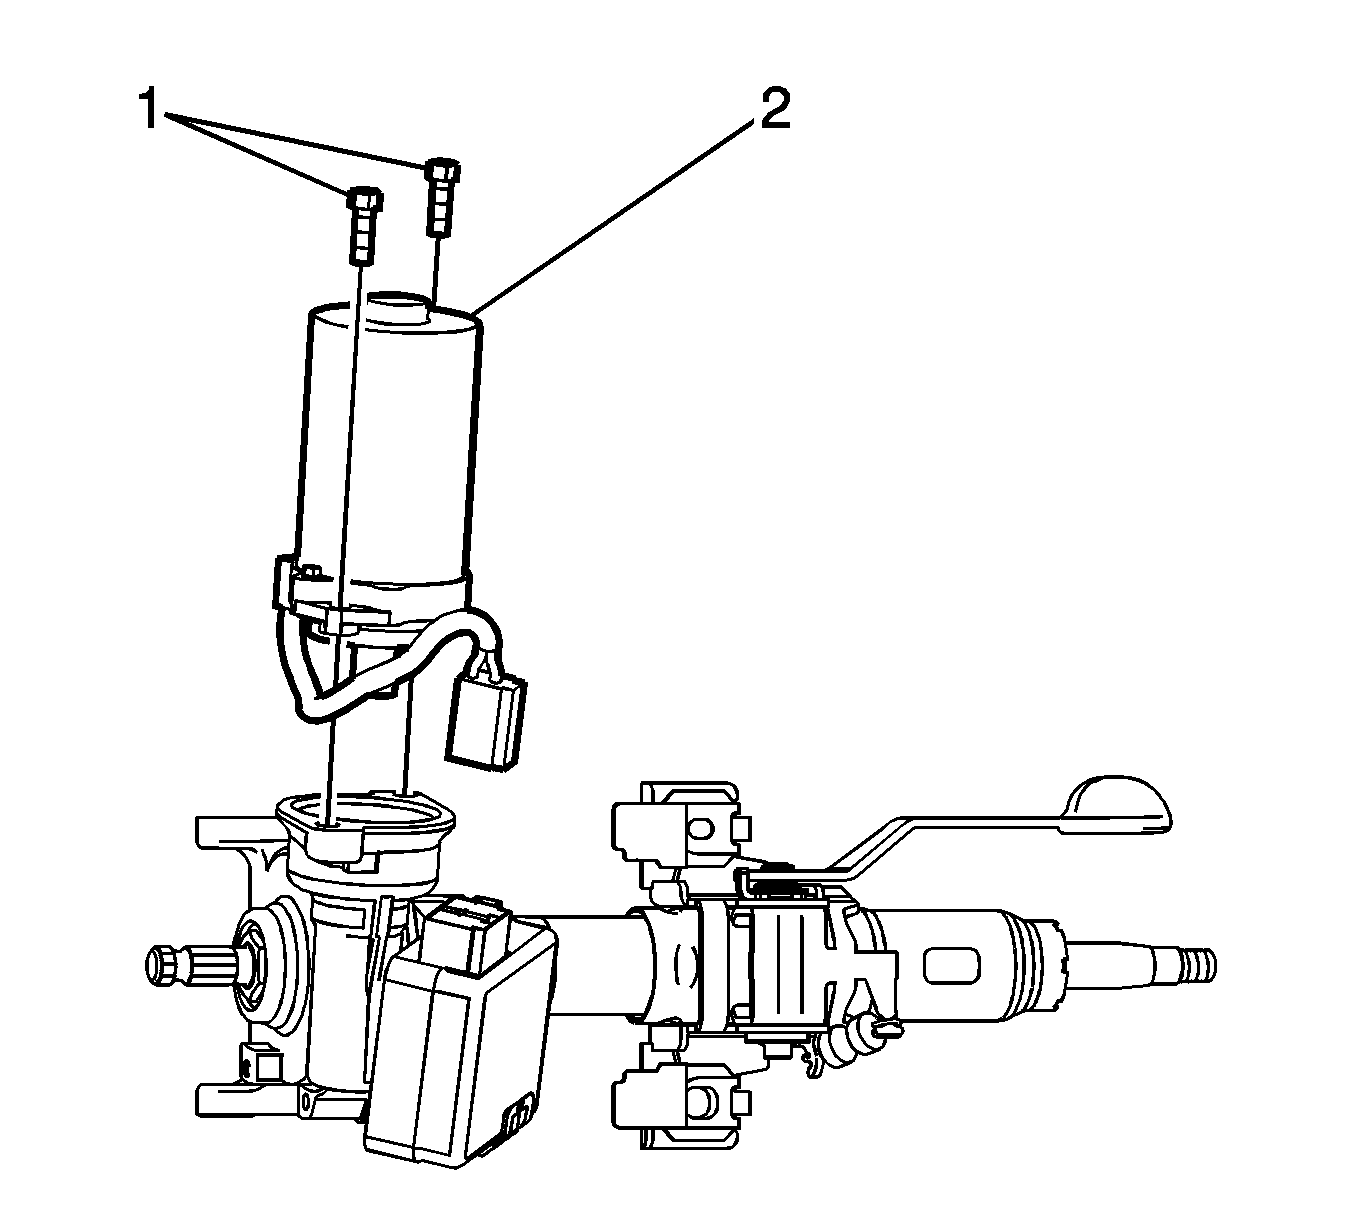
- Remove the power steering assist motor bolts (1).
- Remove the power steering assist motor (2).
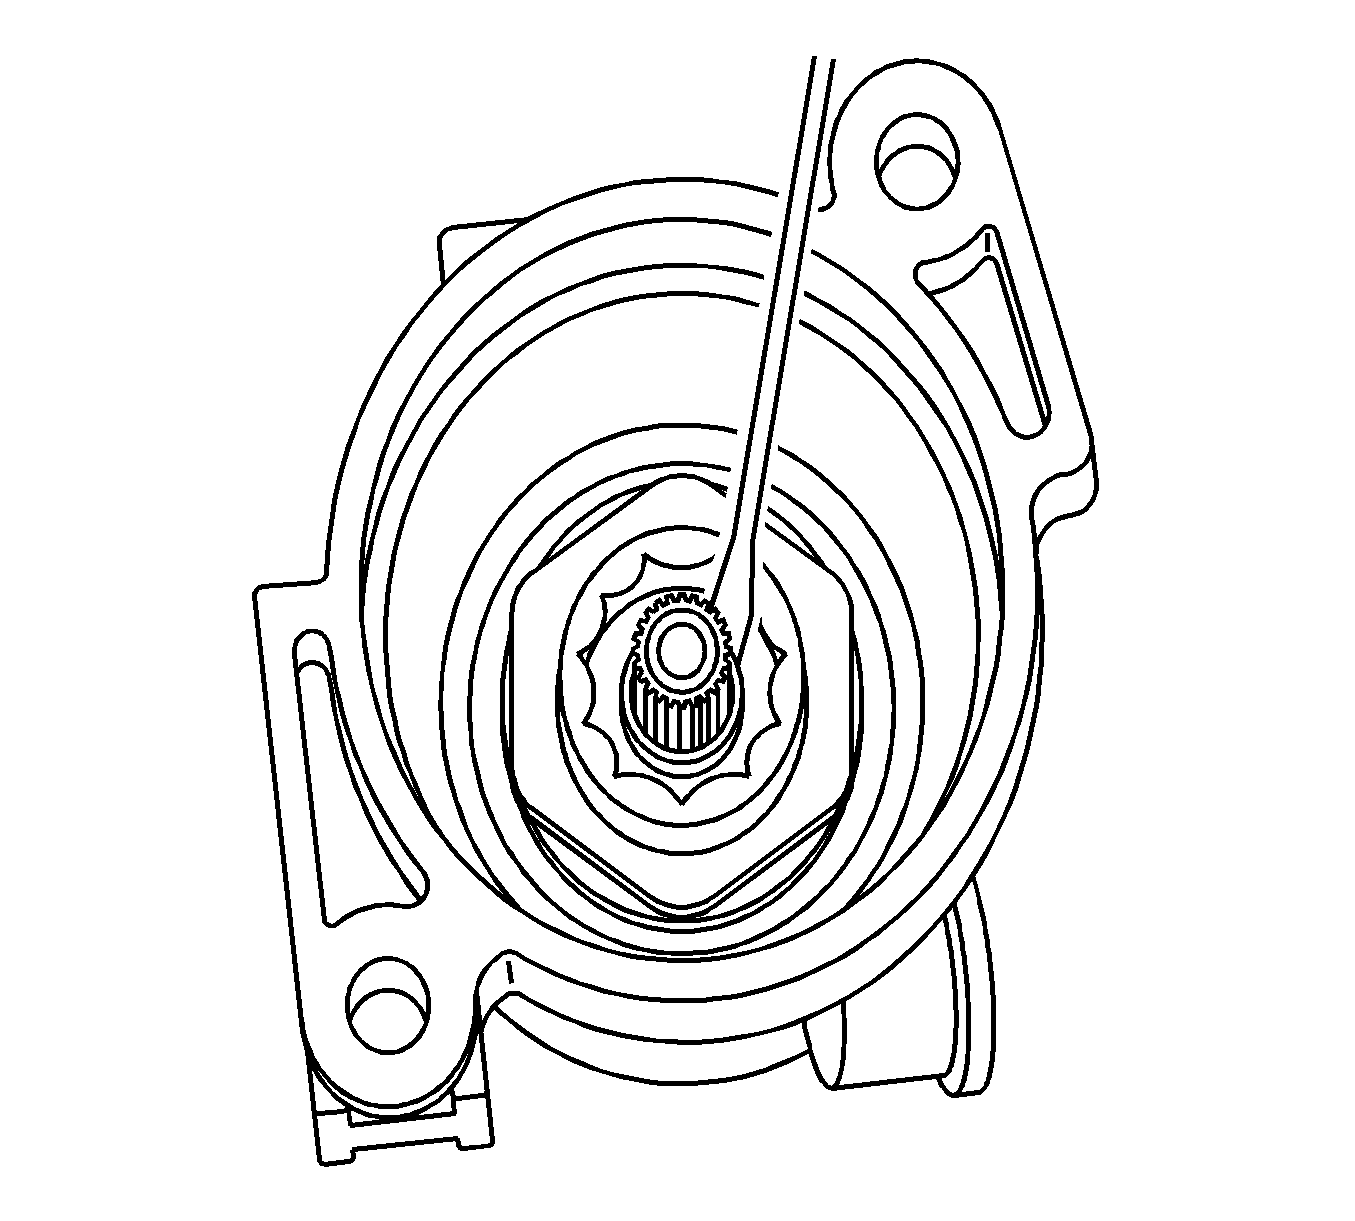
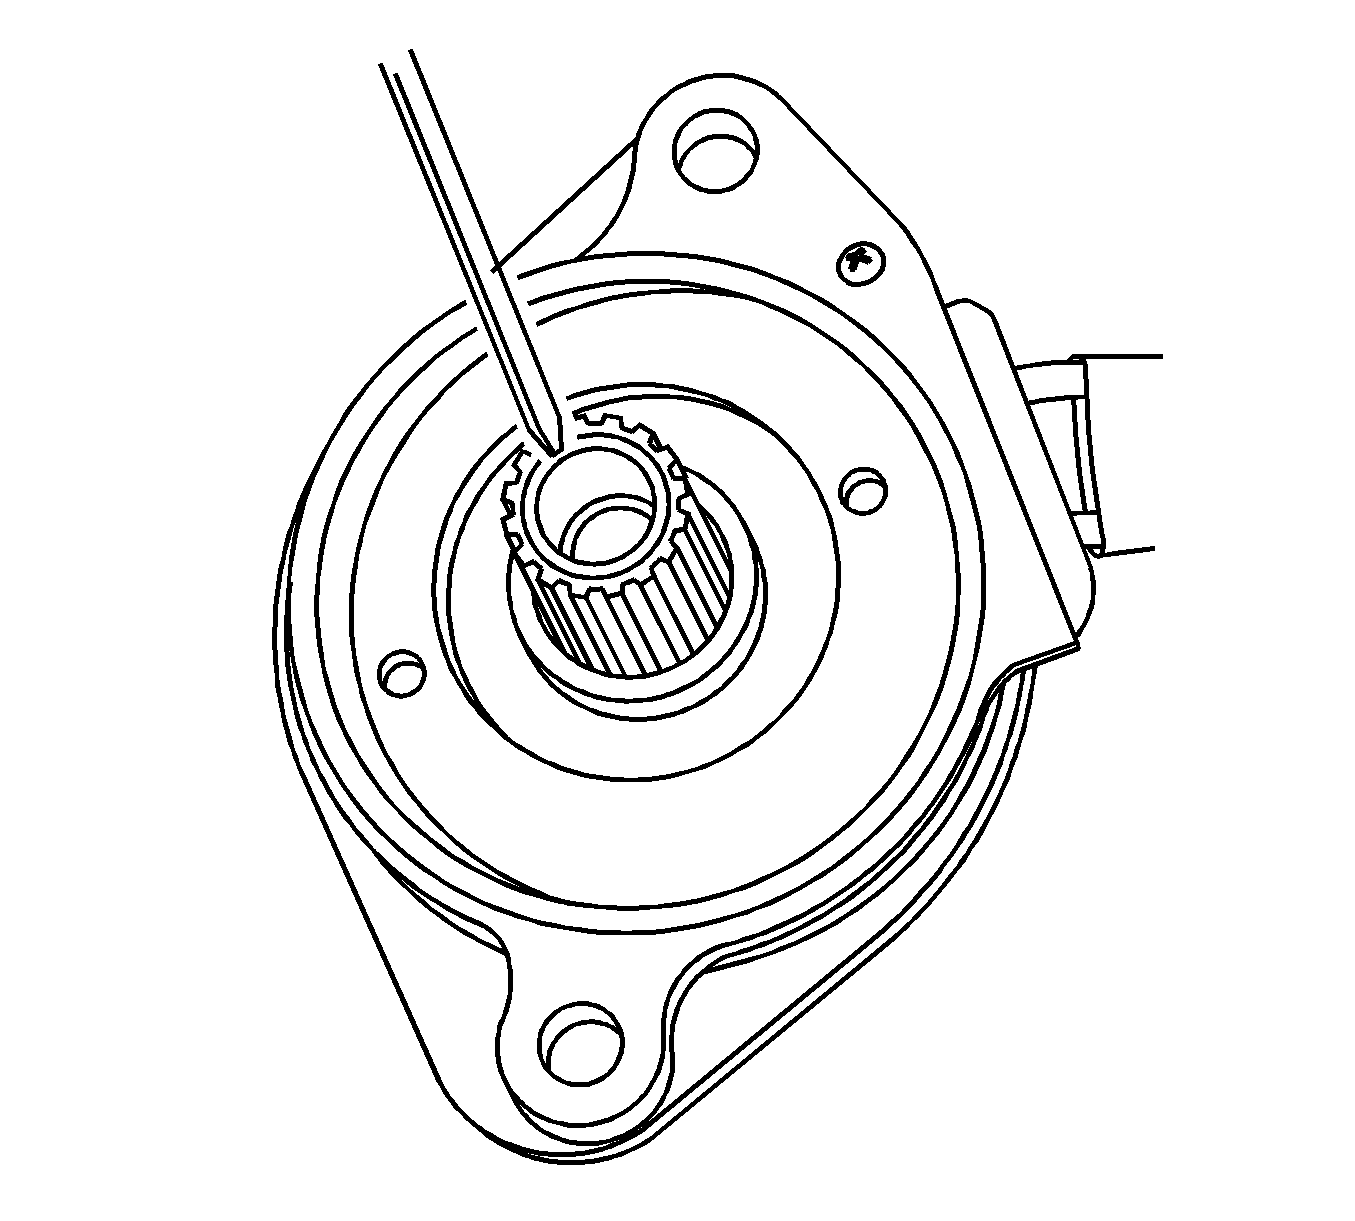
- Remove all remaining grease from the worm shaft area in the reduction unit.
Note: Place cloth around the reduction unit before tightening the vice and do not tighten the vice excessively.


Note: All grease must be removed from the wormshaft area in the reduction unit before continuing the motor service procedure.
Note: Do not use any solvent based cleaners to remove the grease. Only use lint free cotton cloth or equivalent to clean the area.
Installation Procedure
- Apply the grease into the power steering assist motor shaft.
- Install the power steering assist motor (2).
- Grasp the power steering assist motor and hold it to the reduction unit while turning the steering shaft three full turns. This will center the and align the power steering motor shaft and the reduction unit wormgear.
- Instal the power steering assist motor bolts (1).
- Connect the power steering assist motor electrical connector.
- Install a new tie strap to the power steering assist motor.
- Install the steering column. Refer to Steering Column Replacement.

Note: Use only the grease provided with the new power steering assist motor. Do not over apply it.

Note: The power steering assist motor should engage evenly and with ease. If it will not engage the reduction unit wormgear then remove the motor and try again. Do not force the motor and reduction unit together.
Caution: Refer to Fastener Caution in the Preface section.
Note: Do not apply any load to the power steering assist motor while torquing the bolts or the realignment process described prior will need to be redone.
Tighten
Tighten the bolts to 18.5 N·m (14 lb ft).
