Brake Caliper and Anchor Plate Wear Adjustment Front
(JB7/JB8)
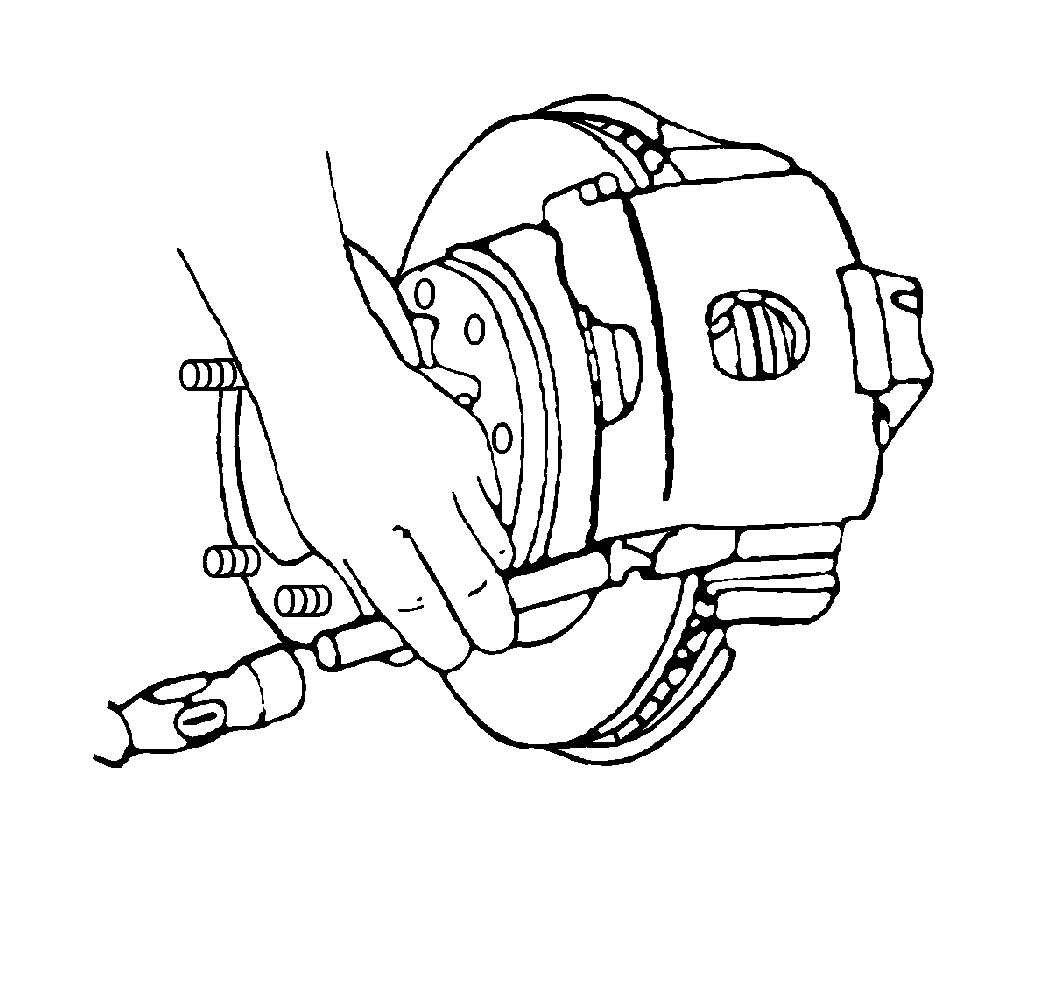
Bendix® calipers have oversize replacement keys available in order to compensate for wear at the caliper to anchor plate contact points. If the wear is excessive, a rattle sound can be heard from the front brake area.
Use the following procedure to measure and correct the condition:
- Remove the caliper. Refer to Brake Caliper Replacement .
- Clean the surfaces (1,2,3, and 4) with a wire brush.
- Smooth any deep nicks or gouges with a file.
- Lay a straight edge across the caliper surfaces (1).
- Measure the maximum depth of any wear on these surfaces using the feeler gauges.
- Replace calipers worn to a depth of 1.27 mm (0.050 in) or more.
- Install the caliper back in the knuckle.
- Install a new standard size key without the spring.
- Install the key retention screw.
- Insert a screw driver into the center of the key bumper gap.
- Pry firmly in order to ensure that the caliper is seated at surfaces (2,3,4).
- Select a replacement key. Refer to Component Specifications .
- Install the caliper. Refer to Brake Caliper Replacement .


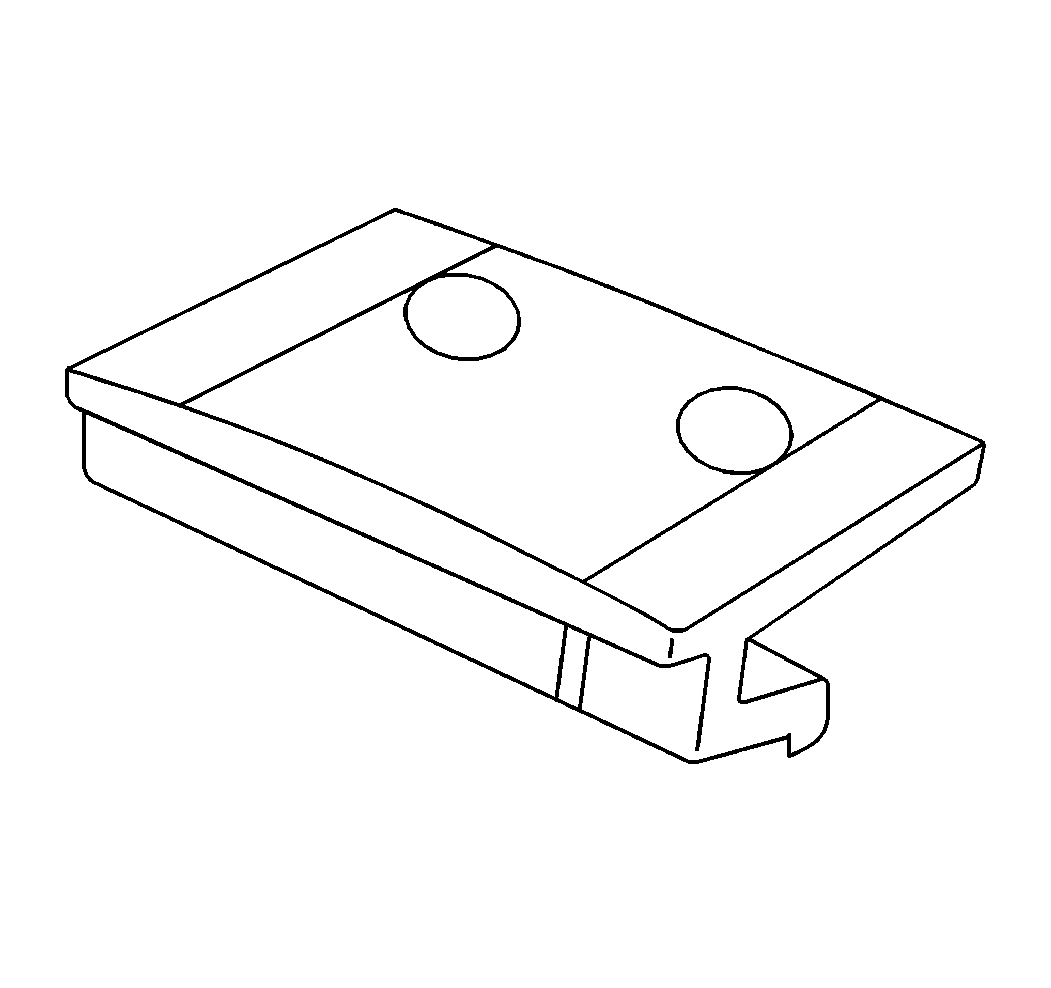

In order to measure the caliper to anchor plate wear, measure the bumper gap with the largest feeler gauge(s) that will fit full length into the gap.
Brake Caliper and Anchor Plate Wear Adjustment Rear
The brake caliper V-ways and the brake caliper mounting plate support rails will wear and eventually cause the brake caliper to fit loosely. Shims are used to adjust for this wear.
Use the following steps to replace the linings:
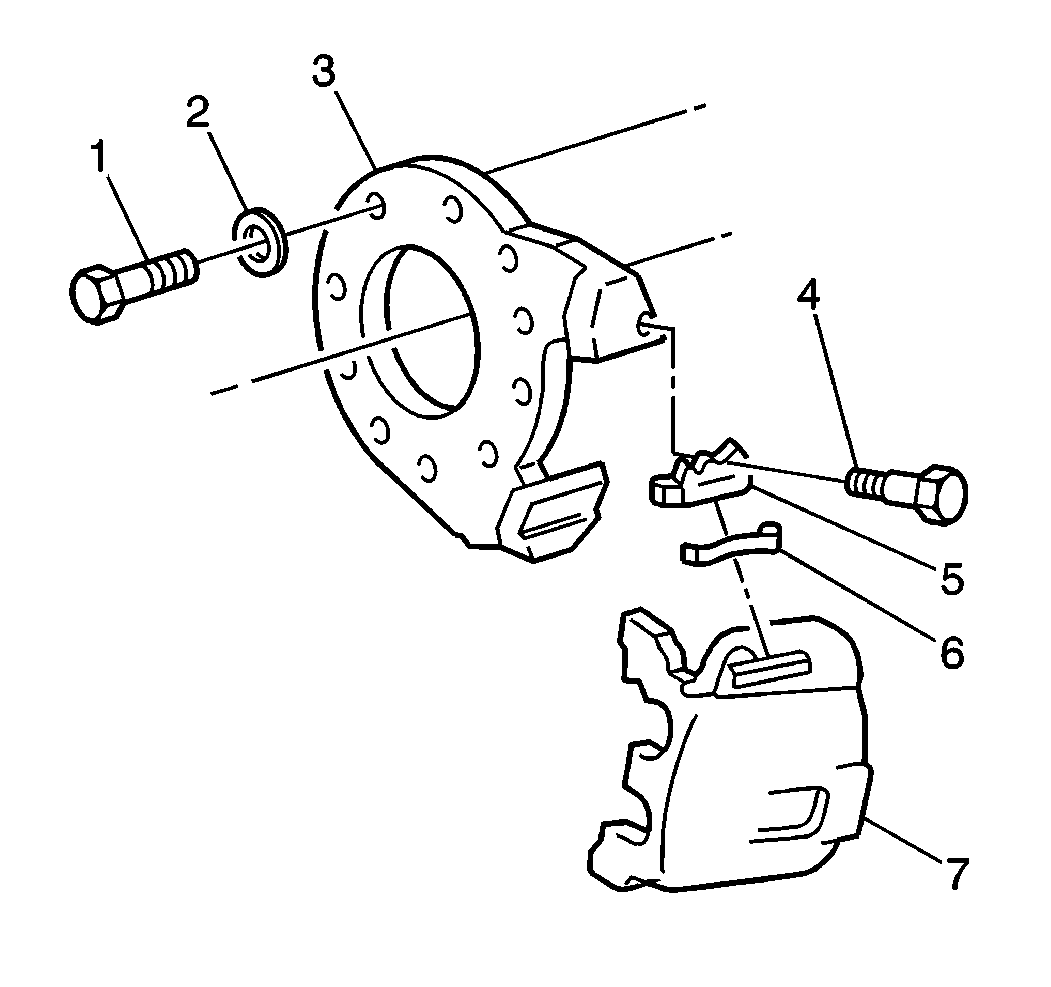
- Remove the brake caliper retainer screw (4).
- Tap out the brake caliper retainer (5) and brake caliper retainer spring (6). Refer to Brake Caliper Replacement .
- Remove the brake caliper (7).
- Clean the V-way surfaces of the brake caliper and the support rail surfaces on the brake caliper mounting plate (3) with a wire brush.
- Smooth any deep nicks and gouges.
- Lay a straight edge across the brake caliper V-way surfaces.
- Measure the maximum depth of the brake caliper V-way surfaces.
- If the brake caliper V-way surfaces are worn to a depth of 1.27 mm (0.050 in) or more, replace the brake caliper. Refer to Brake Caliper Replacement .
- Temporarily mount the brake caliper (7) on the brake caliper mounting plate (3).
- Install a new brake caliper retainer (5).
- Install the brake caliper retainer screw.
- Insert a screwdriver between the brake caliper and brake caliper retainer. Make sure that the tool is equally distant from each edge of the brake caliper.
- Pry firmly in order to ensure the brake caliper is seated against all side surfaces.
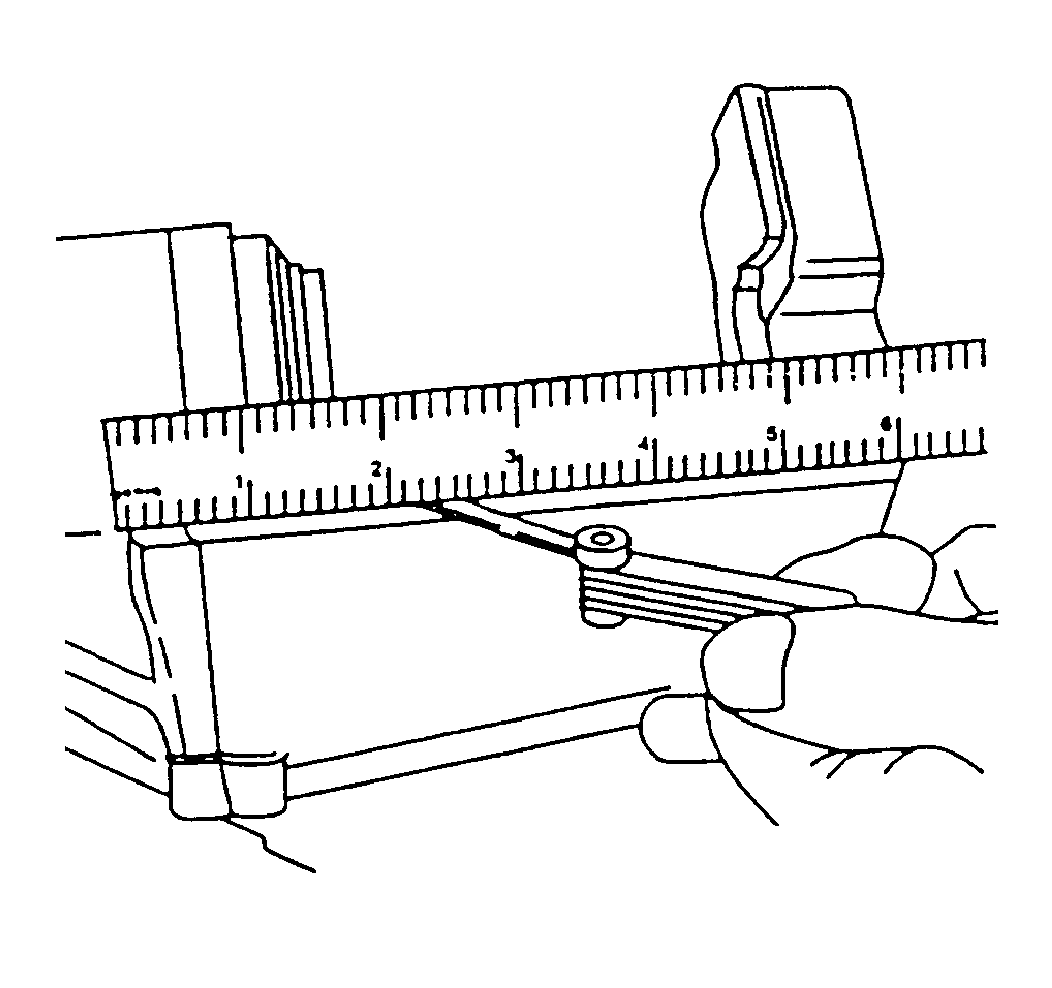
- Measure the bumper gap with the largest feeler gauge that fits the gap on either side of the screwdriver.
- Based on the measurement, select a shim. Refer to Component Specifications .
- If the gap exceeds 3.68 mm (0.145 in), replace with a new brake caliper and re-measure the gap.
- Remove the brake caliper (7).
- Install the selected shim on the brake caliper mounting plate support rail opposite the brake caliper retainer (5) and the spring V-way.
- Install the brake caliper.
- Install the brake caliper retainer screw.
- Measure the bumper gap.
- If the gap exceeds 1.47 mm (0.058 in), install a thicker shim or replace components as necessary. Refer to Component Specifications .

Important: Do not install the spring at this time.
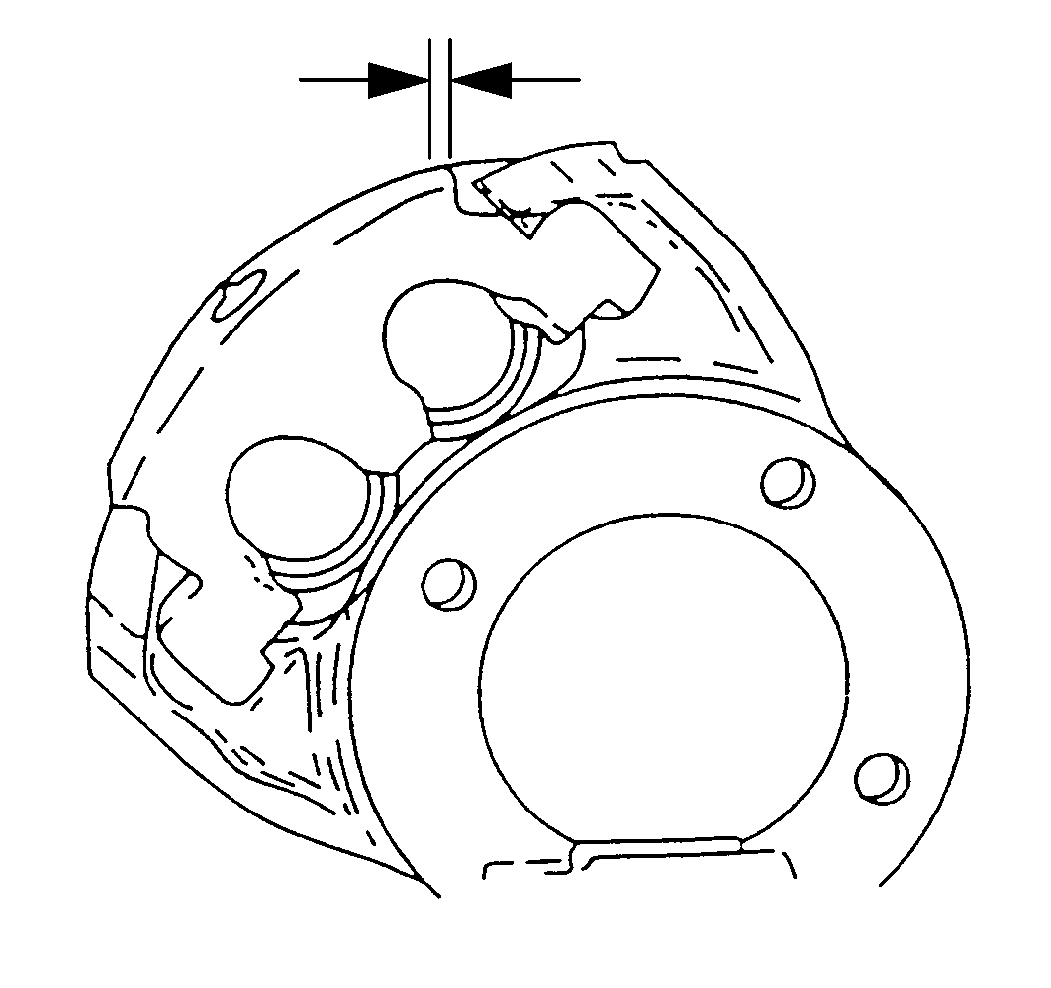
Important: Use a new brake caliper retainer spring in order to assemble the new components.
| • | If the bumper gap with the new brake caliper is 1.49-3.68 mm (0.059-0.145 in), refer to step 12. |
| • | If the bumper gap with the new brake caliper exceeds 3.68 mm (0.145 in), replace the brake caliper mounting plate. |

Notice: Use the correct fastener in the correct location. Replacement fasteners must be the correct part number for that application. Fasteners requiring replacement or fasteners requiring the use of thread locking compound or sealant are identified in the service procedure. Do not use paints, lubricants, or corrosion inhibitors on fasteners or fastener joint surfaces unless specified. These coatings affect fastener torque and joint clamping force and may damage the fastener. Use the correct tightening sequence and specifications when installing fasteners in order to avoid damage to parts and systems.
Tighten
Tighten the screw to 40 N·m (29 lb ft).

Brake Caliper and Anchor Plate Wear Adjustment Shim Selection
Shim Selection (JF9)
- Remove the front brake caliper. Refer to Brake Caliper Replacement .
- Clean the support rail surfaces of the front brake caliper and the support rail surfaces on the front brake caliper mounting plate with a wire brush, filing smooth any deep nicks and gouges.
- Lay a straight edge across the front brake caliper support rail surfaces.
- Measure the maximum depth of the front brake caliper support rail surfaces.
- If the front brake caliper support rail surfaces are worn to a depth of 1.27 mm (0.050 in) or more, replace the front brake caliper.
- Temporarily install the front brake caliper on the front brake caliper mounting plate.
- Install a new front brake caliper retainer.
- Install the front brake caliper retainer bolt.
- Insert a screwdriver between the front brake caliper and the front brake caliper retainer.
- Make sure the screwdriver is equally distant from each edge of the front brake caliper.
- Pry firmly in order to ensure the front brake caliper is seated against all three remaining side surfaces.
- Measure the bumper gap formed between the front brake caliper retainer and the front brake caliper with the largest feeler gauge that fits in the bumper gap on both sides of the screwdriver.
- Based on the measurement, select a shim. Refer to Component Specifications .
- If the bumper gap exceeds 3.68 mm, (0.145 in), replace with a new front brake caliper and re-measure the bumper gap.
- Remove the front brake caliper. Refer to Brake Caliper Replacement .
- Install the selected shim on the front brake caliper mounting plate support rail opposite the front brake caliper retainer and front brake caliper support rail.
- Install the front brake caliper. Refer to Brake Caliper Replacement .

Important: Do not let the front brake caliper hang from the front brake hose. Suspend the brake caliper with a wire or cord.
Important: Do not install the front brake caliper spring at this time.
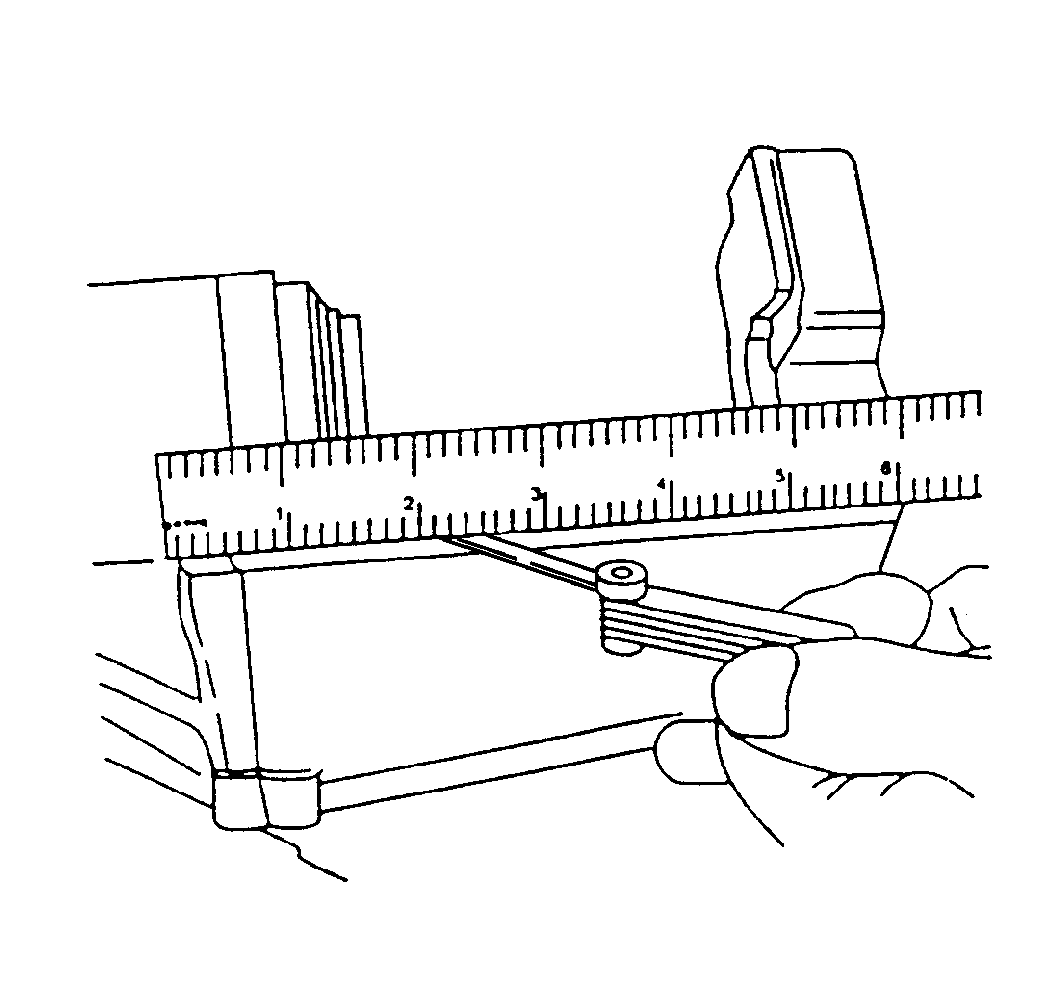
| • | If the bumper gap with the new front brake caliper is between 1.49 mm (0.059 in) and 3.68 mm (0.145 in), refer to step 7. |
| • | If the bumper gap with the new front brake caliper exceeds 3.68 mm (0.145 in), replace the front brake caliper mounting plate. Refer to Brake Caliper Mounting Plate Replacement . |
Important: Always use a new front brake caliper retainer and front brake caliper spring in order to assemble the new components.
