Removal Procedure
- Apply the parking brake.
- Block the wheels.
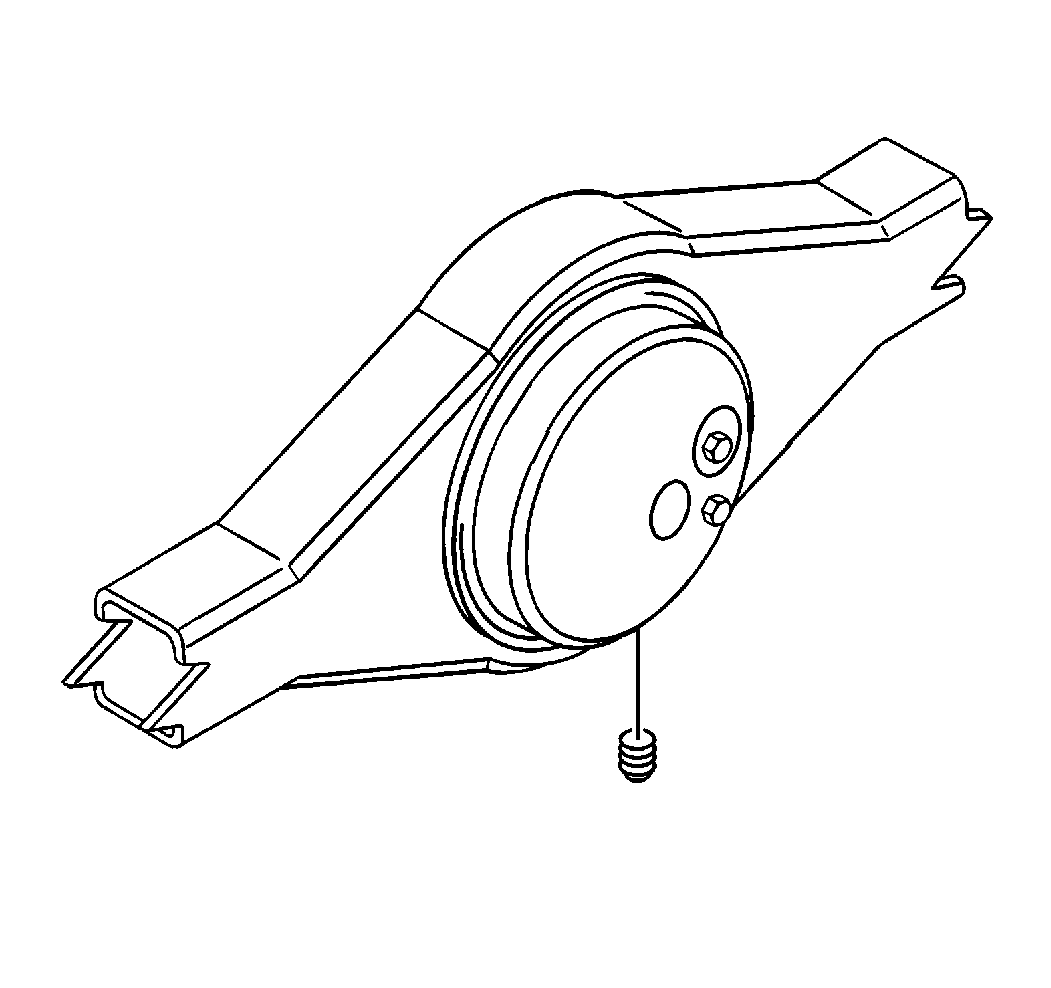
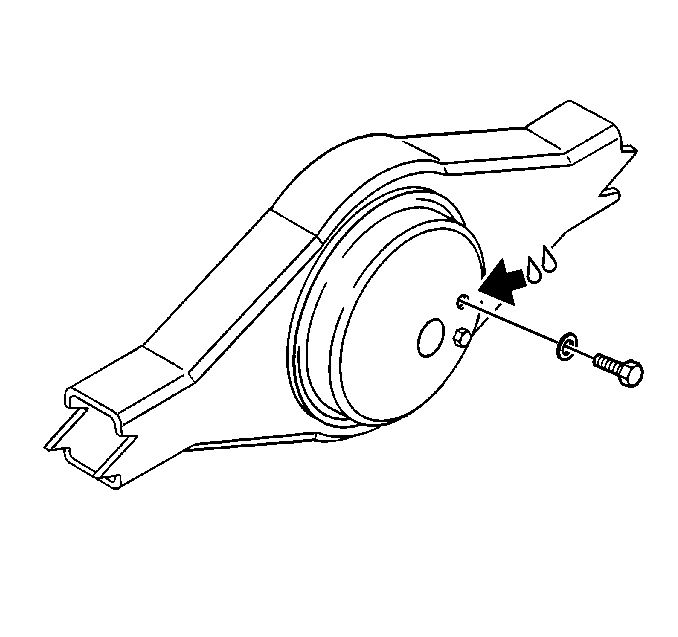
- Remove the rear axle drain plug.
- Drain the rear axle lubricant into a suitable container.
- Inspect the rear axle housing drain plug for excessive metal particle accumulation. This accumulation is an indication of extreme wear.
- Inspect the rear axle vent for blockage. Clean or replace the vent as needed.
- Clean the drain plug.
- Remove the rear axle housing fill plug.

Important: Drain the rear axle lubricant at the normal operating temperature.

Installation Procedure
- Install the rear axle housing drain plug.
- Install the rear axle lubricant.
- Install the rear axle housing filler plug.
- Hand tighten the rear axle housing filler plug.
- Raise the left side of the rear axle housing a minimum of 152.4 mm (6 in). Maintain this position for one minute in order to allow the rear axle lubricant to flow into the right side rear axle hub cavity.
- Lower the rear axle housing.
- Raise the right side of the rear axle housing a minimum of 152.4 mm (6 in). Maintain this position for one minute in order to allow the rear axle lubricant to flow into the left side rear axle hub cavity.
- Lower the rear axle housing.
- Remove the filler plug.
- Fill the rear axle housing using rear axle lubricant until the lubricant is level with the bottom of the rear axle housing filler hole.
- Install the rear axle housing filler plug.
- Remove the wheel blocks.

Notice: Use the correct fastener in the correct location. Replacement fasteners must be the correct part number for that application. Fasteners requiring replacement or fasteners requiring the use of thread locking compound or sealant are identified in the service procedure. Do not use paints, lubricants, or corrosion inhibitors on fasteners or fastener joint surfaces unless specified. These coatings affect fastener torque and joint clamping force and may damage the fastener. Use the correct tightening sequence and specifications when installing fasteners in order to avoid damage to parts and systems.
Tighten
Tighten the rear axle housing drain plug to 70 N·m (52 lb ft).
Notice: The rear wheel bearings and the seals must be manually lubricated anytime new wheel equipment is installed or after axle maintenance activities. Damage to the rear wheel bearings and the seals may result if the bearing and the seals are not lubricated.
Important: The rear axle housing must be level.
| • | Fill the rear axle housing using rear axle lubricant GM P/N 12345841until the lubricant is level with the bottom of the rear axle housing filler hole. |
| • | If the service has been performed at the rear wheels, fill the rear wheel hub cavities. Perform step 4 through step 10 if the rear wheel equipment has been serviced. |

The rear axle housing requires approximately 1.5 liters (1.58 quarts) of additional rear axle lubricant.
Tighten
Tighten the rear axle housing filler plug to 67 N·m (49 lb ft).
