Quarter Panel Replacement Coupe
Removal Procedure
In order to simplify repairs, quarter panels are available only as sub-assemblies.
This includes filler panels and tail-light mounting panels. There are unique
replacement procedures for the coupe and the sedan models. A key difference
is that the rear window may be left in place on the coupe model for quarter
panel service. The rear window must be removed on the sedan models.
The sedan quarter panel service procedure incorporates sectioning in order
to simplify the replacement procedure.
- Remove all of the related panels and components, including the
following items:
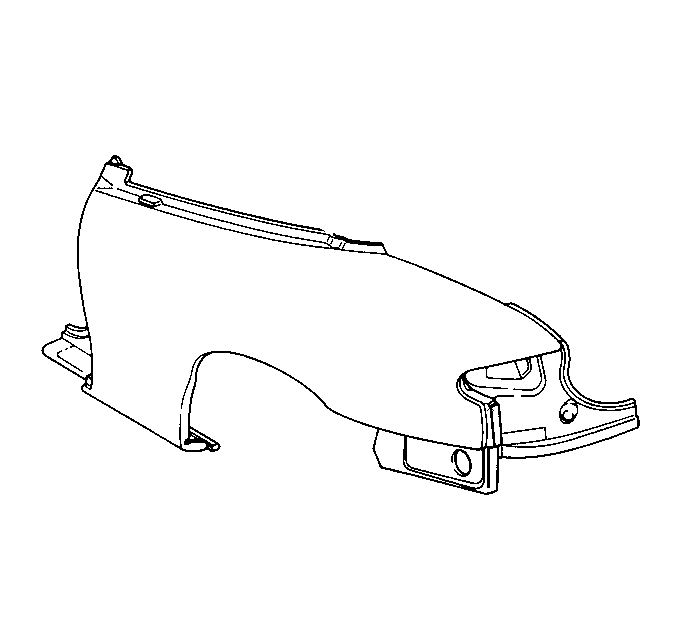
- Visually inspect the damage.
- Restore as much of the damage as possible according to the factory
specifications.
- Remove the following items as necessary:
| • | The anti-corrosion materials |
- Mask the rear window lace and the glass in order to protect them
from possible damage.
- Locate and mark the accessible factory welds.
- Drill out the factory welds. Note the number and location of the
welds for installation of the service assembly.
Important: Take care not to damage the rear window when removing the quarter panel.
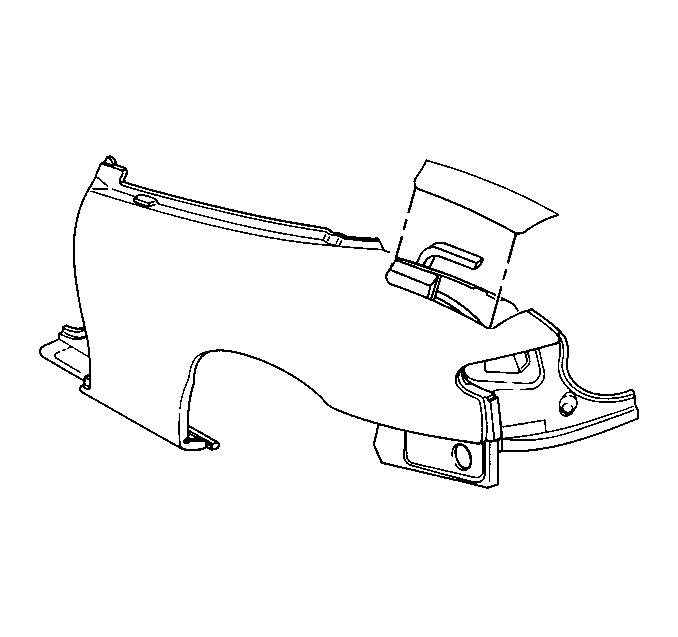
- Gain access to the inside
surface of the drip rail at the back glass by cutting a hole in the damaged
quarter panel.
- Locate and drill out all of the factory welds at the backglass
along the quarter panel drip rail.
- Remove the damaged quarter panel assembly. Notice how the quarter
panel assembly mates with the rear gutter for installation of the new assembly.
Installation Procedure

- Prepare the mating surfaces.
- Inspect for a proper fit of the quarter panel service assembly.
- Drill 8 mm (5/16 in) plug weld holes on the service
part, as necessary, in the locations noted from the original assembly.
- Position the service assembly.
- Allow the quarter panel to wrap over the rear gutter.
- Slide the entire assembly forward, so that the gutter extension
slips beneath the rear gutter.
- Locate the fit by using the body dimensions.
- Plug weld accordingly.
- Measure frequently in order to ensure a proper fit.
- Clean and prepare the welded surfaces.
Important: Ensure that the fuel filler neck is properly sealed when replacing the
right quarter panel. Use SPO Sealing Strip P/N 12395952
between the quarter panel and the fuel filler neck. Install using the
provided instructions.
- Prime the welded surface with a two-part catalyzed primer.
Important: Prior to refinishing, refer to GM 4901MD-99 Refinish Manual for
recommended products. Do not combine paint systems. Refer to paint manufacturer's
recommendations.
- Apply sealers and anti-corrosion materials as necessary.
- Install all related panels and components, including the following
items:
| • | The close-out molding at the rear window |
Quarter Panel Replacement Sedan
When replacing the quarter panel assemblies on the sedan
models, a tab is created from the original quarter panel at the joint with
the roof. The service part is then modified to fit over this tab. Use
the tab as a backing plate for welding the new panel in place.
Removal Procedure
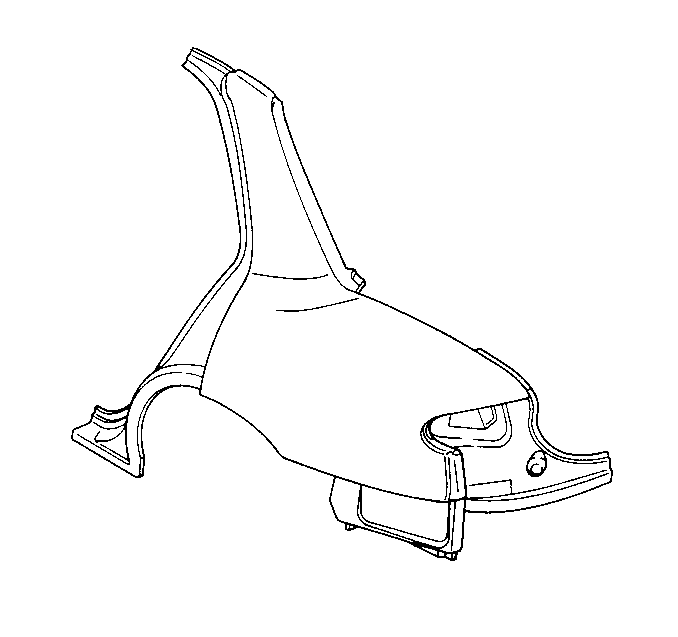
- Remove all of the related
panels and components, including the rear window.
- Pry up and remove the reveal molding at the roof line. The reveal
molding is held in place with two-sided tape.
- Visually inspect the damage.
- Restore as much of the damage as possible according to the factory
specifications.
- Remove the following items, as necessary:
| • | The anti-corrosion materials |
Important: Perform the following actions on the factory welds around the perimeter
of the quarter panel assembly, except for the welds under the reveal molding.
- Locate and mark the factory welds. Notice the number of welds for installation
of the service assembly.
- Drill out the factory welds.
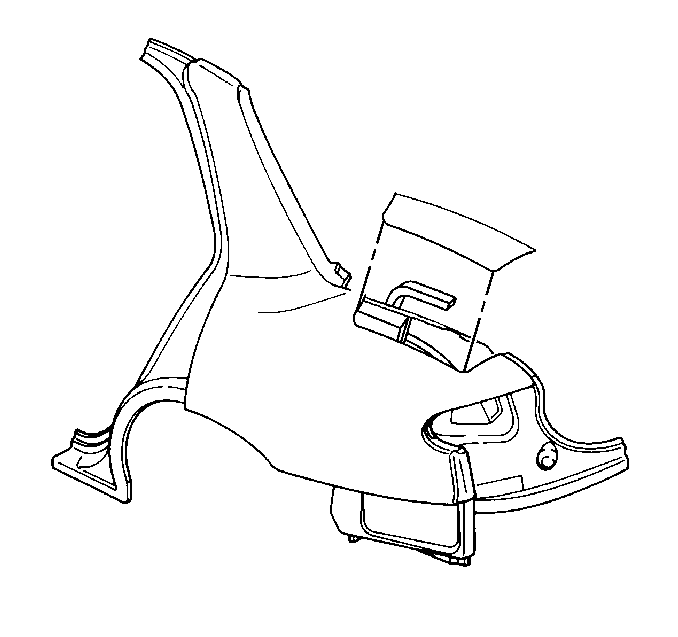
- Cut a hole in the damaged
quarter panel in order to gain access to the inside surface of the drip rail
at the back glass.
- Apply a strip of 25 mm (1 in) masking tape along
the top edge of the quarter panel where the quarter panel meets the roof.
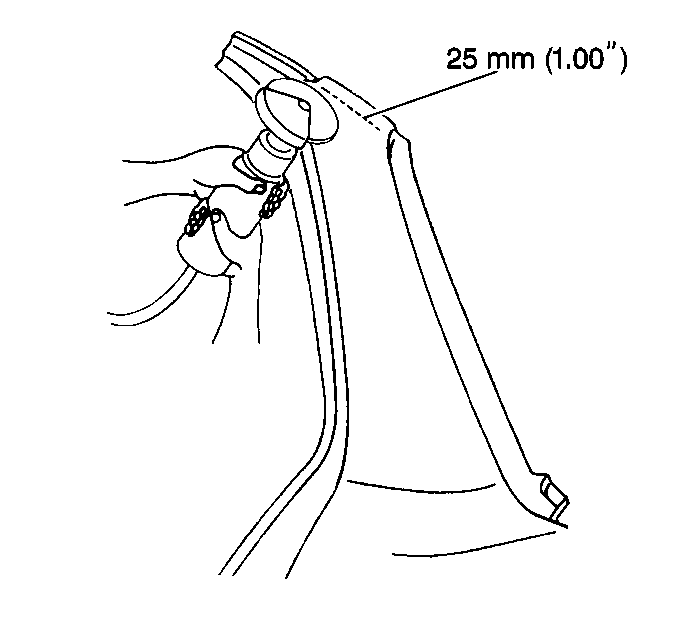
- Cut along the bottom edge
of the masking tape.
- Remove the damaged quarter panel assembly. Leave a 25 mm
(1 in) tab attached to the roof.
Installation Procedure
Important: Ensure that the fuel filler neck is properly sealed when replacing the
right quarter panel. Use SPO Sealing Strip P/N 12395952 between
the quarter panel and the fuel filler neck. Install the fuel filler neck
using the instructions that are provided.
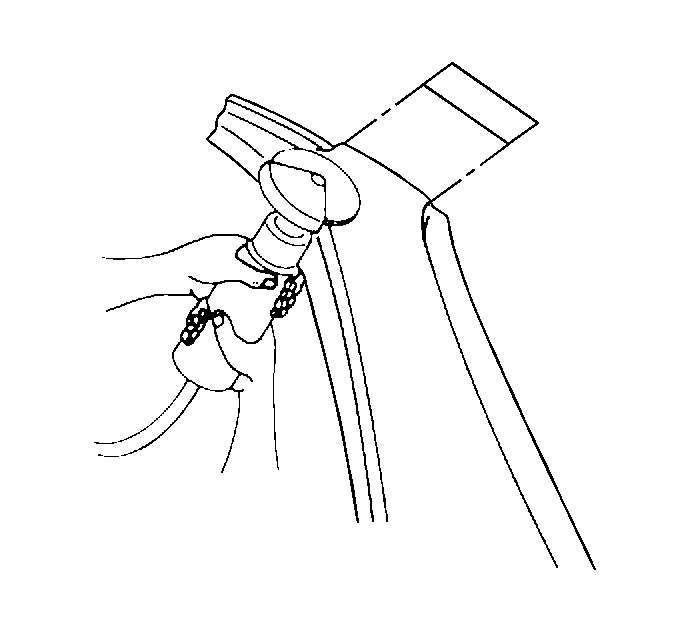
- Trim and discard the upper
mounting flange on the service assembly so that the service assembly can fit
over the 25 mm (1 in) tab left from the original panel.
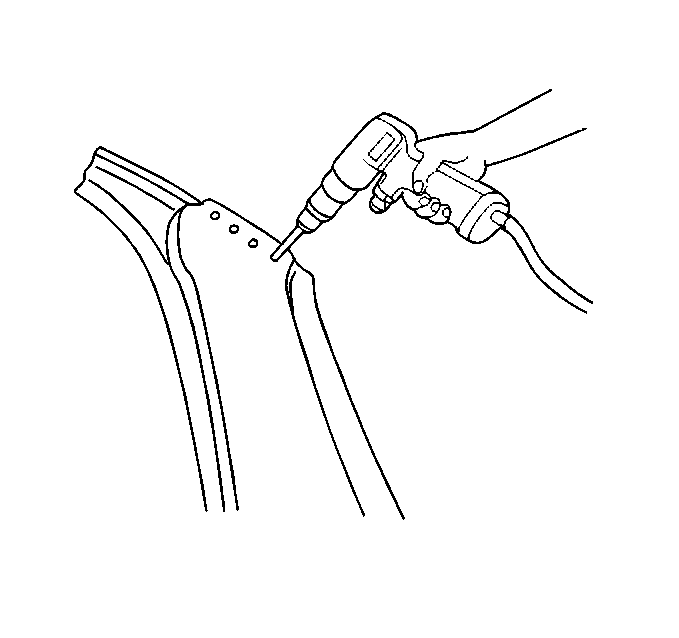
- Drill 8 mm (5/16
in) plug weld holes on the service assembly as necessary in the locations
noted from the original assembly.
- Drill 4 plug weld holes along the top edge of the new quarter
panel for attachment to the one-inch tab.
- Position the service assembly from the top down.
- Inspect the fit using the body dimensions.
- When the assembly is properly positioned, plug weld accordingly.
- Begin with the welds over the 25 mm (1 in) tab,
continuing around the perimeter of the assembly.
- Measure frequently in order to ensure a proper fit.
- Clean and prepare the welded surfaces.
Important: Prior to refinishing, refer to GM 4901MD-99 Refinish Manual for
recommended products. Do not combine paint systems. Refer to paint manufacturer's
recommendations.
- Prime with two-part catalyzed primer.
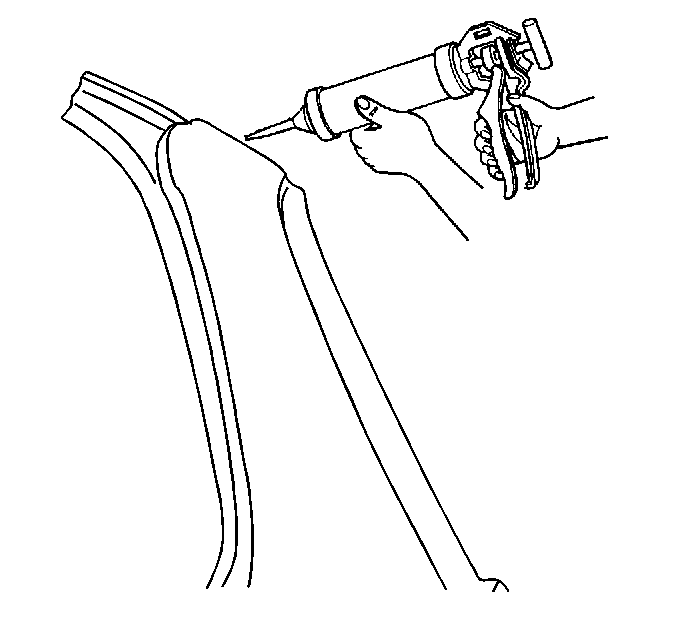
Important: Apply a seam sealer along the top edge of the A pillar joint at the
roof line.
- Apply the following components as necessary:
| • | The anti-corrosion materials |
- Reinstall all the related panels and the components.


