Important: Before cutting out a stationary window, apply a double layer of masking
tape around the perimeter of the painted surfaces and inner trim of the window.
- Remove the lift window reveal molding. Refer to
Rear Window Reveal Molding Replacement
- Remove the rear compartment lift window inner panel.
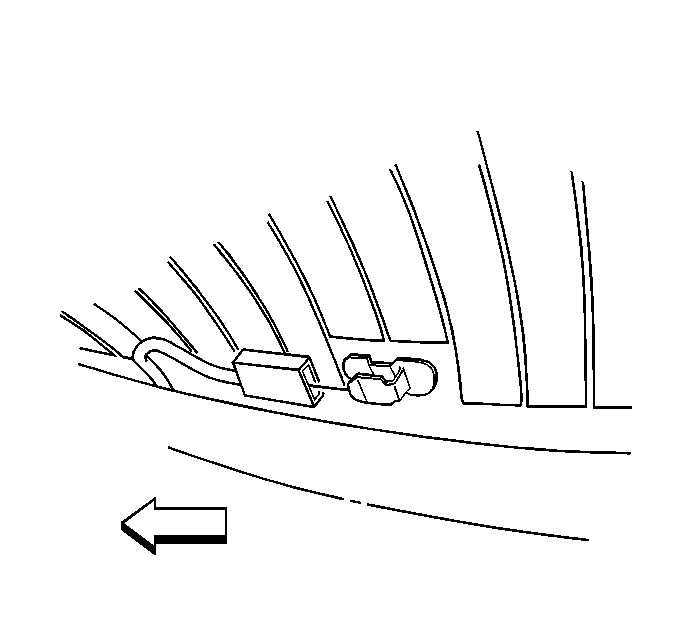
- Disconnect the rear window defogger connectors on both sides of
the window, if equipped.
- Tape must not touch window sealant surface.
Caution: When working with any type of glass or sheet metal with exposed or rough
edges, wear approved safety glasses and gloves in order to reduce
the chance of personal injury.
- Use safety glasses and gloves.
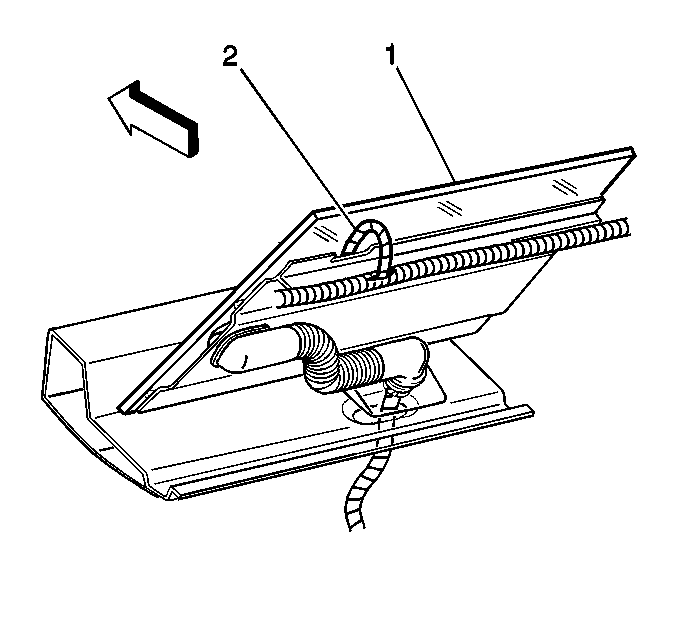
- When cutting the secondary
rear inner urethane bead DO NOT cut through the wiring harness (2) in the
urethane.
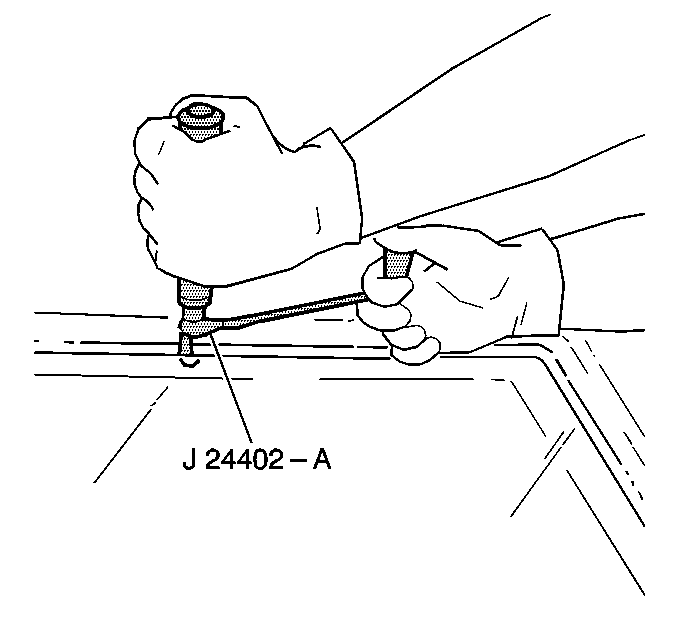
Important: Keep the cutting edge of the tool against the window. This will allow
the urethane adhesive to be separated from the window . Leave a base of urethane
on the pinchweld flange. The only suitable lubrication is clear
water.
- Use J 24402-A
or J 39032
in order to remove
the lift window.
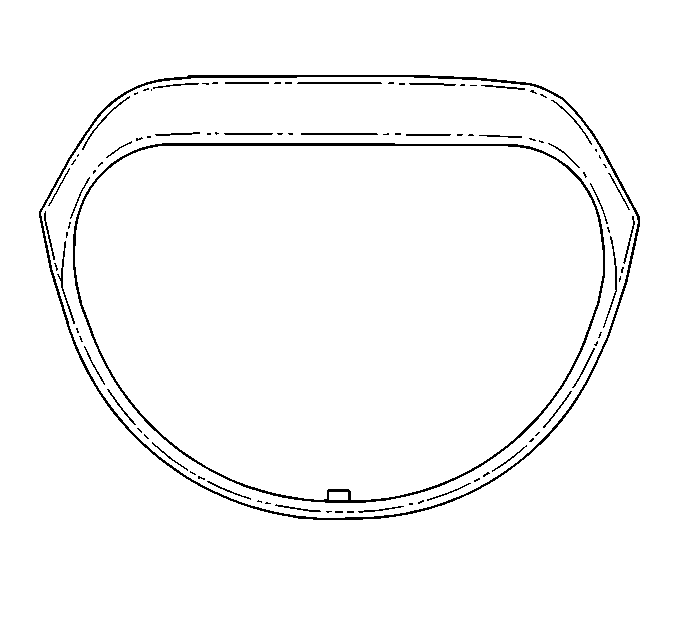
- With the aid of an assistant
remove the lift window from the vehicle.
- Verify all primers and urethane adhesive are within expiration
dates.
Caution: When replacing stationary windows, use Urethane Adhesive Kit GM P/N 12346392
(Canadian P/N 10952983), or a urethane adhesive system meeting GM Specification
GM3651G, to maintain original installation integrity. Failure to use the urethane
adhesive kit will result in poor retention of the window which may allow unrestrained
occupants to be ejected from the vehicle resulting in personal injury.
- Inspect the following components for the causes of a broken lift window:
| • | The flange of the lift window opening |
| • | The lift window reveal molding |
- Inspect for any of the following problems in order to help prevent
future breakage of the lift window :
| • | Hardened spot weld sealer |
| • | Any other obstruction or irregularity in the pinchweld flange |
Important: If corrosion of the pinchweld flange is present, or if sheet metal repairs
or replacements are required, the pinchweld flange must be refinished in order
to restore the bonding area strength. If paint repairs
are required, mask the flange bonding area prior to
applying the color coat in order to provide
a clean primer only surface. Materials such
as BASF DE17®, DuPont 2610®, Sherwin-Williams
PSE 4600 and NP70® and Martin-Semour 5120 and
5130® products are approved for this application.
- After repairing the opening as indicated, perform the following steps:
| 4.2. | Remove no more of the urethane adhesive from the pinchweld than
necessary in order to maintain the original shape. This will ensure
the proper clearance between the lift window and the pinchweld
flange. |
| 4.3. | Remove all traces of broken glass from the outer cowl panel, seats,
floor and defroster ducts. |
| 4.4. | Clean around the edge of the inside surface of the lift window
with a 50/50 mixture of isopropyl alcohol and water by volume
on a dampened lint free cloth. |
- After repairing the opening as indicated, shake the pinchweld
primer (black #3) for at least 1 minute.
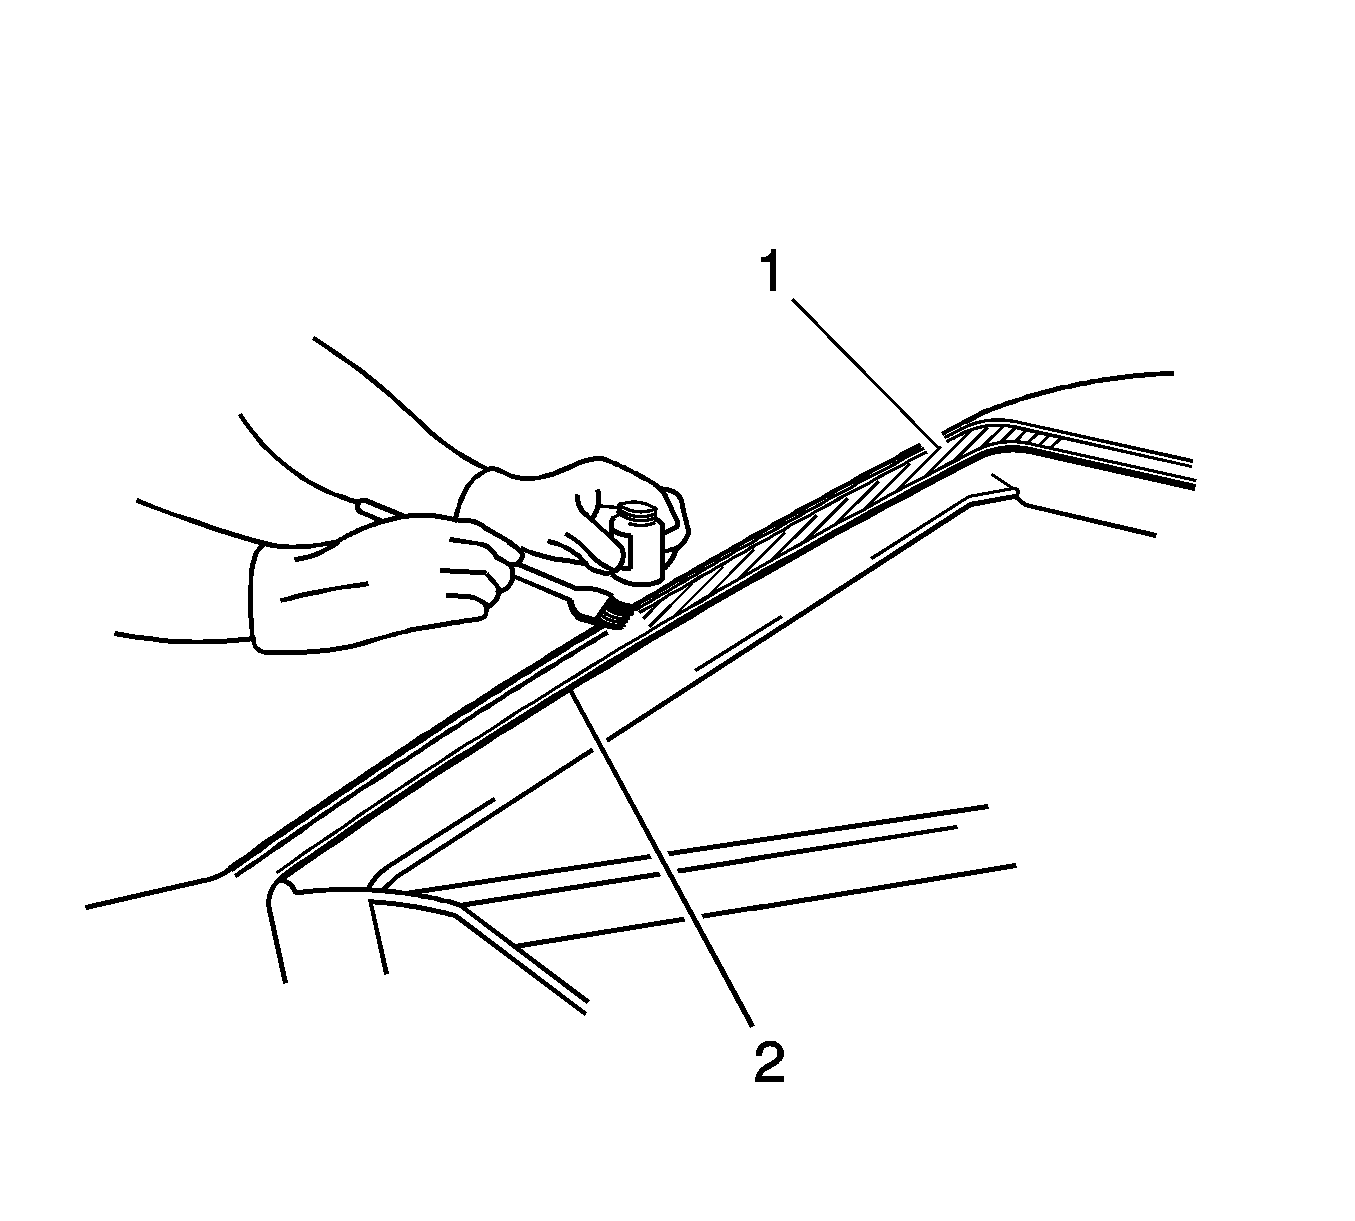
Caution: Failure to prep the area prior to the application of primer
may cause insufficient bonding of urethane adhesive. Insufficient bonding
of urethane adhesive may allow unrestrained occupants to be ejected from
the vehicle resulting in personal injury.
- Use a new dauber to apply the pinchweld primer (black #3) to
the surface (1) of the bonding area on the body only.
- Allow the primer to dry for approximately 10 minutes. Ensure that
all nicks and scratches are covered.
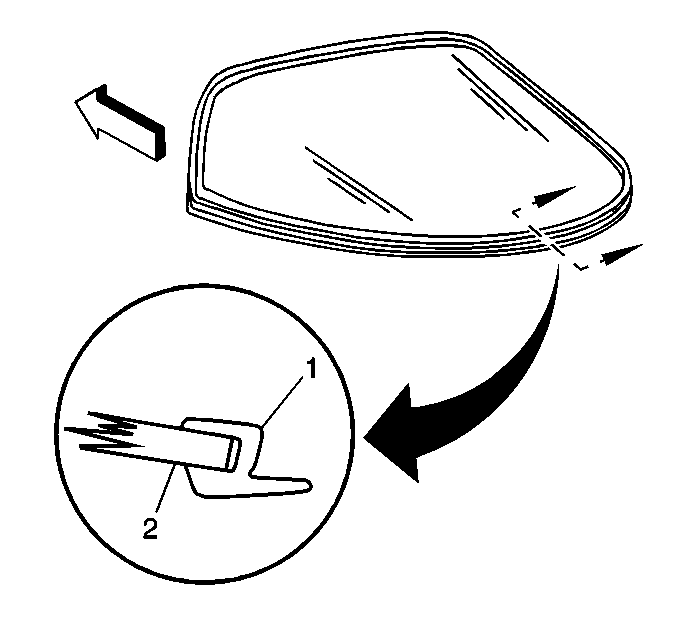
- Install the reveal molding
(1) to the edge of the lift window (2). If the original reveal molding is
damaged it must be replaced. Refer to
Rear Window Reveal Molding Replacement
.

- With the aid of an assistant,
dry fit the lift window in the opening in order to determine the correct
way to position the window in the opening.
- With the aid of assistant and using suction cups remove the lift
window from the opening.
- Place the lift window inside up on a clean, protected surface.
- If the original lift window is being reused remove all but a
thin film of the existing urethane adhesive from the lift window surface by
using a clean utility knife or razor blade scraper.
Important: Do not remove all traces of the adhesive. Remove all mounds or loose
pieces of urethane adhesive.
- If the extended method is being used remove all but approximately
2 mm (3/64 in) of the existing bead of adhesive from the pinchweld
flange.
- Clean around the edge of the inside surface of the lift window
with a 50/50 mixture of isopropyl alcohol and water by volume on a dampened
lint free cloth.
- Shake the pinchweld primer (black #3) for at least 1 minute.
Important: Do not apply the (black #3) primer to the existing bead of the
urethane adhesive. Apply only to nicks, scratches or the primed surfaces.
- Use a new dauber to apply the primer to the surface of the pinchweld
flange.
- Allow the pinchweld primer to dry for approximately 10 minutes.
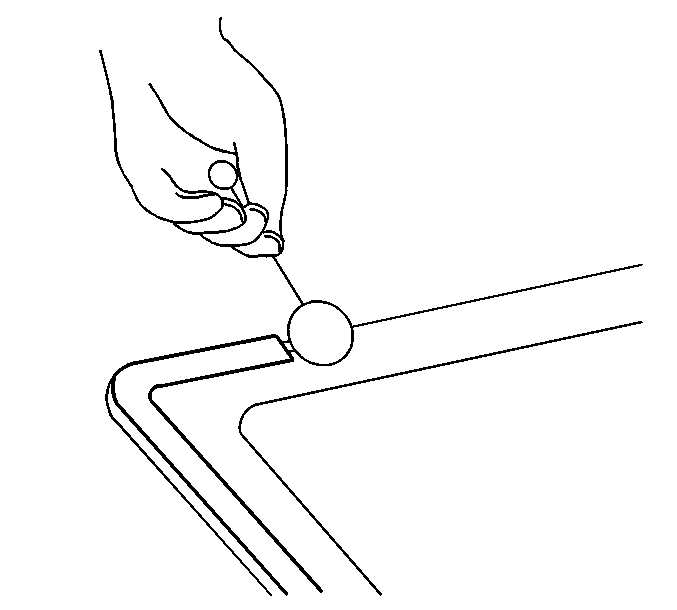
Important: Use care when applying prep (clear #1) on the lift window. This
primer dries almost instantly, and may stain the viewing area of the window
if not applied evenly.
- Use a new dauber in order to apply glass prep (clear #1) to the
area approximately 10-16 mm (3/8-5/8 in) around
the entire perimeter of the window inner surface.
- Apply a second coat of the glass prep number (clear #1)
to the same area of the glass.
- Wipe the glass primed area immediately with a clean lint free
cloth.
- Shake the glass primer (black #2) for at least 1 minute.
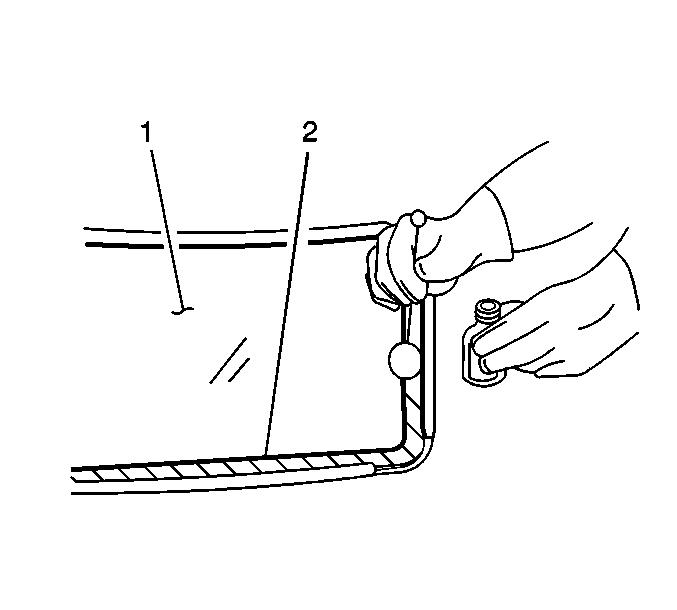
- Use a new dauber in order
to apply the glass primer (black #2) to the same areas (2) that glass
prep (clear #1) was applied.
The glass primer (black #2) is good up to 8 hours after applying
it to the glass. The primed surface of the glass must be kept clean.
- Allow the glass primer to dry for approximately 10 minutes.
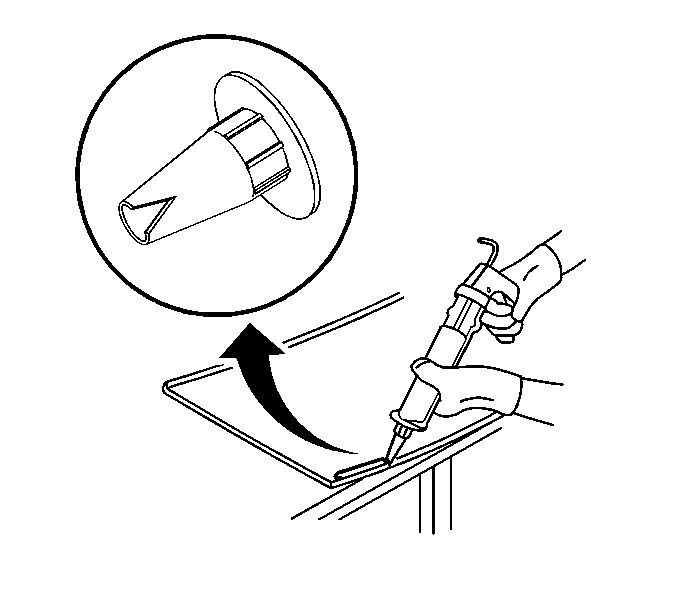
- If using the short method,
cut the tip of the applicator nozzle in order to provide a bead of 6.0 mm
(1/4 in).
- If using the extended method, cut the applicator nozzle in order
to provide a bead of 12.7 mm (1/2 in) wide
and 12.7 mm (1/2 in ) high.
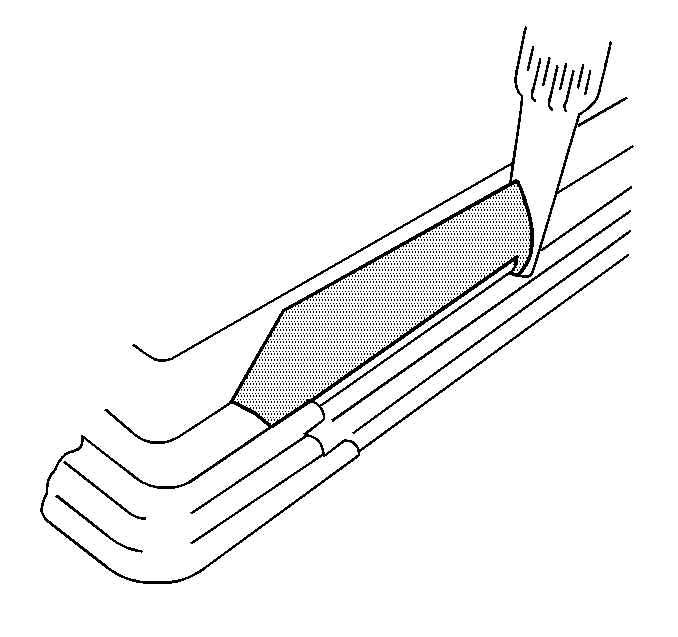
- Use a cartridge type caulking
gun to apply a smooth, continuous bead of urethane adhesive.
- When using the short method, apply the urethane adhesive to the
existing bead of urethane adhesive on the body.
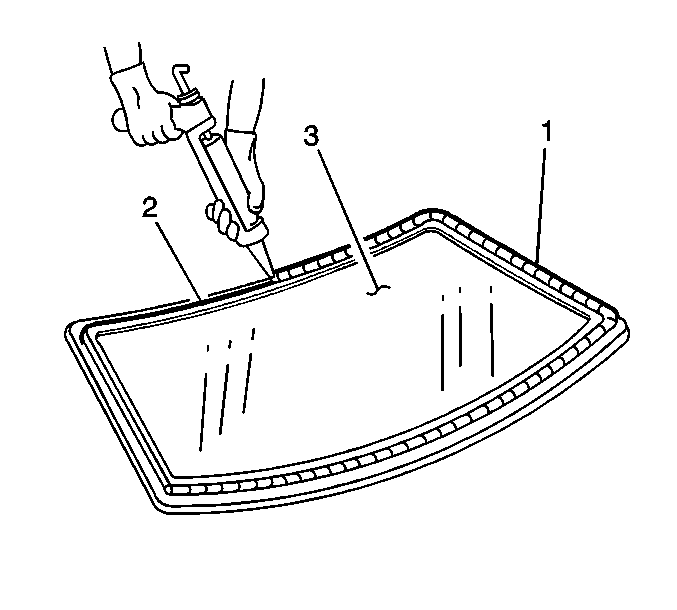
- When using the extended
method, use the edge of the lift window or the inside edge of the reveal
molding as a guide for the nozzle in order to apply the urethane
adhesive (1) to the inner surface of the lift window (3).
If applying urethane adhesive to the inside edge of the lift window
reveal molding (1) use the lift window reveal molding as a guide for the
nozzle.

- With the aid of an assistant,
use the suction cups in order to install the lift window into the opening.
- Press the lift window firmly into place.
- Tape the lift window to the body in order to minimize movement
until the urethane adhesive cures.
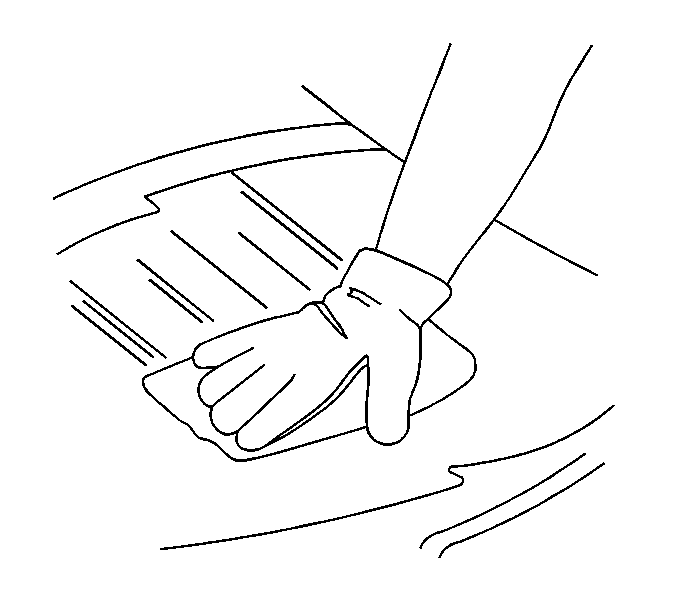
- Clean any excess urethane
adhesive from the body.
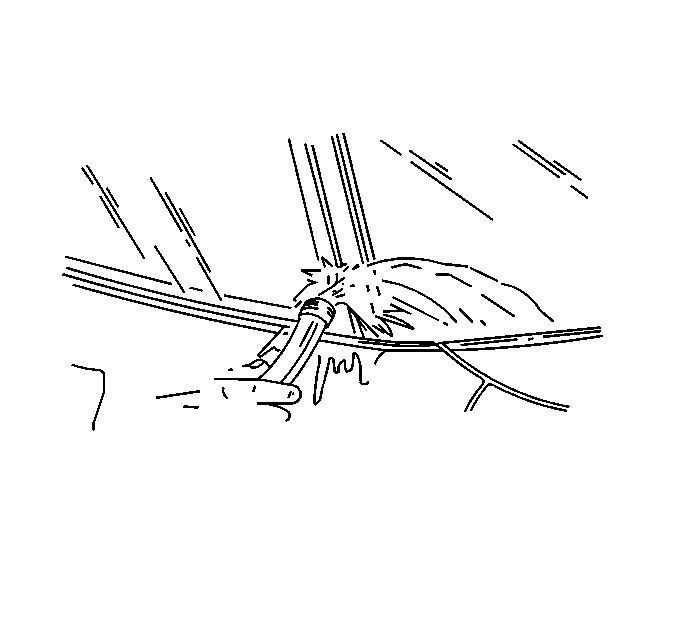
Important: Do not direct a hard stream of high pressure water to the freshly applied
urethane adhesive.
- Use a soft spray of warm water in order to immediately water test the
lift window.
- Inspect the lift window for leaks.
- If any leaks are found, use a plastic paddle in order to apply
extra urethane adhesive at the leak point.
- Retest the lift window for leaks.
Caution: Insufficient curing of urethane adhesive may allow unrestrained occupants
to be ejected from the vehicle resulting in personal injury.
| • | For the moisture-curing type of urethane adhesive, allow a minimum
of 6 hours at 21°C (70°F) or greater and with at least 30 percent
relative humidity. Allow at least 24 hours for the complete curing
of the urethane adhesive. |
| • | For the chemical-curing type of urethane adhesive, allow a minimum
of 1 hour . |
- The following conditions must be maintained to properly cure the urethane
adhesive:
| 37.1. | Partially lower a door window in order to prevent pressure buildups
when closing doors before the urethane adhesive cures. |
| 37.2. | Do not drive the vehicle until the urethane adhesive is cured.
Refer to the above curing times. |
| 37.3. | Do not use compressed air in order to dry the urethane adhesive. |

- Connect the rear window
defogger connectors on both sides of the window, if equipped.
- Install the lift window reveal molding. Refer to
Rear Window Reveal Molding Replacement
.
- Install the rear compartment lift window inner panel.
- Remove the protective coverings and tape from the vehicle and
the headliner.
- Close the liftgate window.


