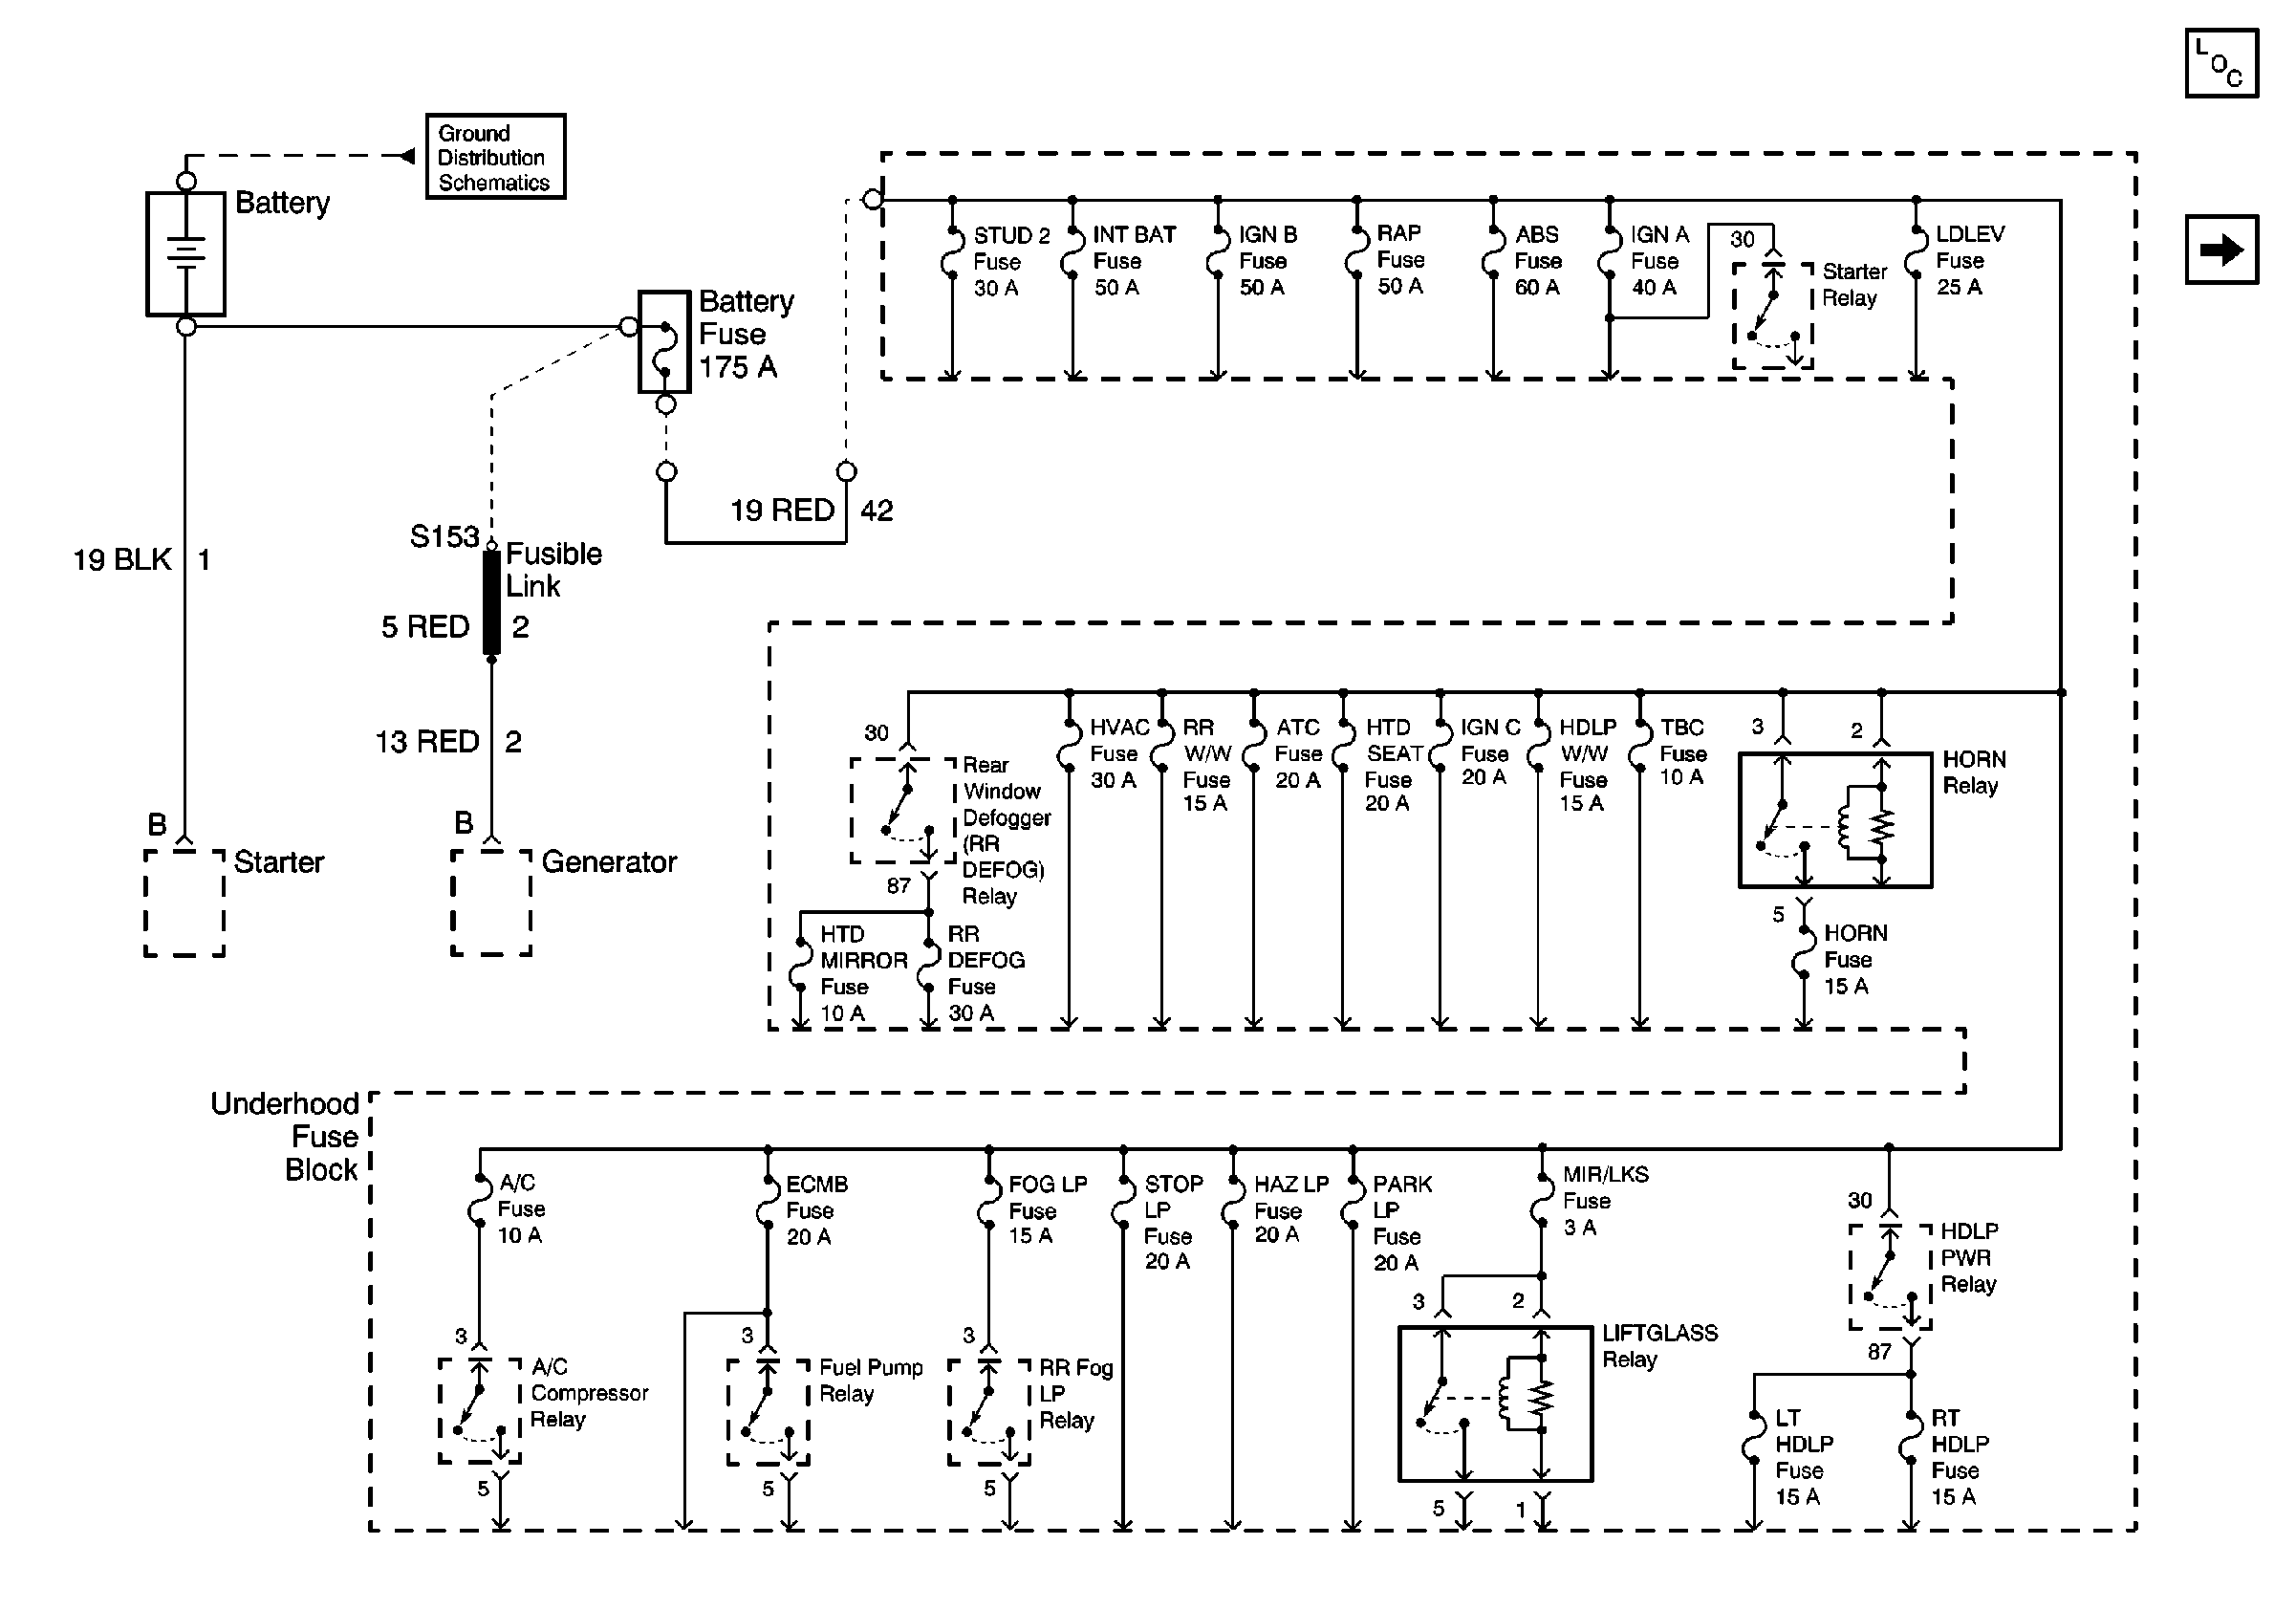
Step | Action | Value(s) | Yes | No | ||||||||||||||||||
|---|---|---|---|---|---|---|---|---|---|---|---|---|---|---|---|---|---|---|---|---|---|---|
1 | Did you perform the Lighting Systems Diagnostic System Check? | -- | Go to Step 2 | |||||||||||||||||||
2 | Verify that the fog lamps are inoperative. Do the fog lamps operate normally? | -- | Go to Testing for Intermittent Conditions and Poor Connections in Wiring Systems | Go to Step 3 | ||||||||||||||||||
3 | Use the Scan Tool to inspect for the following related Body Control Module (BCM) Data/ Input parameters and Output controls. Refer to Scan Tool Data List in Body Control System for typical values and definitions.
Did you find and correct a problem? | -- | Go to Step 18 | Go to Step 4 | ||||||||||||||||||
4 | With the engine Off, turn the key to RUN and the Headlamp Switch to HEAD. Are the marker lamps on? | -- | Go to Step 5 | Go to Marker Lamps Inoperative | ||||||||||||||||||
5 | Inspect the FOG LP 15A fuse in the Underhood Fuse Block. Is the fuse open? | -- | Go to Step 6 | Go to Step 9 | ||||||||||||||||||
6 | Remove the Fog Lamp Relay. Using a J 39200 Digital Multimeter (DMM), check for continuity to ground at terminal 3 of the Fog Lamp Relay connector in the Underhood Fuse Block. Refer to Circuit Testing in Wiring Systems. Is continuity present? | -- | Go to Step 7 | Go to Step 8 | ||||||||||||||||||
7 | Locate and Repair the short to ground in the associated
circuit fed off of the FOG LP 15A fuse. Refer to
Is the repair complete? | -- | Go to Step 18 | -- | ||||||||||||||||||
8 | Locate and Repair the short to ground in CKT 34 (PPL). Refer to Wiring Repairs in Wiring Systems. Is the repair complete? | -- | Go to Step 18 | -- | ||||||||||||||||||
9 | Turn the Fog Lamp Switch to the ON position. Use the J 39200 DMM to check for the specified voltage of CKT 34 (PPL) at either of the Fog Lamp sockets. Refer to Circuit Testing in Wiring Systems. Is the specified voltage present? | B+ | Go to Step 10 | Go to Step 11 | ||||||||||||||||||
10 | Locate and repair the open or high resistance in CKT 150/250 (BLK). Refer to Wiring Repairs in Wiring Systems. Is the repair complete? | -- | Go to Step 18 | -- | ||||||||||||||||||
11 | Use the Scan Tool to monitor the Fog Lamp Switch ON input. Does the scan tool indicate that the switch is ON? | -- | Go to Step 12 | Go to Step 15 | ||||||||||||||||||
12 | Test CKT 34 (PPL) and CKT 1317 (DK GRN/WHT) for opens or high resistance. Refer to Circuit Testing in Wiring Systems. Was a problem found? | -- | Go to Step 13 | Go to Step 14 | ||||||||||||||||||
13 | Locate and repair the open or high resistance in CKT 34 (PPL) or CKT 1317 (DK GRN/WHT). Refer to Wiring Repairs in Wiring Systems. Is the repair complete? | -- | Go to Step 18 | -- | ||||||||||||||||||
14 | Replace the Fog Lamp Relay. Refer to Fog Lamp Relay Replacement . Is the repair complete? | -- | Go to Step 18 | -- | ||||||||||||||||||
15 | Test CKT 192 (ORN) and CKT 1850 (BLK) for opens or high resistance. Refer to Circuit Testing in Wiring Systems. Was a problem found? | -- | Go to Step 16 | Go to Step 17 | ||||||||||||||||||
16 | Locate and repair the open or high resistance in CKT 192 (ORN) and CKT 1850 (BLK). Refer to Wiring Repairs in Wiring Systems. Is the repair complete? | -- | Go to Step 18 | -- | ||||||||||||||||||
17 | Replace the Fog Lamp Switch. Refer to Fog Lamp Switch Replacement . Is the repair complete? | -- | Go to Step 18 | -- | ||||||||||||||||||
18 | Operate the system in order to verify the repair. Did you correct the condition? | -- | System OK | Go to Step 3 |

