Removal Procedure
- Raise the vehicle. Support the vehicle at the frame. A hoist must remain under the rear axle housing. Refer to Lifting and Jacking the Vehicle in General Information.
- Remove the rear wheels. Refer to Tire and Wheel Removal and Installation in Tires and Wheels.
- Remove the drums, if equipped.
- Remove the rear rotors, if equipped. Refer to Rear Brake Rotor Replacement in Disc Brakes.
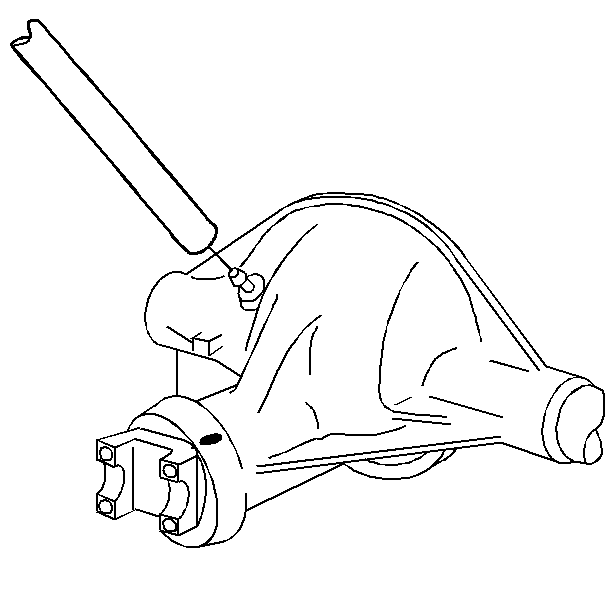
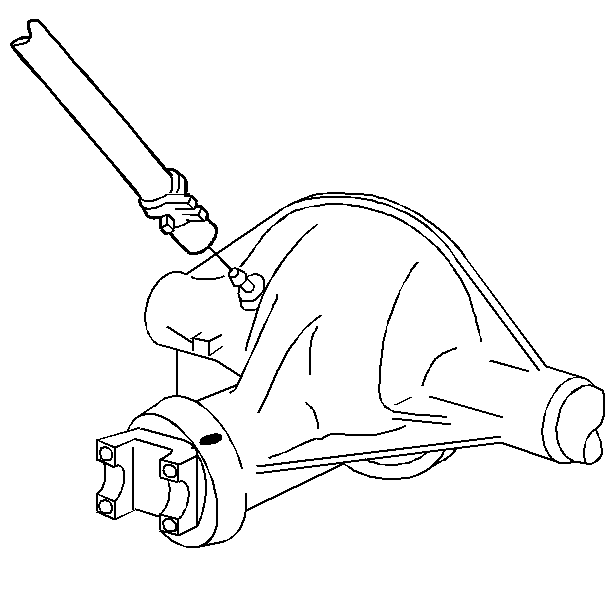
- Remove axle vibration dampener, if equipped. Refer to Axle Vibration Damper Replacement .
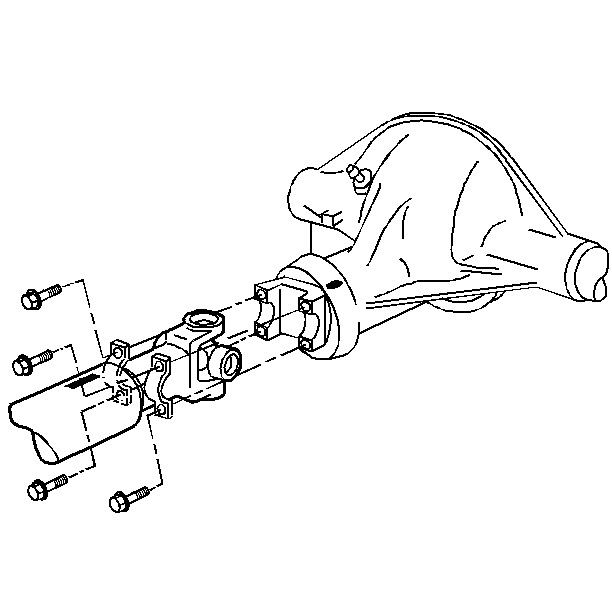
- Remove the shock absorber nuts and washers.
- Remove the shock absorbers from the anchor plates.
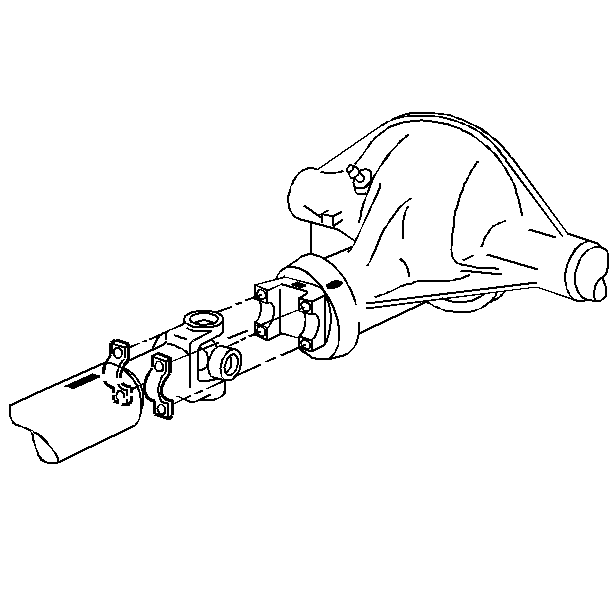
- Mark the propeller shaft and the pinion flange.
- Remove the propeller shaft. Refer to Rear Propeller Shaft Replacement in Propeller Shaft.
- Secure the propeller shaft out of the way in order to not put stress on the universal joints.
- Remove the brake pipes at the axle housing.
- Disconnect the brake pipes at the backing plates.
- Disconnect the rear park brake cables from the rear axle. Refer to Parking Brake Rear Cable Replacement in Park Brake.
- Remove the nuts and washers.
- Remove the U-bolts and anchor plates. Refer to Leaf Spring Replacement in Rear Suspension.
- Disconnect the vent hose from the axle housing.
Important: Observe and reference mark the positions of all the driveline components relative to the propeller shaft and axles prior to disassembly. These components include the propeller shafts, the drive axles, the pinion flanges, and the output shafts. Reassemble all the components in the exact places from where you removed these parts. Follow any specifications, torque values, and measurements obtained prior to disassembly.
| 16.1. | Move the axle from above the springs. |
| 16.2. | Lower the axle from the vehicle, using the hoist. |
Installation Procedure
- Install the axle into the vehicle using the hoist.
- Connect the vent hose to the axle housing.
- Install the U-bolts and the anchor plates. Refer to Leaf Spring Replacement in Rear Suspension.
- Install the nuts and the washers.
- Connect the brake pipes to the backing plate.
- Connect the park brake cables. Refer to Parking Brake Rear Cable Replacement in Park Brake.
- Install the brake pipes at the axle housing.
- Bleed the brake system. Refer to Hydraulic Brake System Bleeding in Hydraulic Brakes.
- Line up the previously made marks on the propeller shaft with the marks on the pinion flange. Install the propeller shaft. Refer to Rear Propeller Shaft Replacement in Propeller Shaft.
- Install the retainers and the bolts to the pinion flange.
- Install the shock absorbers to the anchor plates.
- Install the washers and the nuts.
- Install the rear rotors, if equipped. Refer to Rear Brake Rotor Replacement in Disc Brakes.
- Install the drums, if equipped.
- Install the rear wheels. Refer to Tire and Wheel Removal and Installation in Tires and Wheels.
- Add lubricant to the axle housing to a level within 9.5 mm (3/8 in) of the filler plug hole.

Notice: Use the correct fastener in the correct location. Replacement fasteners must be the correct part number for that application. Fasteners requiring replacement or fasteners requiring the use of thread locking compound or sealant are identified in the service procedure. Do not use paints, lubricants, or corrosion inhibitors on fasteners or fastener joint surfaces unless specified. These coatings affect fastener torque and joint clamping force and may damage the fastener. Use the correct tightening sequence and specifications when installing fasteners in order to avoid damage to parts and systems.
Tighten
Tighten the nuts to 100 N·m (74 lb ft).
Tighten
Tighten the bolts to 45 N·m (33 lb ft).
Tighten
Tighten the nuts to 84 N·m (62 lb ft).
