Front Fender Replacement Notchback
Removal Procedure
- Raise and suitably support the vehicle.
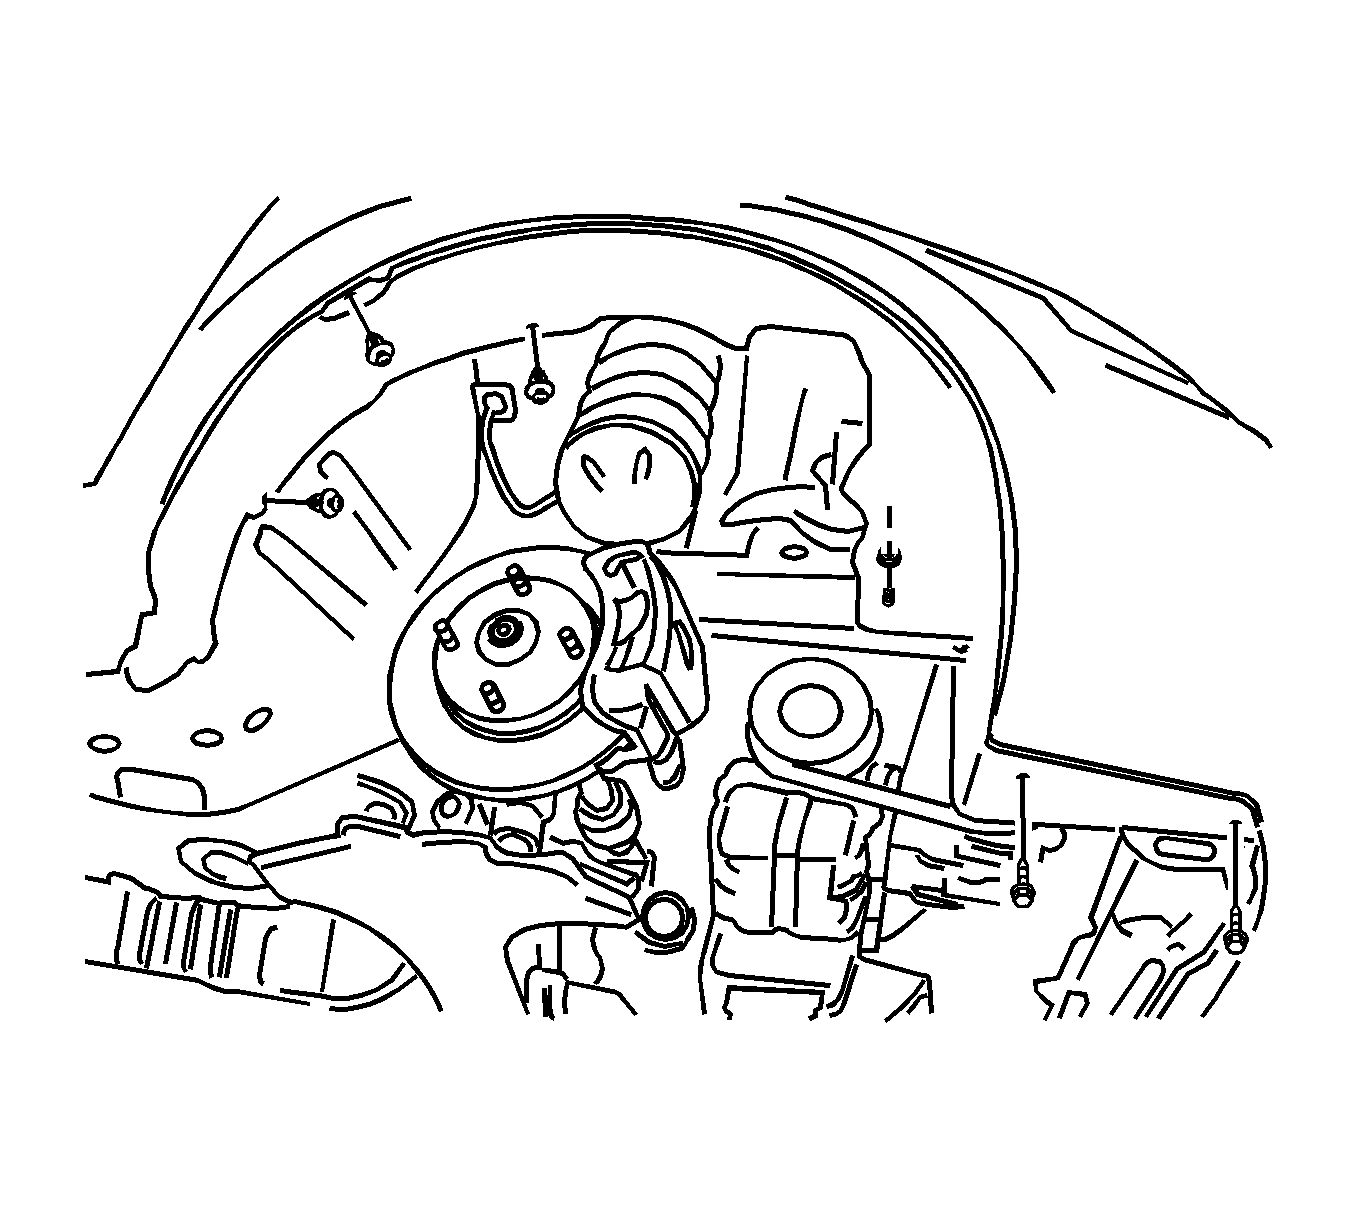
- Remove the necessary bolts from the splash shield.
- Remove the headlamp assembly. Refer to Headlamp Replacement .
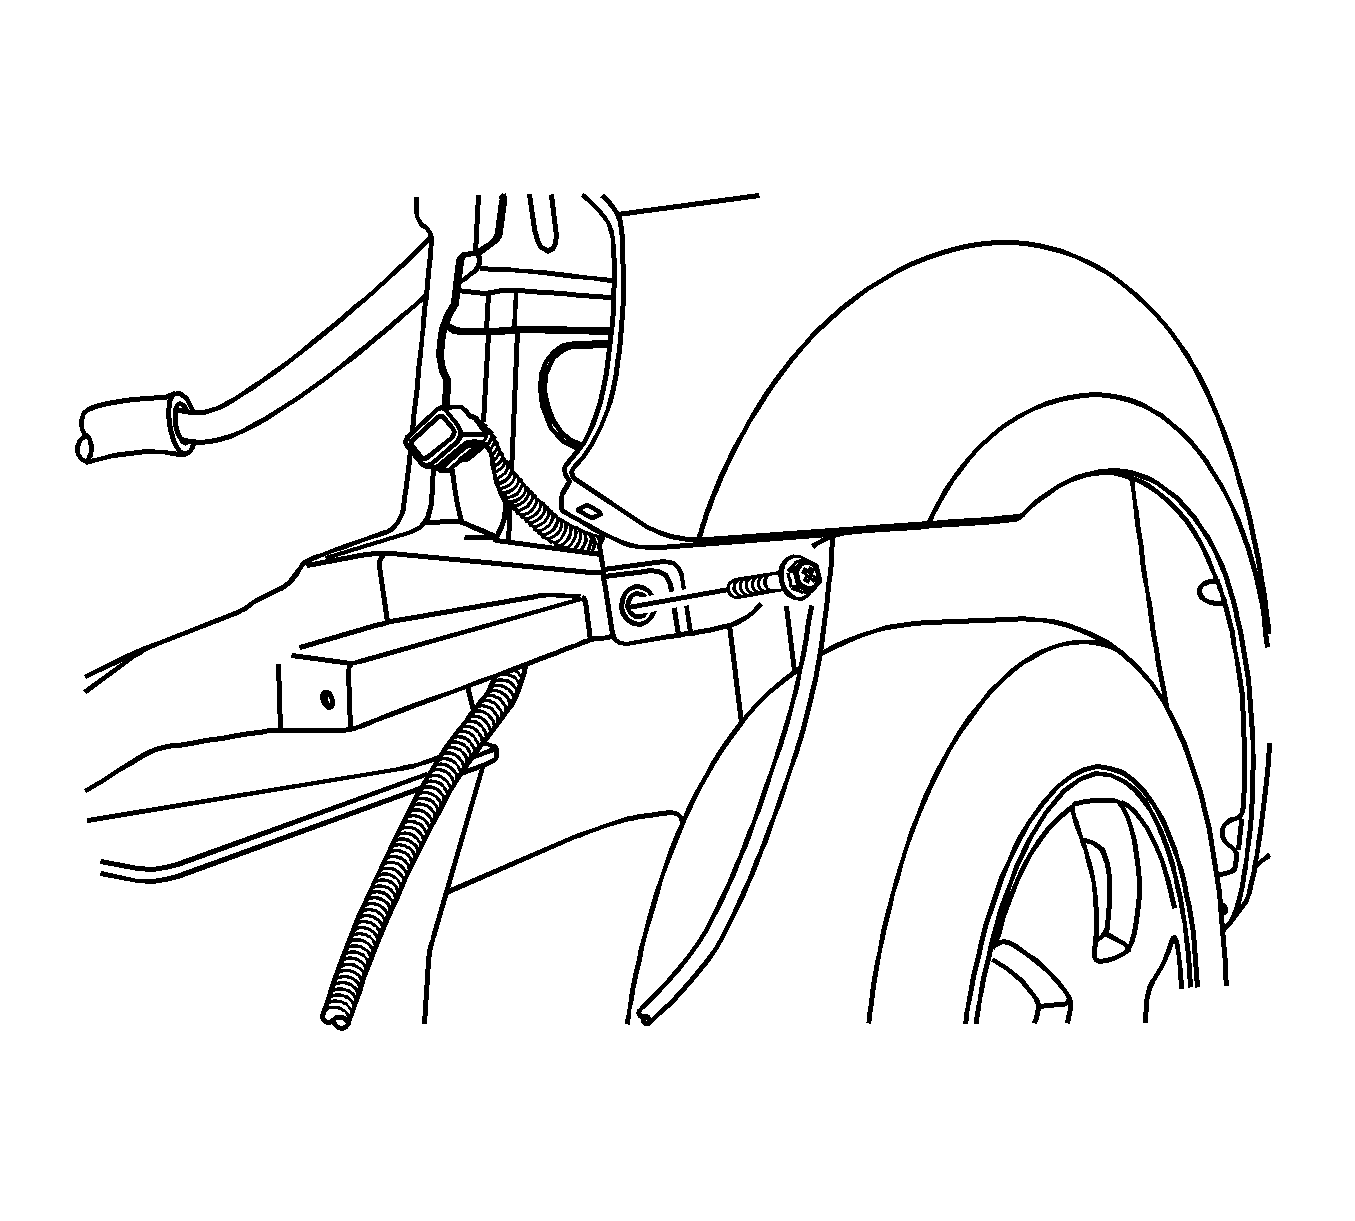
- Remove the two screws attaching the front fascia to the fender.
- Remove the screws underneath the front bumper fascia.
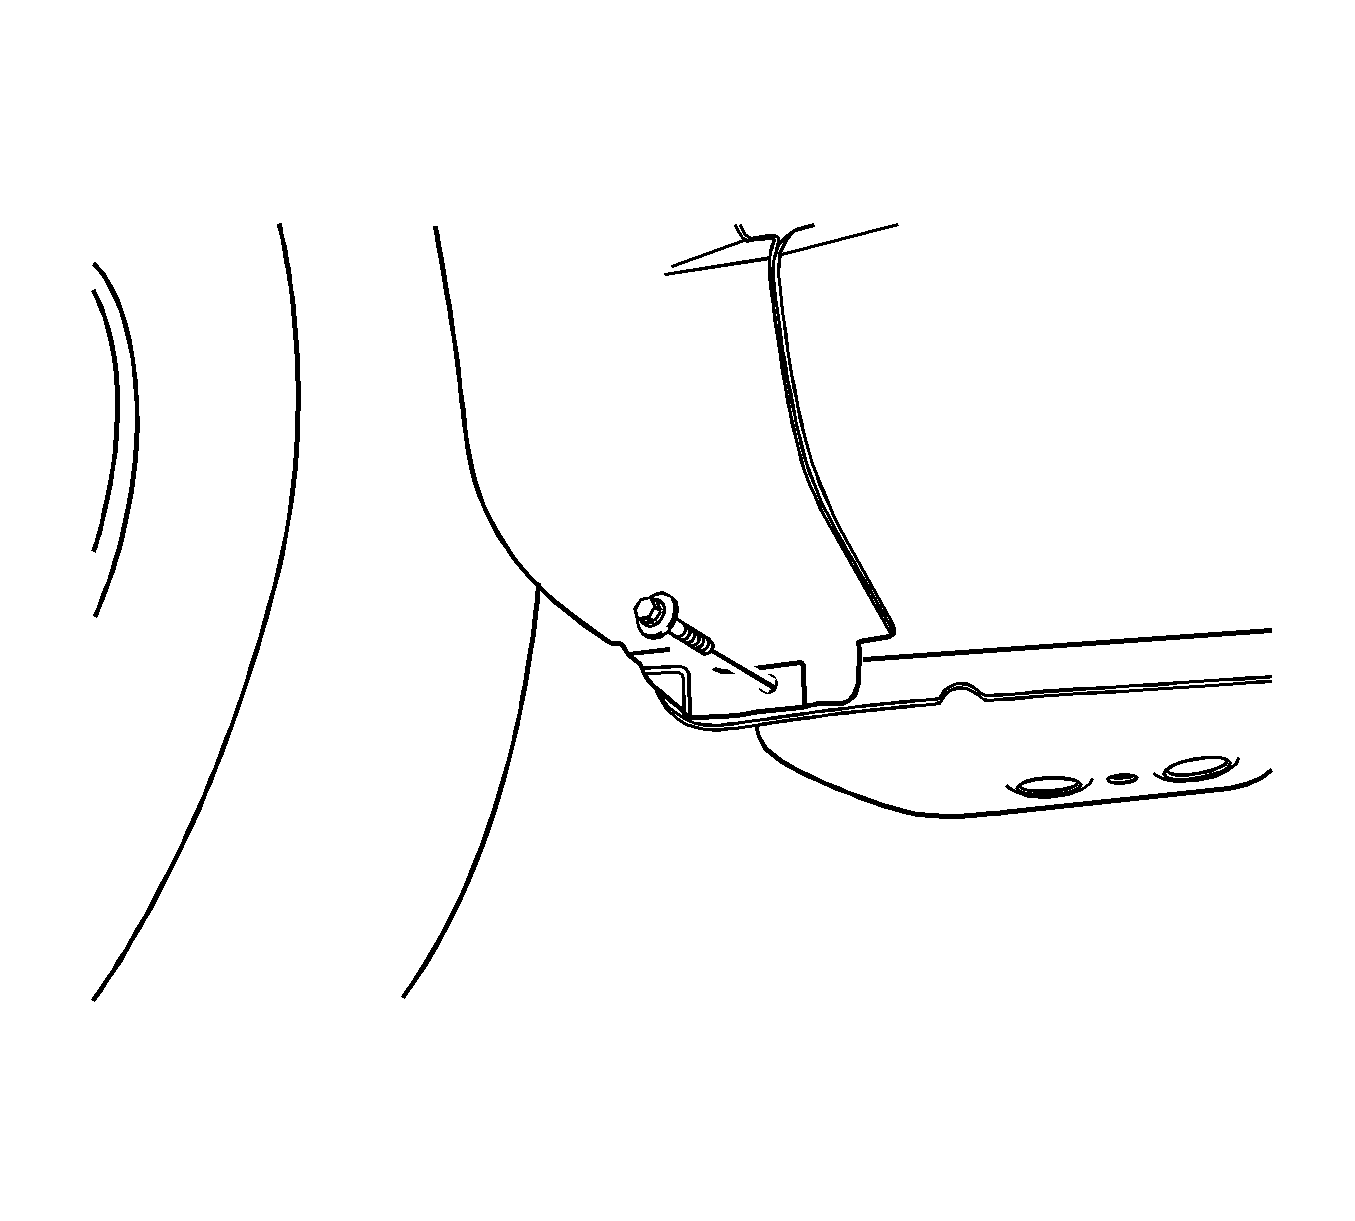
- Remove the bolt at the base of the fender.
- Remove the air inlet panel. Refer to Air Inlet Grille Panel Replacement .
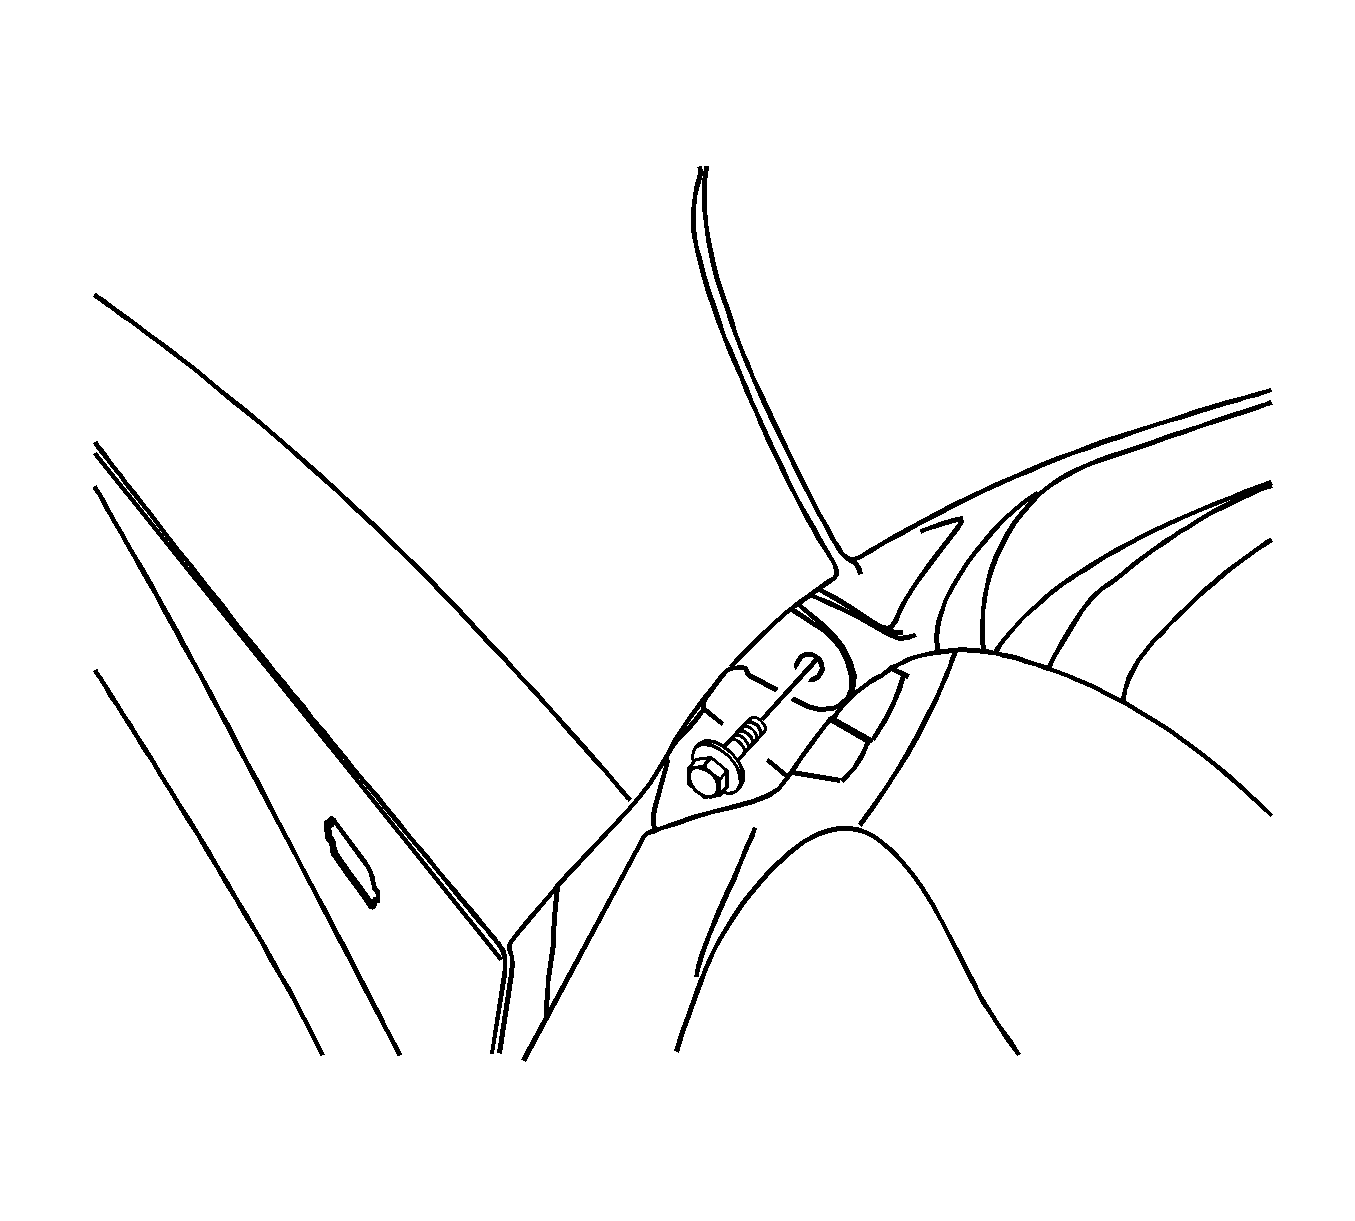
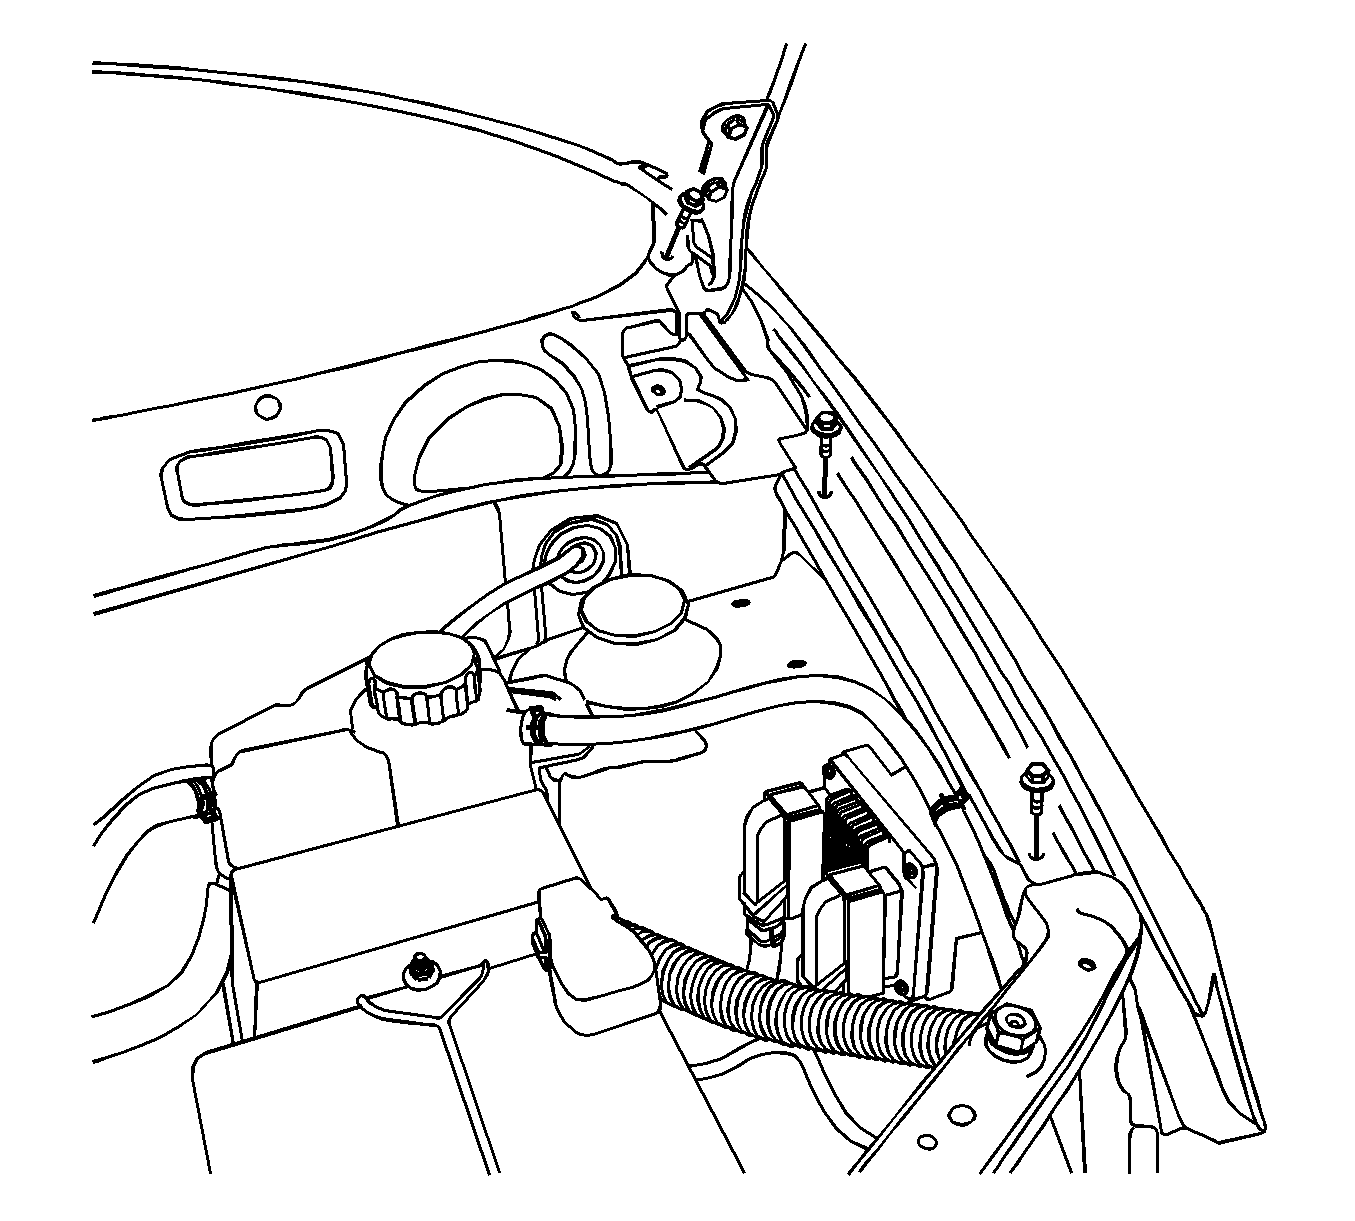
- Open the front door. Remove the bolt at the base of the windshield pillar.
- Remove the bolts along the top of the fender.
- Remove the repeater lamp. Refer to Repeater Lamp Replacement .
- Remove the fender.
Notice: Refer to Vehicle Lifting and Jacking Notice in the Preface section.
Installation Procedure
- Install the fender.
- Install the repeater lamp. Refer to Repeater Lamp Replacement .
- Install the bolts along the top of the fender.
- Install the bolt at the base of the windshield pillar.
- Install the air inlet panel. Refer to Air Inlet Grille Panel Replacement .
- Install the bolts at the base of the fender.
- Secure the fender to the front bumper fascia with the screw.
- Secure the fender behind the front bumper fascia with the screws.
- Install the necessary splash shield screws.
- Install the headlamp . Refer to Headlamp Replacement .
- Lower the vehicle.

Notice: Refer to Fastener Notice in the Preface section.
Tighten
Tighten the upper fender bolts to 10 N·m (89 lb in).

Tighten
Tighten the fender-to-windshield pillar bolt to 8 N·m (71 lb in).

Tighten
Tighten the lower fender bolts to 10 N·m (89 lb in).

Tighten
Tighten the front bumper fascia screw to 1.5 N·m (13 lb in).
Tighten
Tighten the fender screws to 4 N·m (35 lb in).

Tighten
Tighten the splash shield screws to 1.5 N·m (13 lb in).
Front Fender Replacement Hatchback
Removal Procedure
- Raise and suitably support the vehicle.
- Remove the front wheel. Refer to Tire and Wheel Removal and Installation .
- Remove the bolts and the splash shield.
- Remove the screws underneath the front bumper fascia.
- Remove the screw securing the front bumper fascia to the fender.
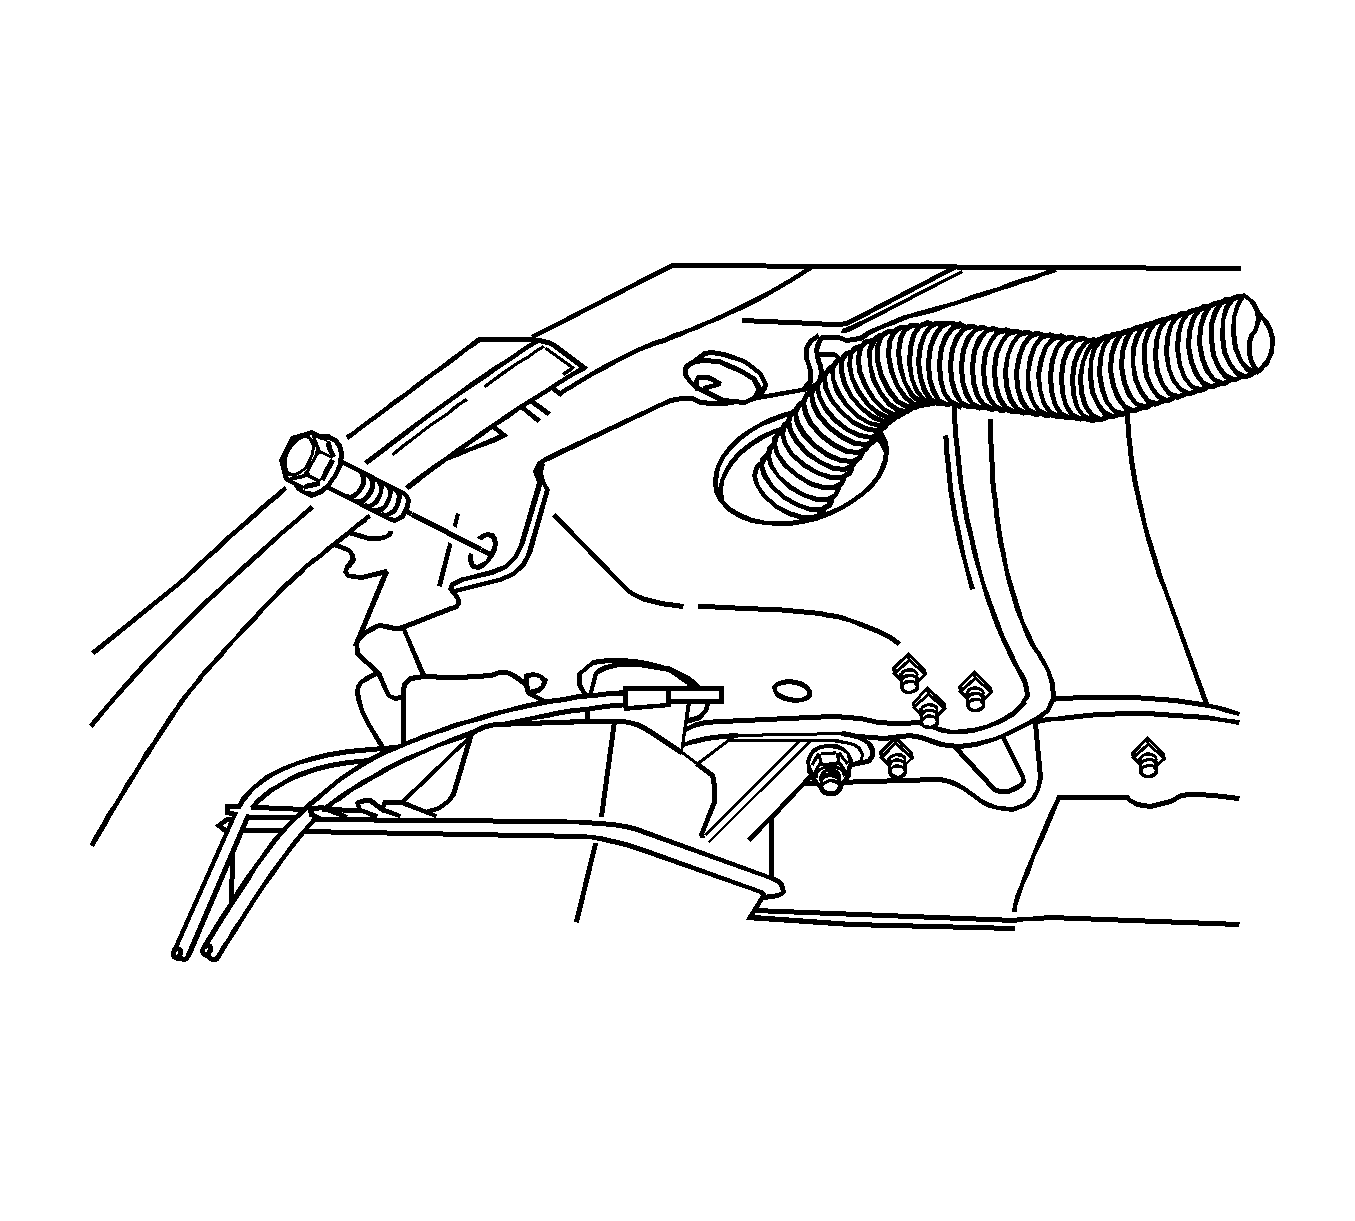
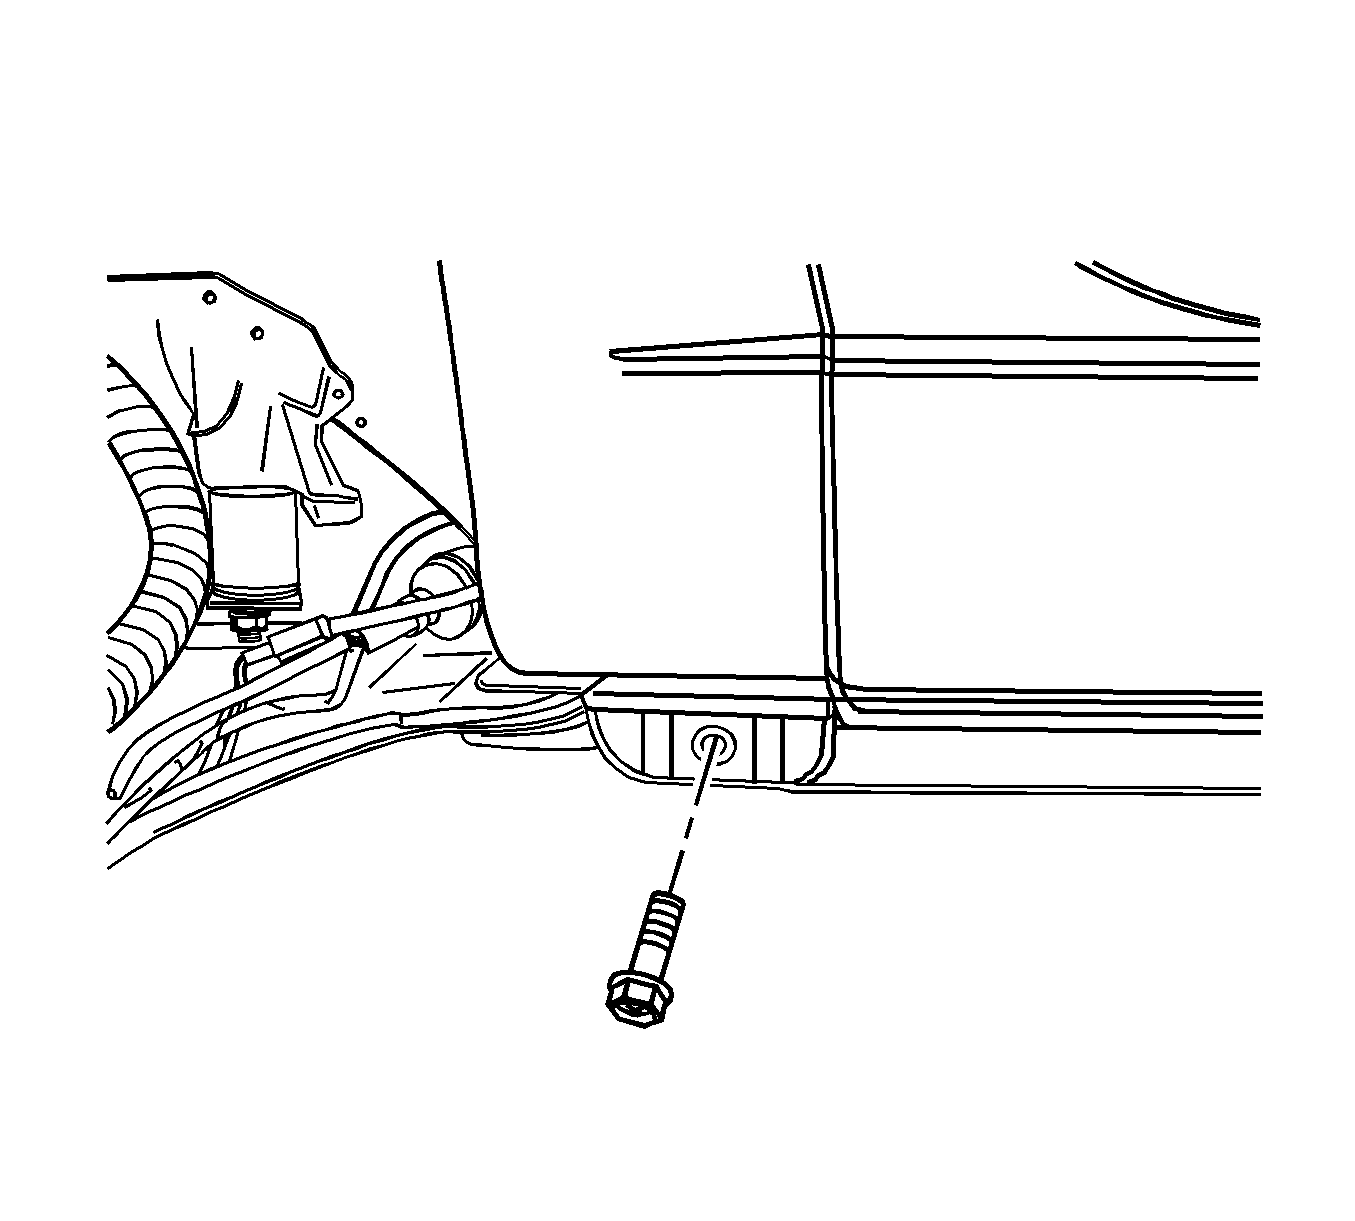
- Remove the bolts at the base of the fender.
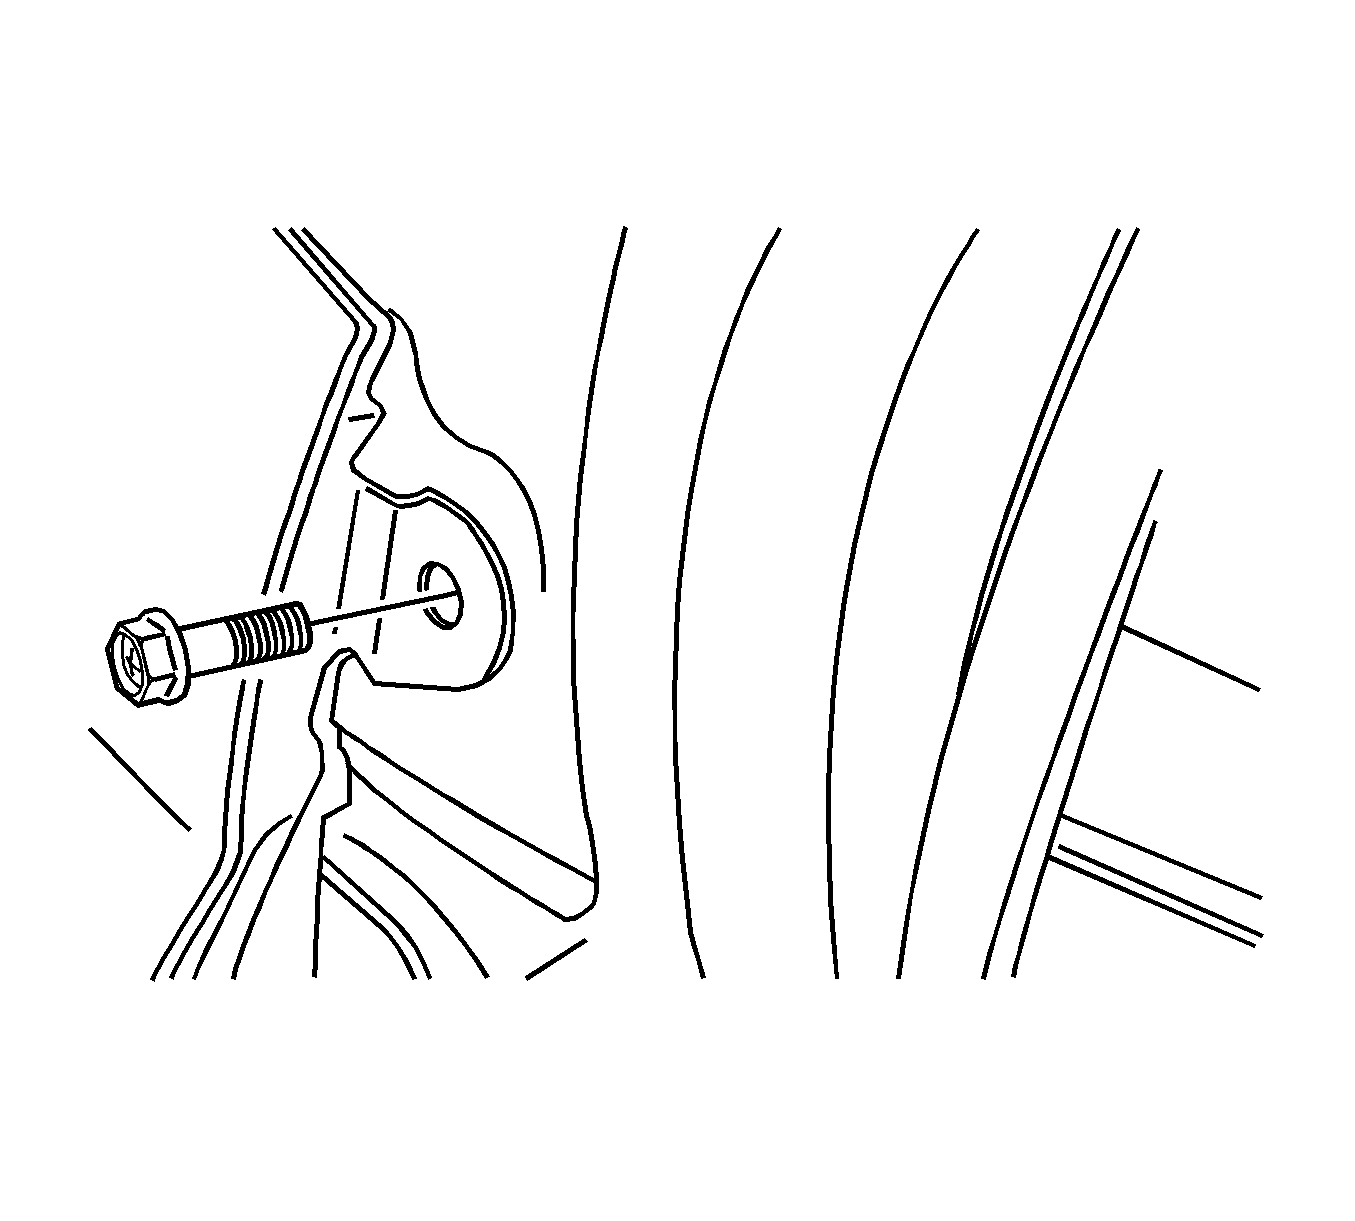
- Open the front door. Remove the bolt at the base of the Windshield Pillar.
- Open the hood.
- Remove the headlamp. Refer to Headlamp Replacement .
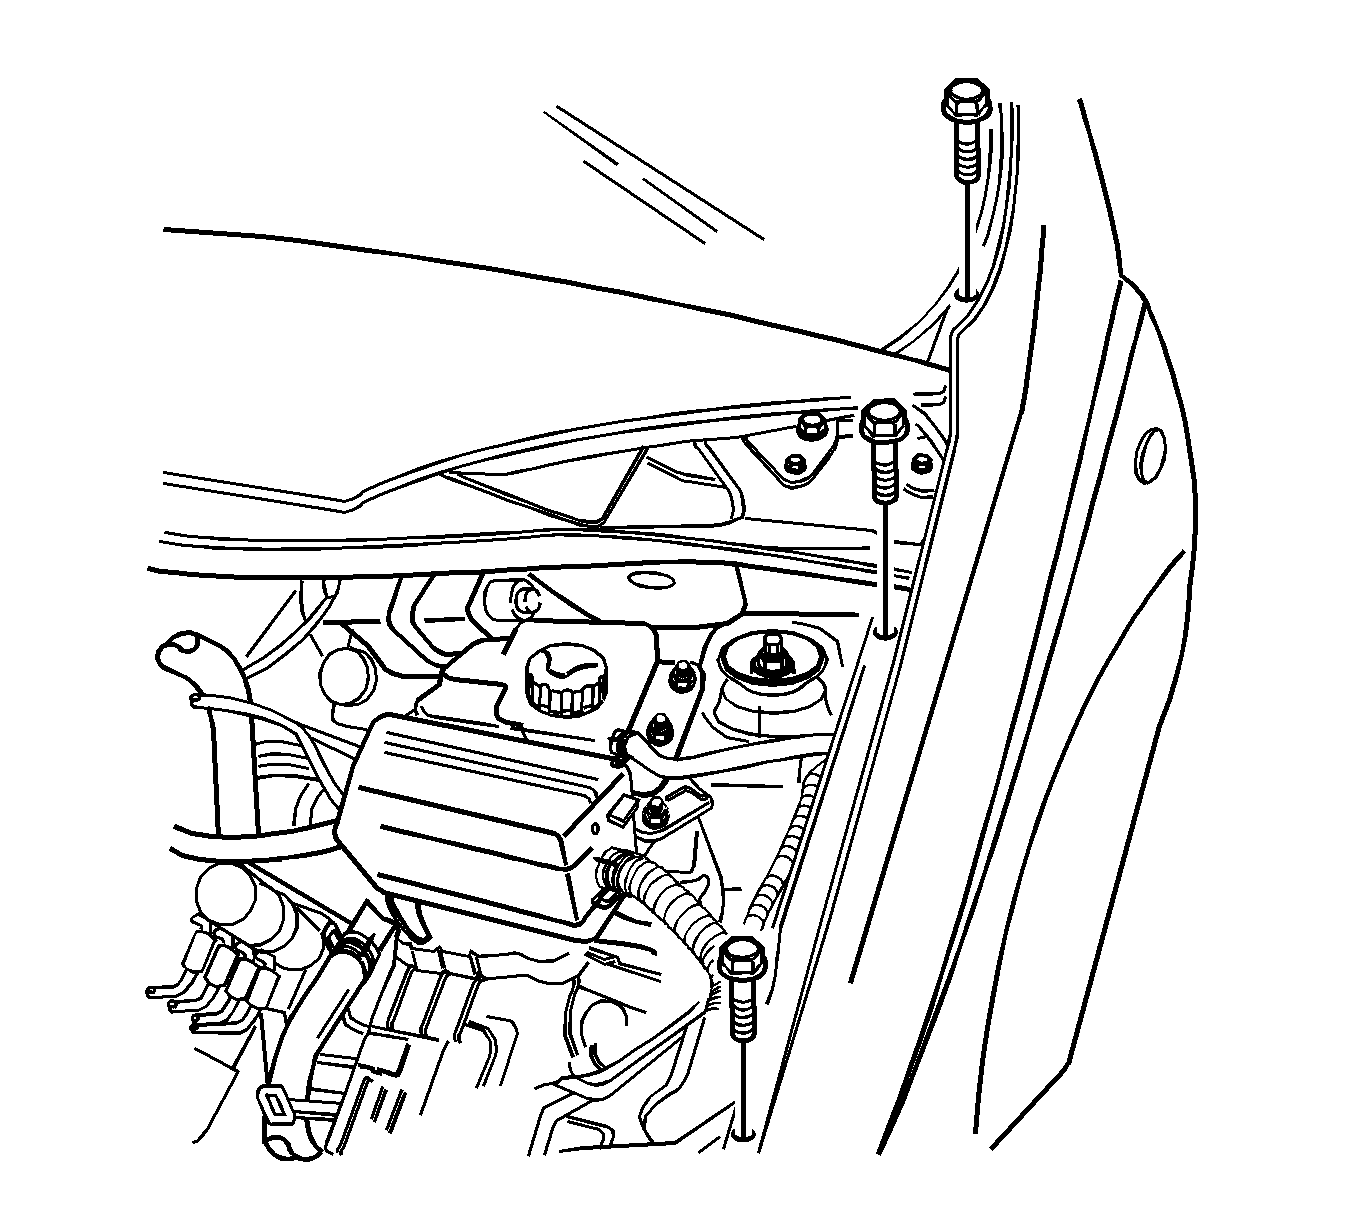
- Remove the bolts along the top of the fender.
- Remove the fender.
Notice: Refer to Vehicle Lifting and Jacking Notice in the Preface section.

Installation Procedure
- Install the headlamp. Refer to Headlamp Replacement .
- Install the fender.
- Install the bolts along the top of the fender.
- Install the bolt at the base of the windshield pillar.
- Install the bolts at the base of the fender.
- Secure the fender to the front bumper fascia with the screw.
- Secure the fender behind the front bumper fascia with the screws.
- Install the splash shield with the screws.
- Install the front wheel. Refer to Tire and Wheel Removal and Installation .
- Lower the vehicle.

Notice: Refer to Fastener Notice in the Preface section.
Tighten
Tighten the upper fender bolts to 10 N·m (89 lb in).

Tighten
Tighten the fender-to-windshield pillar bolt to 8 N·m (71 lb in).

Tighten
Tighten the lower fender bolts to 10 N·m (89 lb in).

Tighten
Tighten the front bumper fascia screw to 1.5 N·m (13 lb in).
Tighten
Tighten the fender screws to 4 N·m (35 lb in).

Tighten
Tighten the splash shield screws to 1.5 N·m (13 lb in).
