If the motor is not performing to specifications, it may
require further component testing while the motor is disassembled. Disassemble
the starter motor only so far as is necessary, in order to repair or replace
damaged components. As a precaution, wear safety glasses when disassembling
or assembling the starter motor.
Prior to disassembly, perform electrical tests on the solenoid.
Solenoid

- Clean the exterior of the starter housing.
- In order to aid in assembly, use scribe marks to show the relationship
of the following components:
| • | Frame-and-field assembly. |
- Note the position of the through-bolts for the following locations:
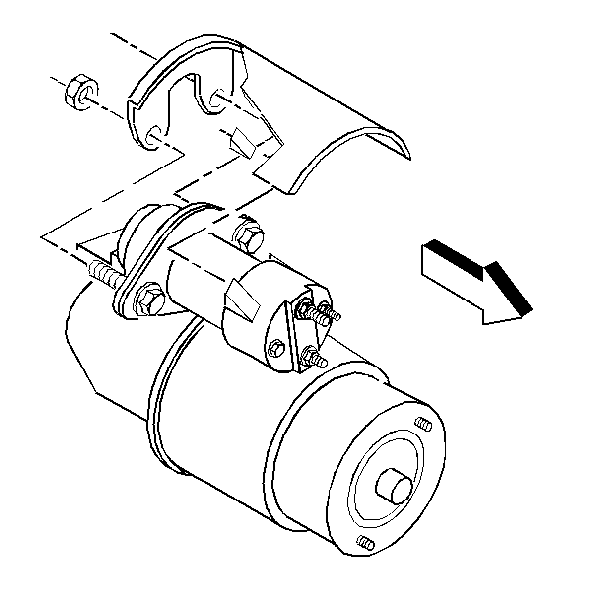
| • | Solenoid shield nuts from the solenoid clamp screws. |
| • | Shield from the solenoid. |
| • | Motor lead-attaching nut and lead from the solenoid. |
| • | Solenoid clamp-attaching screws, clamp and the solenoid from the
frame assembly. |
Frame and Field
- Remove the through-bolts from the end frame.
- Disassemble the end frame.
- Remove the brake washer from the armature assembly.
- Remove the frame-and-field assembly from the armaturre/drive-end
frame assembly.
Drive and Frame

- Remove the plug from the drive-end frame
assembly.
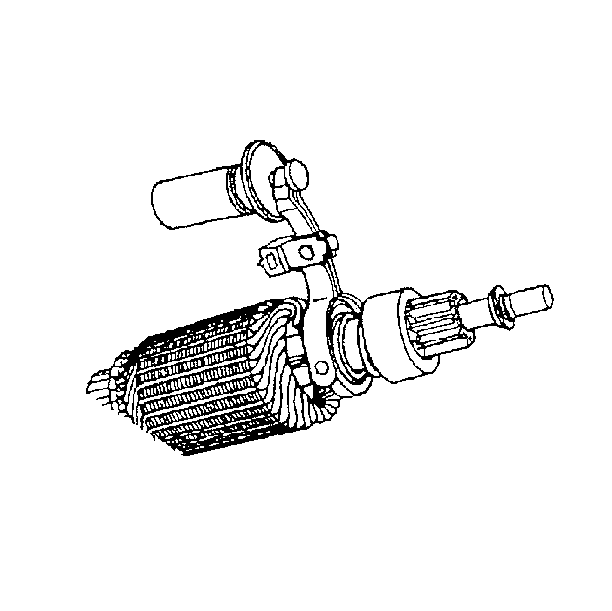
- Remove the armature, including the drive assembly, shift lever,
plunger and the plunger return spring.
- Remove the return spring from the plunger.
- Remove the plunger from the shift lever.
- Remove the shift lever from the drive assembly, by slightly spreading
the lever arms, in order to snap them off of the drive collar mating buttons.

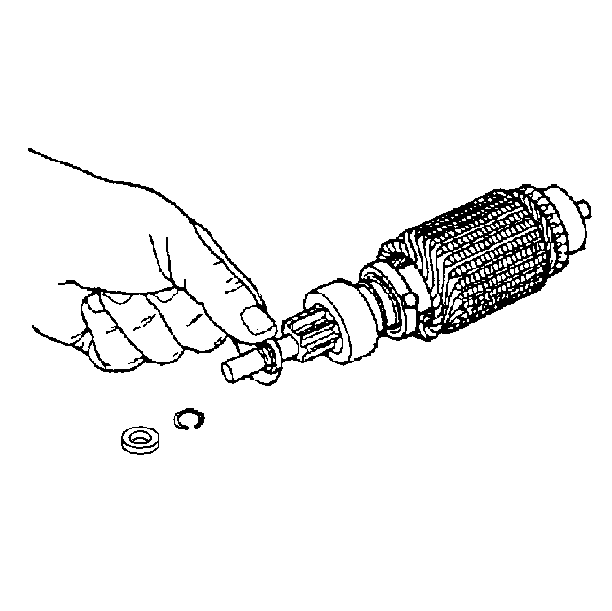
- Remove the drive assembly from the armature
shaft using the following procedure:
| 6.1. | Remove the thrust collar from the armature shaft. |
| 6.2. | Drive the pinion stop collar away from the pinion stop retainer
ring, by sliding a metal cylinder onto the armature shaft. |
| 6.3. | With a hammer, strike the metal cylinder against the stop collar. |
| 6.4. | Spread the pinion stop retainer ring, in order to remove it from
the armature shaft groove. |
| 6.5. | Discard the old pinion stop retainer ring. |
| 6.6. | Replace the retainer ring. |
| 6.7. | Slide the stop collar and drive assembly off of the armature shaft. |


