For 1990-2009 cars only
Front Seat Lumbar Support Replacement AL2
Removal Procedure
Caution: Refer to SIR Handling Caution in the Preface section.
- Disable the SIR system. Refer to Disabling the SIR System in SIR.
- Remove the seat back cover and pad. Refer to Front Seat Back Cushion Cover and Cushion Pad Replacement .
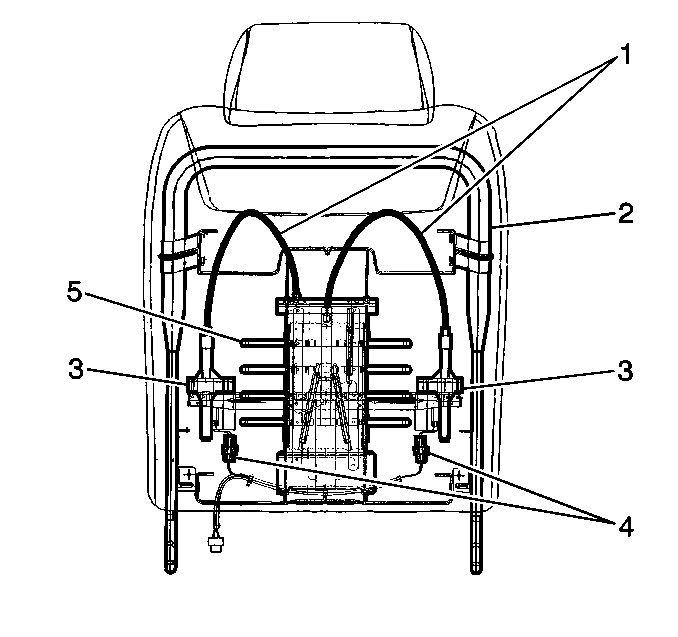
- Disconnect the power lumbar assembly (4) and the heated seat electrical connectors.
- Remove the retainer clips securing the power lumbar assembly (5) to the seat back frame (2).
- Remove the power lumbar assembly (5) from the seat back frame.

Important: Note the location and position of the power lumbar and heated seat wiring for proper installation location.
Installation Procedure
- Install the power lumbar assembly (5) to the seat back frame (2).
- Install the six retainers in order to secure the power lumbar assembly to the seat back frame.
- Route the power lumbar and heated seat electrical connectors (4) through the seat cushion frame.
- Connect the electrical connectors.
- Install the seat back cover and pad. Refer to Front Seat Back Cushion Cover and Cushion Pad Replacement .
- Verify proper operation of the power lumbar support.
- Enable the SIR System. Refer to Enabling the SIR System in SIR.

Front Seat Lumbar Support Replacement AC9
Removal Procedure
Caution: When you are performing service on or near the SIR components or the SIR wiring, you must disable the SIR system. Refer to Disabling the SIR System. Failure to follow the correct procedure could cause air bag deployment, personal injury, or unnecessary SIR system repairs.
- Disable the SIR system. Refer to Disabling the SIR System in SIR.
- Adjust the front seat forward and up.
- Remove the seat back trim cover. Refer to Driver Seat and Passenger Seat Back Cushion Finish Panel Replacement .
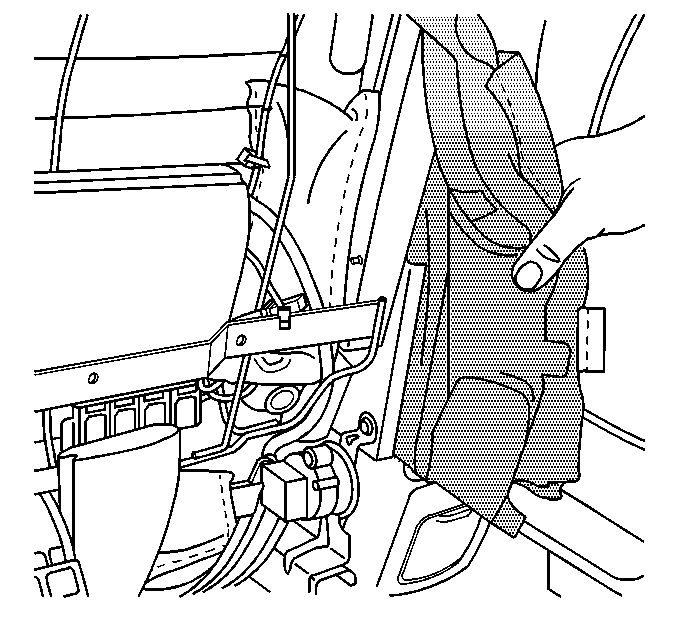
- Remove the seat cover J channels from the seat frame as needed in order to access the adaptive lumbar module and pump motor wiring and retainers.
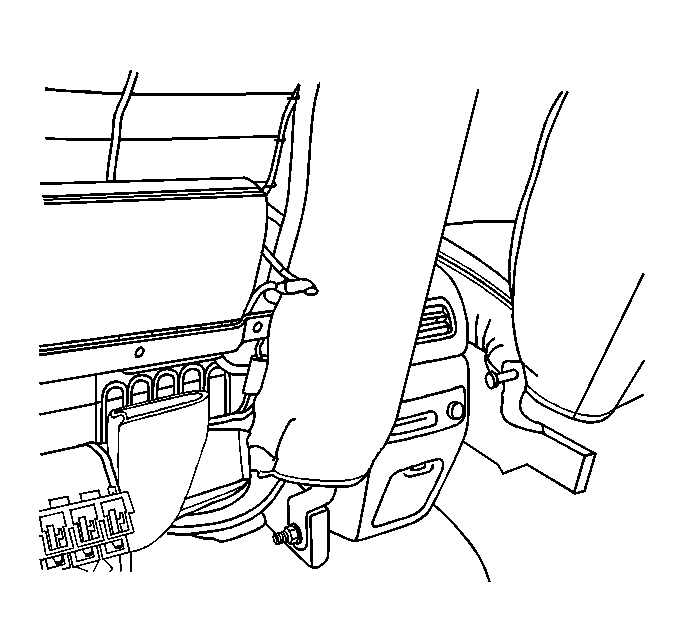
- Disconnect the air line connections from the adaptive lumbar module.
- Disconnect the electrical connectors from the adaptive lumbar module.
- Disconnect the electrical connector and single air line from the adaptive lumbar pump motor.
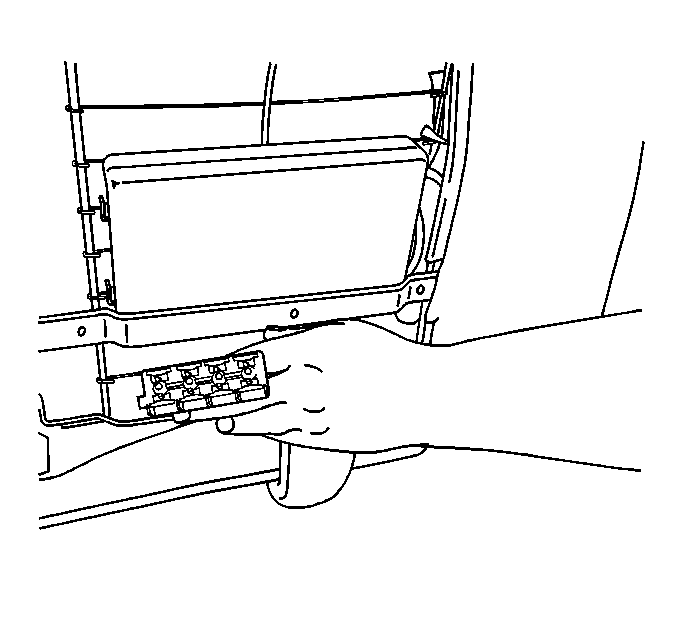
- Remove the hog ring retainers and the tie straps that retain the adaptive lumbar module and pump motor to the seat back frame.
- Remove the adaptive lumbar module and pump motor from the seat back frame.
Important: The adaptive lumbar module and the pump motor are serviced as an assembly.


Installation Procedure
- Install the adaptive lumbar module and the pump motor to the seat back frame.
- Secure the lumbar module and the pump motor to the seat back frame with tie straps and hog rings.
- Connect the air lines to the adaptive lumbar module and the pump motor.
- Connect the electrical connections to the adaptive lumbar module and the pump motor.
- Install the seat back J channels to the seat back frame.
- Operate the recliner assembly forward and back in order to ensure that there is not interference with the module wiring and the air line connections.
- Install the seat back trim cover. Refer to Driver Seat and Passenger Seat Back Cushion Finish Panel Replacement .
- Enable the SIR System. Refer to Enabling the SIR System in SIR.


