For 1990-2009 cars only
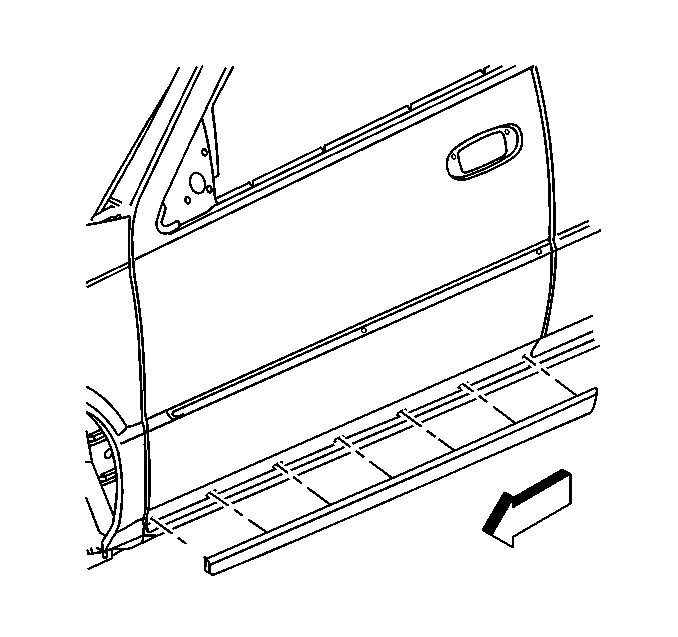
Door Lower Molding Replacement Front Door
Removal Procedure
- Starting at the rear of the door, use a flat-bladed tool to gently pry the door lower molding from the door.
- Remove the door lower molding from the door.
- Clean the old adhesive from the door and the door lower molding (if reusing) with 3M General Purpose Adhesive Cleaner 08984 or equivalent.

Important: Use care not to damage the paint while performing this step.
Installation Procedure
- If the molding is being reused, apply new adhesive tape to the molding.
- Align the door lower molding using the wall at the rear of the door lower molding.
- Remove the backing from the tape.
- Align and press the door lower molding to the door. Assure proper wetout of the adhesive by applying heavy hand pressure against the molding, rubbing along the entire length of the molding.

Important: Wear clean gloves or use a clean towel while performing this step.
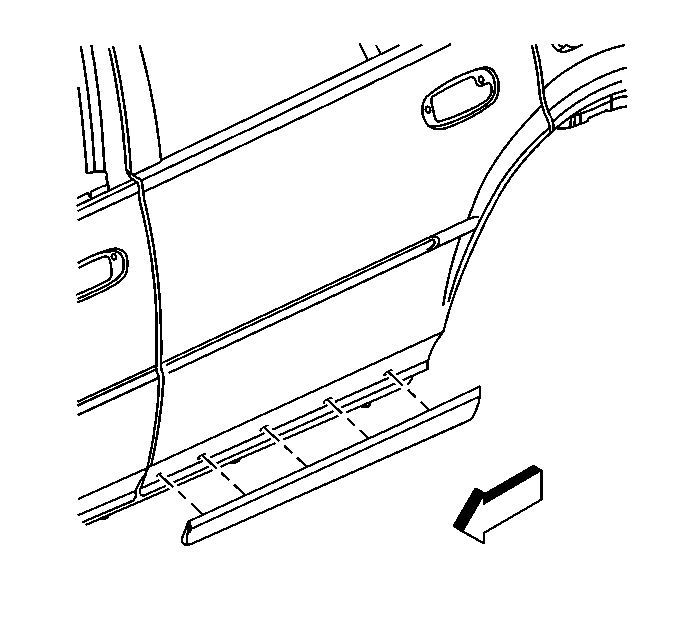
Door Lower Molding Replacement Rear Door
Removal Procedure
- Starting at the rear of the door, use a flat-bladed tool to gently pry the door lower molding from the door. Use care not to damage the paint.
- Remove the door lower molding from the door.
- Clean the old adhesive from the door and the door lower molding (if reusing) with 3M General Purpose Adhesive Cleaner 08984 or equivalent.

Installation Procedure
- If the molding is being reused, apply new adhesive tape to the molding.
- Align the door lower molding using the wall at the rear of the door lower molding.
- Remove the backing from the tape.
- Align and press the door lower molding to the door. Assure proper wetout of the adhesive by applying heavy hand pressure against the ends of the molding.

Important: Wear clean gloves or use a clean towel while performing this step.
