For 1990-2009 cars only
Removal Procedure
Tools Required
J 38778 Door Trim Pad and Garnish Clip Remover
- Remove the front bucket seat. Refer to Front Seat Replacement - Bucket .
- Remove the knobs from the switch.
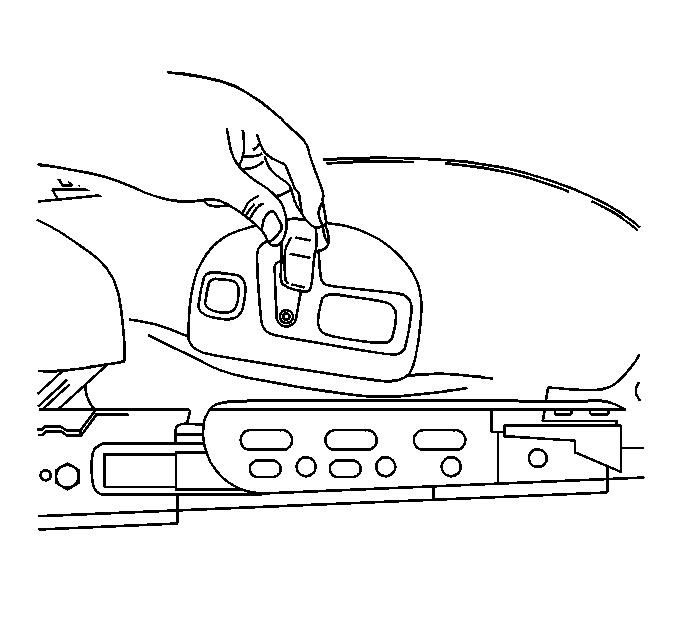
- Remove the switch trim plate.
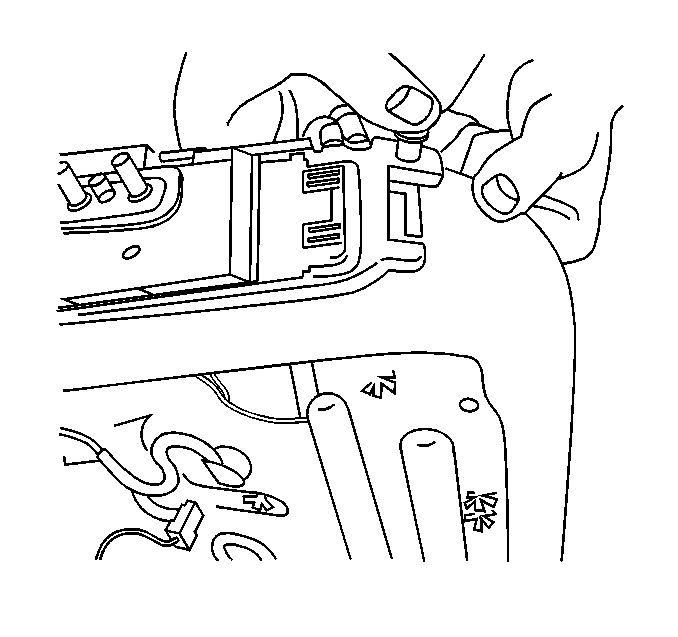
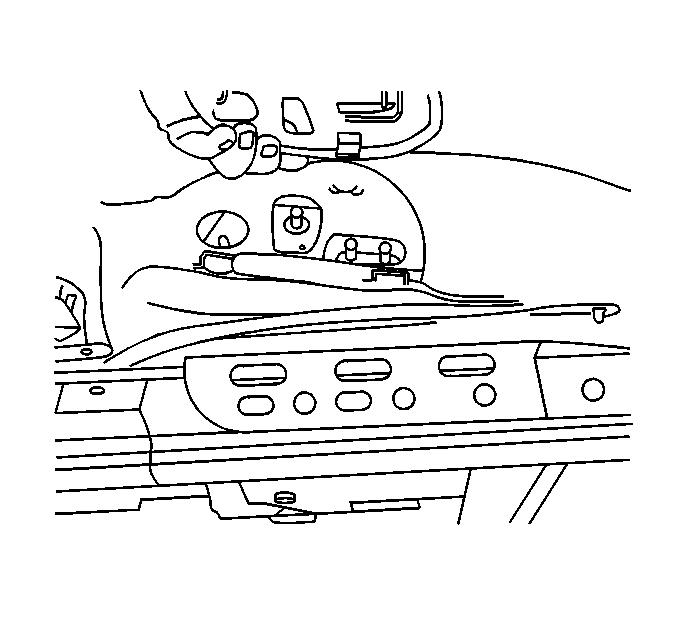
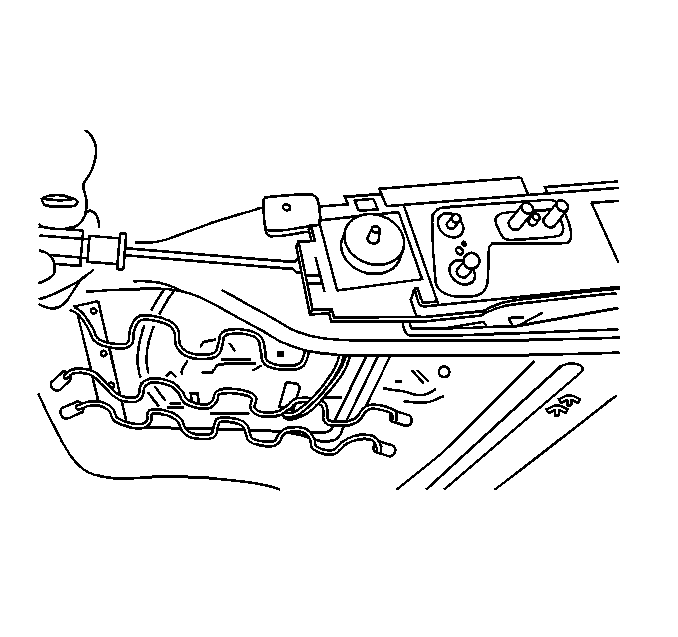
- Peel the front seat cushion cover up to expose the switch.
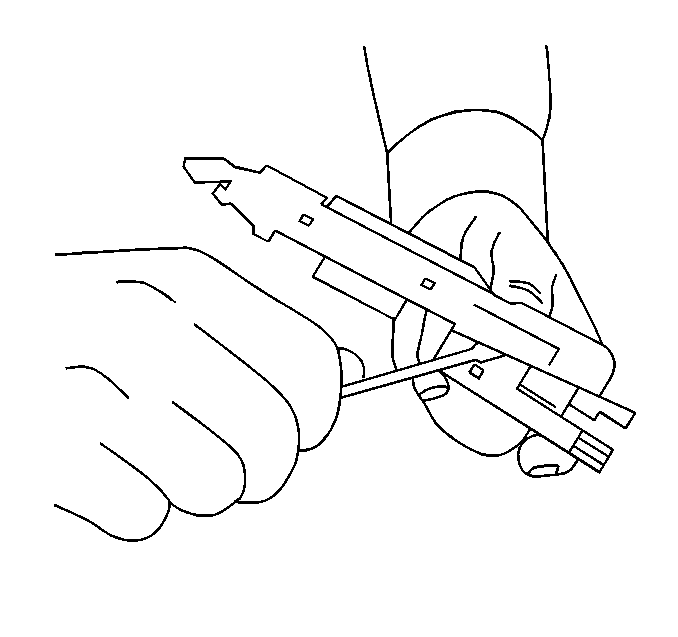
- Using the J 38778 remove the switch bracket retainers.
- Release the locking tabs on the bracket, and remove the bracket from the seat bottom.
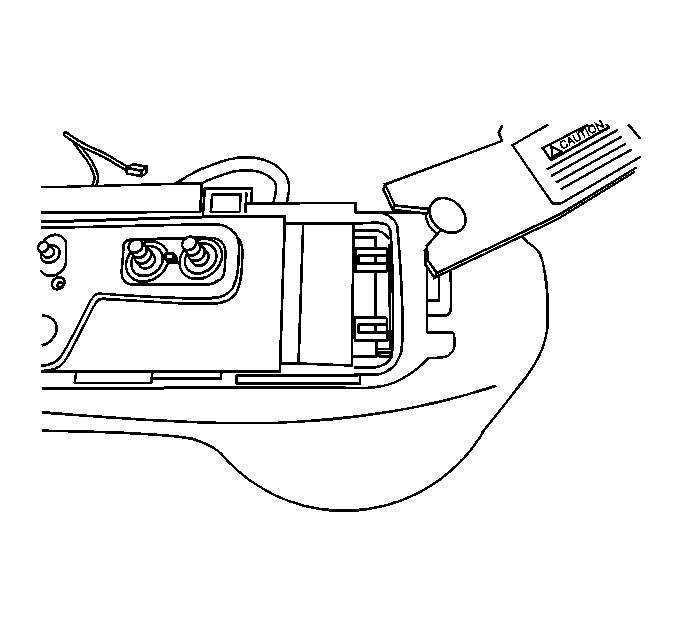
- Remove the switch from the bracket.
- Disconnect the electrical connector from the switch.
Installation Procedure
- Connect the electrical connector to the switch.
- Install the switch into the switch bracket.
- Install the bracket with switch into the seat bottom.
- Install the switch bracket retainers into the seat bottom.
- Pull the seat cover back down over the switch and align the holes in the cover to the switch assembly.
- Install the switch trim plate.
- Install the knobs on the switch.
- Install the front bucket seat. Refer to Front Seat Replacement - Bucket .


