Brake and Accelerator Pedal Adjuster Actuator Motor Replacement LHD
Removal Procedure
- Remove the adjustable brake pedal from the vehicle. Refer to Brake Pedal Assembly Replacement.
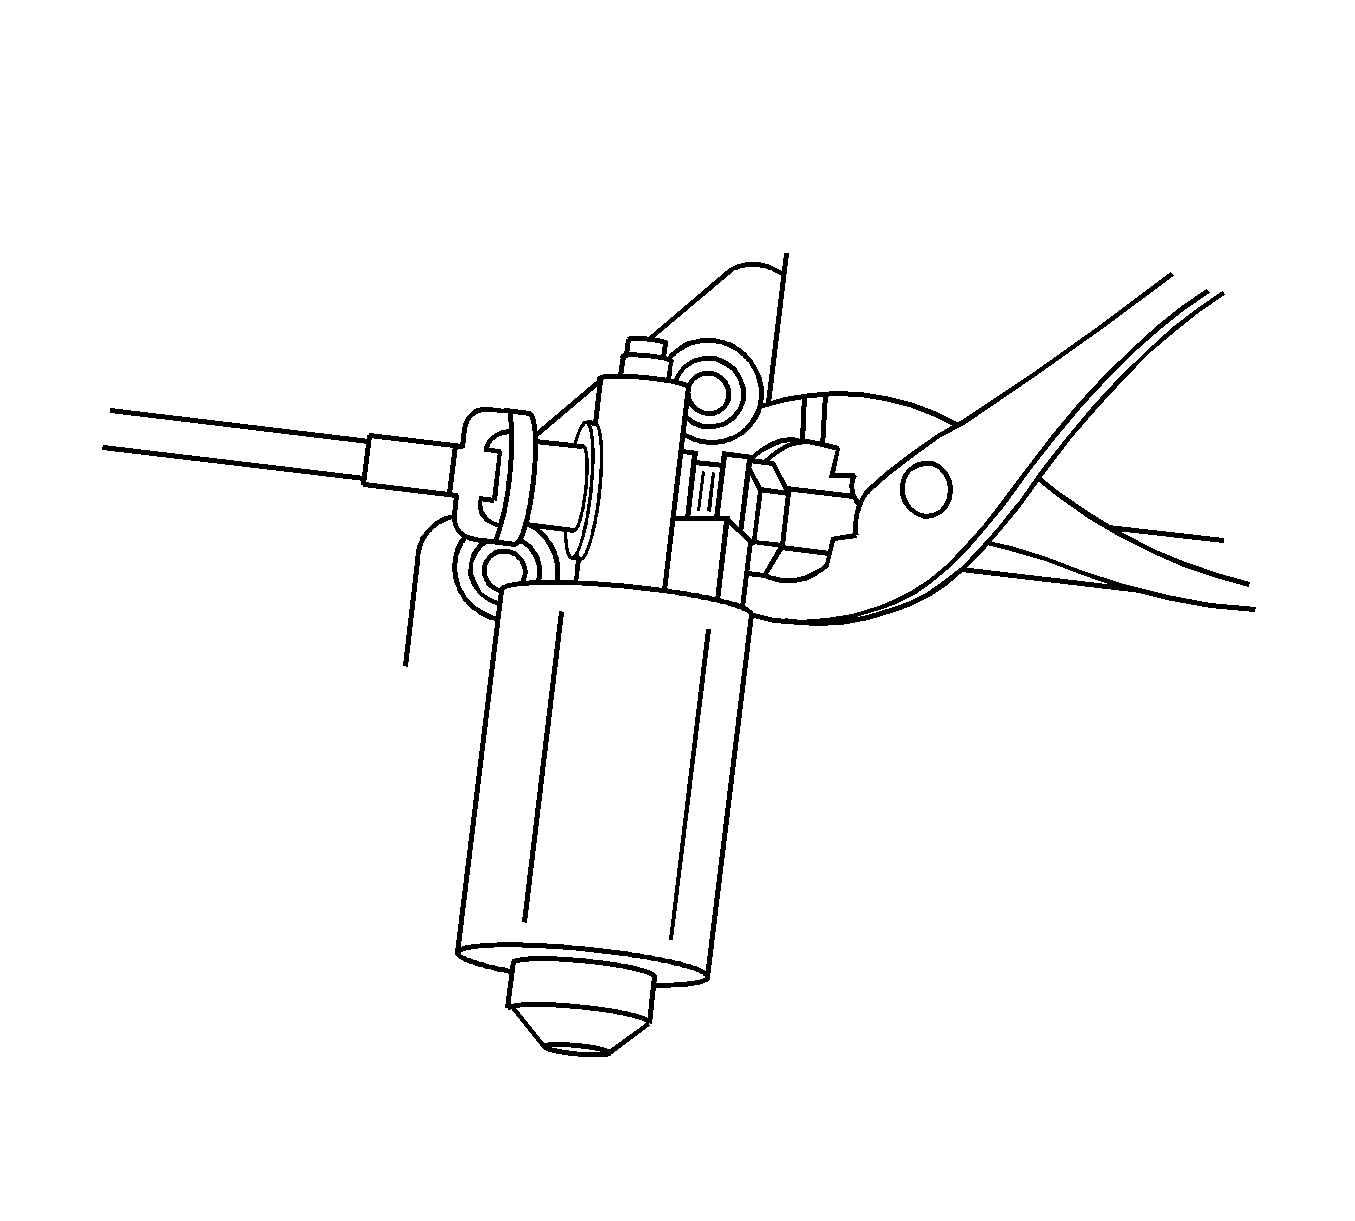
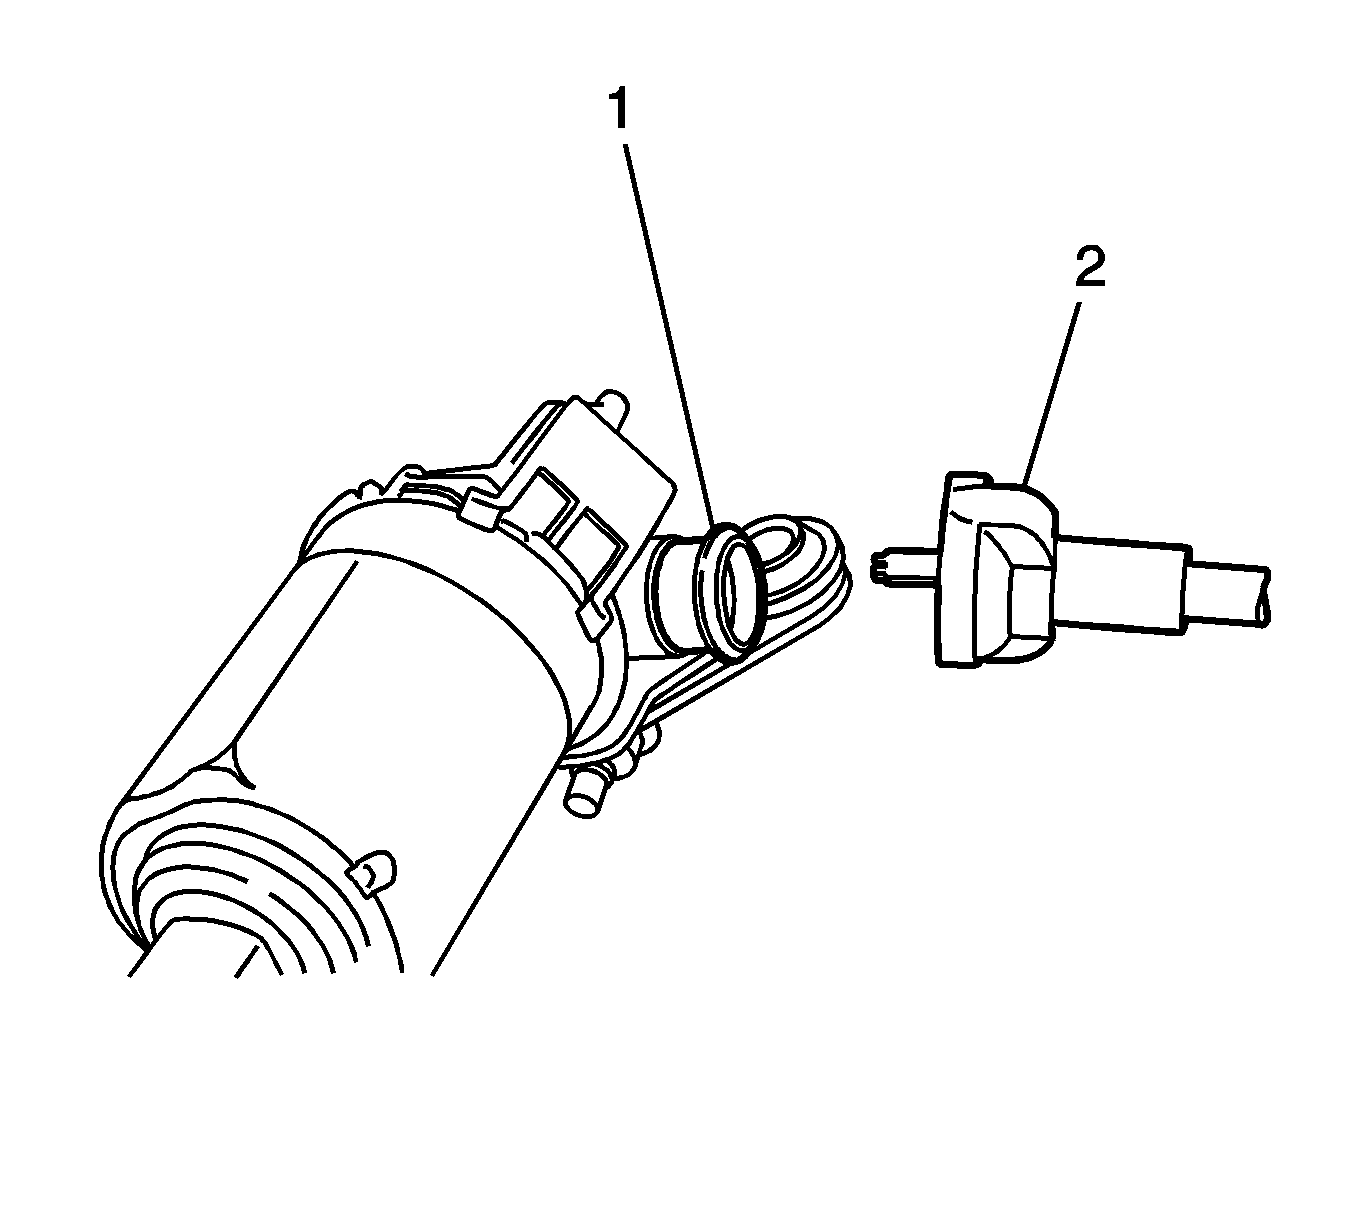
- To release the adjustable brake pedal cable from the adjustable pedal motor, carefully compress the collar of the cable and pull outward from the motor.
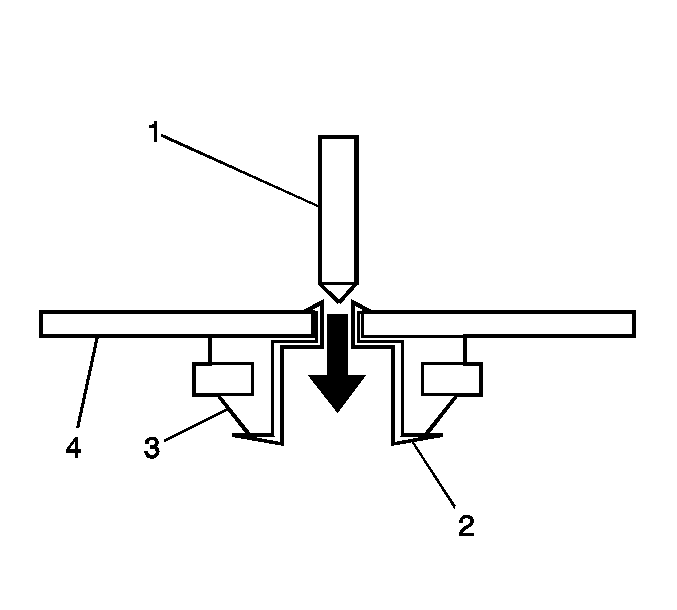
- To remove the head of the factory motor inserts use a 3/16 inch drill bit. Carefully drill the head of the factory motor insert (2) from the bottom side of the adjustable pedal motor bracket (4).
- Remove the adjustable pedal motor.

Important: Only remove the staked material or the head of the insert.

Installation Procedure
- Position the adjustable pedal motor to the adjustable brake pedal bracket.
- Using a suitable too, slowly rotate the exposed end of the adjustable accelerator cable until the accelerator pedal assembly is in the full forward, front of vehicle position. Do not use excessive rotating force on the adjustable accelerator pedal actuator cable.
- Using a square drive tool on the adjustable pedal motor, carefully rotate the adjustable pedal motor until the brake pedal is in the full forward, front on vehicle position. Do not use excessive rotating force on the adjustable pedal motor.
- Install the adjustable brake pedal to the vehicle. Refer to Brake Pedal Assembly Replacement.
| Important: Remove the new motor inserts, reuse original inserts. |

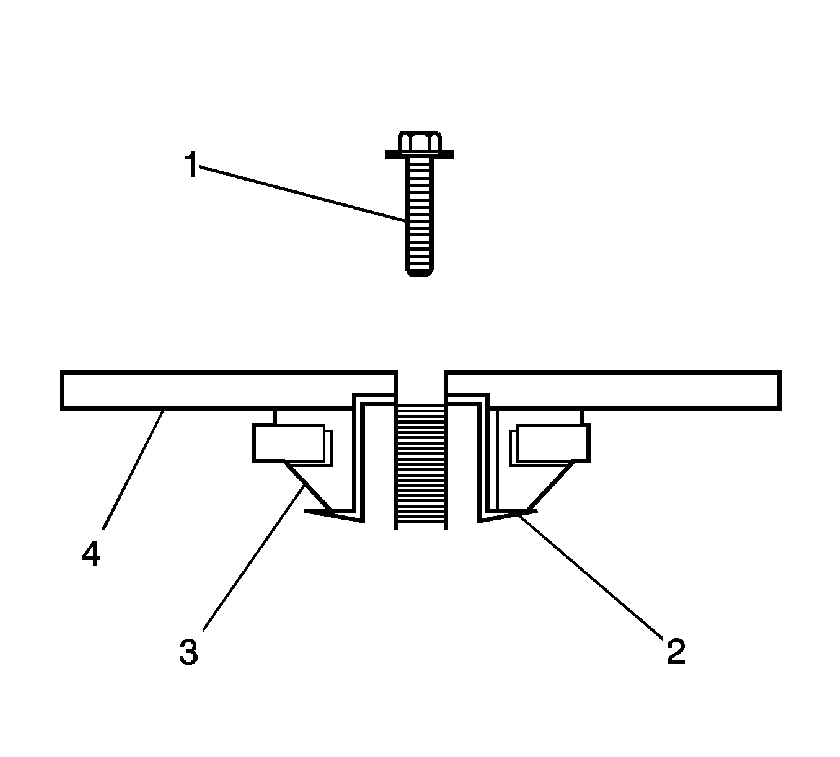
| 1.1. | Install the motor insert (2) into the motor grommet (3) of the new motor. |
Notice: Refer to Fastener Notice in the Preface section.
| 1.2. | Install the motor to motor bracket bolts (1) to secure the motor to the motor plate (4). |
Tighten
Tighten the bolts to 4 N·m (36 lb in).

Important: Ensure the adjustable brake pedal and the adjustable accelerator pedal are synchronized in the full forward, front of vehicle position.
Specification
Do not exceed 0.5 N·m (4.43 lb in) of rotating force.
Specification
Do not exceed 0.5 N·m (4.43 lb in) of rotating force.
Brake and Accelerator Pedal Adjuster Actuator Motor Replacement RHD
Removal Procedure
- Remove the adjustable accelerator pedal from the vehicle. Refer to Accelerator Pedal Assembly Replacement.
- To release the adjustable pedal cable from the adjustable pedal motor, carefully compress the collar of the cable and pull outward from the motor.
- To remove the head of the factory motor inserts use a 3/16 inch drill bit. Carefully drill the head of the factory motor insert (2) from the bottom side of the adjustable pedal motor bracket (4).
- Remove the adjustable pedal motor.

Important: Only remove the staked material or the head of the insert.

Installation Procedure
- Position the adjustable brake pedal motor to the adjustable brake pedal motor bracket.
- Using a suitable tool, slowly rotate the exposed end of the adjustable brake pedal actuator cable until the brake pedal assembly is in the full forward, front of vehicle position. Do not use excessive rotating force on the adjustable brake pedal actuator cable.
- Connect the adjustable accelerator pedal cable to the motor.
- Using a square drive tool on the adjustable pedal motor, carefully rotate the adjustable pedal motor until the accelerator pedal is in the full forward, front of vehicle position. Do not use excessive rotating force on the adjustable pedal motor.
- Install the adjustable accelerator pedal to the vehicle. Refer to Accelerator Pedal Assembly Replacement.
| Important: Remove the new motor inserts, reuse original inserts. |

| 1.1. | Install the motor insert (2) into the motor grommet (3) of the new motor. |
Notice: Refer to Fastener Notice in the Preface section.
| 1.2. | Install the motor to motor bracket bolts (1) to secure the motor to the motor plate (4). |
Tighten
Tighten the bolts to 4 N·m (36 lb in).

Important: Ensure the adjustable brake pedal and the adjustable accelerator pedal are synchronized in the full forward, front of vehicle position.
Specification
Do not exceed 0.5 N·m (4.43 lb in) of rotating force.
Specification
Do not exceed 0.5 N·m (4.43 lb in) of rotating force.
