For 1990-2009 cars only
Removal Procedure
| • | J 39411 Flywheel Holder |
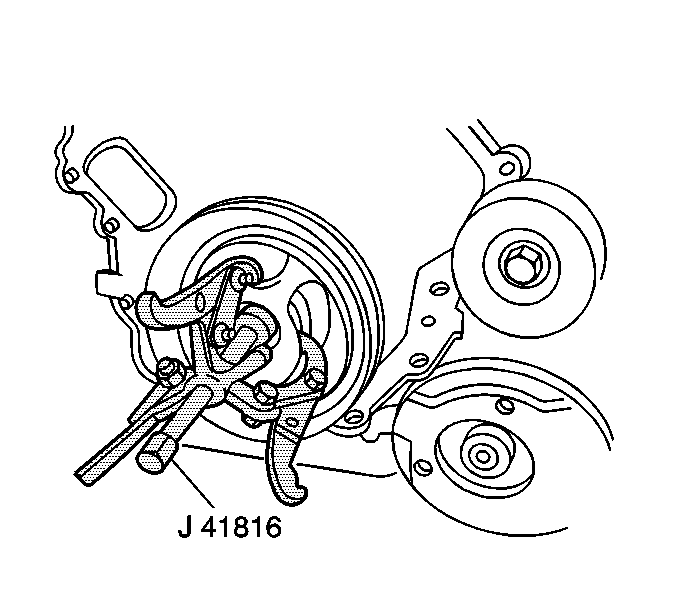
| • | J 41816 Crankshaft Balancer Remover |
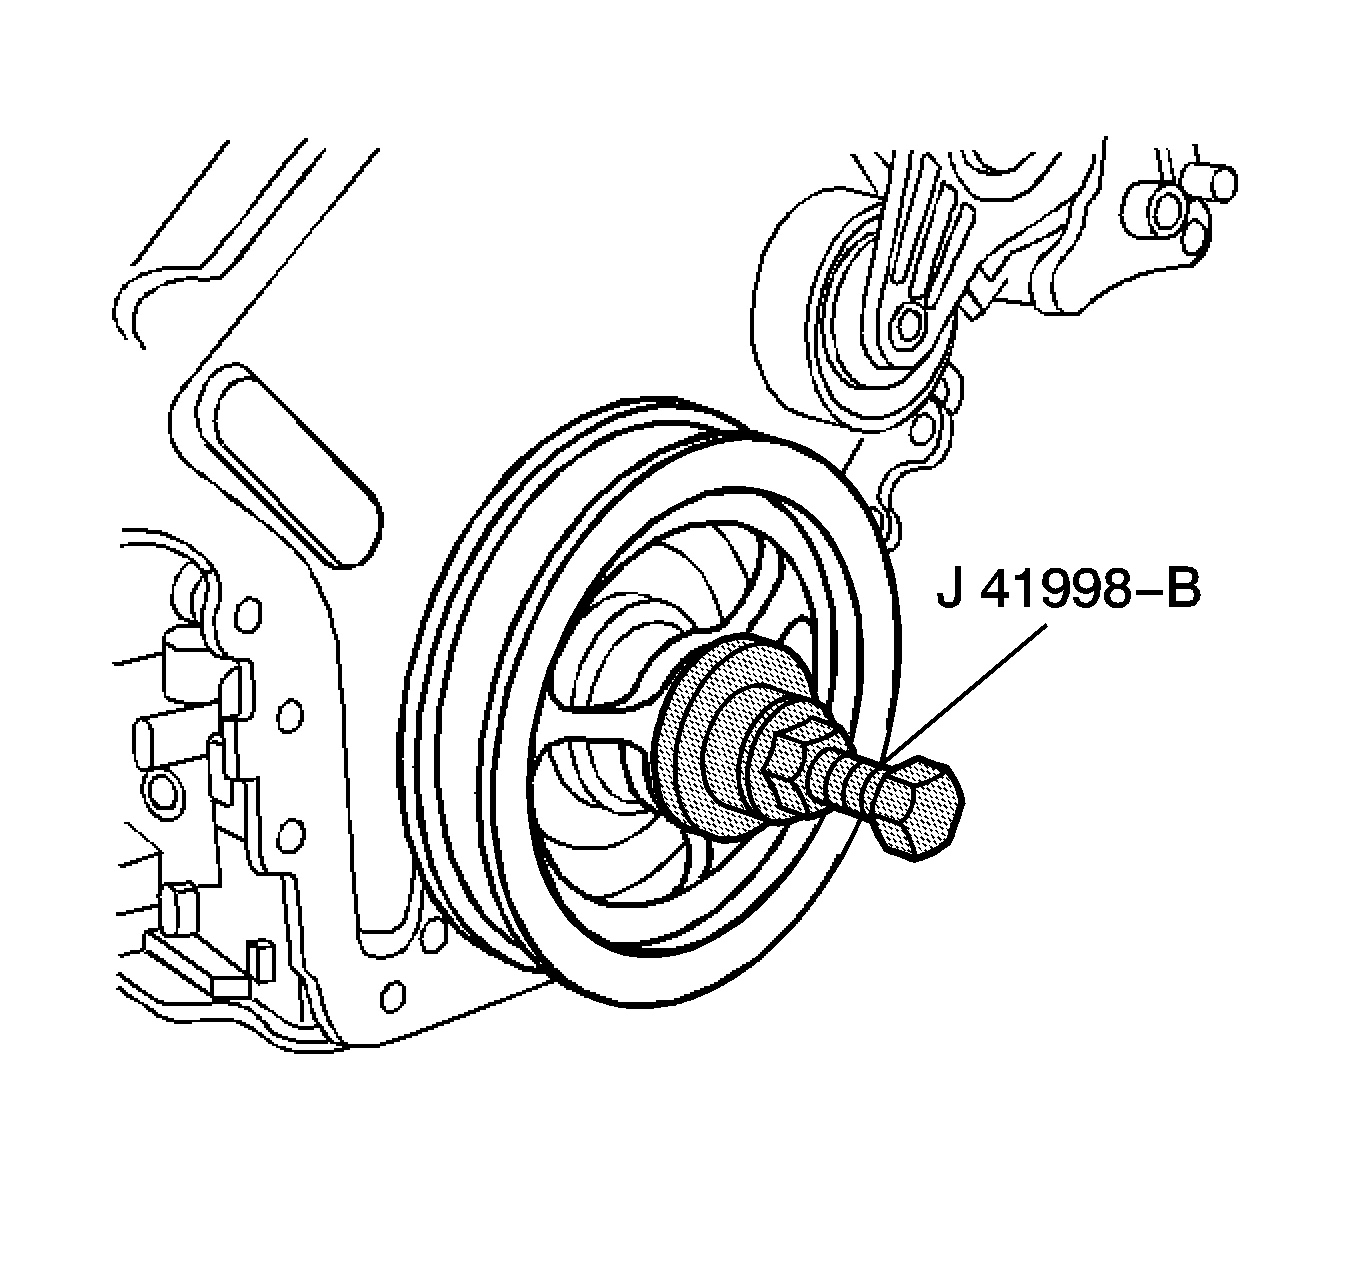
| • | J 41998-B Crankshaft Balancer Installer |
- Release the tension from the drive belt.
- Remove the drive belt. Refer to Drive Belt Replacement .
- Raise the vehicle on the hoist. Refer to Lifting and Jacking the Vehicle in General Information.
- Remove the right front wheel. Refer to Tire Dismounting and Mounting in Tires and Wheels.
- Remove the two splash shields from the wheelhouse.
- Remove the brace between the engine oil pan and the transmission case.
- Install flywheel holder J 39411 .
- Remove the crankshaft balancer bolt.
- Support the engine cradle with the tall screw jack.
- Remove three engine cradle bolts at the right of the cradle.
- Disconnect the RSS sensor from the right side lower control arm.
- Lower the engine cradle to obtain clearance for the J 41816 below the body rail.
- Install the remover pilot into end of crankshaft.
- Remove the crankshaft balancer using the J 41816 .


Installation Procedure
- Position the crankshaft balancer to the crankshaft.
- Install the crankshaft balancer using the J 41998-B .
- Remove the J 41998-B .
- Thoroughly clean the crankshaft balancer bolt threads.
- Apply engine oil to the threads.
- Install the crankshaft balancer bolt.
- Raise the engine cradle into position.
- Install three cradle bolts.
- Reconnect the suspension position sensors to the lower control arms.
- Remove the J 39411 .
- Install the oil pan to transmission brace.
- Install the wheel hose splash shields.
- Install the right front wheel. Refer to Tire Dismounting and Mounting in Tires and Wheels.
- Lower the vehicle.
- Install the drive belt. Refer to Drive Belt Replacement .

| 6.1. | First Pass |
Tighten
Tighten the crankshaft balancer bolt to 50 N·m (37 lb ft).
| 6.2. | Final Pass |
Tighten
Using a torque angle meter, tighten the crankshaft balancer bolt an additional 120 degrees .
Tighten
Tighten the three cradle bolts to 100 N·m (74 lb ft).
Tighten
Tighten the four bolts to 50 N·m (37 lb ft).
