Tools Required
J 3387-2 Alignment Pins
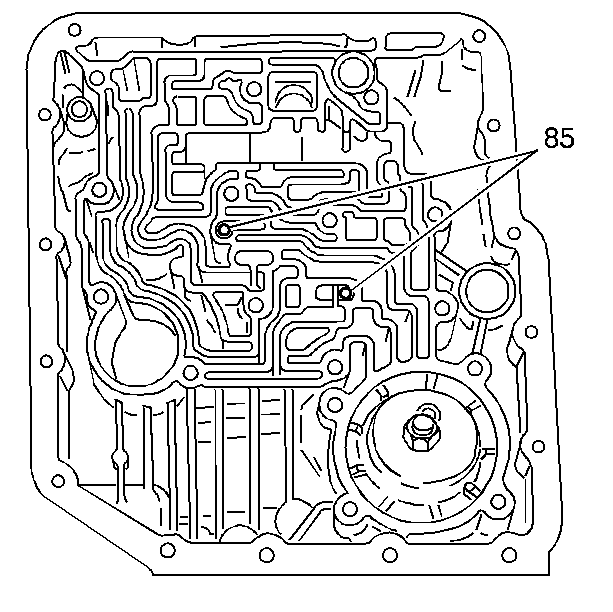
- Install the two check balls (85) into the case fluid passages.
- Install J 3387-2 into the transmission case.
- Install the spacer plate to case gasket (88).
- Install the control valve assembly (84) onto the transmission case. Connect the manual valve link to the detent lever (60).
- Remove J 3387-2 .
- Install the detent roller assembly (82).
- Install the detent roller assembly bolts (70). Tighten the bolts finger tight only.
- Install the control valve assembly bolts (70).
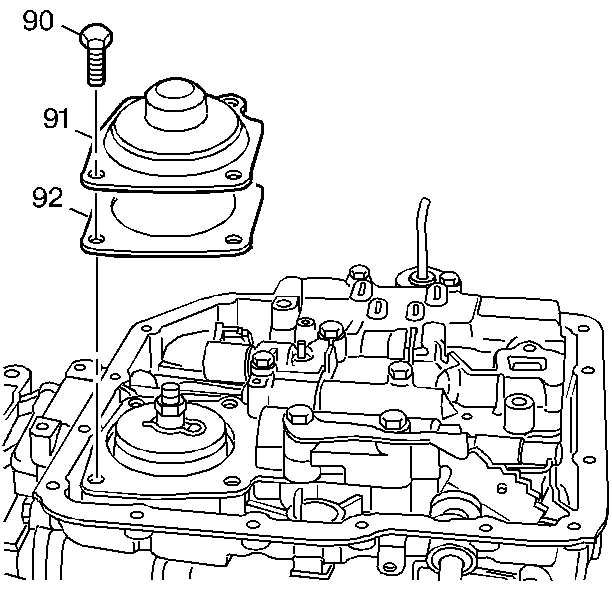
- Install the forward band servo cover gasket (92).
- Install the forward band servo cover (91).
- Install the forward band servo cover bolts (90).
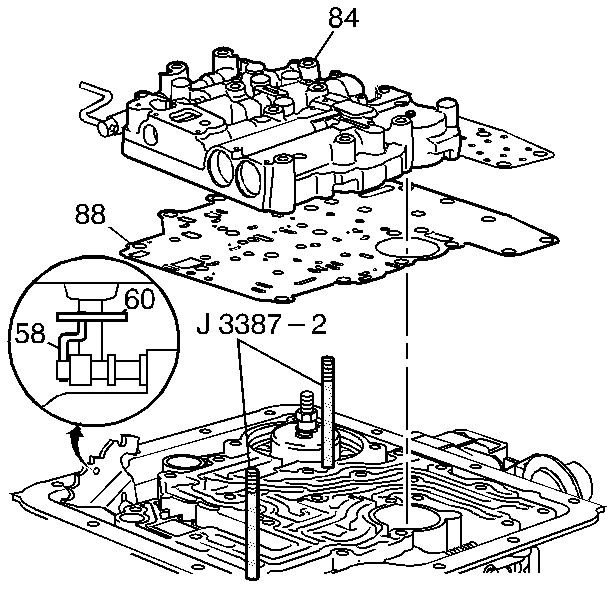
Important: Note the position of the manual valve link, (the long end into the manual valve, the short end into the detent lever).
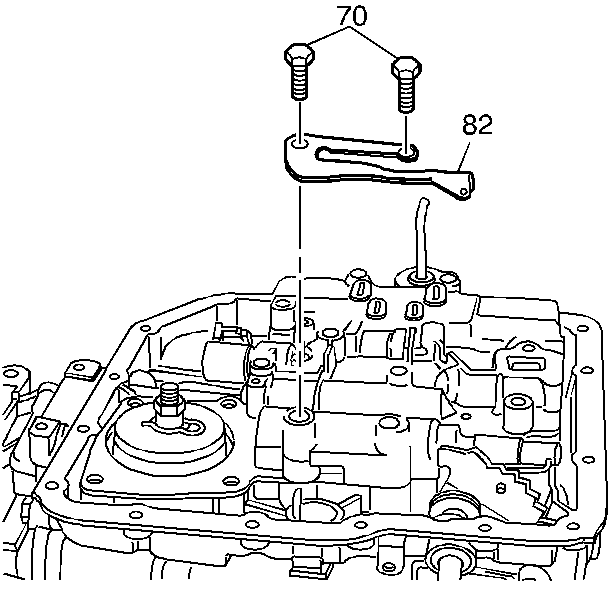
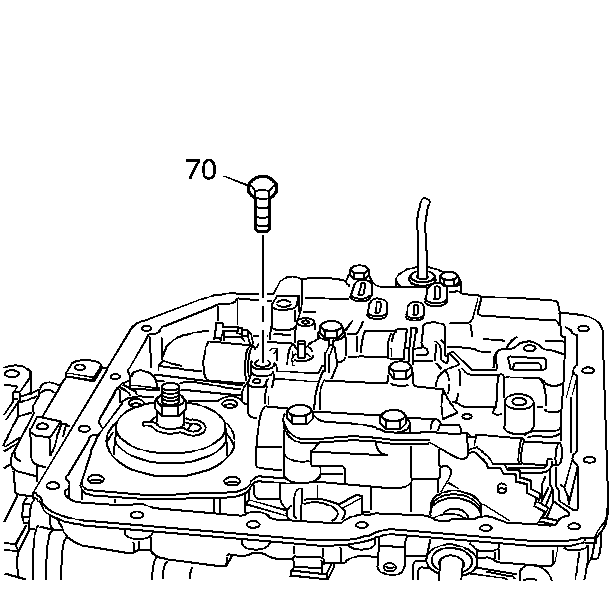
Notice: Torque valve body bolts in a spiral pattern starting from the center. If the bolts are torqued at random, valve bores may be distorted and inhibit valve operation.
Notice: Use the correct fastener in the correct location. Replacement fasteners must be the correct part number for that application. Fasteners requiring replacement or fasteners requiring the use of thread locking compound or sealant are identified in the service procedure. Do not use paints, lubricants, or corrosion inhibitors on fasteners or fastener joint surfaces unless specified. These coatings affect fastener torque and joint clamping force and may damage the fastener. Use the correct tightening sequence and specifications when installing fasteners in order to avoid damage to parts and systems.
Tighten
Tighten the bolts to 20 N·m (15 lb ft).
Tighten
Tighten the cover bolts to 25 N·m (18 lb ft).
