- Lubricate the lip of the
new seal with rear axle lubricant.
- Lightly coat the outside of the new seal with a non-hardening
gasket cement.
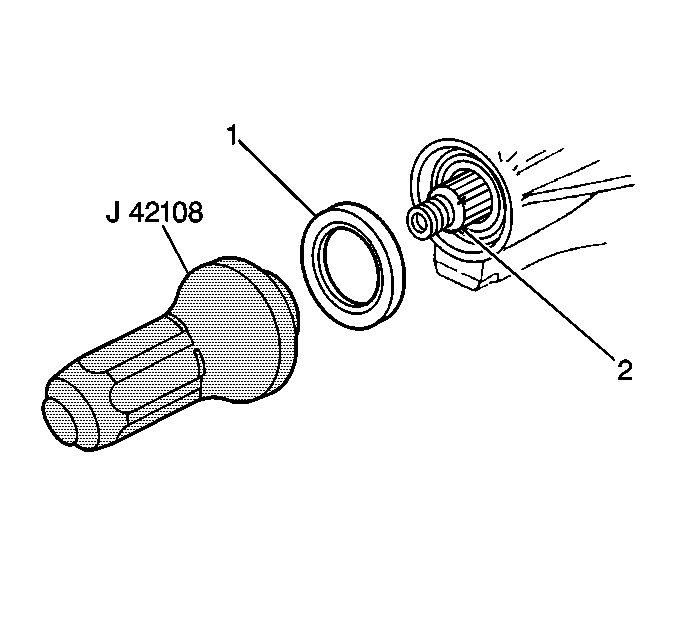
- Use the J 42108
to drive the seal (1) over the pinion gear (2) squarely into
the differential housing.
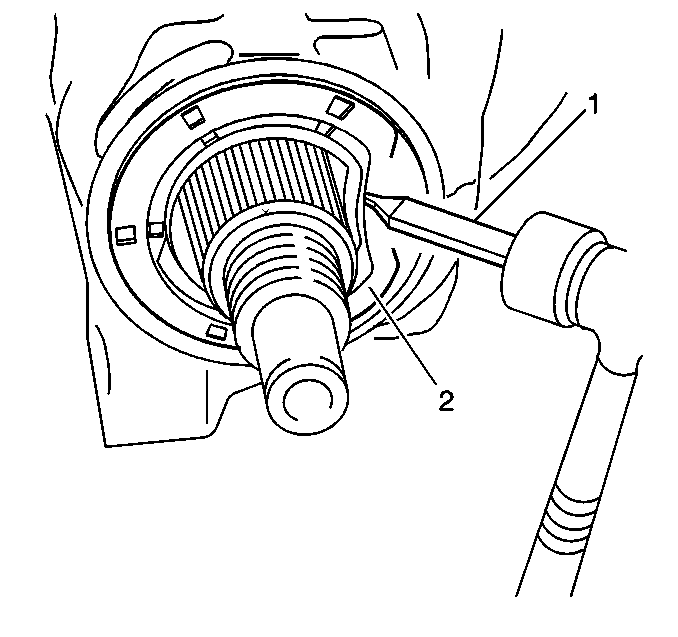
- Ensure that the drive pinion gear shaft threads are free from
burrs.
- Coat the splines with the rear axle lubricant.
- Coat the surface of the pinion flange with rear axle lubricant.
Important: The pinion flange has an interference fit on the pinion gear shaft splines.
The pinion flange should only be pulled into place by tightening the retaining
nut. Do NOT use force or hammer the flange during the installation of the
drive pinion flange.
- Install the differential drive pinion flange onto the differential drive
pinion gear.
Notice: Use the correct fastener in the correct location. Replacement fasteners
must be the correct part number for that application. Fasteners requiring
replacement or fasteners requiring the use of thread locking compound or sealant
are identified in the service procedure. Do not use paints, lubricants, or
corrosion inhibitors on fasteners or fastener joint surfaces unless specified.
These coatings affect fastener torque and joint clamping force and may damage
the fastener. Use the correct tightening sequence and specifications when
installing fasteners in order to avoid damage to parts and systems.
- Install the differential
drive pinion flange nut.
Tighten
Gradually tighten the flange nut until the pinion shaft end play is
reduced to approximately 0.50 mm (0.020 in).

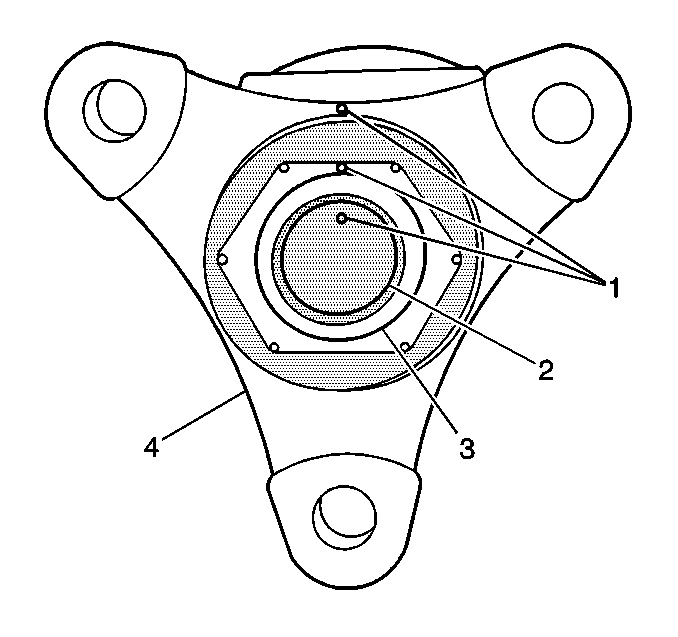
- If REUSING the drive pinion
flange continue tightening the nut while alternately turning the pinion gear
in order to seat the bearings until the reference marks (1) align.
Tighten the nut no more than an additional 5 degrees. Backing off
the pinion flange nut to compensate for overtightening the nut will not
properly set preload.
Important: Exceeding the preload specifications will compress the collapsible spacer,
requiring the installation of a new spacer. Do NOT attempt further tightening
until the preload has been tested.

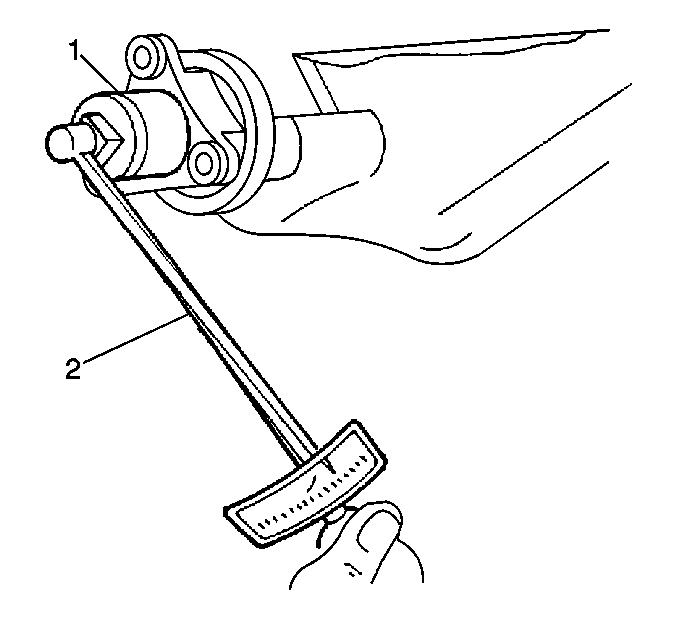
- If a NEW drive pinion
flange is installed, the differential carrier must be removed to set the drive
pinion bearing preload. Set the preload, with the bearings lubricated,
to:
Specification
| • | 1.0-1.7 N·m (9-15 lb in)
when installing new bearings. |
| • | 0.9-1.2 N·m (8-11 lb in)
when reusing bearings. |
- Install the propeller shaft coupling.
- Install the propeller shaft. Refer to
Two-Piece Propeller Shaft Replacement
in Propeller Shaft.
- Inspect the lubricant level. Refer to
Lubricant Level Check
.
- Lower the vehicle.


