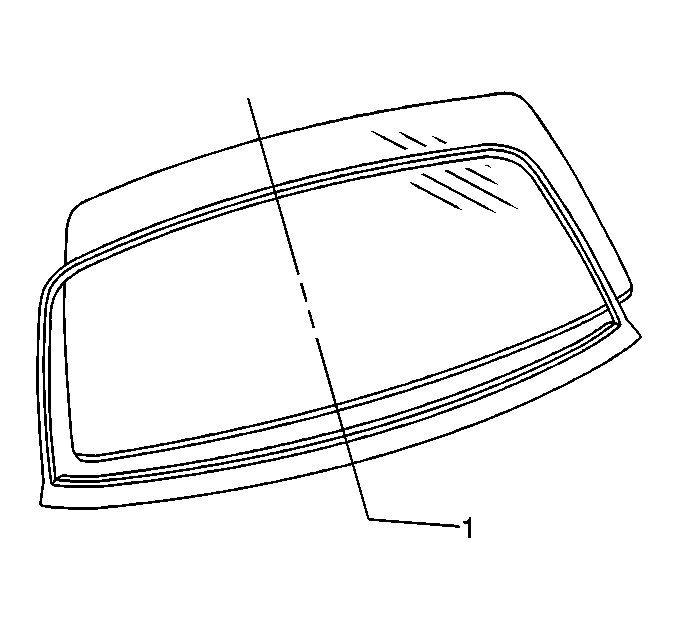
For 1990-2009 cars only
Removal Procedure
- Using a flat-bladed tool, carefully pry out the end of the rear window reveal molding approximately 75 mm (3 in).
- Grasp the rear window reveal molding (1).
- Remove the rear window. Refer to Rear Window Replacement .
Important:
• The rear window reveal molding cannot be replaced without removing
the rear window. • When replacing the rear window, the original rear window reveal
molding cannot be reused and must be replaced with a new molding. • New rear window reveal moldings are primed and will adhere to
the urethane adhesive. • Dry fit the reveal molding to the rear window and then as an assembly
on the body prior to the actual installation. • A heat lamp may be used in order to make the rear window reveal
molding more pliable.

Slowly pull the rear window reveal molding away from the body.
Installation Procedure
- Install the rear window reveal molding (1).
- Wipe the rear window area with a clean, dampened cloth using GM Window Cleaner GM P/N 1050427 or isopropyl alcohol in order to clean the surface of the rear window for the installation of the new rear window reveal molding.
- Starting in the center, work outward, hand pressing the molding into place.
- Apply tape if needed, in order to keep the rear window reveal molding on the rear window.
- Dry fit the service molding and the rear window to the body as an assembly prior to the actual installation.
- Install the rear window. Refer to Rear Window Replacement .

Allow to air dry.
